English
 Español
 Português (BR)
 Deutsch
 Français
 Italiano
 Türkçe
 Bahasa Indonesia
 Русский
 日本語
日本語 한국어
한국어 Українська
 Tiếng Việt
 Polski
 Nederlands
 ไทย
ไทย Română
 简体中文
简体中文 繁體中文
繁體中文 العربية
 Български
 Filipino
 हिन्दी
 اردو
اردو বাংলা
বাংলাHow to Add Realistic Shadows to Your Photos with remover.bg
A good shadow makes a cutout look like it belongs. How to add natural, adjustable shadows to product and car photos in the remover.bg editor.
- shadow
- editor
- product-photography
- ecommerce
- tutorial
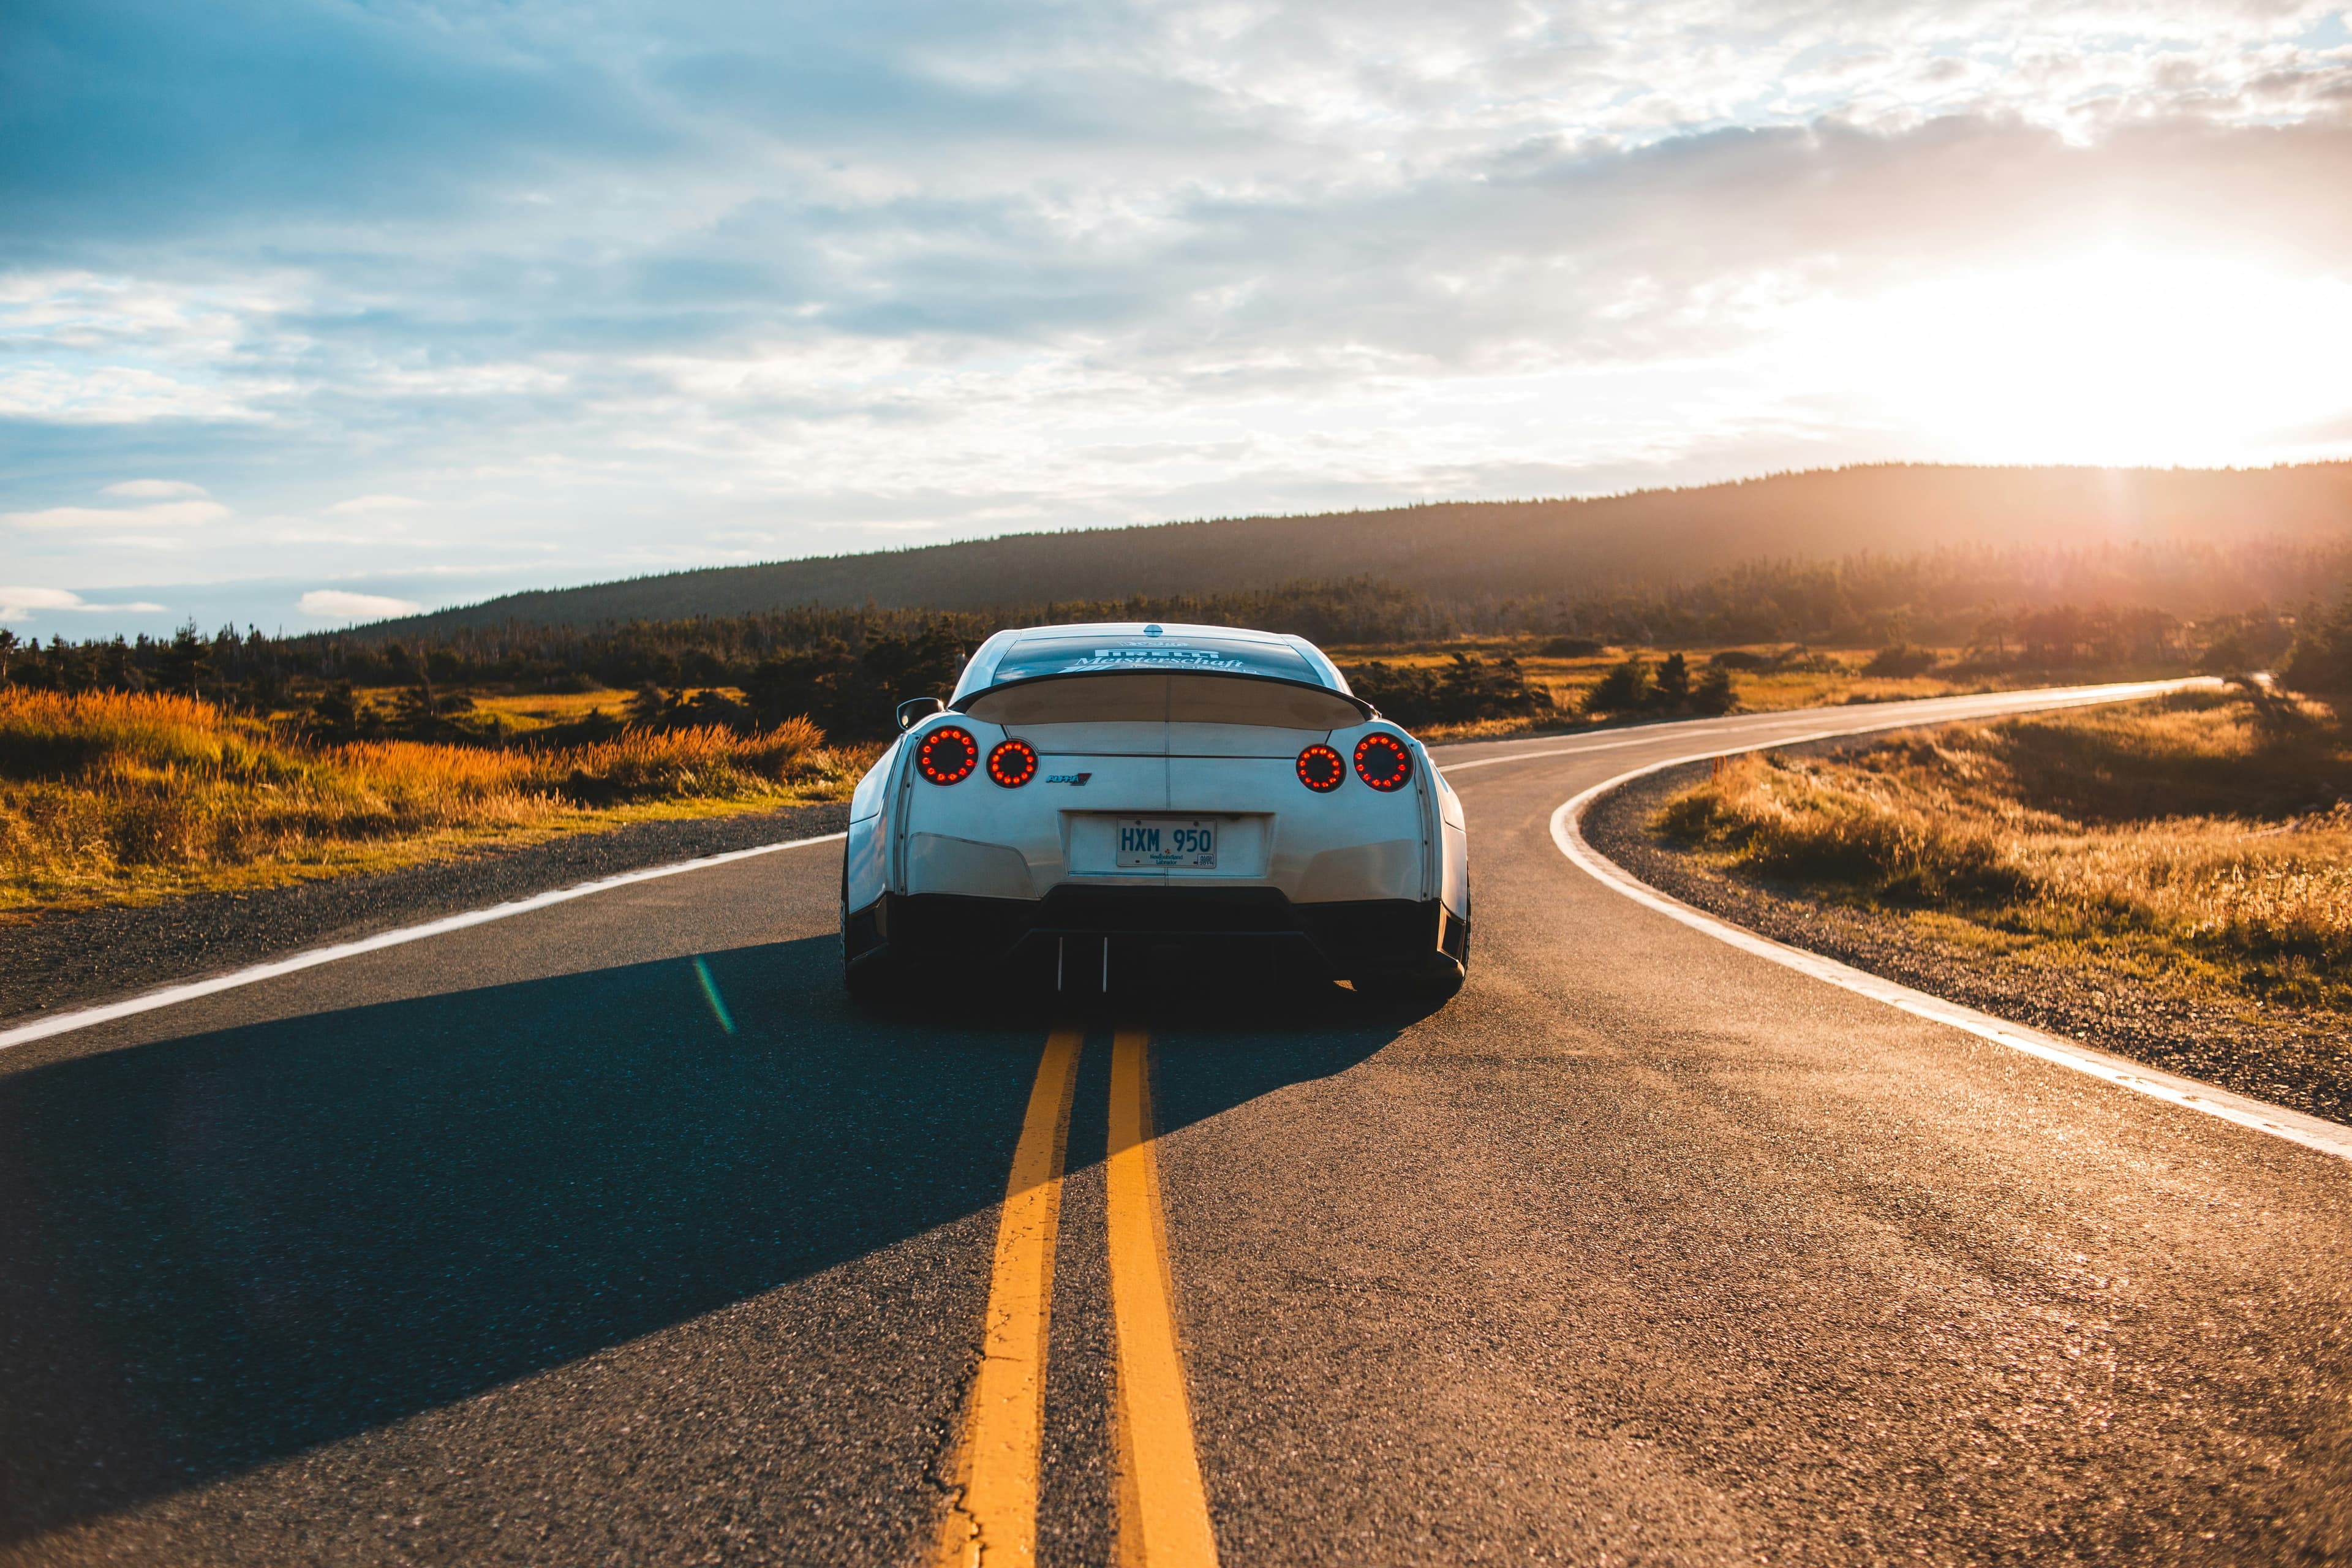
Editing a photo is rarely one click. It's a string of small adjustments until everything finally clicks into visual harmony. You strip out the background, drop your subject onto a clean backdrop — and yet something still feels off. Nine times out of ten, the missing piece is a shadow. Without one, even a flawless cutout looks like it's floating, pasted on, fake.
The trouble is that shadows are deceptively hard to get right. Add too much and the image looks heavy and artificial; add too little and the subject still doesn't sit on the ground. Doing it in Photoshop takes practice, patience, and time you may not have. So we built shadow controls straight into the remover.bg editor — natural results, no manual masking, full control over the result.
Why a shadow makes or breaks a cutout
A shadow does one simple thing: it tells the eye where the subject meets the surface. That single visual cue is the difference between "a car parked on a floor" and "a car cut out and dropped onto a floor." It grounds the object, adds depth, and quietly signals quality to whoever's looking — which, on a listing or a product page, is exactly the impression you want to leave.
Add a shadow in the remover.bg editor
Once you've removed the background, open your image in the editor and switch on the shadow layer. Instead of a single take-it-or-leave-it effect, you get a handful of controls that let you dial in exactly the look you're after:
- Color — black is the natural default, but you can match the scene for a softer, more believable result.
- Angle — set the direction the light is coming from, so the shadow falls the way it would in real life.
- Distance — push the shadow further from the subject to suggest a raised object, or keep it tight for something sitting flat on the ground.
- Blur — sharpen it for hard, direct light or soften it for a diffuse, overcast look.
- Opacity — control how dark and present the shadow is, so it reads as natural rather than heavy.
Because these are real adjustments rather than a fixed preset, you're not stuck with whatever a black-box "auto" mode decides. You get to make the shadow believable for your photo — and what you see on screen is exactly what you export, at full resolution.
It works on web and on your phone
The editor — shadow controls included — runs on both the web app and mobile, and the two stay in lockstep, which means you can remove a photo background on your phone and add the shadow in the same session. Start a shadow on your laptop and the same settings behave identically on your phone, so a shoot you edit on the go matches one you finish at your desk. No surprises, no re-doing the work.
What this means for car dealerships and online sellers
For anyone selling cars or products online, this is where it pays off. A consistent, realistic shadow across every listing photo makes a catalog look professionally shot, even if it wasn't. The automotive crowd already swaps messy lot backgrounds for clean, uniform ones in seconds; a well-placed shadow is the finishing touch that makes those edits look effortless rather than edited.
And presentation moves the needle. The cleaner and more believable the photo, the more confidence a buyer feels — and confidence is what closes deals. Higher-quality images simply convert better.
Give it a try
Upload a car or product photo, remove the background, and switch on the shadow layer. Nudge the angle, soften the blur, ease back the opacity — and watch a flat cutout settle naturally onto its new background. It takes seconds — and it's the kind of detail buyers notice without ever knowing why.