English
 Español
 Português (BR)
 Deutsch
 Français
 Italiano
 Türkçe
 Bahasa Indonesia
 Русский
 日本語
日本語 한국어
한국어 Українська
 Tiếng Việt
 Polski
 Nederlands
 ไทย
ไทย Română
 简体中文
简体中文 繁體中文
繁體中文 العربية
 Български
 Filipino
 हिन्दी
 اردو
اردو বাংলা
বাংলাHow to Take a Passport Photo at Home (Right Background)
Shoot a compliant passport photo with a phone and a window, then fix the background to the exact plain white or grey your country requires.
- passport-photo
- id-photo
- tutorial
- background removal
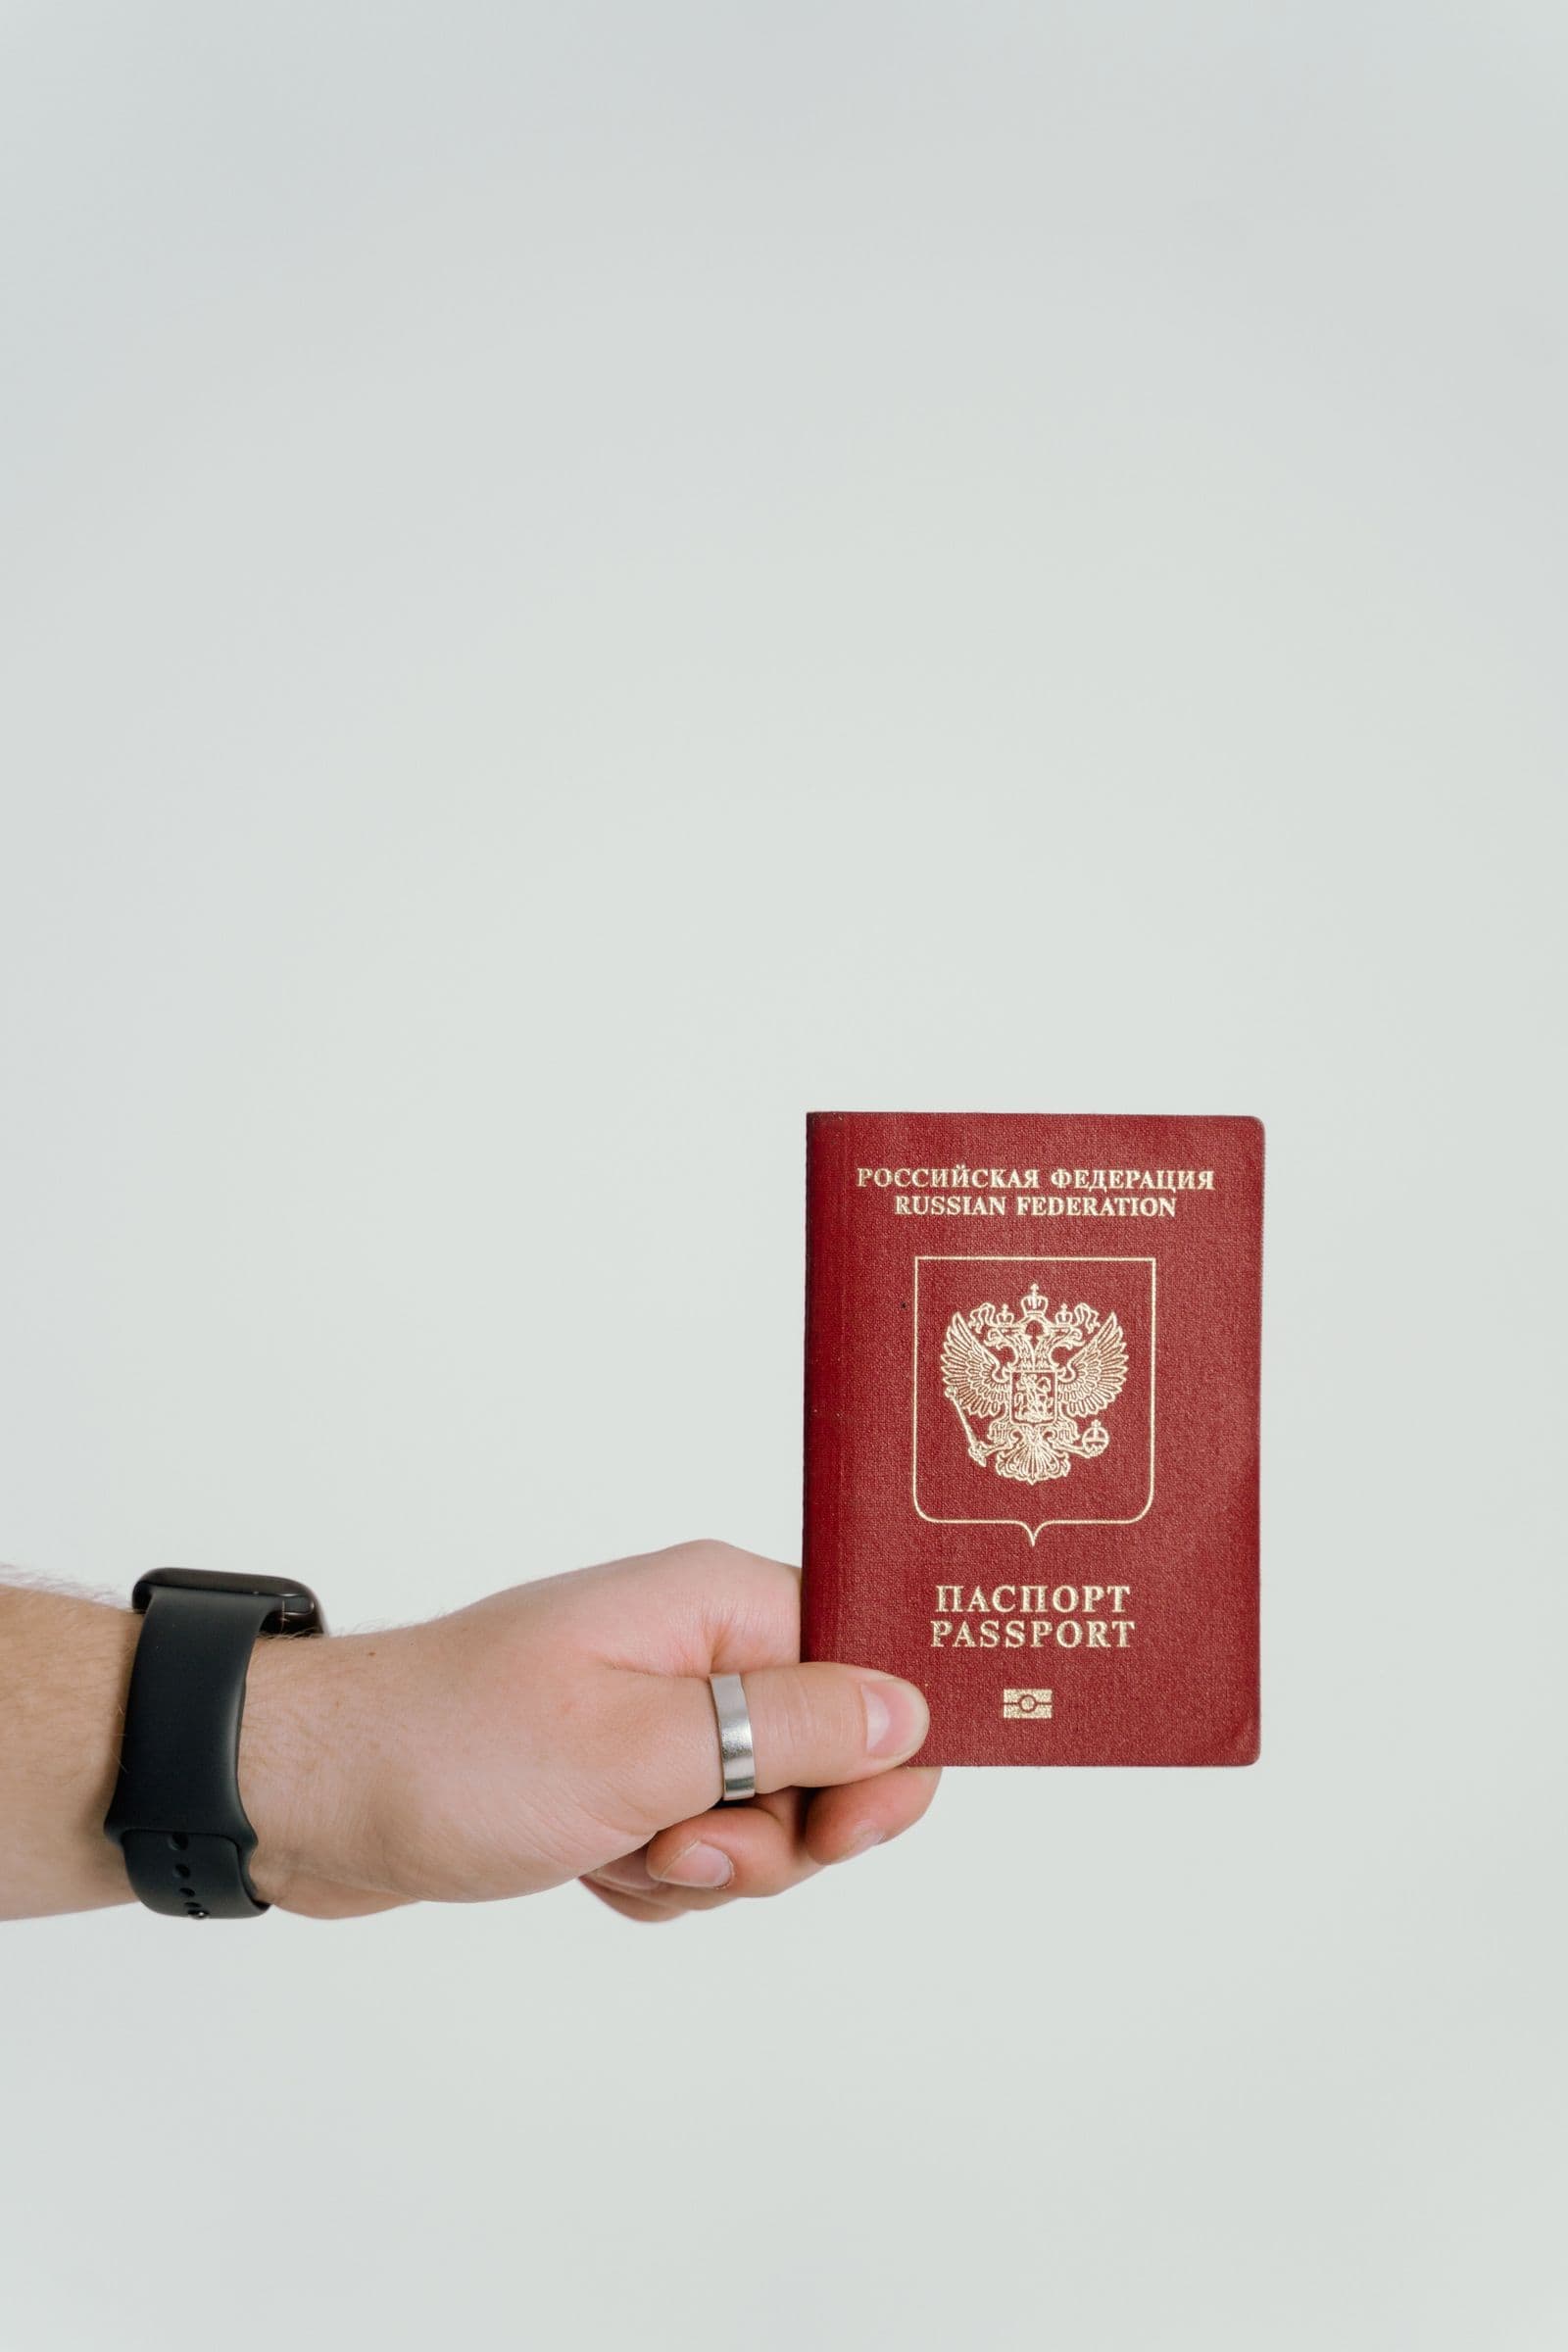
Passport photo booths charge a small fortune for four tiny prints, drugstore photo counters have queues, and both produce a photo you'll be stuck with for ten years. Meanwhile, the actual requirements for a passport photo are entirely achievable in your living room — if you know what the rules are and where DIY attempts usually fail.
Spoiler: they fail on the background.
What passport photos actually require
Exact specs vary by country, but the core requirements are remarkably consistent worldwide:
- A plain, light background — most countries require white or off-white (the US accepts white or off-white; the UK asks for a plain light grey or cream; Schengen countries typically want uniform light backgrounds). No patterns, no shadows on the wall, no objects.
- Neutral expression, eyes open, mouth closed — no smiling in most jurisdictions.
- Face centered and unobstructed — no hair across the eyes, no glasses in many countries (the US banned them in 2016), no headwear except for religious purposes.
- Even lighting on the face — no harsh shadows, no red-eye, no filters.
- Recent — usually taken within the last 6 months.
- Correct dimensions — 2×2 inches for the US, 35×45 mm for the UK, EU, and much of the world.
Always check your country's official checklist before submitting — sizes and details differ. But notice what's on that list: nothing that requires a photo studio.
Where home attempts get rejected
Government processing systems and human reviewers reject DIY photos for a handful of predictable reasons:
- Background isn't uniform — the number one killer. A "white" wall photographs as grey, with visible texture, shadows cast by the subject, or a door frame sneaking into the corner.
- Shadows on the face or behind the head — caused by direct flash or overhead lighting.
- Wrong head size in frame — most countries specify the head must occupy a set percentage of the photo's height.
- Low resolution or over-compression — especially for online applications.
Three of these four are solved at shoot time; the background one is solved afterward, digitally.
The home workflow
Step 1 — Shoot it right. Stand facing a large window for soft, even light. Have someone photograph you (or use a timer) from about 2 meters away, camera at eye level. Keep a neutral expression, shoulders square, hair away from your face. Take plenty of frames.
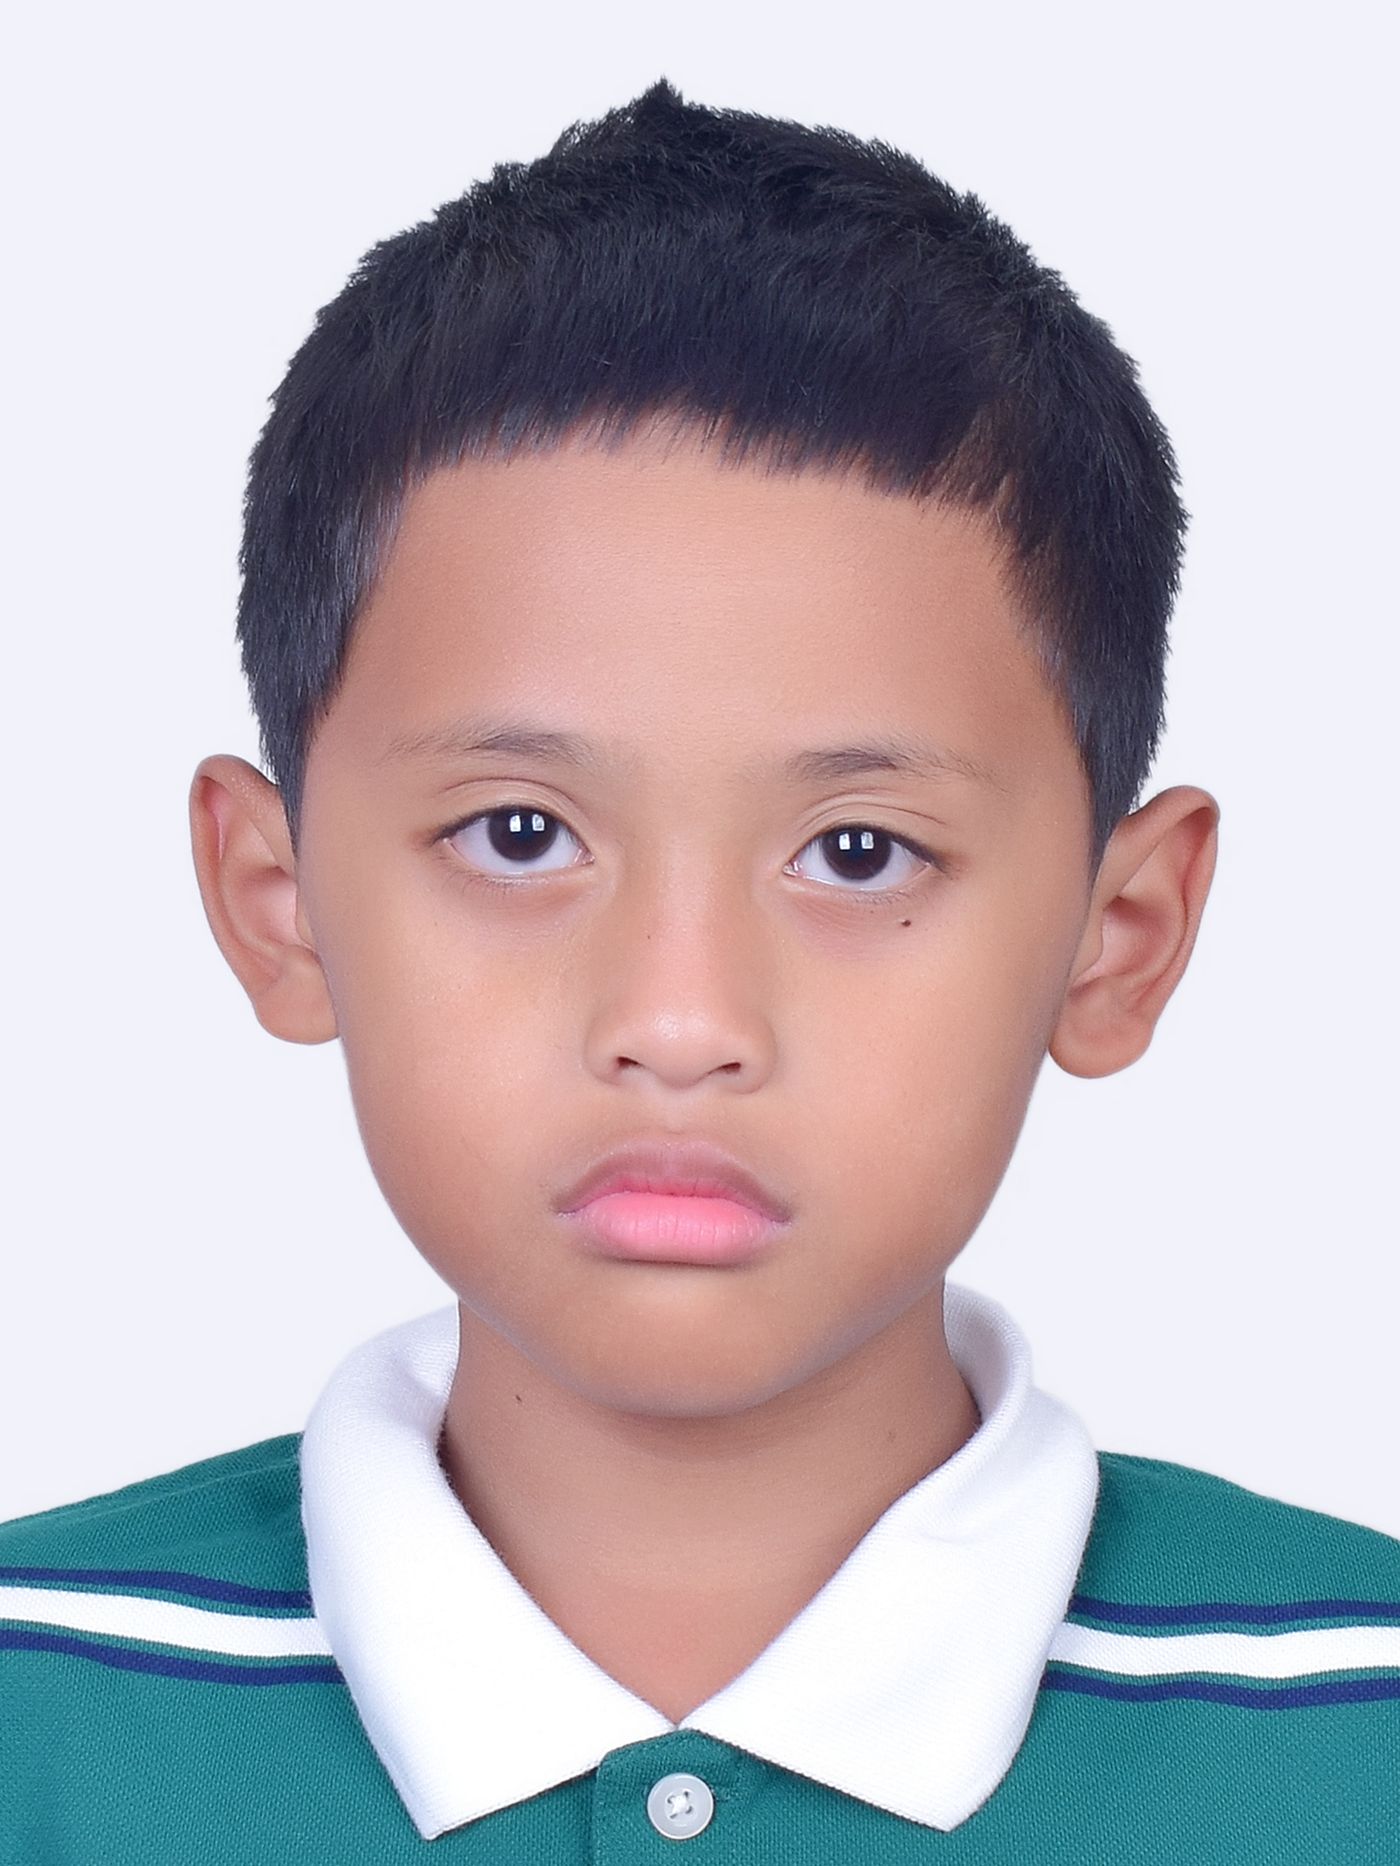
Step 2 — Fix the background. Don't fight your wall. Upload the best frame to remover.bg and the background disappears cleanly — including stray hairs, which matter here. Then set a solid background in the exact shade your country requires: pure white, off-white, or light grey. Because it's digitally generated, it is perfectly uniform — no gradients, no shadows, no texture. This single step eliminates the most common rejection reason entirely.
Step 3 — Crop to spec. Crop to your country's dimensions (2×2 in / 35×45 mm) with the head sized per the official guidance. Official government sites describe the head-position template; many also offer a free checking tool.
Step 4 — Print or submit. For digital applications, submit the file. For prints, most photo kiosks and online print services will print passport sizes for a fraction of booth prices — or tile several photos onto one standard 4×6" print.
Same trick, other documents
The background-replacement step works for every "plain background" photo bureaucracy asks of you:
- Visa applications — many countries want the same white-background format in specific pixel dimensions.
- ID cards, licenses, campus and work badges — almost always "plain light background."
- Job applications in markets where photos are customary — a clean background reads professional, though whether a CV photo helps or hurts depends on the country; our profile picture guide covers the more relaxed version of this workflow.
One honest caveat
Rules on digital editing are strict: you may not alter your appearance — no smoothing, no reshaping, no filters. Replacing a non-compliant background with a compliant plain one is the accepted, routine fix (it's what photo booths do optically and studios do digitally), but the face itself must remain exactly as captured. Edit the background, never the person.
Ten minutes, a window, and a background swap — and the ten-year photo in your passport is one you actually chose from fifty frames, not the single blink the booth allowed you.