English
 Español
 Português (BR)
 Deutsch
 Français
 Italiano
 Türkçe
 Bahasa Indonesia
 Русский
 日本語
日本語 한국어
한국어 Українська
 Tiếng Việt
 Polski
 Nederlands
 ไทย
ไทย Română
 简体中文
简体中文 繁體中文
繁體中文 العربية
 Български
 Filipino
 हिन्दी
 اردو
اردو বাংলা
বাংলাBlue Background ID Photos for Asian Paperwork
Blue, white or light grey behind an ID photo? Shoot one head-and-shoulders frame, swap the background per form, and confirm the colour on the issuer's page.
- id photos
- blue background
- passport photo
- background removal
- document photos
- china
- korea
- india
- photo requirements
- how to

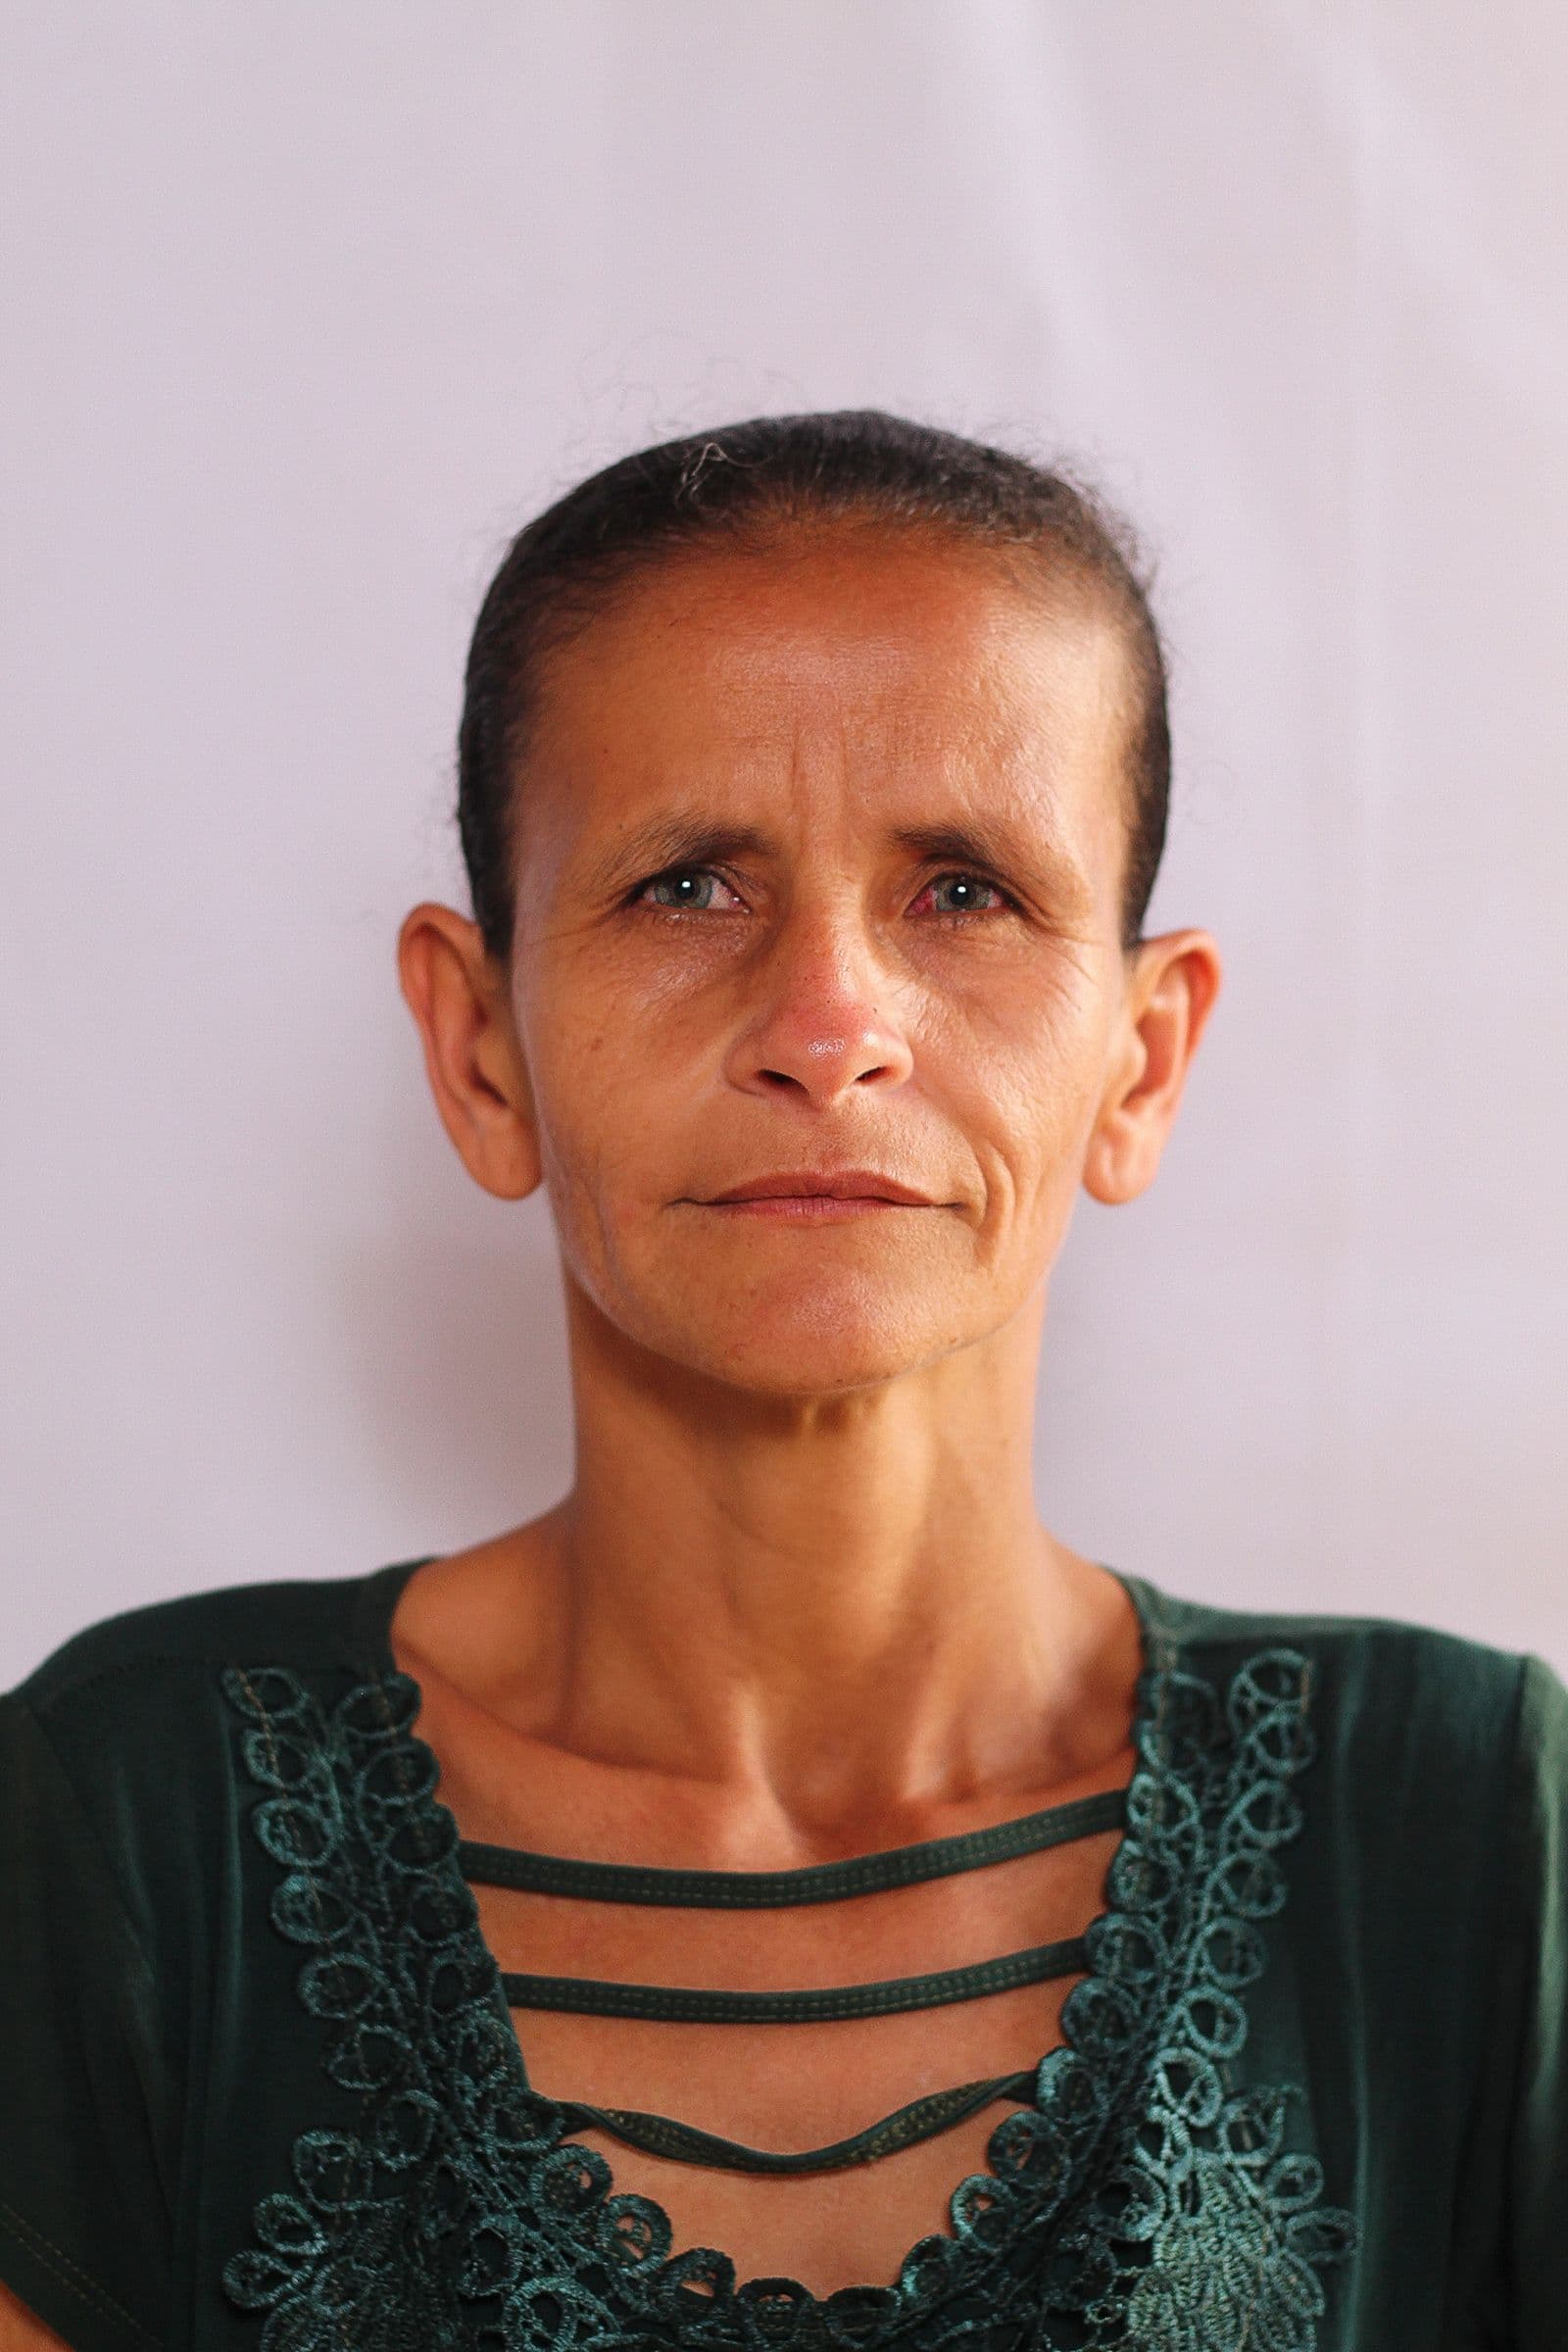
You take one good head-and-shoulders photo and think the job is finished. Then the exam portal asks for blue, the university form asks for white, and an employer's HR system rejects both because it wanted light grey. Nothing is wrong with the photograph — only with what is behind your head.
It comes up quickly for anyone dealing with Chinese, Korean or Indian paperwork. The background colour is not decoration; it signals to a clerk, or to an automated checker, that the image was prepared for this document rather than pulled from a phone gallery. A wall, a curtain or a bookcase fails on sight.
You do not need a new photo for each form. You need one properly shot frame and a background you can change on demand.
Why the blue background exists
The portrait these documents carry is usually dark hair, often dark clothing, printed small. Against grey or black, dark hair merges into the background; against pure white, pale skin and light shirts wash out at the edges. A mid blue is often explained as the middle ground, but issuing bodies publish the required colour, not the reasoning.
Which colour goes with which document
Treat the pattern below as something to confirm — the rule belongs to the issuing body, and it changes:
- Blue turns up most often on Chinese exam registrations, student and staff cards, employment paperwork and professional qualification systems.
- White is what several passport authorities in the region ask for, and it appears on much Korean and Indian official paperwork — confirm it on the issuing authority's own page, since these specs differ by country and get revised.
- Red appears on a narrower set of Chinese documents. Never assume it — use red only where that document's requirement page names it.
- Light grey or off-white turns up in some European national specs. GOV.UK's printed-photo rules ask for a plain cream or light grey background, while its digital-photo rules only ask for a plain light-coloured one — check which of the two applies to the way you are submitting.
International travel-document guidance is generally written around a plain, uniform background rather than one named colour; the binding rule is always the issuing country's own photo-requirements page, not a general standard. Find the page for the exact form: the 照片要求 or 사진 규격 block, the PDF attached to the registration notice, the sample taped to the counter.
The blue is a value, not a swatch you like
This is where rejections come from: a blue that looked about right lands too dark or too saturated beside the sample the reviewer holds. Some registration systems say on their requirement page that uploads are checked automatically before a person sees them — if yours does, match the stated value exactly.
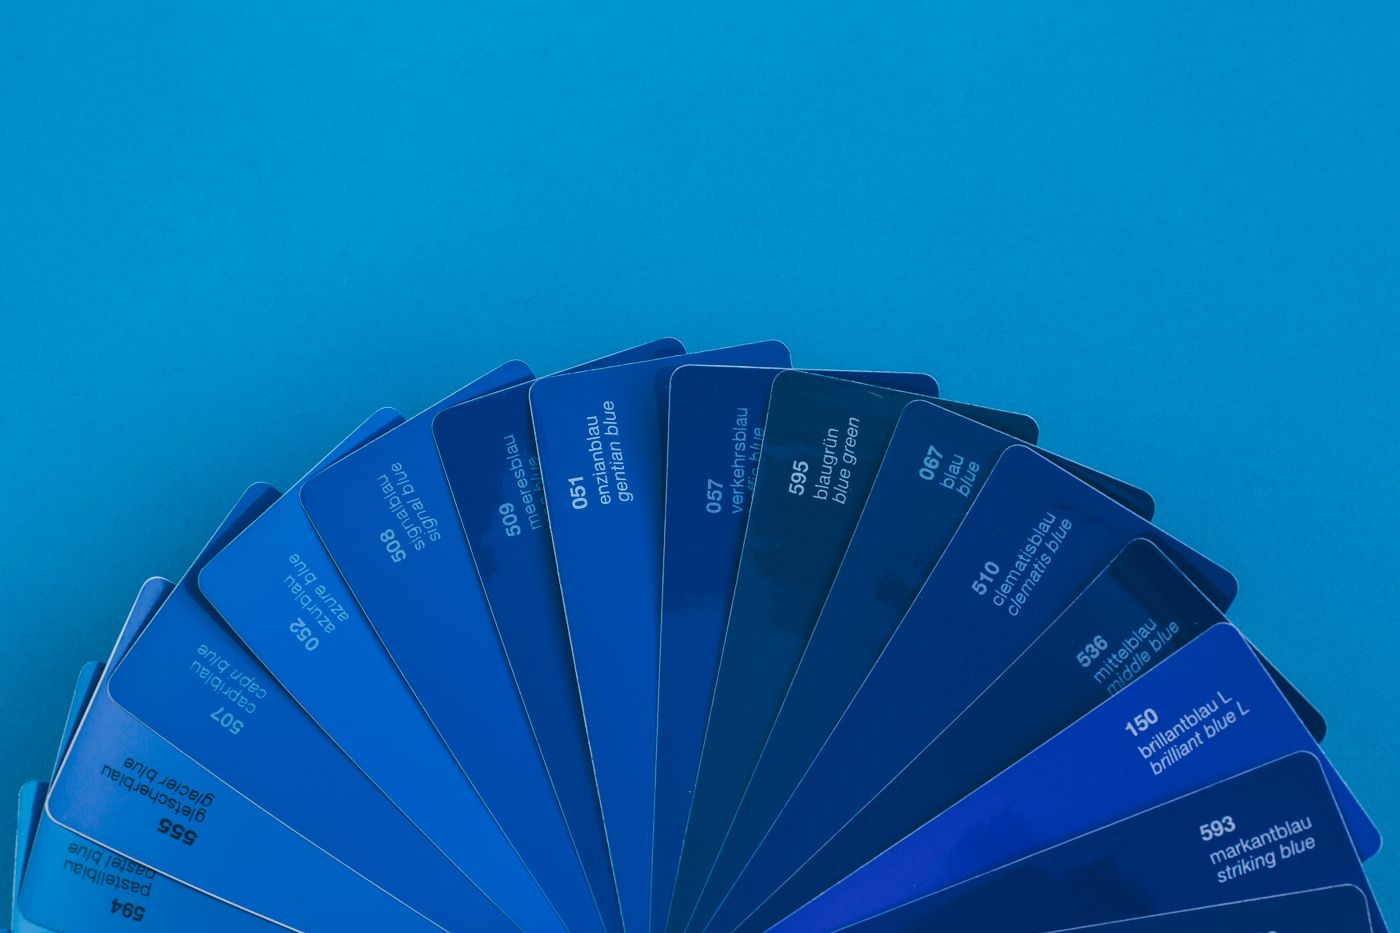
Copy the number instead of judging it. If the requirement page states a specific colour value, use the custom colour option to match it rather than settling for the nearest preset. In remover.bg the editor takes a solid colour or a custom one, so the value you were handed is the one behind your head.
Shooting one source photo that works for all of them
The wall behind you barely matters, since it is going to be discarded. Two things still decide whether the edge comes out clean.
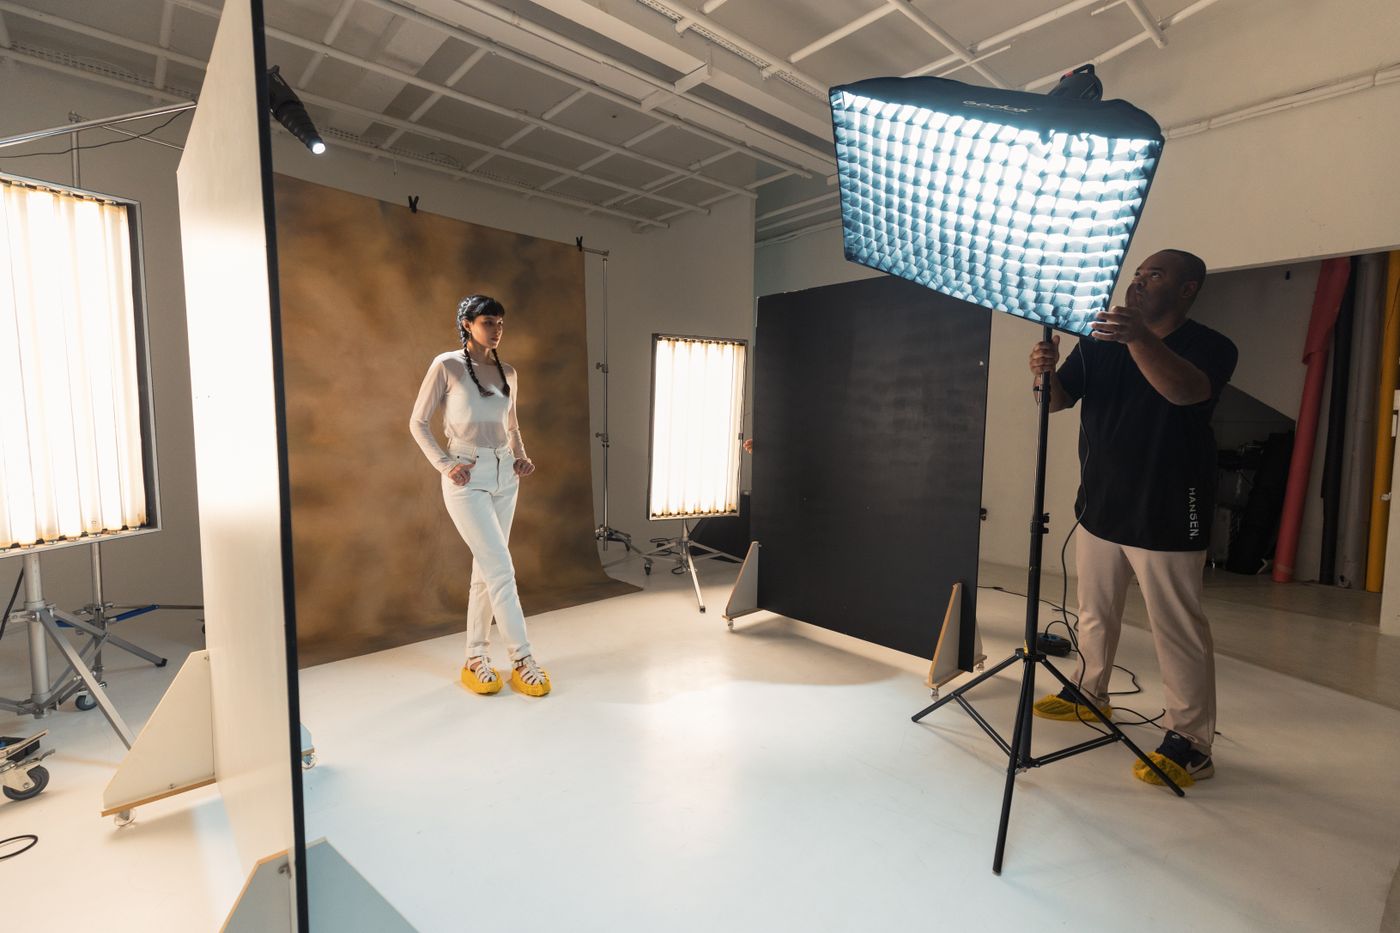
- Stand well away from the wall, an arm's length at minimum, so your head casts no shadow onto it. A shadow sitting behind dark hair is a common cause of a ragged outline.
- Do not wear the colour you are about to apply. A navy jacket on blue merges into one shape; white on white does the same. Mid-grey separates well from both; if the spec asks for light grey or cream, pick something darker.
Beyond that: even frontal light from a window, camera at eye level, neutral expression, hair off the face, no hard shadow across one cheek. The discipline in taking a passport photo at home applies directly, and it is the same frame you would use for a professional profile picture.
Swapping the background without a halo
Upload the original file — PNG, JPEG or WebP, up to 25 MB — not a screenshot or a chat-app copy, which arrives softened and re-compressed. Zoom in along the hairline before you submit; fine hair is where a weak cutout gives itself away. Two habits:
- Most issuing bodies rule out shadows behind the head — check the wording on your requirement page — so leave the realistic shadow tool off for this job.
- Export as PNG, JPEG or WebP, whichever the portal accepts. Do not send a transparent cut-out unless the requirement page asks for one; document systems expect the finished photo on the stated colour.
Sizing and cropping happen in your own tools
Background replacement is one step, not the whole job. Photo dimensions, face height in the frame, print sheets of six — those happen in your phone's photo editor or the portal's own cropping step.
One shot, several files
Shoot once, keep the original, and make a variant per document as it comes up: blue for the exam, white for the visa, grey for the European-spec form. Name the files by document, not colour, and you will not be guessing at the upload screen a year from now.