English
 Español
 Português (BR)
 Deutsch
 Français
 Italiano
 Türkçe
 Bahasa Indonesia
 Русский
 日本語
日本語 한국어
한국어 Українська
 Tiếng Việt
 Polski
 Nederlands
 ไทย
ไทย Română
 简体中文
简体中文 繁體中文
繁體中文 العربية
 Български
 Filipino
 हिन्दी
 اردو
اردو বাংলা
বাংলাPrint-on-Demand Image Prep: T-Shirts, Mugs, and More
Three rules — transparent background, print-size resolution, garment contrast — that make every POD upload print right the first time.
- print-on-demand
- tshirt
- design
- merch
- transparency
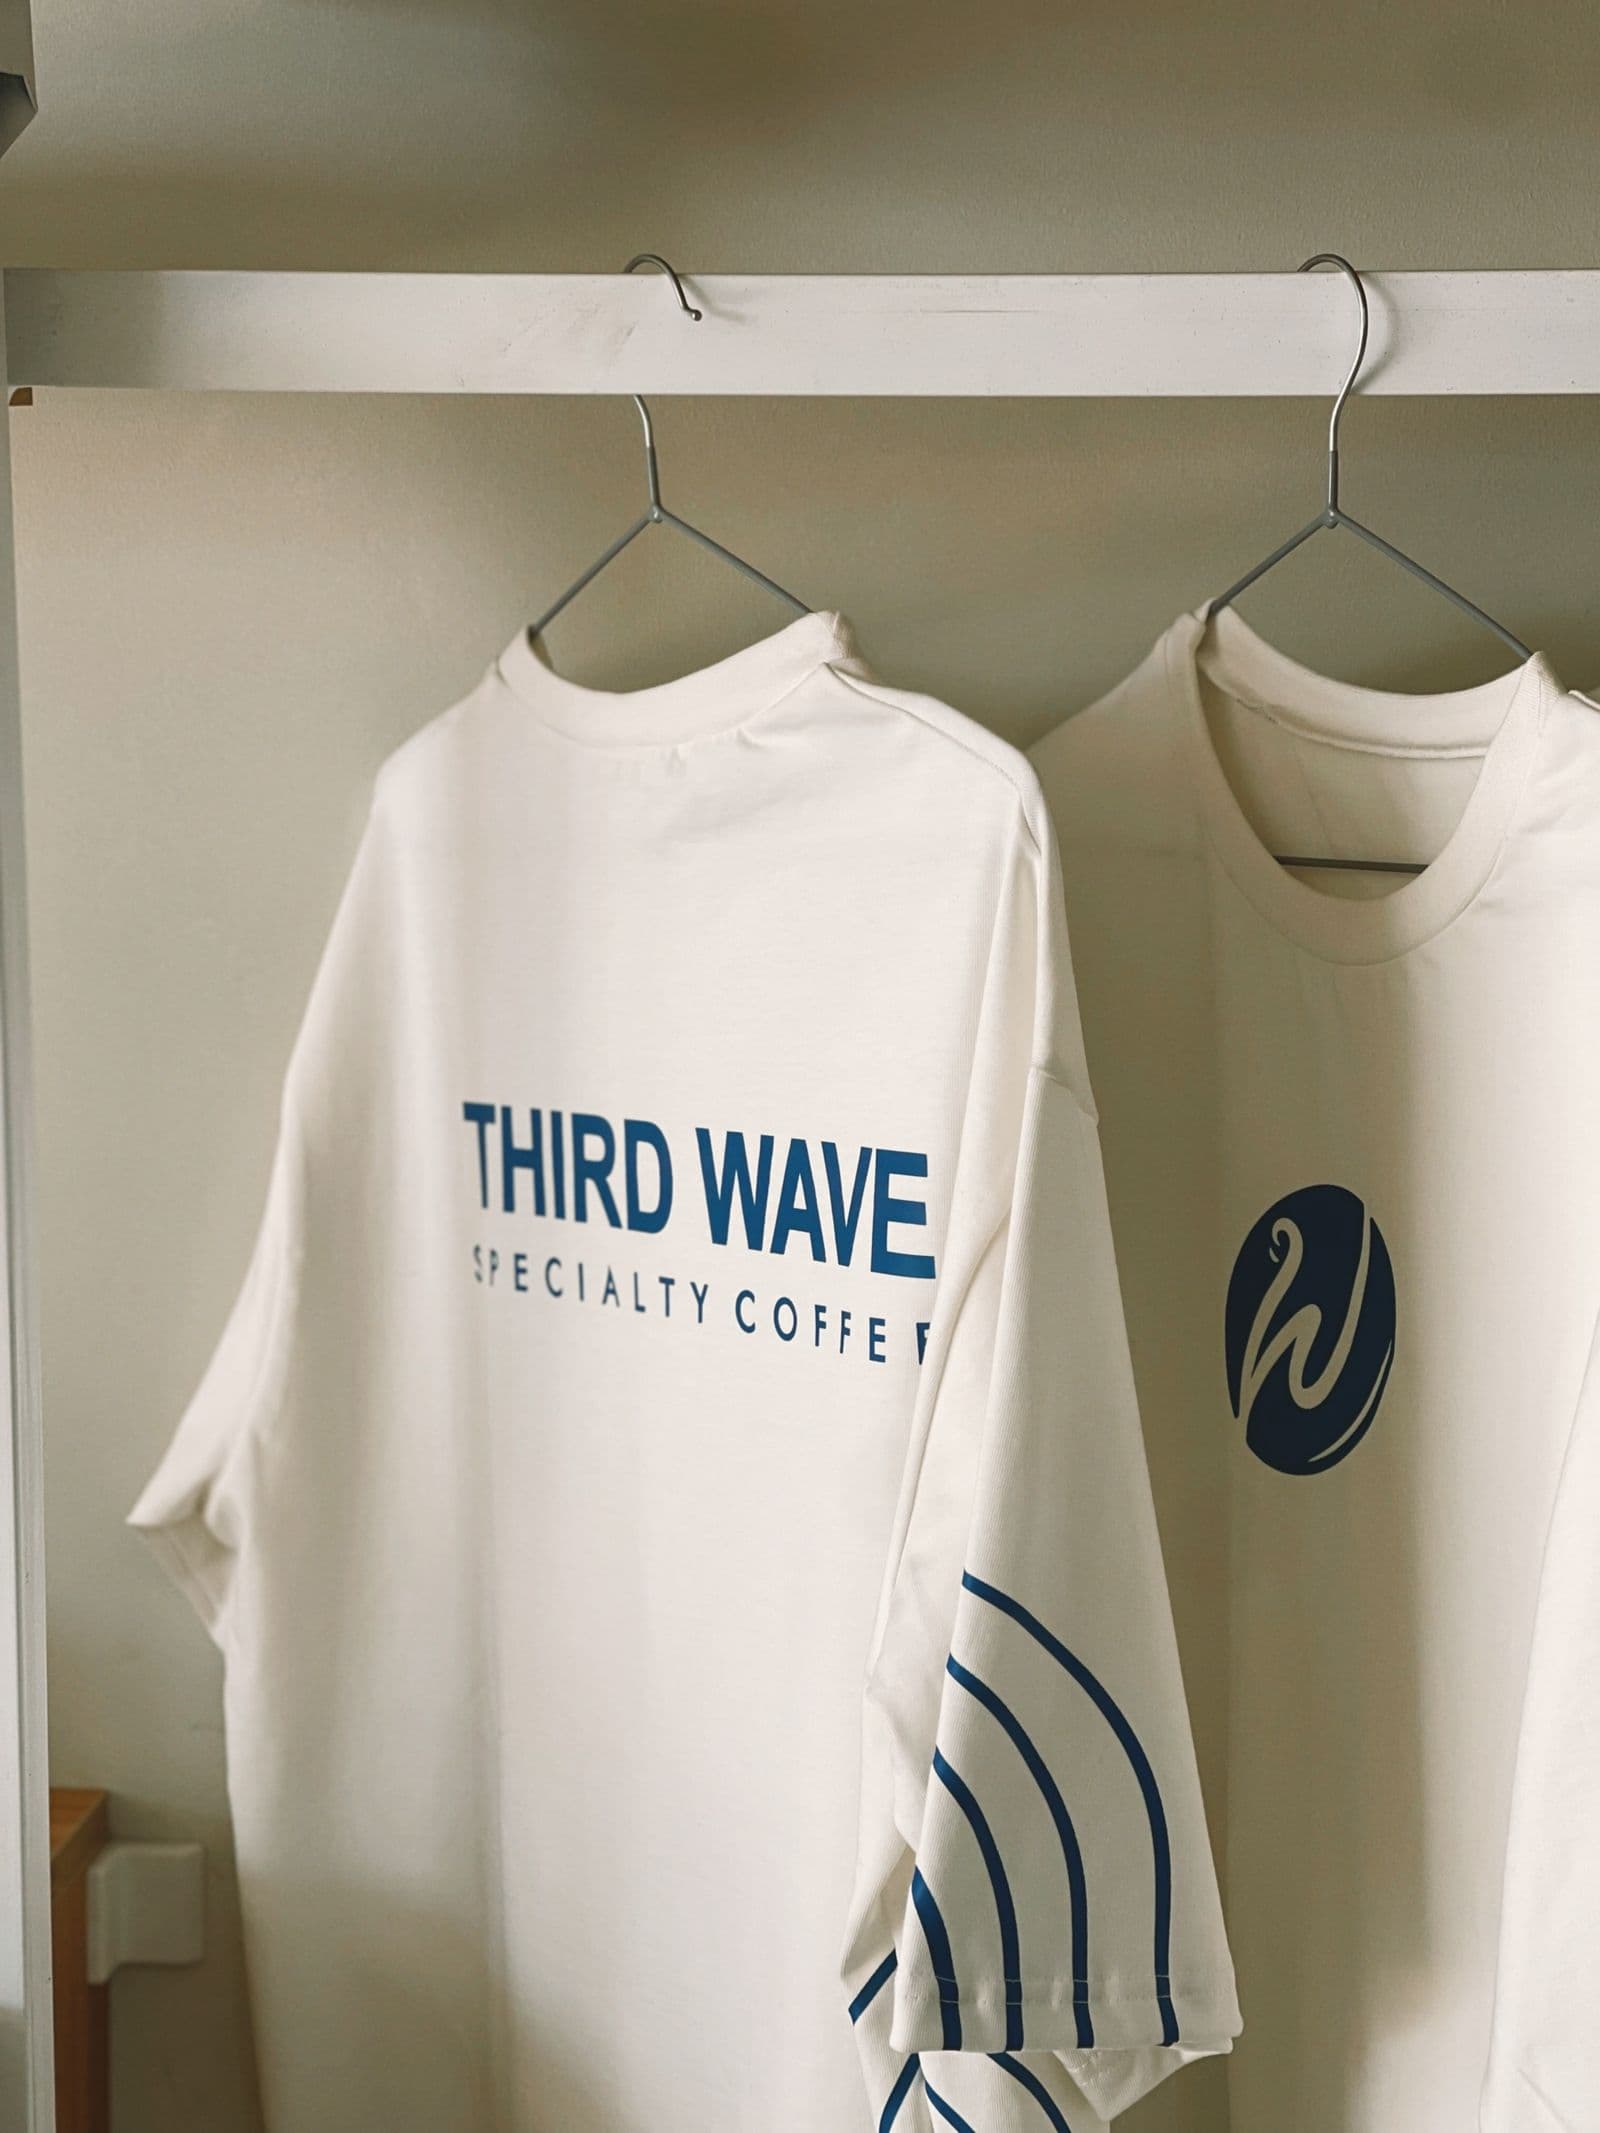
Print-on-demand looks deceptively simple: upload a design, and Printful, Printify, or your POD platform of choice prints it on t-shirts, mugs, and hoodies as orders come in. No inventory, no printer, no risk.
Then your first sample arrives — with a faint white rectangle around the design, blurry edges, or colors that look nothing like your screen. Almost every early POD failure traces back to image preparation. Here's how to get it right the first time.
The three rules of POD-ready artwork
1. Transparent background, always. Printers print your file exactly as it is. If your design sits on a white background, that white rectangle prints too — invisible on a white shirt, glaring on a black one. Every design must be a transparent PNG: the artwork and nothing else.
2. High resolution at print size. Print needs far more pixels than screens. The common standard is 150–300 DPI at the printed dimensions — for a typical 12×16 inch shirt print area, that's roughly 1800×2400 to 3600×4800 pixels. A 500px logo that looks sharp on your phone prints as a blurry stamp.
3. Solid contrast against the garment. A dark design disappears on a black shirt; a pale one vanishes on white. Preview your artwork against every product color you plan to offer, and consider light/dark variants of the same design.
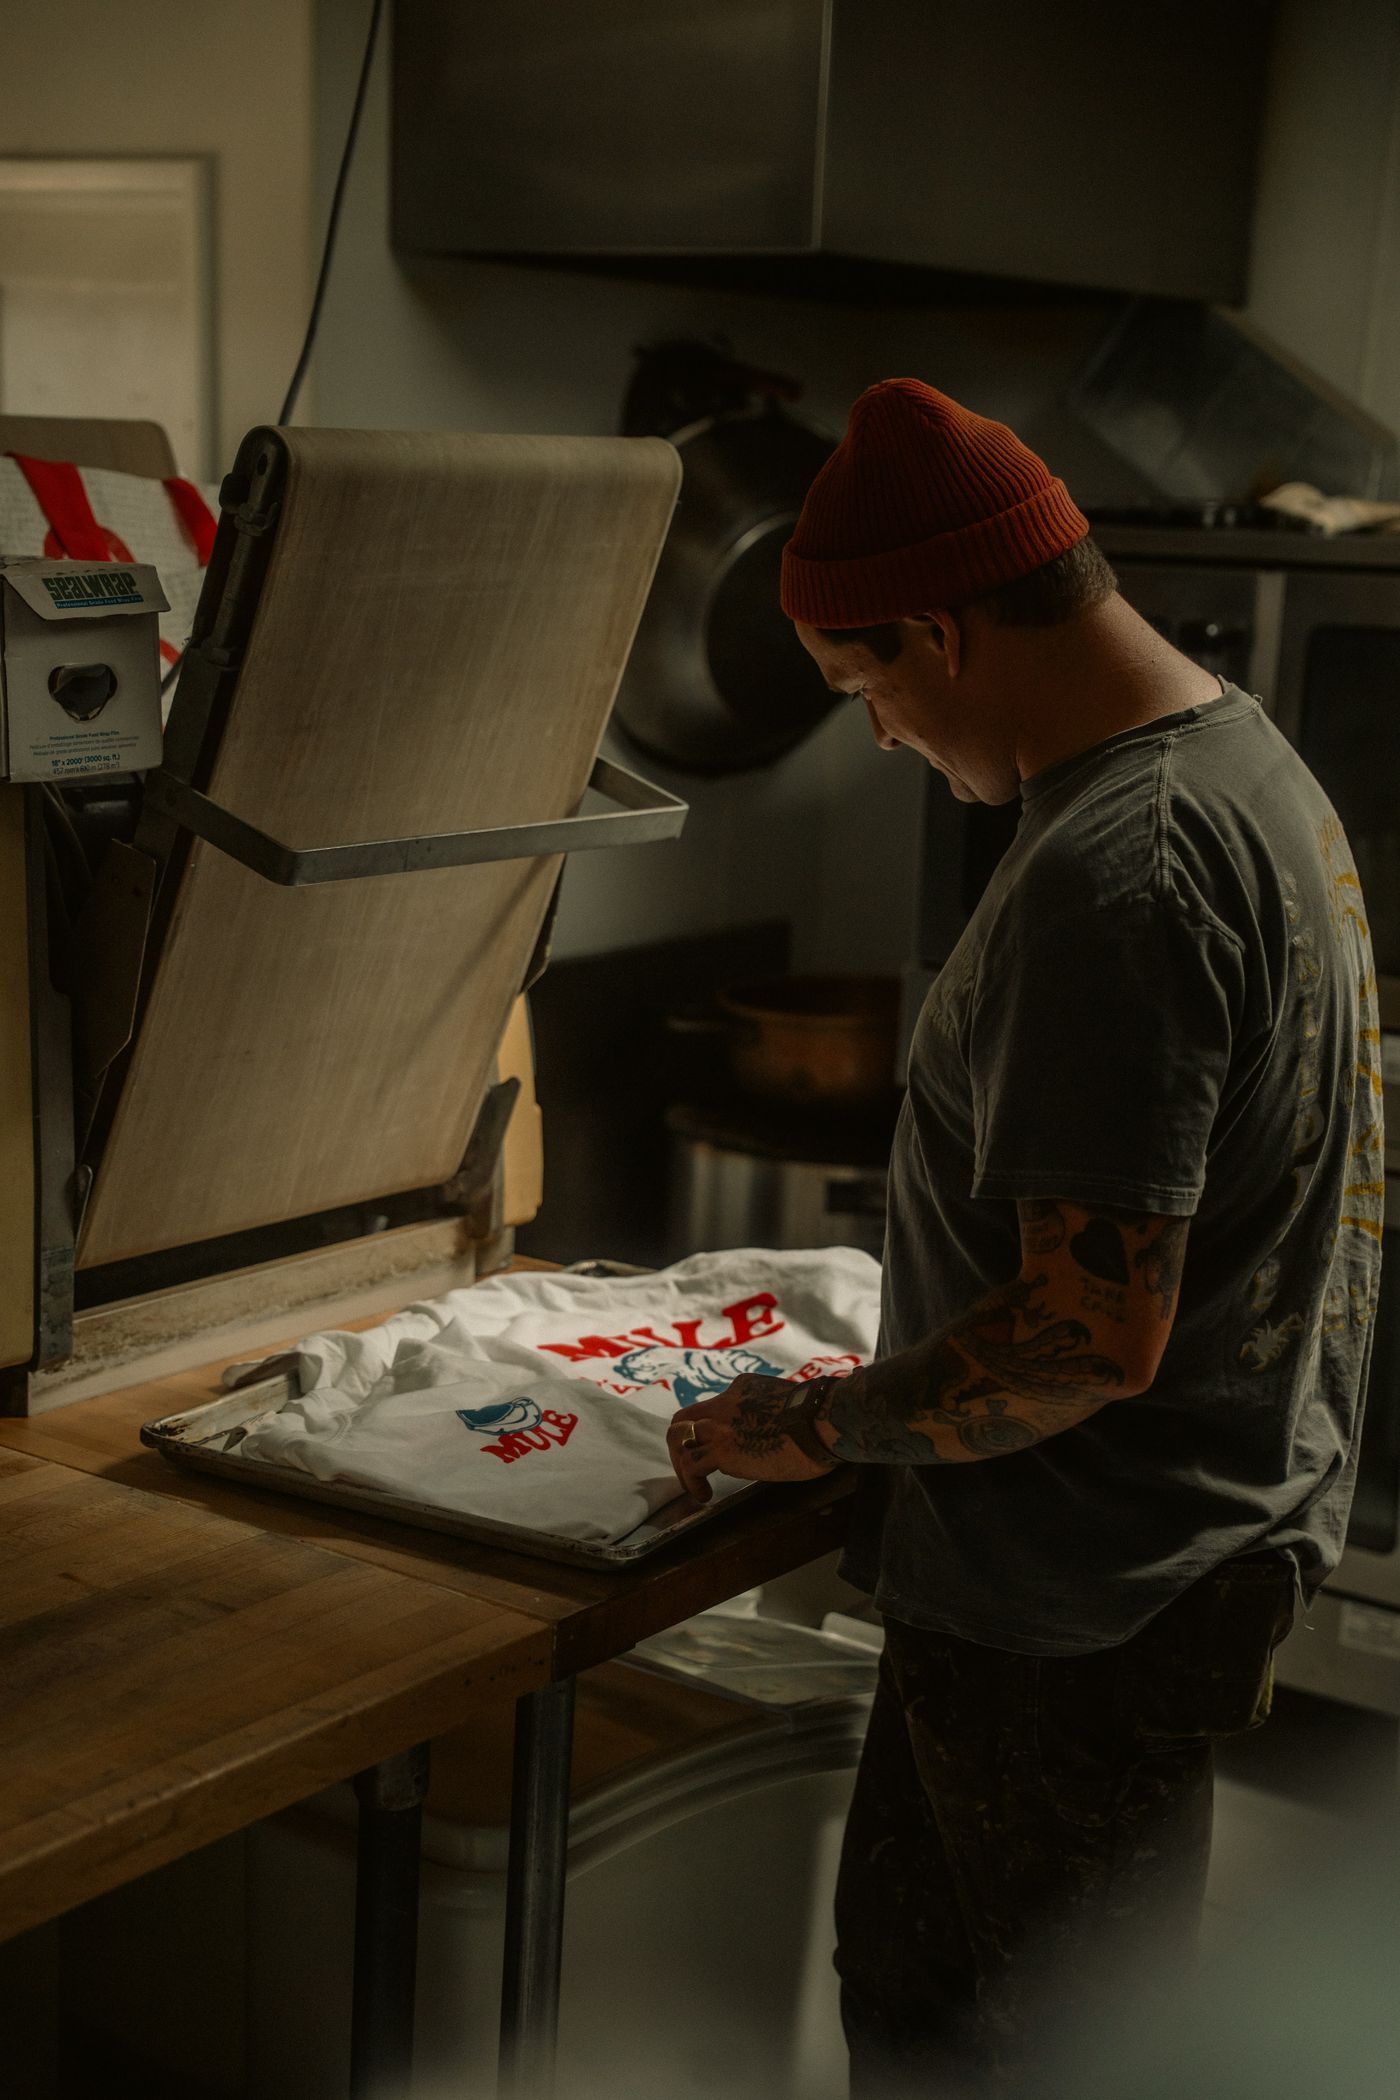
Turning a photo into a printable design
Photo-based merch — a pet's face on a mug, a band photo on a tee, a team mascot on hoodies — is one of POD's best-selling categories, and it has one extra prep step: isolating the subject. A club that already cuts players out for its matchday social graphics is doing the same job at print resolution.
- Choose a sharp, well-lit photo — print magnifies every flaw, so start from the highest-resolution original you have.
- Remove the background at remover.bg — the AI cleanly separates the subject, including fur and hair, which are exactly the edges that make or break a printed cutout.
- Export as transparent PNG at full resolution.
- Compose in your design tool — add text, frames, or graphics around the cutout. Keep everything on a transparent canvas sized to your product's print area.
- Upload to your POD platform and order one sample. Always. Screens lie about print; samples don't.
The same workflow applies to logo merch — if your logo only exists as a JPG on a white background, clean it up first before it goes anywhere near a garment.
Platform quick-reference
Requirements differ slightly across platforms, but these baselines keep you safe everywhere:
- File format: PNG with transparency (some platforms accept SVG for vector art — even better for logos and text).
- Color space: sRGB — most POD printers convert from it; exotic color profiles cause surprises.
- Print area: typically 12×16" for shirts (check your specific product), with designs commonly uploaded at 150+ DPI.
- File size caps: usually 50–200 MB — resolution is rarely limited by the cap, so max out quality.
And one legal baseline that outranks all technical ones: only print artwork and photos you own or have licensed. Marketplaces enforce this aggressively.
Test before you scale
Successful POD sellers treat the first print of every design as a prototype:
- Order a physical sample and check edge sharpness, color accuracy, and placement.
- Photograph the sample for your listings — real product photos outsell mockups.
- Reuse your cutouts everywhere — the same transparent PNG that went on the shirt becomes your listing hero image, your social posts, and your Etsy shop photos. One asset, entire storefront.
The pre-upload checklist
Before every upload, thirty seconds of checking saves a failed batch:
- Background fully transparent (checkerboard test in your image viewer)
- Pixel dimensions match the print area at 150+ DPI
- Design previewed on light and dark garments
- sRGB color, PNG format
- Rights to every element in the artwork
POD removes printing, inventory, and shipping from your plate. Image prep is the one production step still yours — master the transparent, high-resolution cutout, and everything downstream just works.