English
 Español
 Português (BR)
 Deutsch
 Français
 Italiano
 Türkçe
 Bahasa Indonesia
 Русский
 日本語
日本語 한국어
한국어 Українська
 Tiếng Việt
 Polski
 Nederlands
 ไทย
ไทย Română
 简体中文
简体中文 繁體中文
繁體中文 العربية
 Български
 Filipino
 हिन्दी
 اردو
اردو বাংলা
বাংলাShooting Hi-Vis Workwear for a Clean Catalogue Cutout
Hi-vis workwear defeats on-camera flash. Move the light 45 degrees off axis and expose so the fluoro never clips, and the jacket edge survives the cutout.
- workwear
- hi-vis
- product photography
- background removal
- catalogue
- lighting
- exposure
- ecommerce
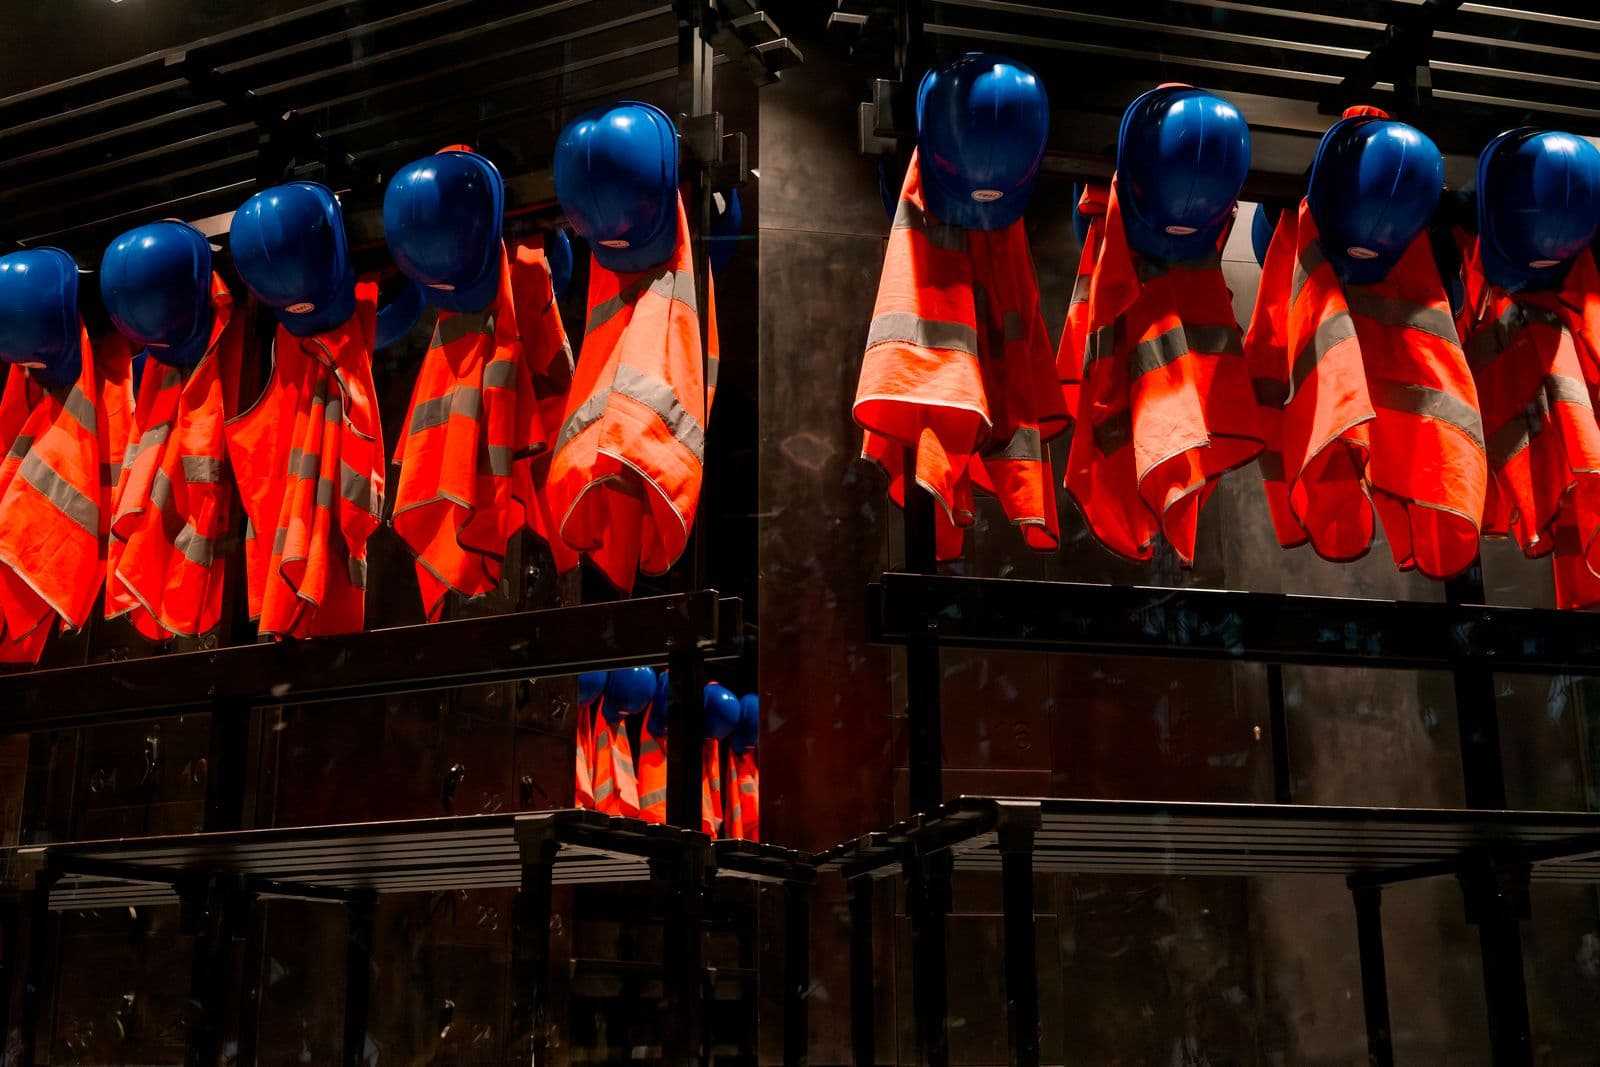
A hi-vis jacket is engineered to defeat exactly the photo most workwear suppliers take. The garment exists to throw a driver's headlight straight back into the driver's eye, and a camera's built-in flash sits a couple of centimetres from the lens. From the jacket's point of view, you are the driver. The tape does its job perfectly and hands you two white bars.
The fluorescent fabric then adds its own failure. Fluoro dyes absorb short-wavelength light and re-emit it as visible colour, so the panel is genuinely brighter than ordinary fabric of the same shade. Auto exposure meters the whole frame, sees dark trousers and a dim stockroom, opens up, and the fluoro panel clips to paper white.
Both failures wreck the same thing: the boundary between garment and background. Once the edge is blown out there is nothing left for a cutout to find, and the jacket comes back with a chewed sleeve or a shoulder that dissolves into the wall. It is a capture problem, and half an hour fixes it.
Get the light off the camera axis
Turn the on-camera flash off and leave it off. Retroreflective material sends light back toward its source, so with the source next to the lens a blowout is guaranteed. Move the light roughly 45 degrees to one side and a little above the garment; the returned beam goes back toward the light instead of into your sensor, and the tape records as a grey-silver band with its stitching still readable.
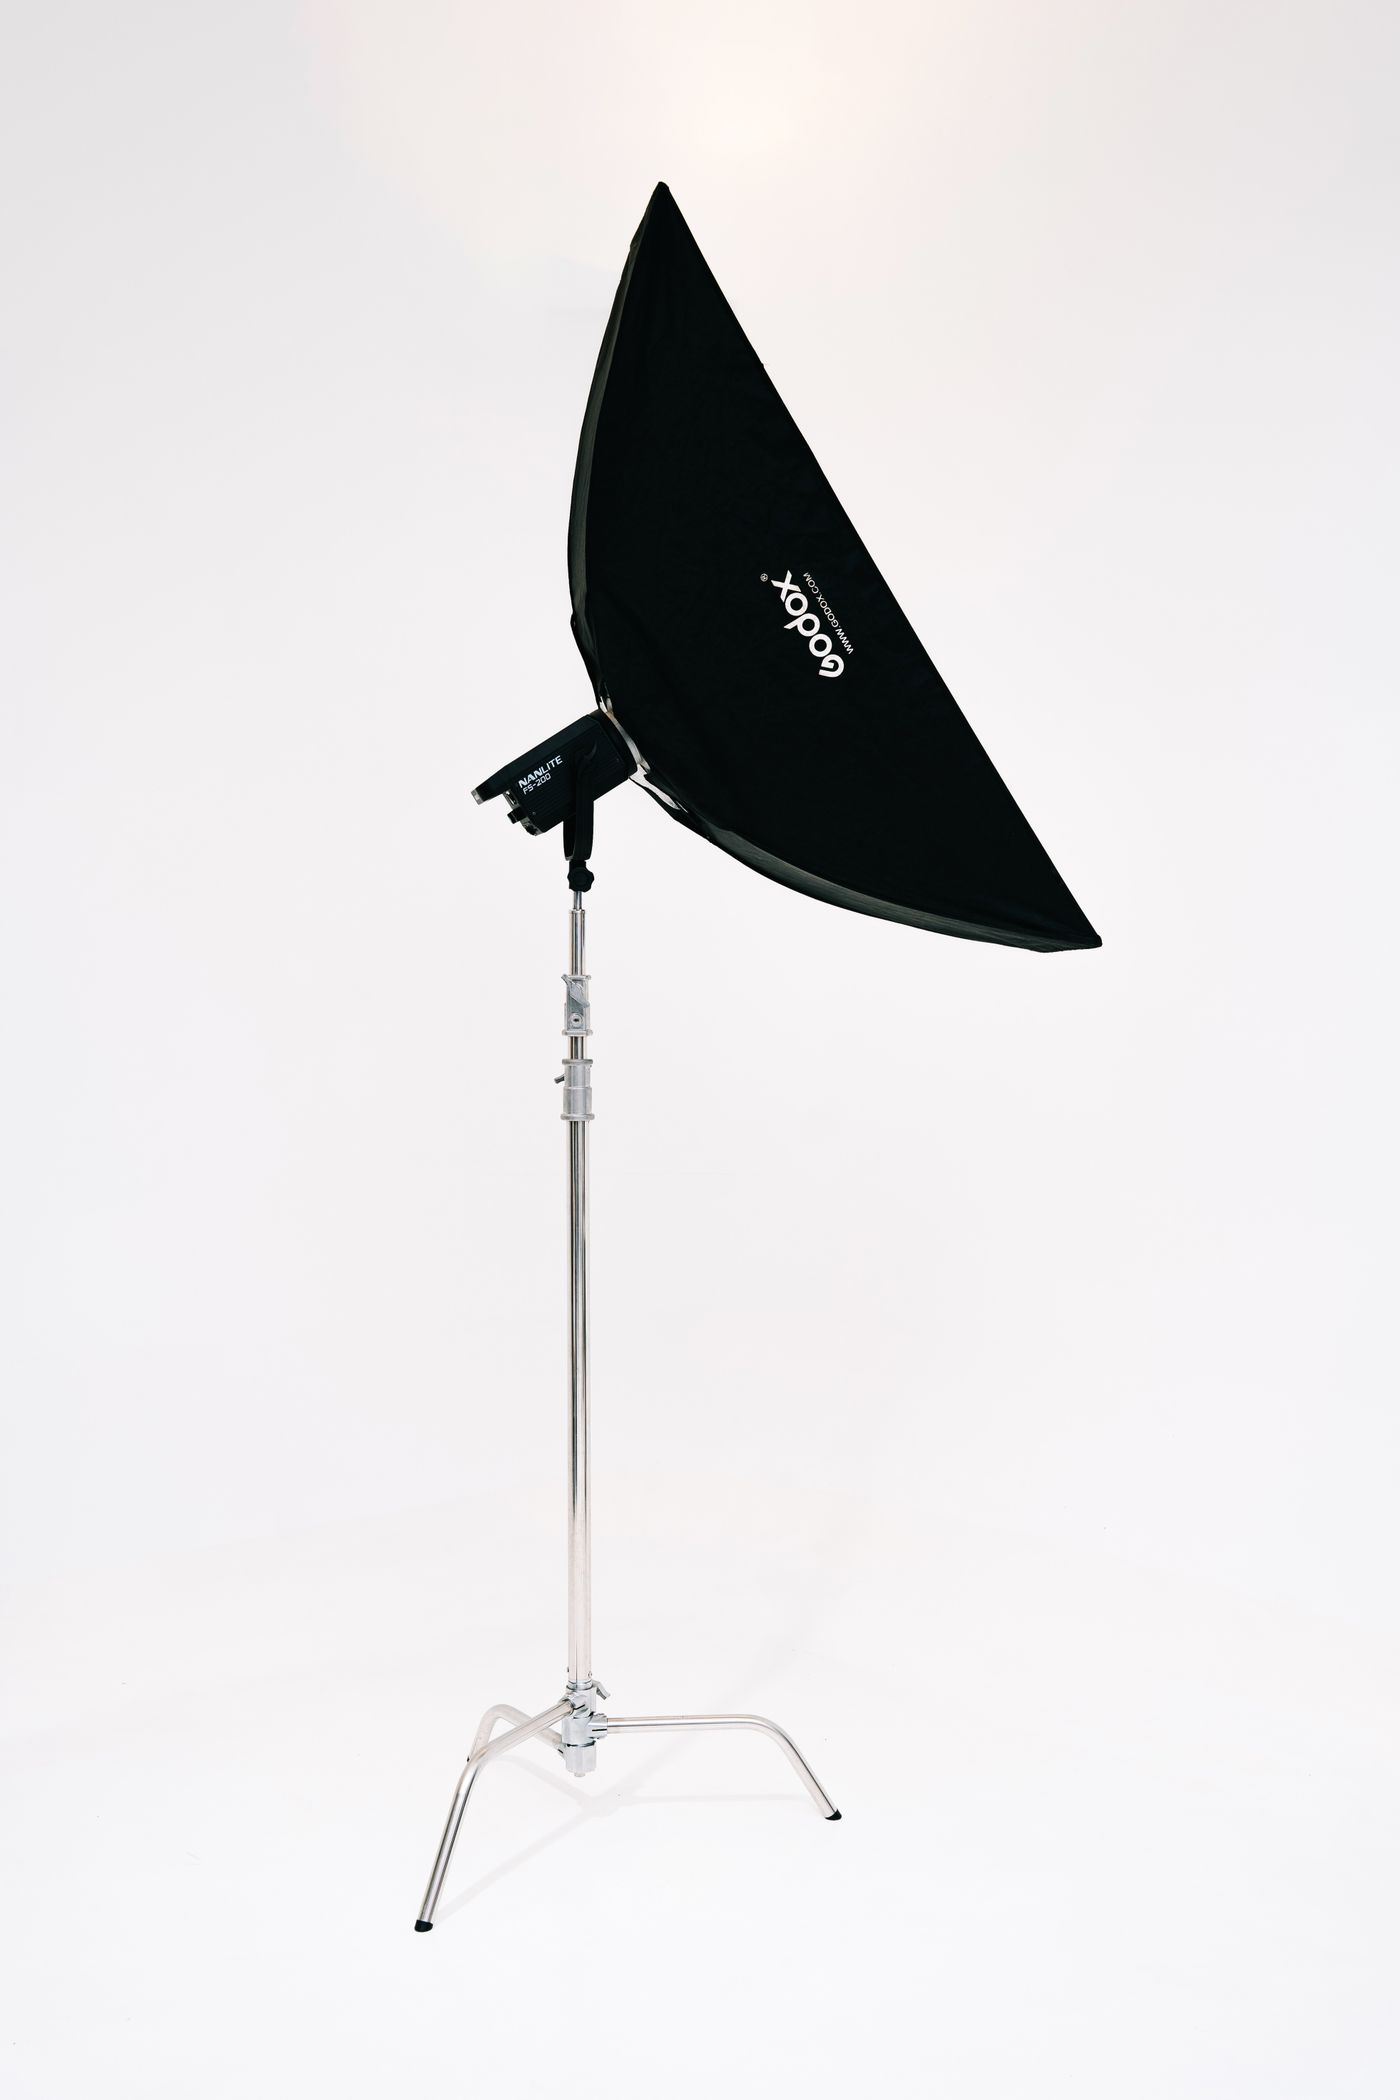
Open shade does the same job for free: an open doorway, a canopy, a wall the sun never hits. Broad, directionless light has no hot source to bounce back. With one window, stand the garment side-on to it rather than square.
Expose for the fluoro panel, not the garment
Meter for the brightest thing in frame, not the average. On a phone, tap the fluoro panel and drag the exposure slider down until the yellow shows weave and stitching — a featureless block is clipped, and nothing later brings it back. On a camera, spot meter off the panel, add about one stop of exposure compensation so it renders bright rather than mid-grey, then push it further only if the blinking highlight warning stays silent. Judge by that warning, not by the screen.
The navy or charcoal body panels will now look darker than feels right. That is correct: the cutout only needs a defined boundary, and dark fabric separates cleanly once the image sits on a light background. If you shoot raw, export a JPEG from your own software first — remover.bg takes PNG, JPEG and WebP up to 10 MB.
Hang it so the silhouette still reads as a garment
A jacket laid flat photographs as a rectangle, and a rectangle with two white bars across it tells a buyer nothing. Hang it on a hanger or a mannequin, pull both sleeves forward and slightly out so the shoulder line and armhole read in outline, and pad the shoulders so the collar stands. Zip every garment to the same height and steam the creases out first: a fold across a fluoro panel reads as a shadow band.
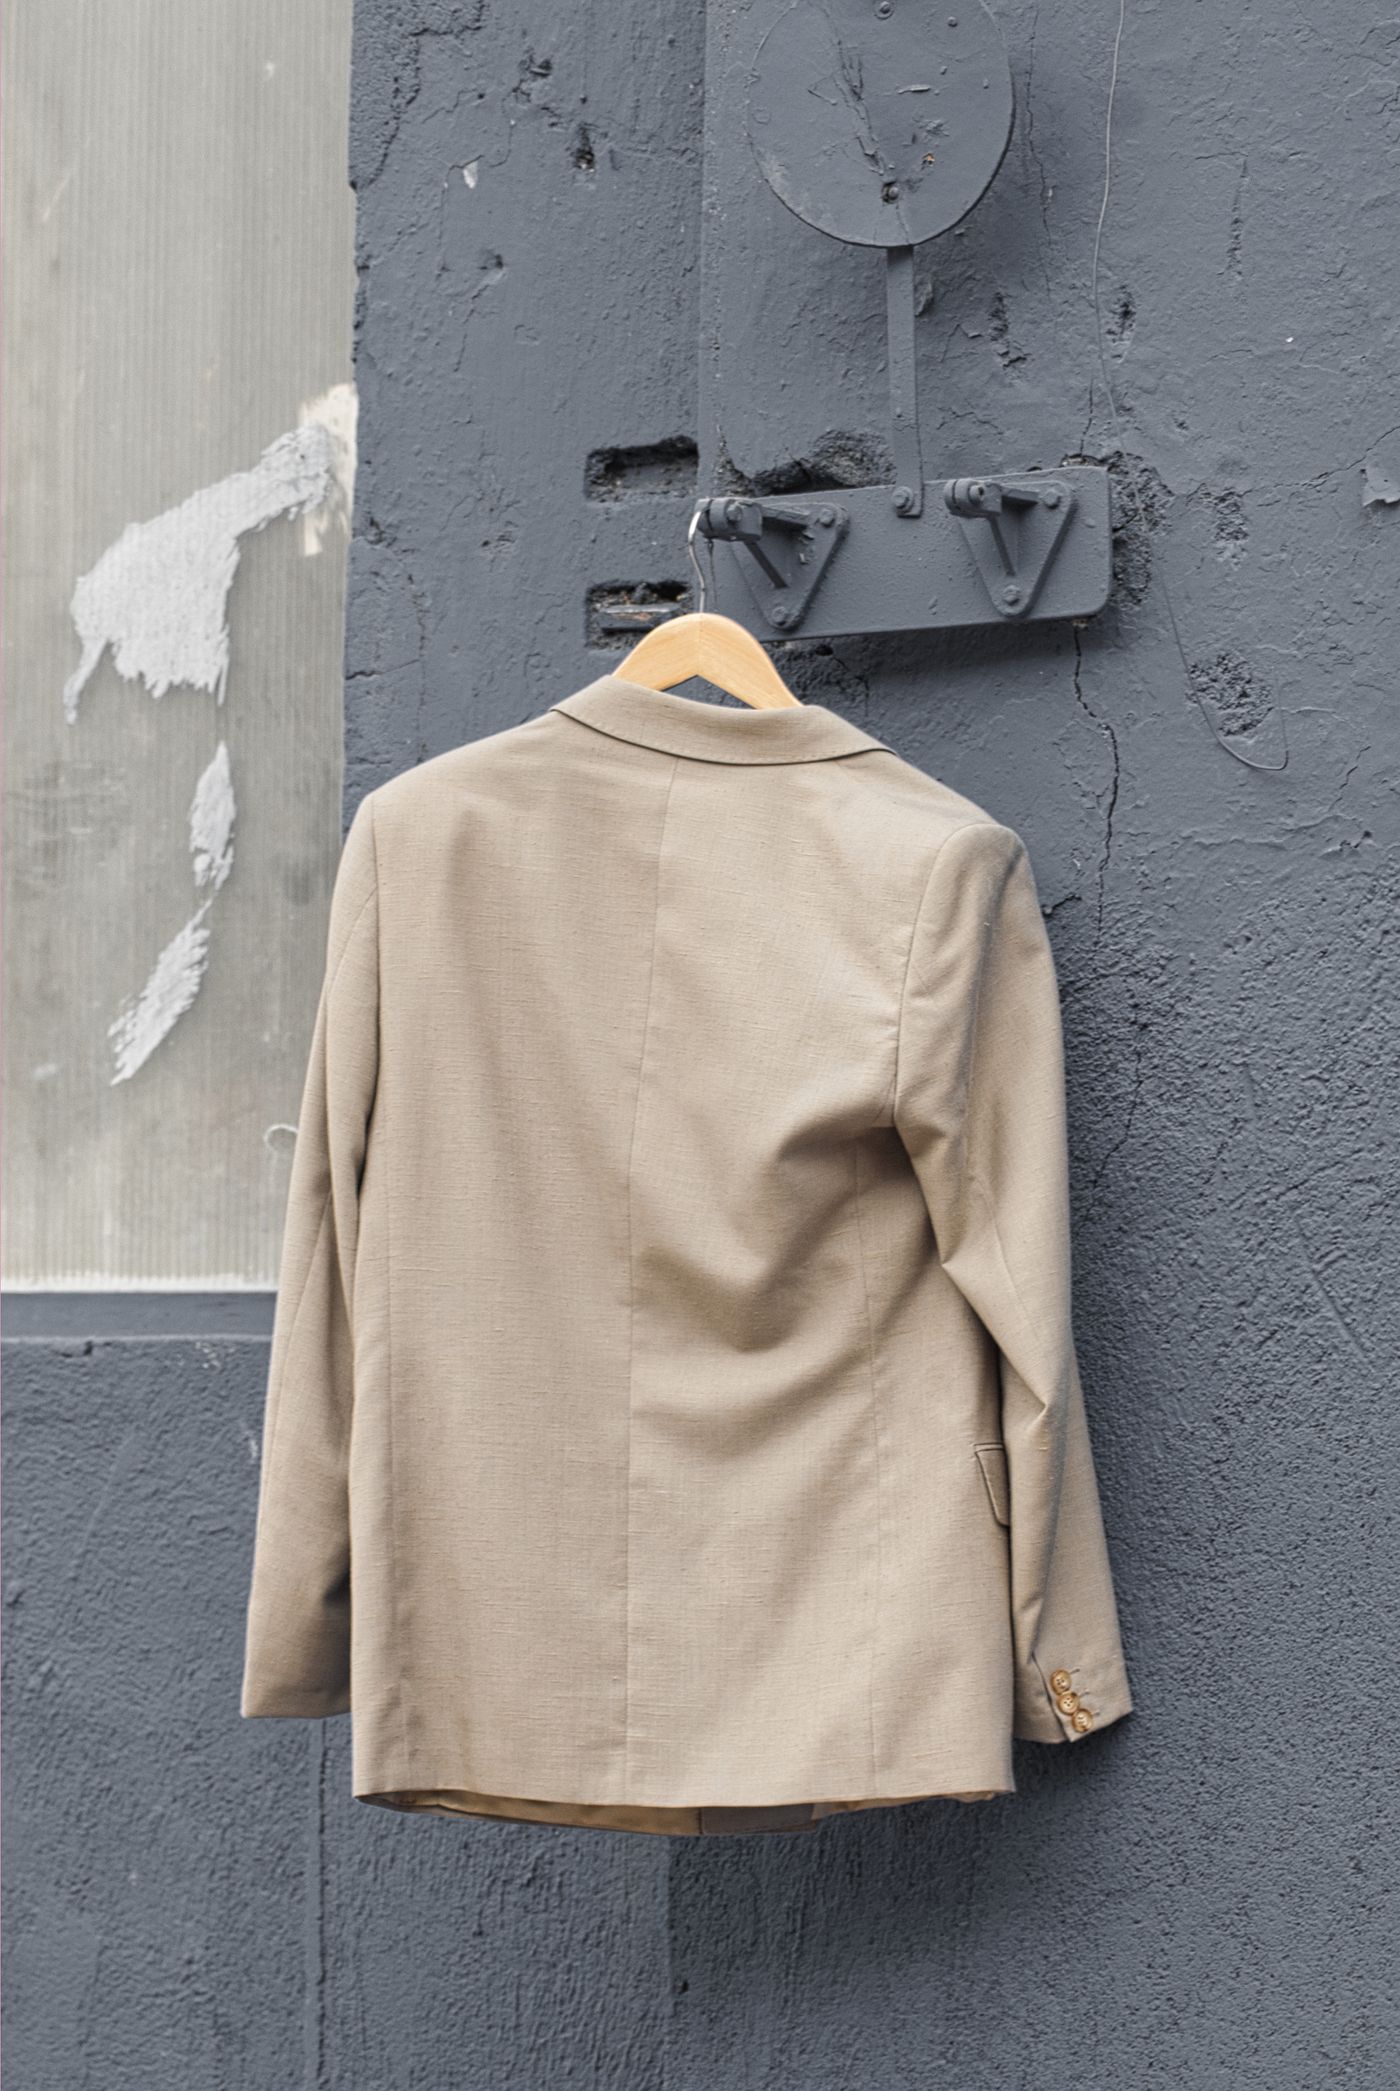
Decide once whether the hanger stays in the picture. To lose it, hang the garment from a slim hook directly behind the collar on the camera axis so the garment itself hides it. There is no object-removal step afterwards: what is visible at capture stays visible.
Give the edge something to sit against
Fluoro yellow against a white wall is a low-contrast pairing, and if the edge is even slightly blown the two merge. A mid-grey backdrop separates both fluoro yellow and fluoro orange, and stops a warm beige wall tinting orange garments. Leave an arm's length between garment and wall so the cast shadow falls out of frame instead of pooling against the outline. Reflective surfaces fight the cutout for the same reason, and the jewellery shooting notes go deeper on them.
Make a mixed range look like one line
Most workwear catalogues are a jumble: fluoro vests, orange bib trousers, navy softshells, branded polos. Cut each one out, place it on the same background colour, and add a drop shadow the same way, so the whole range reads as one treatment. On a range page the eye reads consistency before it reads product. A genuinely transparent PNG is the flexible master — drop it onto grey for the catalogue and a brand colour for a flyer without reshooting. The case for choosing backgrounds deliberately holds for trade catalogues too.
Embroidery and branding shops get a second win: shoot the same blank with each logo placement under one setup, and every sample shows the decoration rather than your workshop. For hundreds of SKUs the background removal API handles the volume — there is no bulk-upload screen in the app, so scripting is the route for a full catalogue push.
Before you shoot the whole range
Shoot one jacket and zoom right in on the tape. If the band reads as grey-silver with the stitch line and the weave underneath still visible, the lighting is right and every other garment will behave.
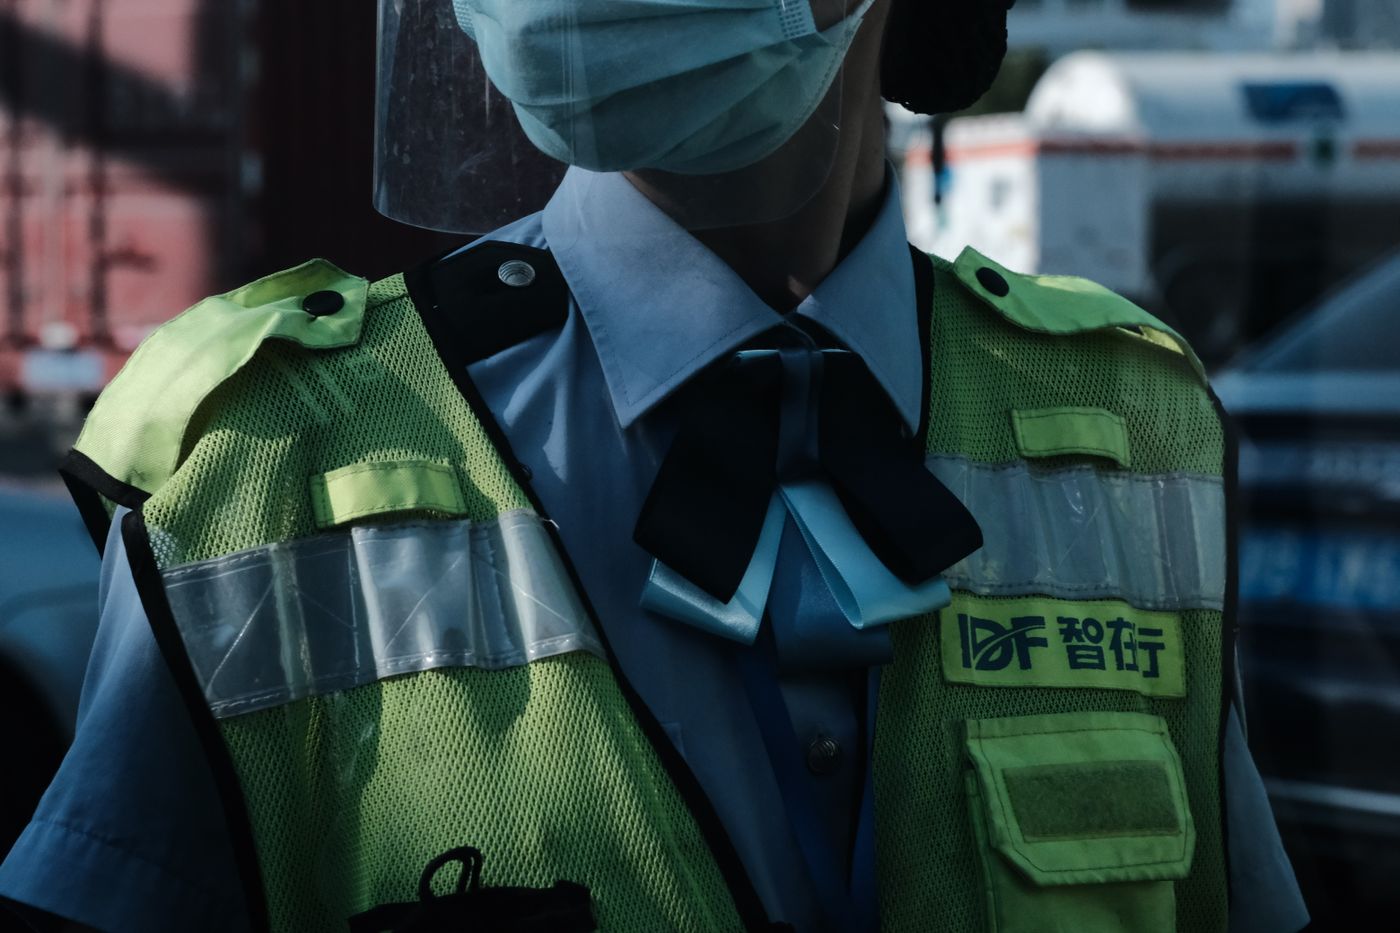
If it is still a white bar, move the light further off-axis and drop the exposure again — before you burn an afternoon on a hundred garments you have to redo.