English
 Español
 Português (BR)
 Deutsch
 Français
 Italiano
 Türkçe
 Bahasa Indonesia
 Русский
 日本語
日本語 한국어
한국어 Українська
 Tiếng Việt
 Polski
 Nederlands
 ไทย
ไทย Română
 简体中文
简体中文 繁體中文
繁體中文 العربية
 Български
 Filipino
 हिन्दी
 اردو
اردو বাংলা
বাংলাHow to Photograph Black Products for Clean Cutouts
Black products cut out badly because the edge never made it into the file. Three fixes: a light grey backdrop, rim light on the contour, and exposure off zero.
- product photography
- background removal
- lighting
- black products
- ecommerce photos
- cutouts
- exposure
- studio setup
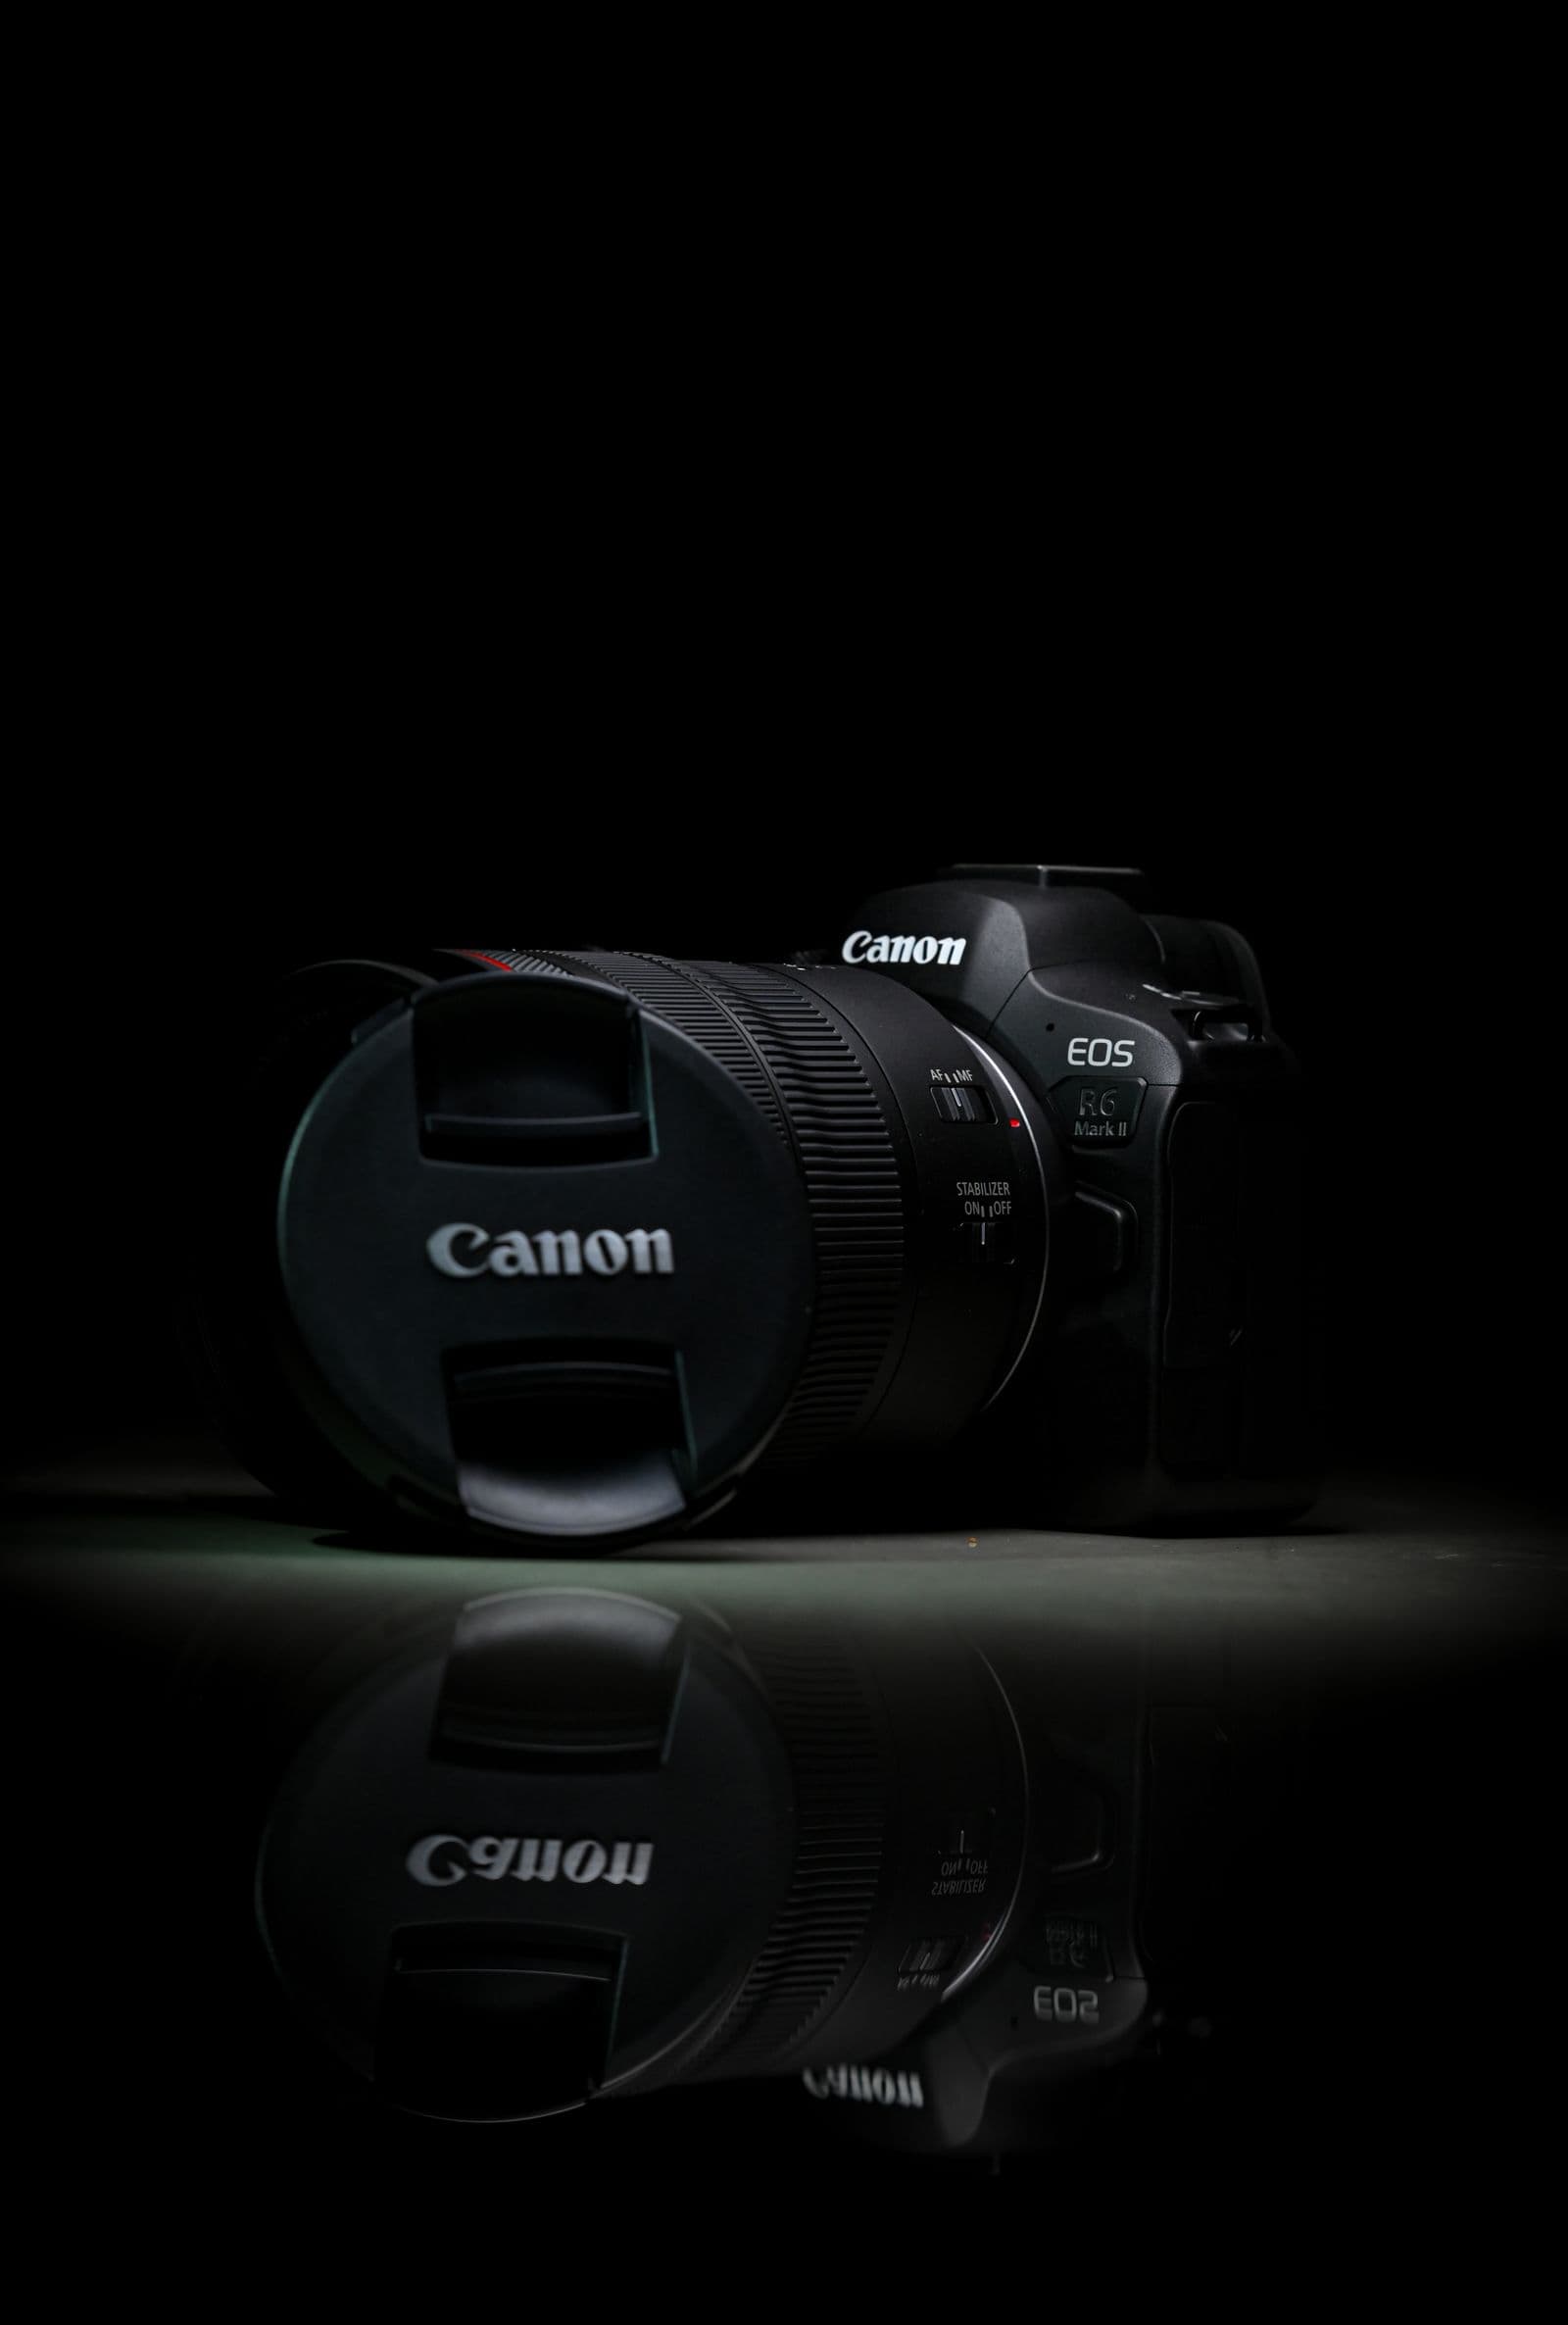
A matte black speaker on a dark grey table is the photograph that breaks background removal. Not because the software is weak, but because the picture contains no edge. Where the product stops and the table starts, the pixel values sit within a few points of each other — zoom in and you cannot find the boundary either.
Plenty of photo problems are worth arguing about after the shoot. This one is settled at capture. If the edge is not in the file, nothing downstream can invent it, and you get back rounded-off corners, a missing handle, or a cable that dissolves halfway along. Black electronics, cookware, hardware and apparel fail the same way.
Black products are not hard to photograph, only unforgiving. Three changes at capture — the backdrop, one light aimed at the edge, and the exposure — stop the next batch producing shots you throw away.
Shoot on light grey, not white
Instinct says white sweep. White is where you end up for a marketplace listing, but it is a poor surface to capture on when the subject is black: to render as white it has to be lit hot, and that light spills forward and wraps around the product. An edge that looked crisp to your eye arrives in the file as a soft grey smear.

A mid or light grey surface — a vinyl roll, a grey card, a plainly painted wall — sits far enough in value from black to give a hard tonal step at every edge, and needs no blasting with light to look like itself.
Grey is only the capture background. Cut the product out in remover.bg, then drop it onto white, a brand colour, or your own photo. Amazon wants a pure white background behind the main listing image, and that white is set after the cut, not chased in the room — as with the rest of the main-image rules.
Put a light behind the product, not just in front
A single front light gives you a dark shape lit dark. You want a bright line tracing the outline. Place a light behind and to the side, aimed back towards the product, so it skims the edge and draws a rim; one on each side catches both contours. No strobes? Put a desk lamp low and behind the product on each side, angled back towards it, so the beam grazes the contour instead of flooding the backdrop.
Flag the rim lights with black card so nothing shines into the lens. Then run the only test that matters: on the camera's screen, trace the outline with your finger. Any segment where you lose the line is where the cutout is most likely to go wrong. Fix it now.
Expose up, then read the histogram
On a light grey backdrop the meter sees mostly bright surface, decides the scene is too bright, and pulls exposure down. Your product collapses into a featureless hole. If the backdrop is lighter than mid grey, dial in positive exposure compensation — two-thirds of a stop is a sensible start — then verify. On a true mid grey the meter is already close.
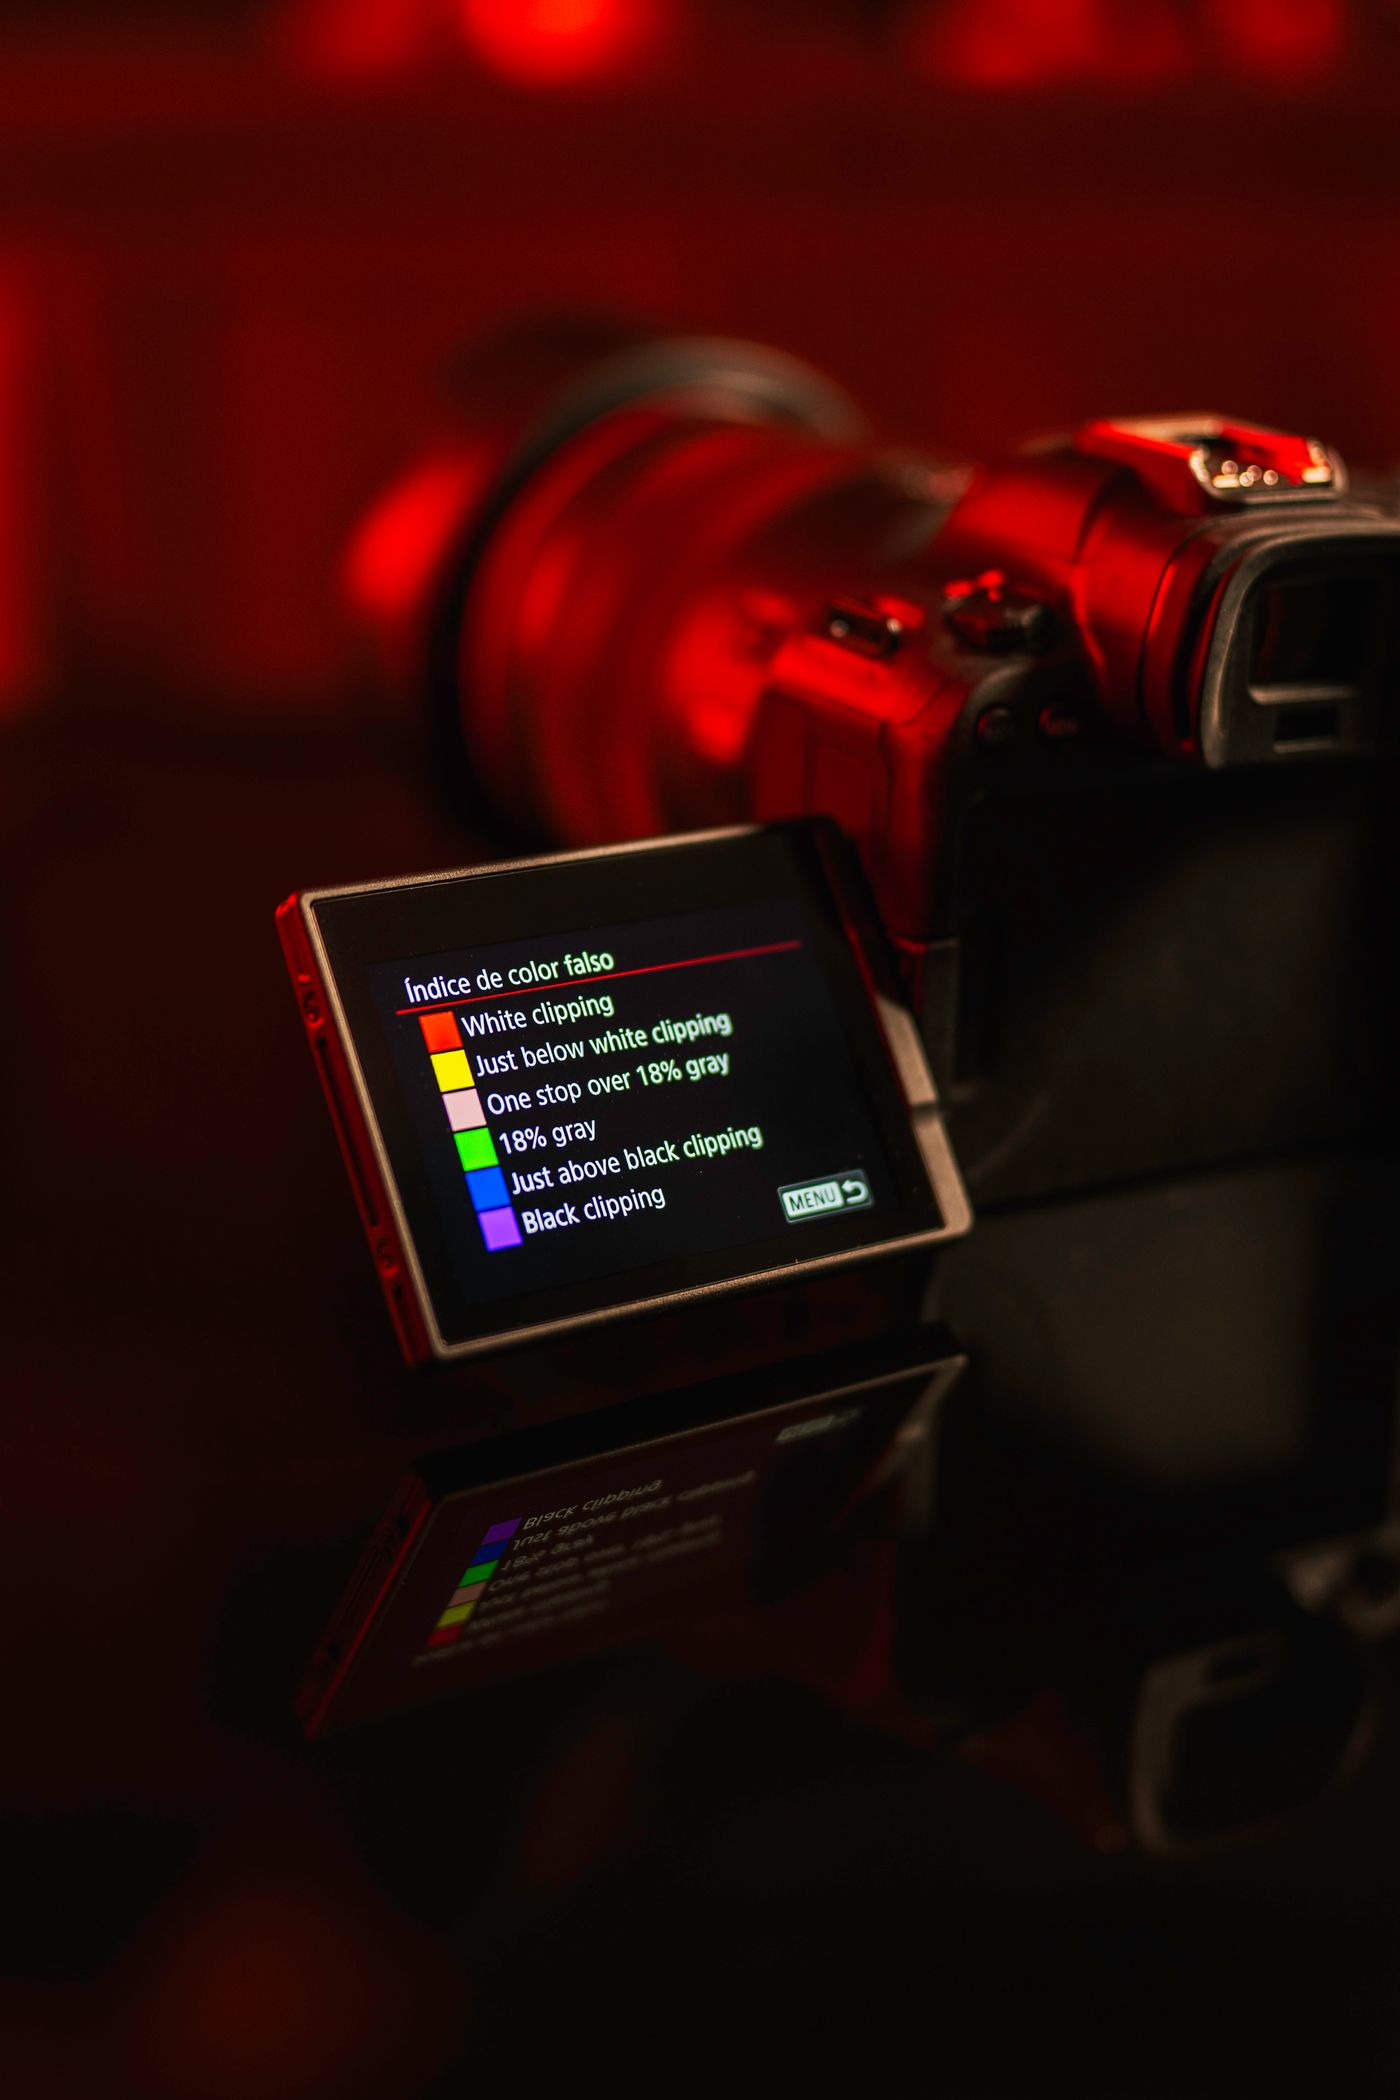
On the histogram, the mass at the left should start slightly clear of the wall. If shadows stack against zero, tonal information at the product's edge is clipped and nothing brings it back. Aim for the product's darkest area to sit as very dark grey; it still reads as black on white. On a phone, tap the backdrop rather than the product to set the metering point, then nudge the exposure slider up until the product's shadows lift clear of pure black.
Matte and gloss want opposite light
The finishes fail in opposite directions:
- Matte black absorbs almost everything and offers no useful specular highlight. Edge contrast is your only separation: hard directional rim light, background clearly lighter than the product.
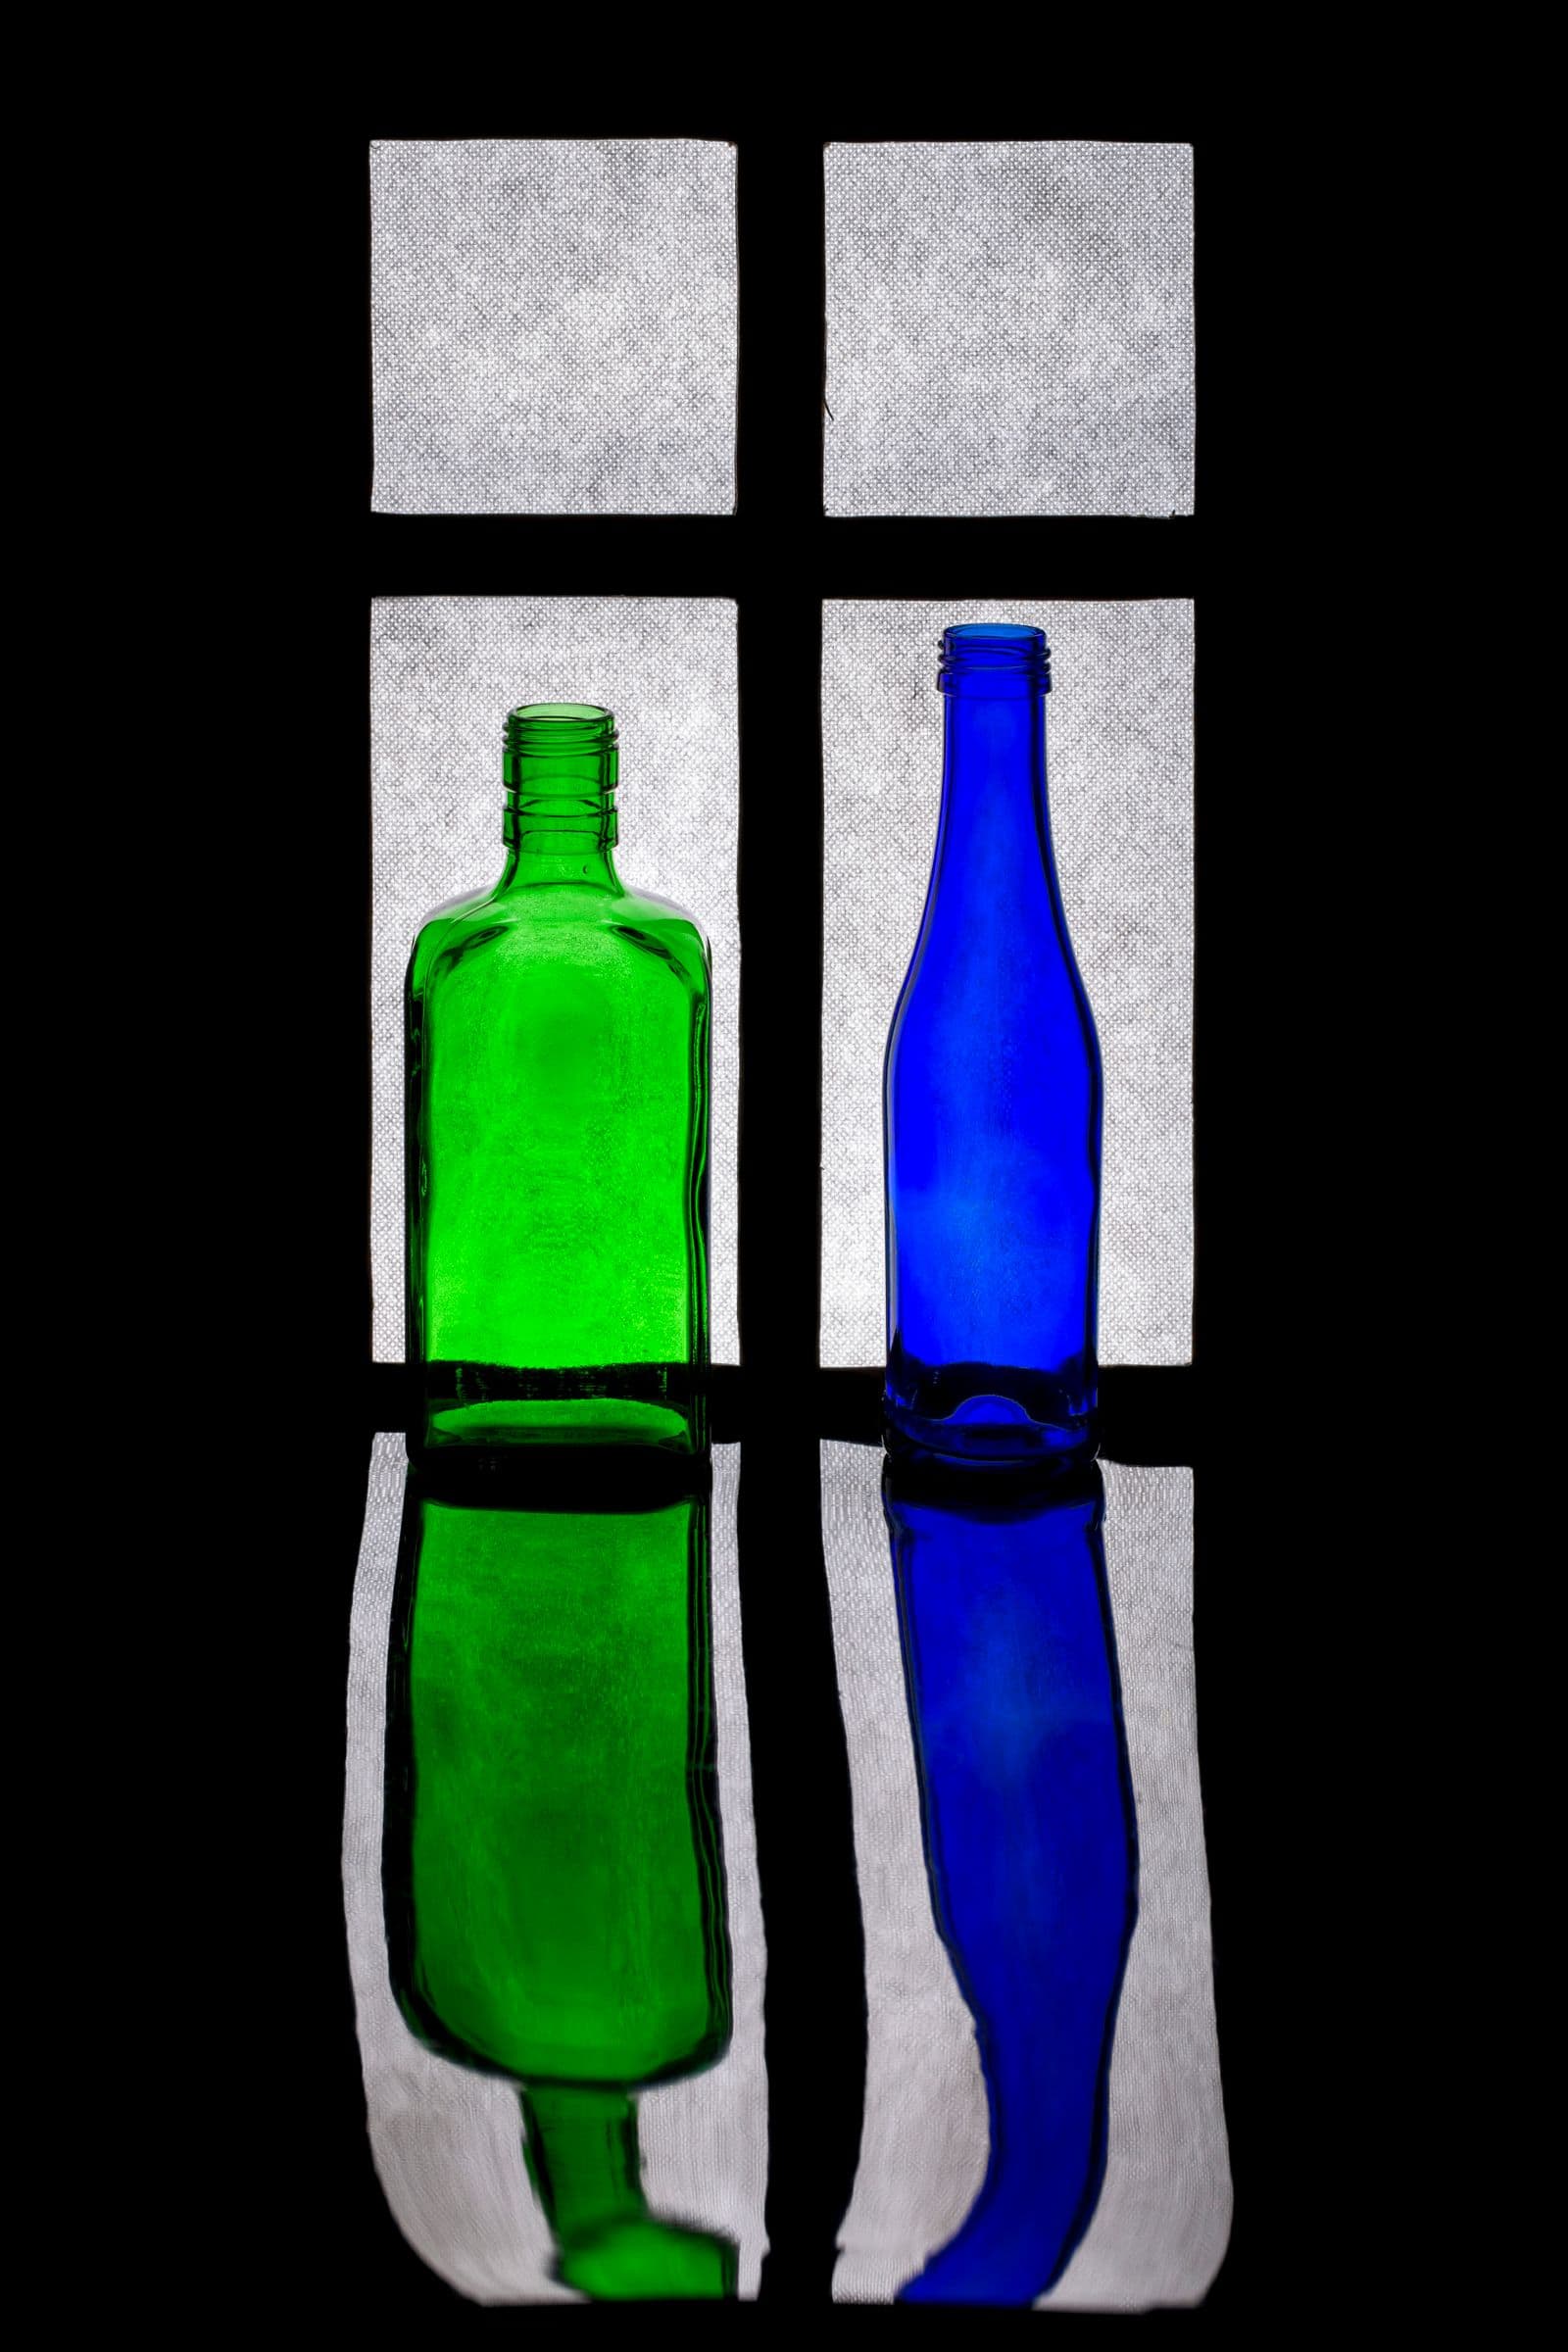
- Gloss and piano black reflect the whole room, including you. One large soft source overhead — a big softbox, or a window behind a sheer curtain — puts a single clean bright band on the surface instead of a map of your ceiling, usually along the top edge.
Gloss black is the same problem as shooting small shiny products: control what the surface may reflect and the highlight becomes an edge cue, not a mess.
Check the cutout on a colour that fights back
Never judge a black cutout on white. A missing corner is white against white: it looks flawless while a chunk of the product is gone.

Put it on a saturated mid colour instead — magenta, strong orange, mid blue. Every swallowed corner, chewed cable and missing tripod foot shows up as a coloured notch, so scan the thin parts first: straps, feet, antennae, handles. Once it passes, set the real background and add a realistic drop shadow, because a black cutout dropped onto white floats like a sticker. Getting that shadow to look physical stops it reading as a paste-up.
Lock the setup and stop re-solving it
Once you have a grey backdrop, a rim light either side and an exposure that keeps shadows off zero, tape the floor and stands. The next black kettle, holdall and pair of boots go through the same positions, so they cut cleanly and match on the listing page. Tape is cheaper than re-solving the same lighting problem every Tuesday.