English
 Español
 Português (BR)
 Deutsch
 Français
 Italiano
 Türkçe
 Bahasa Indonesia
 Русский
 日本語
日本語 한국어
한국어 Українська
 Tiếng Việt
 Polski
 Nederlands
 ไทย
ไทย Română
 简体中文
简体中文 繁體中文
繁體中文 العربية
 Български
 Filipino
 हिन्दी
 اردو
اردو বাংলা
বাংলাHow to Photograph Translucent Products for Clean Cutouts
Backlit resin, soap and candles glow beautifully and cut out badly. Where to put the light so the glow stays in the object, plus the source that holds the edge.
- product photography
- translucent products
- backlighting
- background removal
- handmade
- resin
- candles
- soap
- glass
- etsy sellers
A resin pendant with gold leaf inside it. A glycerine soap the colour of sea glass. A beeswax pillar that goes amber the moment light hits it. What you are selling is not the shape — it is what light does on the way through the material. Photograph it flat-on with a lamp over your shoulder and the pendant is a plastic lump, the soap is chalk, the candle is a tube.
So you put a light behind it, and the piece comes alive. Then you upload it, the background comes off, and the outline is soft, chewed or fringed. That is not bad luck. A glowing rim against a bright field is one of the hardest cases for any cutout: the object's edge and the backdrop sit at almost the same brightness, so there is nothing to key on.
The fix is not less backlight. It is backlight placed so the light travels through the object rather than past it, plus one small source doing nothing except holding the contour. Get that right in camera and the glow survives the cutout, baked into the object's own pixels.
The glow has to come from the object, not the backdrop
If your light source is a big bright surface directly behind the piece, most of what the camera records is that surface seen through a thin coloured filter. The object photographs pale and low in contrast, and once the backdrop is removed you are left with a chalky shape and a white fringe. The glow left with the background because it was the background.
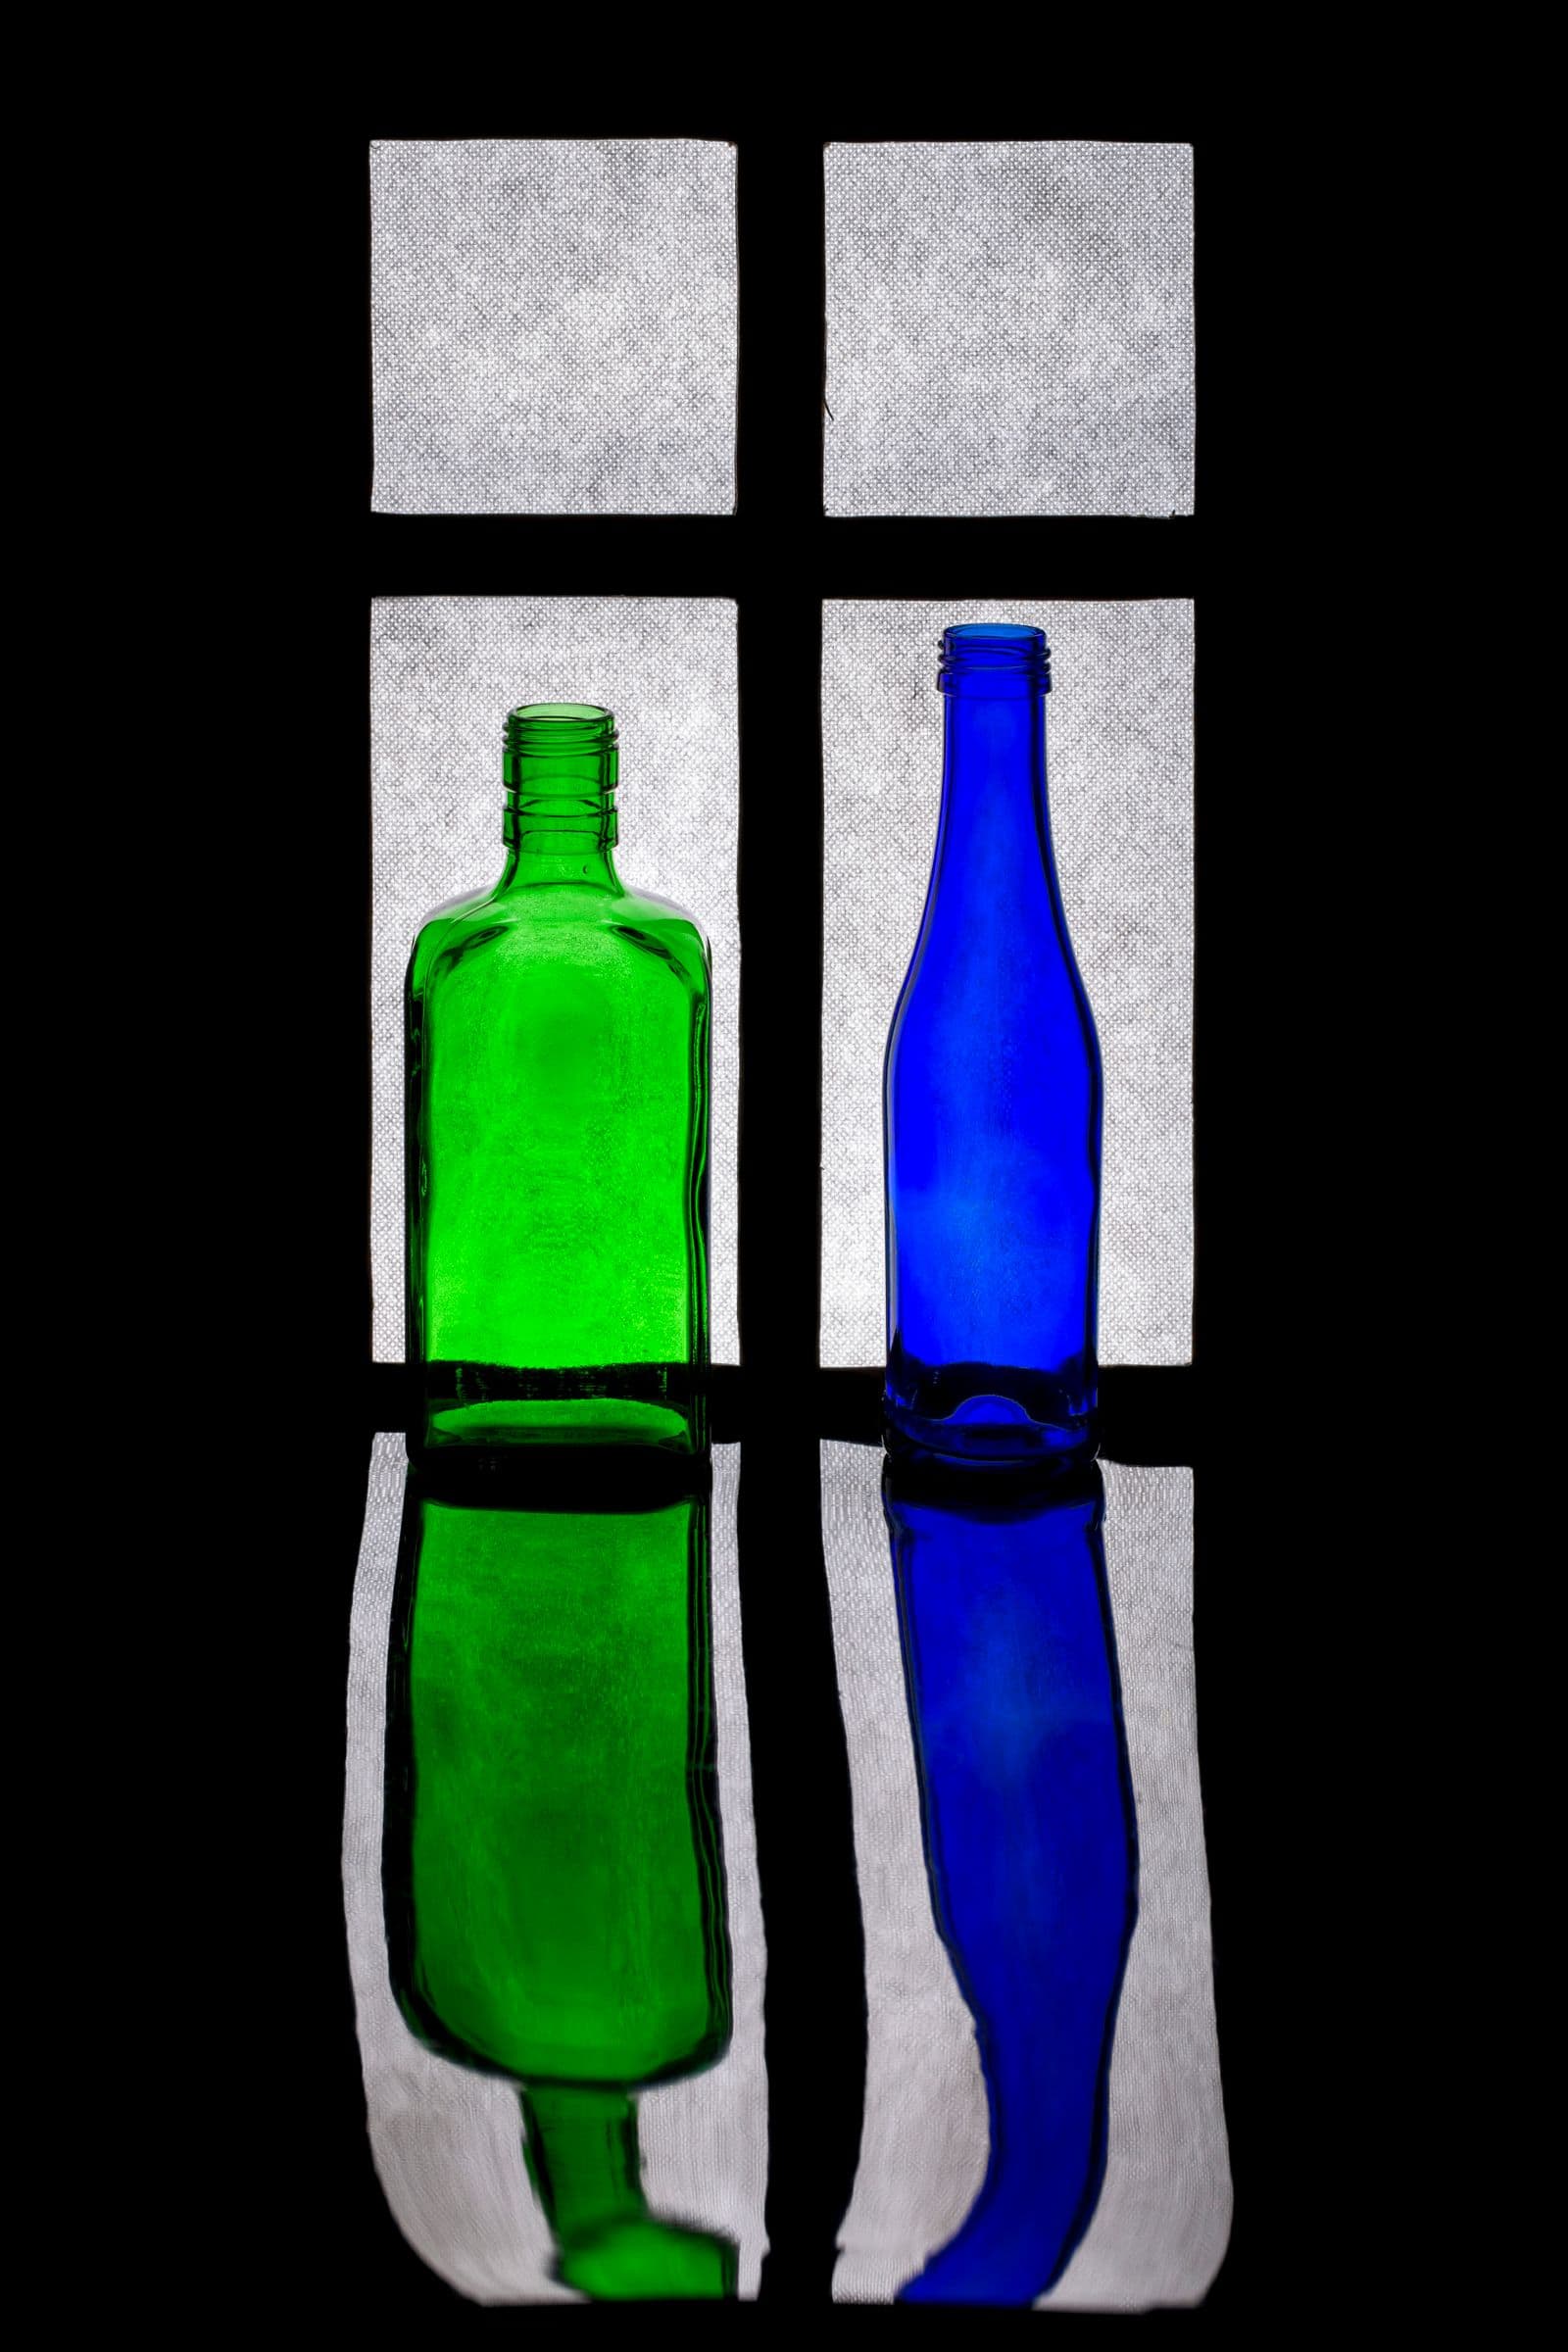
Now move that light behind and off to one side — roughly 120 to 150 degrees round from the camera axis, behind the piece but never straight behind it. Light enters the material, scatters inside it and comes back out. Colour deepens where the piece is thickest. Bubbles, glitter, dried flowers and pour lines light up individually instead of dissolving into a flat wash. That colour belongs to the object, so it stays.
A window and a sheet of tracing paper do this for nothing: rotate the piece until the material looks lit from inside without the near face going black.
Keep one small source on the camera side
An off-axis backlight alone will still silhouette the near face. Add a weak front or side source — a desk lamp bounced off white card, a phone torch behind baking paper — at much lower power. You are not lighting the product with it; you are drawing a faint line along the near contour so the outline reads as an edge.
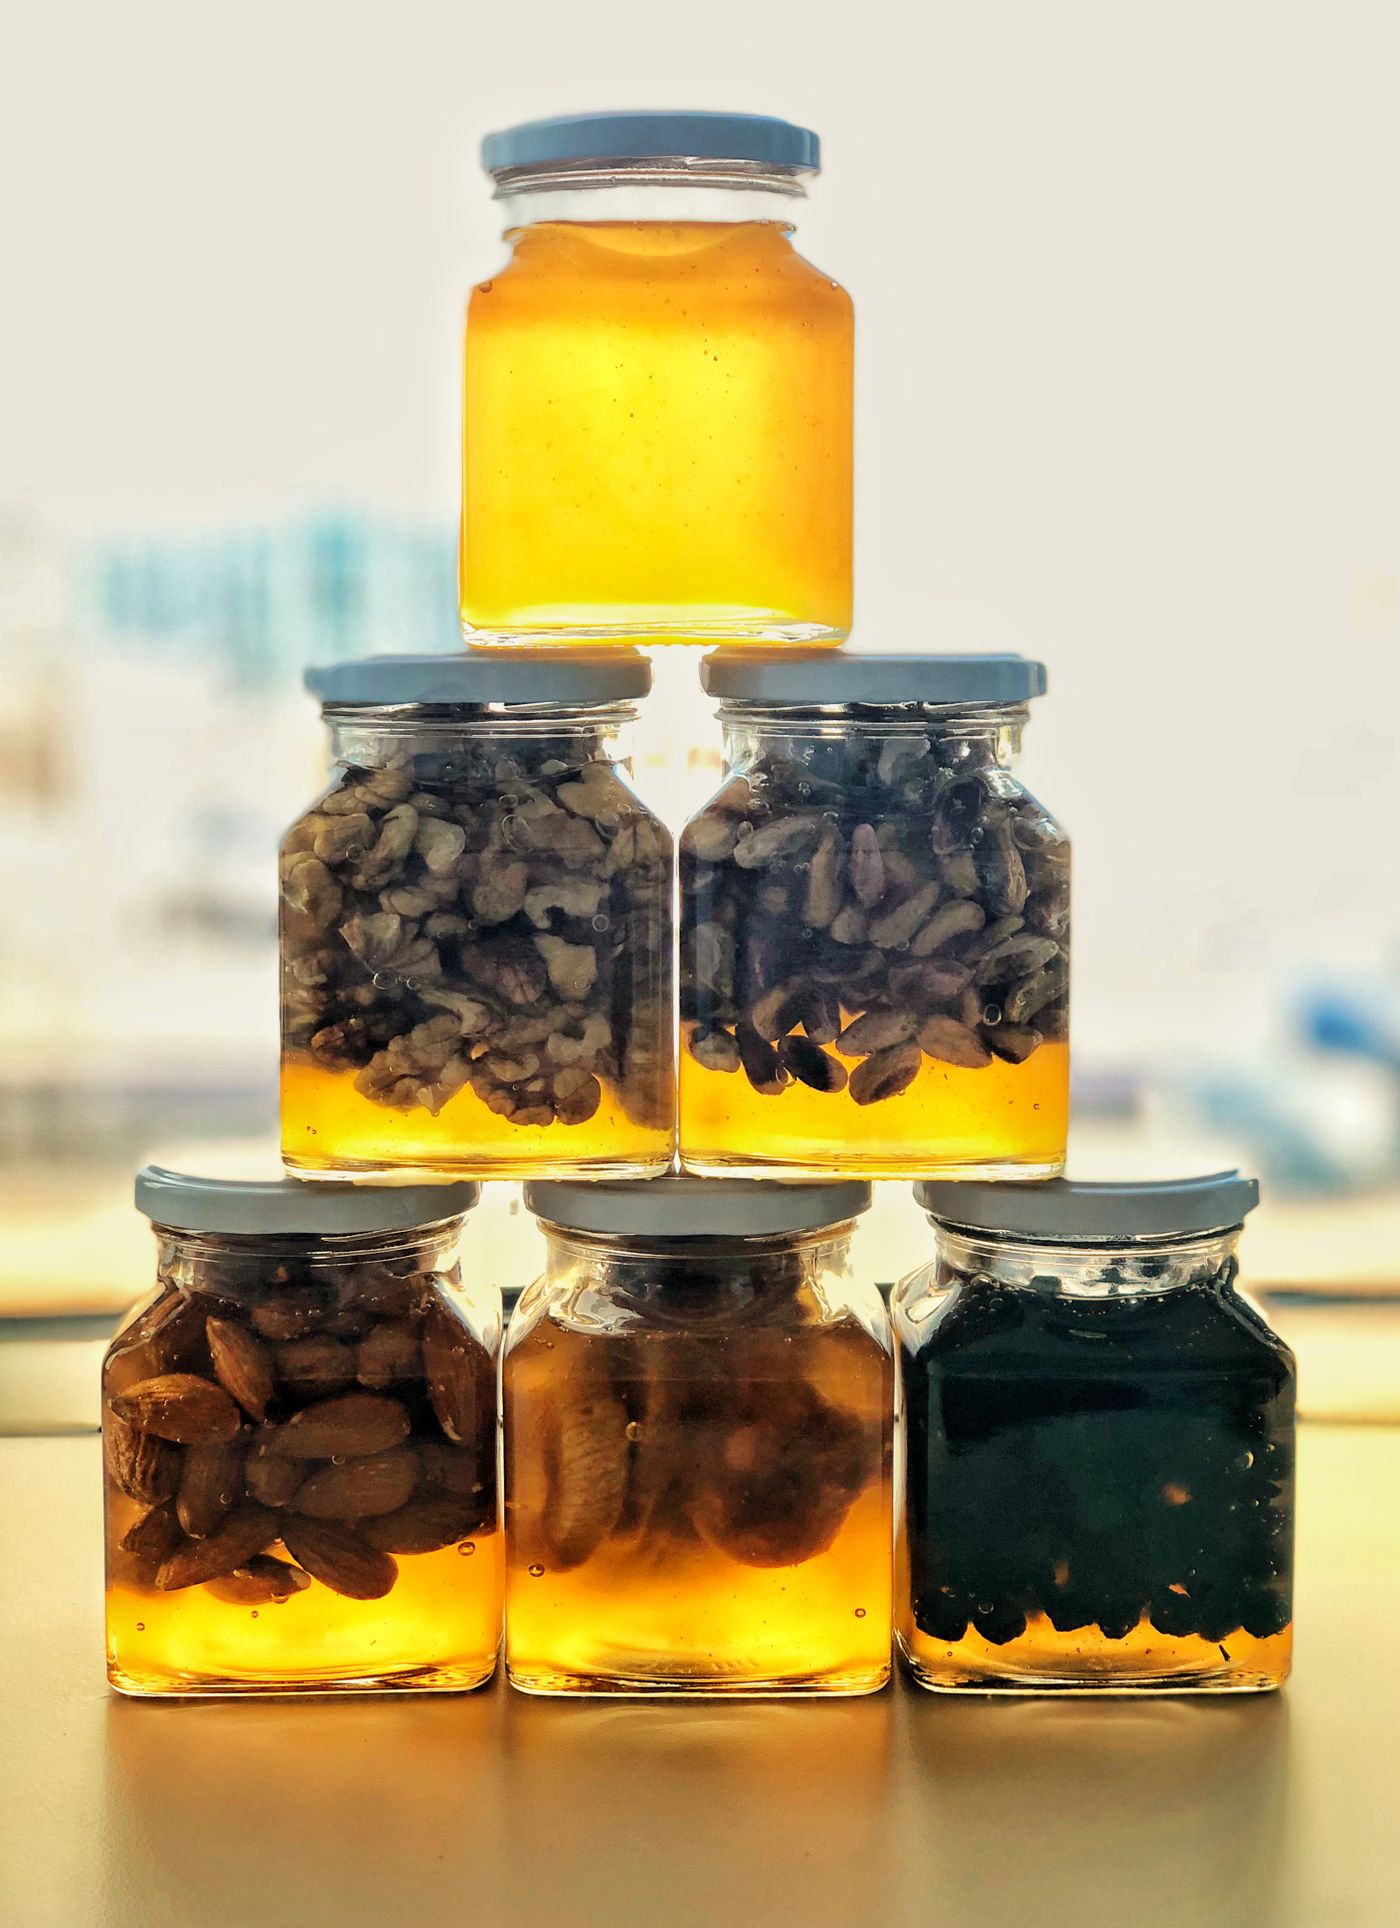
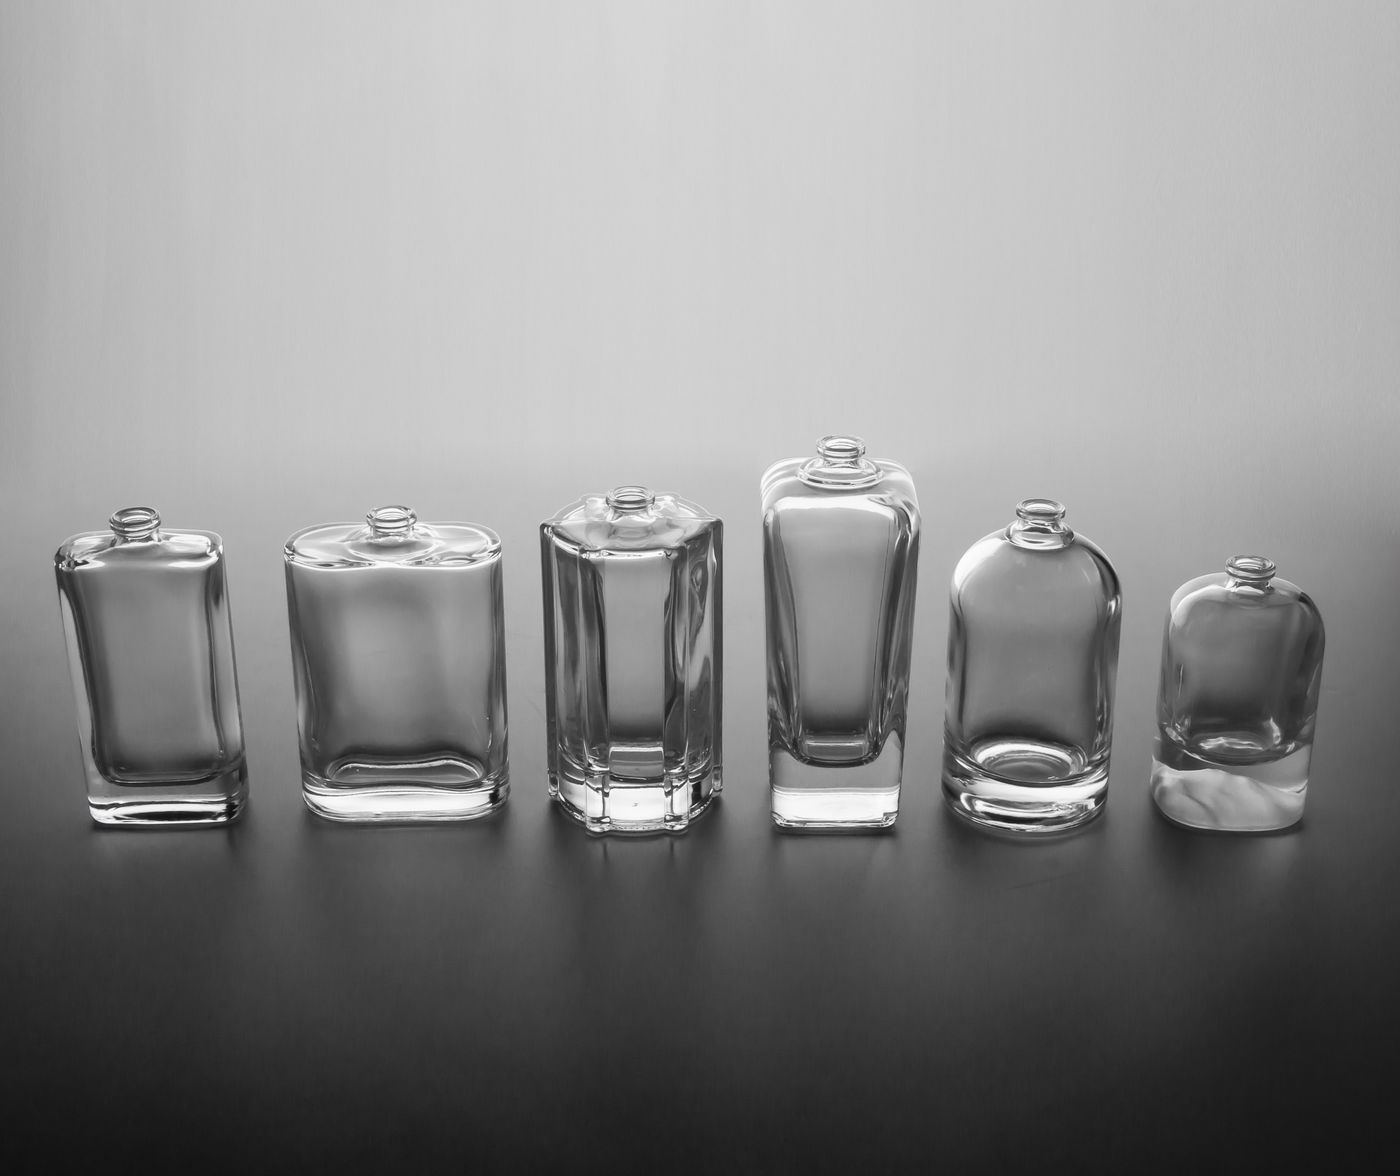
Then do the opposite on the other side: stand black card just outside the frame, close to the object. It darkens the rim there, giving a second visible boundary. Between a soft front line and a dark reflected edge, even a heavily backlit candle keeps a traceable silhouette. Jars of honey, perfume and bath oil want the same card, for the reason small shiny products need controlled reflections.
Use a mid-tone backdrop, never a bright one
Makers reach for white by reflex, and white is exactly wrong: a bright backdrop competes with a glowing edge and wins. Mid grey sits below the transmitted light in brightness, so the piece separates cleanly, and it is neutral enough not to tint the rim of a pale soap.
Mid grey also stops you fighting your own set later. Shoot once, cut it out, then swap in whatever the listing needs: in remover.bg you drop the piece onto a solid colour, a custom colour picked to match your brand, or a photo of your own, and add a drop shadow so it sits on a surface rather than floating.
Item-by-item notes
The last adjustment depends on the material.
- Cast resin: shoot slightly off perpendicular, through the thickest part of the pour. Inclusions read best when the backlight rakes across them rather than passing straight through.
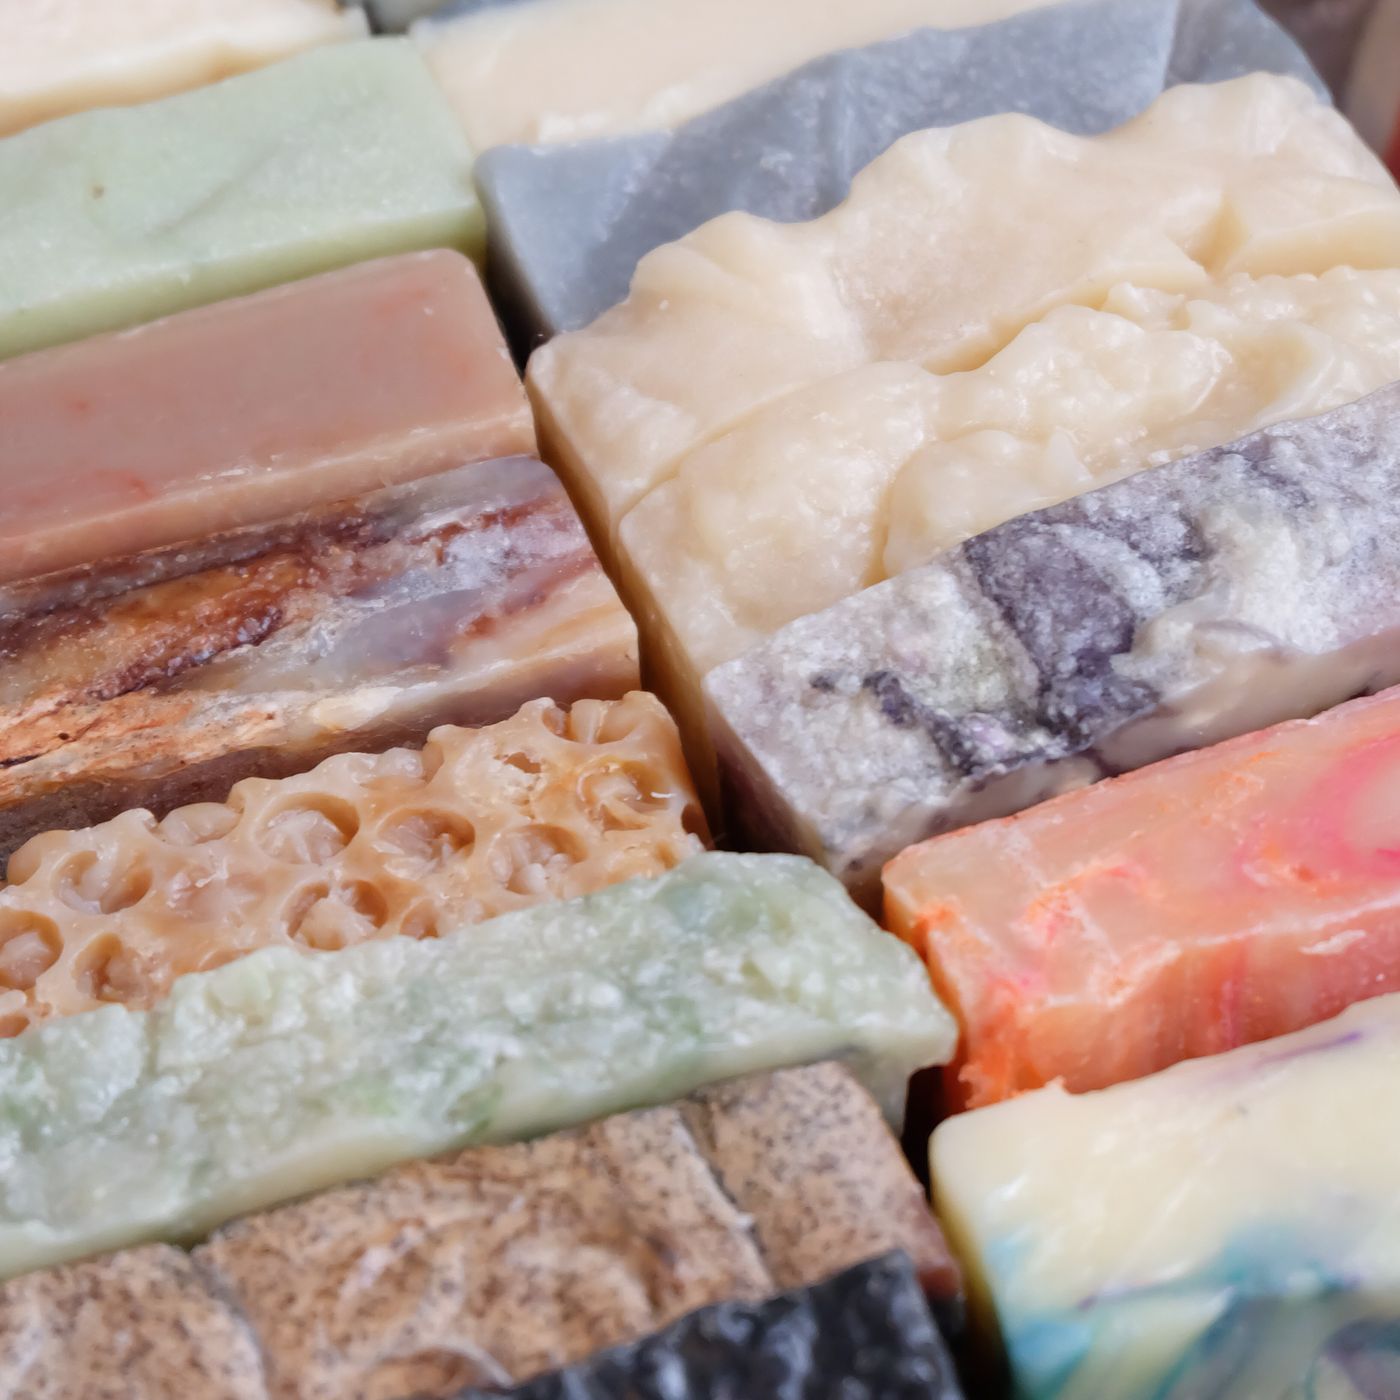
- Soap: dry, dust-free, handled with a cloth. Fingerprints and soda ash show far more under backlight than under flat light.
- Candles: photograph unlit — a lit wick blows out and buyers are judging the wax colour. Shoot lit frames separately, and never leave one burning unattended.
- Liquids in glass: fill the jar properly. A half-full jar backlights as two different products stacked together.
Before you upload
Zoom to the thinnest, brightest part of the outline at full size. If you cannot see where the object stops, neither will the cutout — move the backlight further round and shoot again. Save the file as PNG, JPEG or WebP; if your phone shoots HEIC by default, switch the camera's file format to JPEG in its own settings first, and keep each file under the 25 MB upload cap.
Then place the finished cutout on something dark. Translucency reads strongest against a deep colour, so a charcoal or ink-blue product page often suits candle and resin ranges better than the default white. A matching soft drop shadow stops that dark background looking like a hole. The same set of cutouts serves your listing photos too: size and crop them to the marketplace's framing in your phone's photo editor, no reshoot needed.
The short version
Backlight off-axis, one weak front source, black card opposite, mid-grey backdrop. Set that corner up once on a kitchen table and it shoots every piece you make with an outline the cutout can follow.