English
 Español
 Português (BR)
 Deutsch
 Français
 Italiano
 Türkçe
 Bahasa Indonesia
 Русский
 日本語
日本語 한국어
한국어 Українська
 Tiếng Việt
 Polski
 Nederlands
 ไทย
ไทย Română
 简体中文
简体中文 繁體中文
繁體中文 العربية
 Български
 Filipino
 हिन्दी
 اردو
اردو বাংলা
বাংলাChoosing an Aperture for Clean Product Cutouts
A smeared cutout means the rear edge fell outside the depth of field. Working apertures by sensor format, where diffraction cancels the gain, and phone fixes.
- aperture
- depth of field
- product photography
- cutouts
- background removal
- camera settings
- diffraction
- phone photography

You open the lens to f/2, the backdrop melts into cream, and the product looks like it belongs in a magazine. Then you cut it out and the back corner has gone to mush — a grey smear where a hard edge should be.
That is not the background remover having a bad day. It is the photograph not containing an edge to find. A cutout is a per-pixel transparency decision: fully product, fully background, or somewhere in between. Where the lens drew a hard transition — dark object, light sweep, two or three pixels between them — the result looks cut with a scalpel. Where the rear third fell outside the depth of field, it smears over thirty pixels of gradient with no correct answer. Something gets guessed, and guesses look like guesses.
The fix happens before you upload anything: how far to close down, and where closing further costs you.
Why the rear edge decides the cutout
Left on a wide or auto area mode, autofocus tends to settle on the nearest high-contrast detail, which on a three-quarter shot is usually the front face. What breaks is the rear corner of a shoe, the far side of a lid, the trailing edge of a strap.
Depth of field is not centred on the focus point either. At normal distances it extends further behind the plane of focus than in front, but that gap closes as you move in — at table-top distance the split is close to even. So focus into the middle of the object's front-to-back depth rather than on its nose, and check the thinnest part of the outline at 100% before you commit.
Working f-stops by format
Starting points for a table-top item the size of a shoe box; test them against your own lens rather than take them as law. The wider number in each pair is the safe default; the narrower one trades a little overall sharpness for a cleaner rear edge.
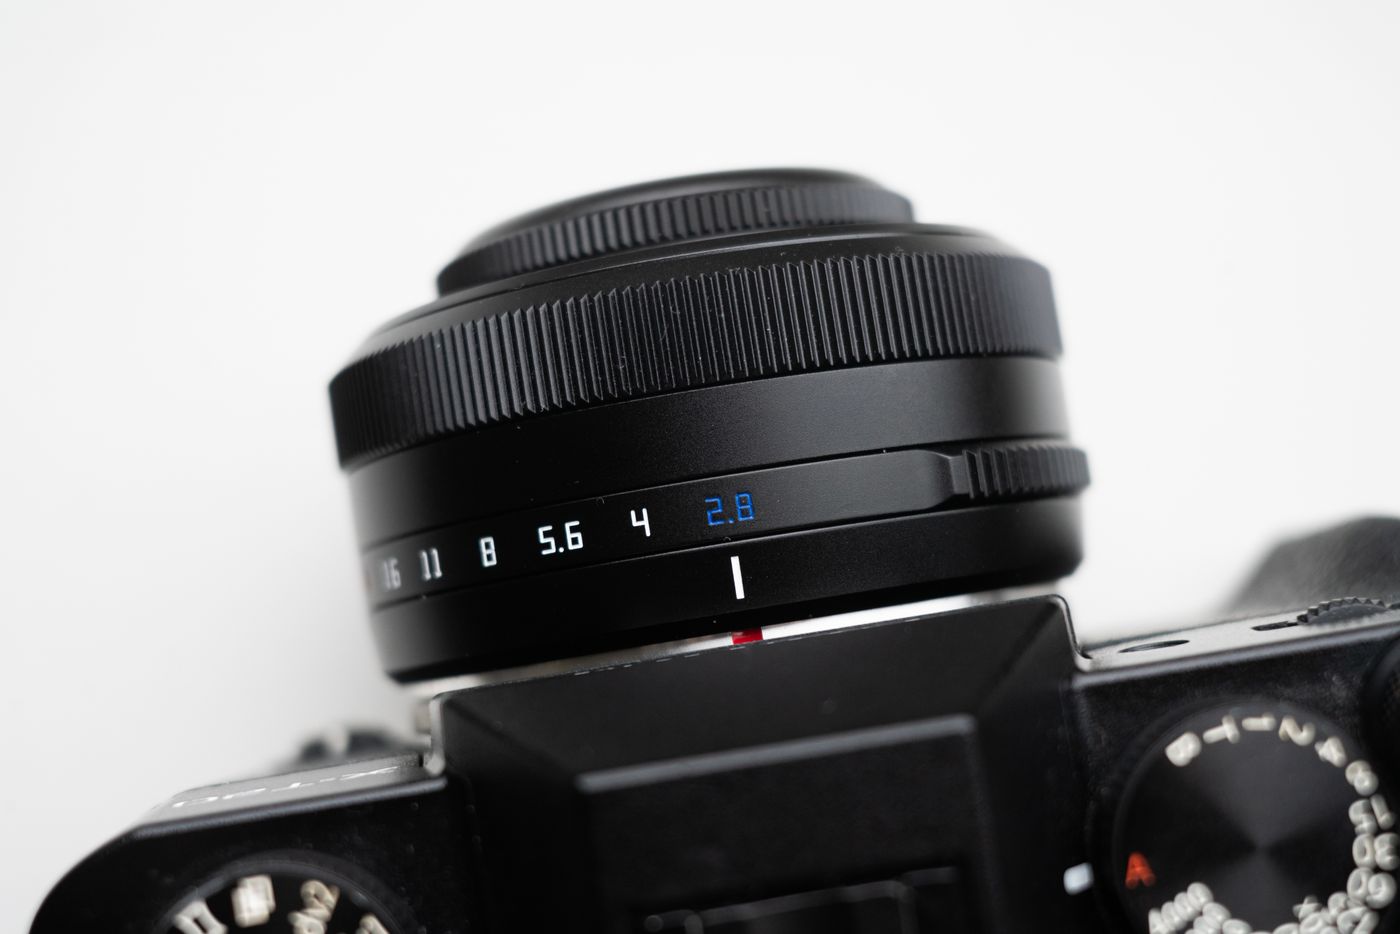
- Full frame: f/8 for a single object, f/11 when the item is deep or you are shooting a group
- APS-C: f/5.6 for a single object, f/8 when it is deep
- Micro Four Thirds: f/4 to f/5.6
- One-inch compact: f/3.5 to f/4.5
- Close-up and macro at any format: one to two stops more; magnification eats depth of field fastest of all
Small, deeply undercut things are the hard case. A ring wants a stop past whatever a mug is happy at: its outline turns through a few millimetres and includes prongs thinner than the blur circle. The jewellery shooting guide covers that setup.
Where stopping down stops helping
You cannot solve this by winding to f/22. Past a point, diffraction spreads every point of light into a disc whose diameter grows in proportion to the f-number N — d ≈ 2.44 × λ × N. The edge stops being blurred by focus and starts being blurred by physics.
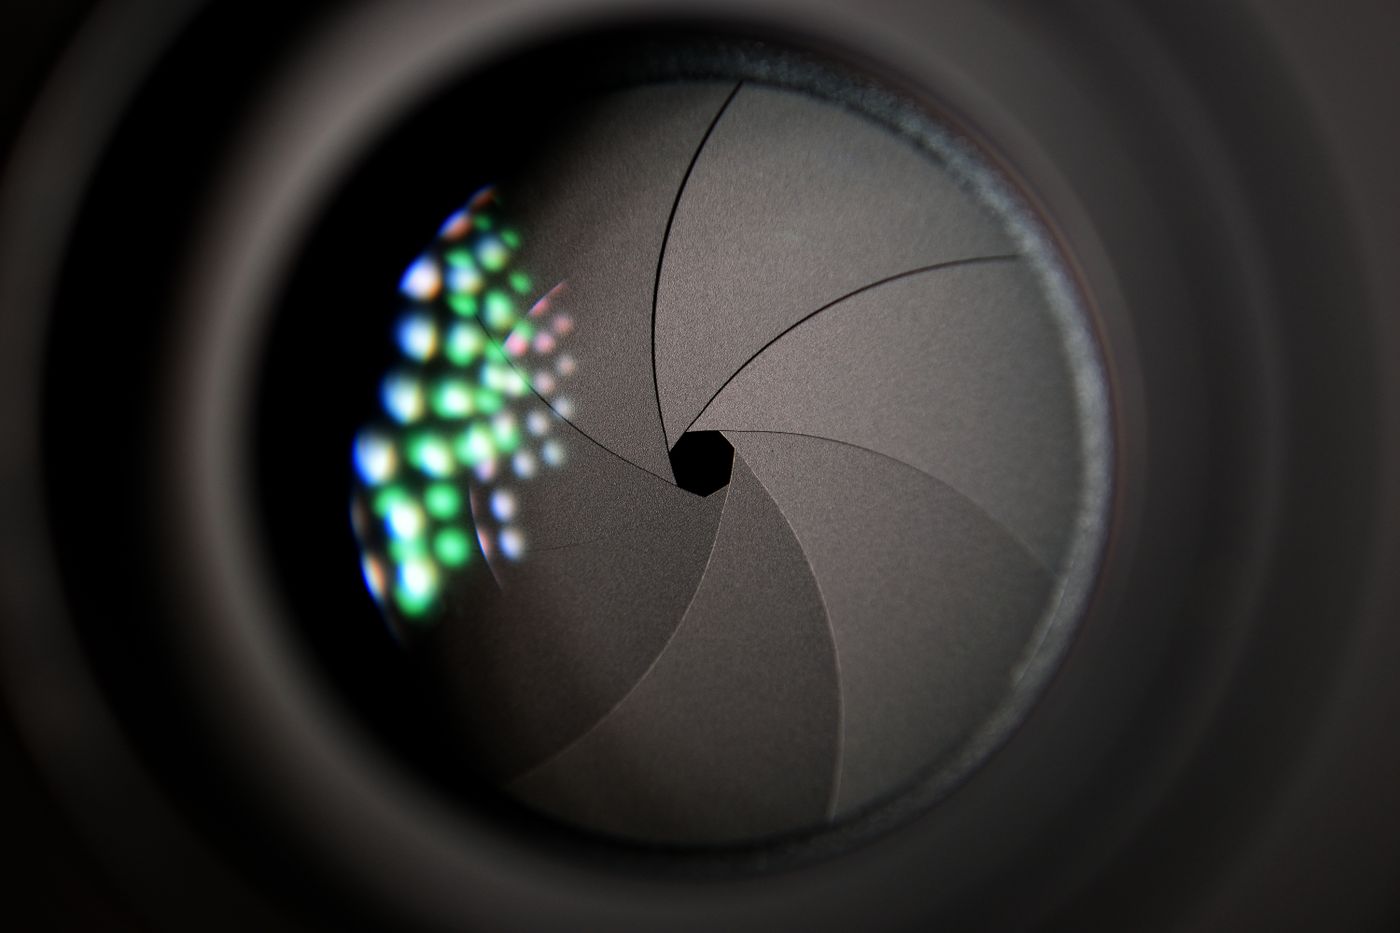
Most lenses peak in the middle of their range; on full frame, diffraction usually starts visibly costing detail around f/8 to f/11. Smaller formats soften at wider numbers — the same disc covers more of a smaller sensor — so f/16 on Micro Four Thirds buys depth you cannot use: the frame softens before the rear edge sharpens.
So: one stop past your lens's sweet spot, two at the outside. Run the frame through remover.bg and judge the edge, not the whole picture — that is where the trade-off shows.
Distance and focal length won't rescue you
The usual advice is to back off and fit a longer lens. At the same framing that buys almost nothing: hold magnification constant and depth of field barely moves from 50mm to 135mm. What genuinely adds depth is framing looser and cropping in your own photo editor afterwards — shoot at full resolution and keep the file under the 25 MB upload cap.
Long lenses are still worth using, just not for this reason: from further back, perspective flattens and a box reads as a box — useful when the cutout lands on white under rules as specific as Amazon's.
Phones: the aperture is already chosen
There is no dial. Apple lists one fixed value per lens on the iPhone 17 Pro — ƒ/1.78 on the 24mm main camera, ƒ/2.2 on the 13mm ultra wide, ƒ/2.8 on the 100mm telephoto — and most Android flagships work the same way. The sensor is small enough that real depth of field is rarely the problem.
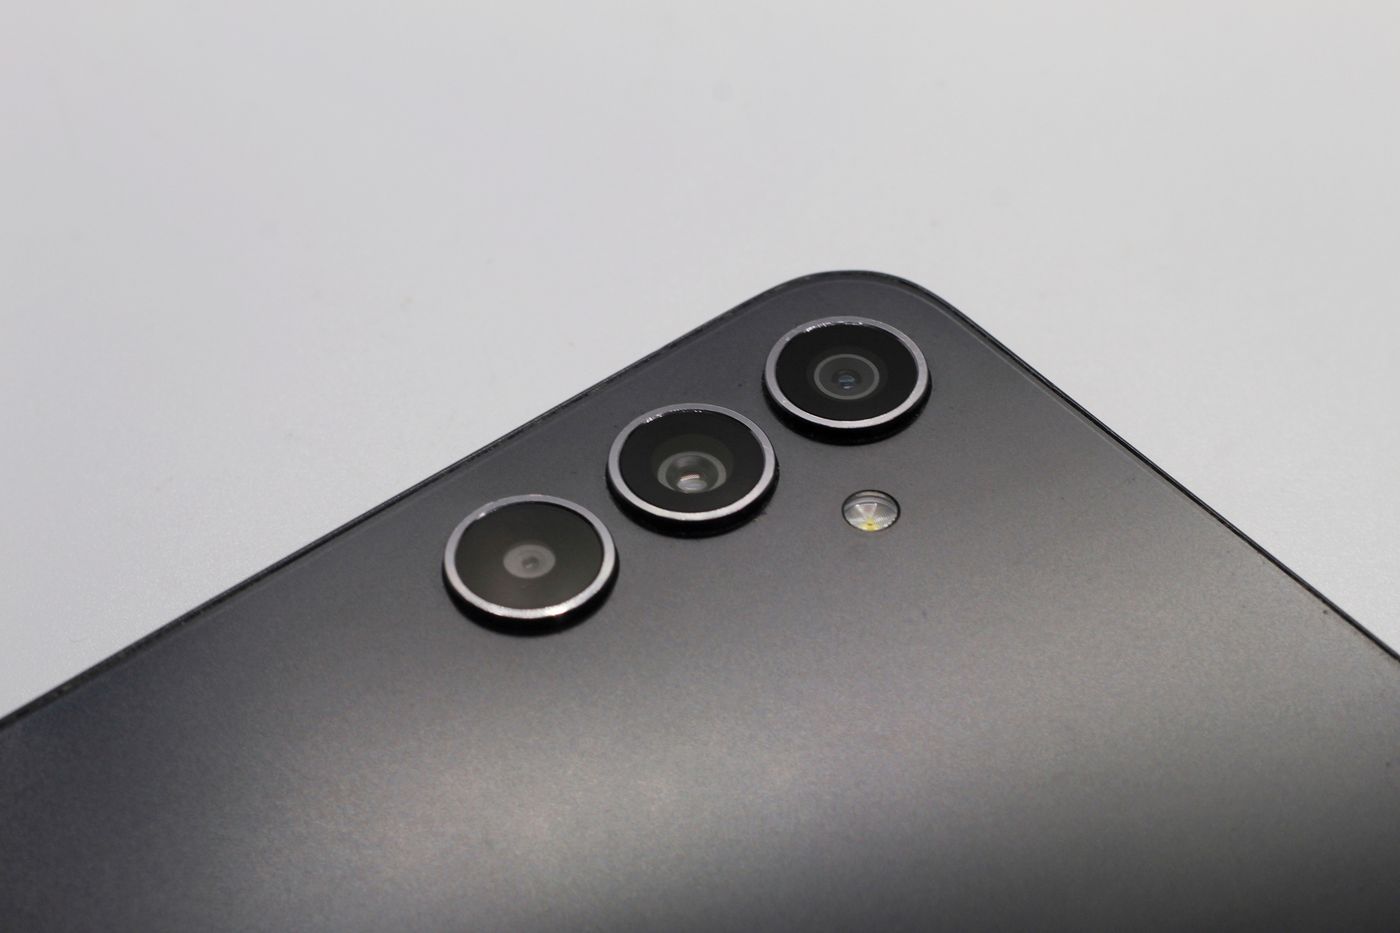
The fake kind is. Portrait mode and any blur-background toggle build a synthetic depth map and feather the subject's edge on purpose — exactly the gradient you are trying to avoid. Turn them off for anything headed for a transparent PNG. Macro mode is the other trap: focused a couple of centimetres away, a phone has almost no depth of field, so back up.
Shoot the test once
Put one awkward item on the sweep: thin protrusion, real front-to-back depth. Shoot it at four apertures without moving anything, cut them out one at a time, drop each on the same solid colour, then open the four exports side by side in your own image viewer, zoomed to the thinnest edge. Somewhere in that set is the f-number where the rear corner snaps hard and the frame has not gone mushy. Tape it to a tripod leg.