English
 Español
 Português (BR)
 Deutsch
 Français
 Italiano
 Türkçe
 Bahasa Indonesia
 Русский
 日本語
日本語 한국어
한국어 Українська
 Tiếng Việt
 Polski
 Nederlands
 ไทย
ไทย Română
 简体中文
简体中文 繁體中文
繁體中文 العربية
 Български
 Filipino
 हिन्दी
 اردو
اردو বাংলা
বাংলাWhy the Same Product Gives Different Cutout Results
Same product, ten frames, one clean cutout. Focus, hand shake, contact shadows and shifting light all change the edge: how to spot the good frame first.
- product photography
- background removal
- photo tips
- cutouts
- phone photography
- ecommerce

You shoot ten frames of the same pair of boots, upload one, and the cutout is perfect. Two days later you upload a second frame from the same session and the heel comes out soft, or a grey wedge of backdrop stays welded to the sole. Same boots, same room, same tool, different result.
That is almost never the tool changing its mind. Two frames that look identical in your gallery can be very different files. Focus moved a few centimetres. Your hands moved during the exposure. The boot slid back until it touched the paper. A cloud crossed the window between shot four and five.
Each of those changes what the edge of your product looks like in pixels, and the edge is all a cutout has to work with.
Focus landed on the front face, not the outline
Tap-to-focus puts the sharp plane where you tapped, usually the middle of the face turned towards you; anything nearer or further is softer. On a shoe, a mug or a handbag the silhouette curves away from that plane, so the outline sits off it even when the photo looks sharp.

A soft boundary is a gradient tens of pixels wide, not a clean transition. There is no single correct place to cut it, so the result eats real product or leaves a pale rim. Between frames you tap a different spot, or the camera refocuses itself, and that soft band moves.
Small items suffer most because you shoot them close. A ring near the lens's minimum focus distance can run from crisp to smeared across two centimetres of its own outline — one reason they need their own approach, covered in our jewellery photography guide.
Motion blur too small to see and too big to ignore
Indoors there is less light, and whatever your phone does about that, hand movement during capture still smears the boundary; stabilisation only compensates for so much. Two or three pixels of shake are invisible at preview size and fatal at the edge: product and background colours blend into intermediate tones and the boundary stops existing. Thin features go first: stitching, spindles, cable, wire, hair.
One frame from a burst works and its neighbours don't because your hands are not equally still. Brace the phone on a stack of books, use the self-timer so your tap doesn't shake the shot, and work in the brightest part of the room.
The item drifted back into the backdrop
Between frames you nudge things: straighten the label, wipe a mark, set it down further back. Once the item touches the sweep, the contact shadow sits exactly where the boundary should be and belongs to item and background at once.
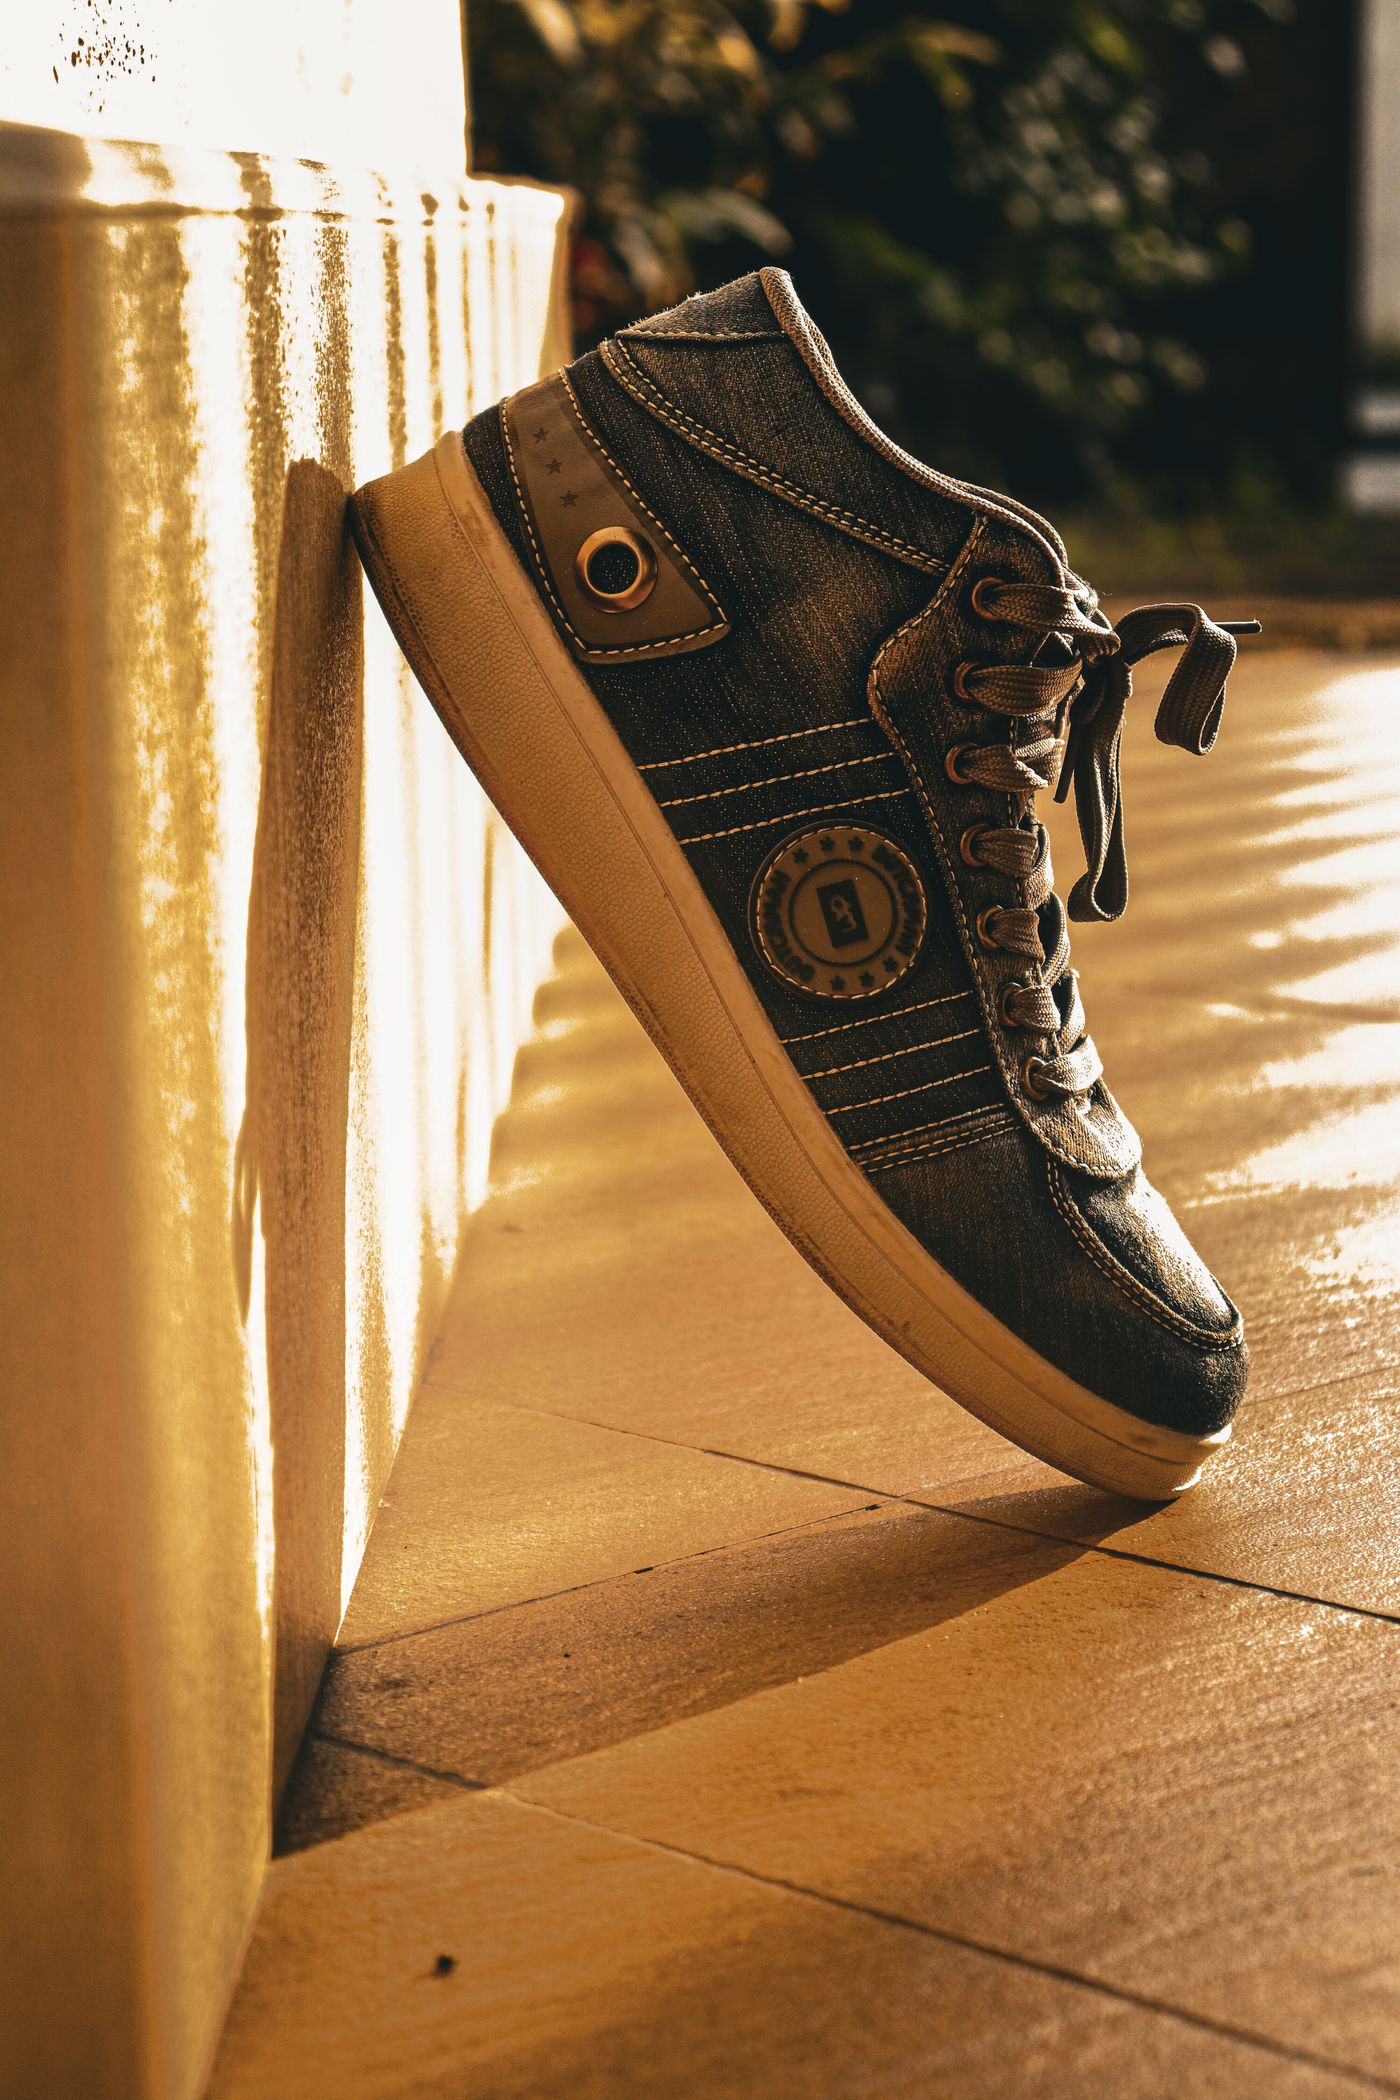
Leave a hand's width of air between item and backdrop, or raise it on a riser so the shadow falls behind rather than pooling against the contour. If the cutout then looks like it is floating, the editor at remover.bg can drop a realistic shadow under the cutout, and our guide to adding realistic shadows covers where it should sit.
A shadow moved across one side between shots
Frames one to three came before you leaned in to adjust the item; from frame four your shoulder blocks the window. Now one side of the white sweep is mid-grey, matching the product tone. You still see the outline; in the pixels, half of it has no contrast.
Between frames, check the backdrop, not the item. If its left and right halves differ visibly in brightness, your next upload is a coin toss. Keep the light where your body cannot block it.
Pick the frame before you upload, not after
A thumbnail tells you nothing about edges. Open the frame, zoom to full size, and check four things.

- The thinnest part of the outline — a handle, strap, spout, wire or strand of hair. Fuzzy at full zoom means fuzzy once cut out.
- The edge nearest the camera, not just the far side. Shooting a small item close in means the sharp zone is thin on both sides of the focus point, so a near edge can be soft while the face you tapped looks crisp.
- Where the item meets the surface. A gap or tonal change is good; a hard black contact line is trouble.
- Backdrop brightness left of the item versus right.
Upload the original frame, not a copy that has been through a chat app; it keeps every edge pixel the camera recorded. PNG, JPEG and WebP all work, up to 25 MB. If your phone saves HEIC by default, switch the camera to its JPEG-compatible format setting. For tighter framing, crop the finished cutout in your own photo or design tool, then reopen the saved file and confirm the background behind the product is still transparent rather than white. Our transparent PNG guide shows how to check that and what a clean cut-out edge should look like up close.
When to stop hunting for a good frame
If all ten frames share one fault — the item pressed against the wall, a hard shadow lying across it, a room too dim to shoot in — no amount of frame-picking rescues the set. Move the item forward, soften the bad light, put the phone on something solid, and shoot three frames, not ten. Two minutes of setup beats twenty minutes of frame roulette.