English
 Español
 Português (BR)
 Deutsch
 Français
 Italiano
 Türkçe
 Bahasa Indonesia
 Русский
 日本語
日本語 한국어
한국어 Українська
 Tiếng Việt
 Polski
 Nederlands
 ไทย
ไทย Română
 简体中文
简体中文 繁體中文
繁體中文 العربية
 Български
 Filipino
 हिन्दी
 اردو
اردو বাংলা
বাংলাHow to Photograph Product Sets and Bundles
Remove the background from a bundle and you get floating objects and holes. Arrange and light a set so it reads as one object: overlap, soft light, one shadow.
- product photography
- bundles
- background removal
- ecommerce
- photo tips
- cutouts
- listing images

A 12-piece screwdriver set. A three-step skincare routine. A gift hamper with a candle, a mug and two sachets of coffee. Individually, each is an easy photo. Shot as a group, they produce the classic bundle-listing failure: you remove the background and get a scatter of floating objects with holes through the middle.
A set is not a subject. Your eye reads a tray of tools as one thing because you know it is a kit. A background remover reads pixels, and a clear strip of table between the pliers and the wire cutters is background. It gets removed, correctly. You photographed six subjects and asked for one.
So the work happens before the shutter: arrange and light the group so it behaves like a single object.
Overlap on purpose
Every item should touch or overlap at least one neighbour. Five bottles in a row with an even finger of gap between them come back as five bottles adrift. Turn them so the shoulders overlap instead.
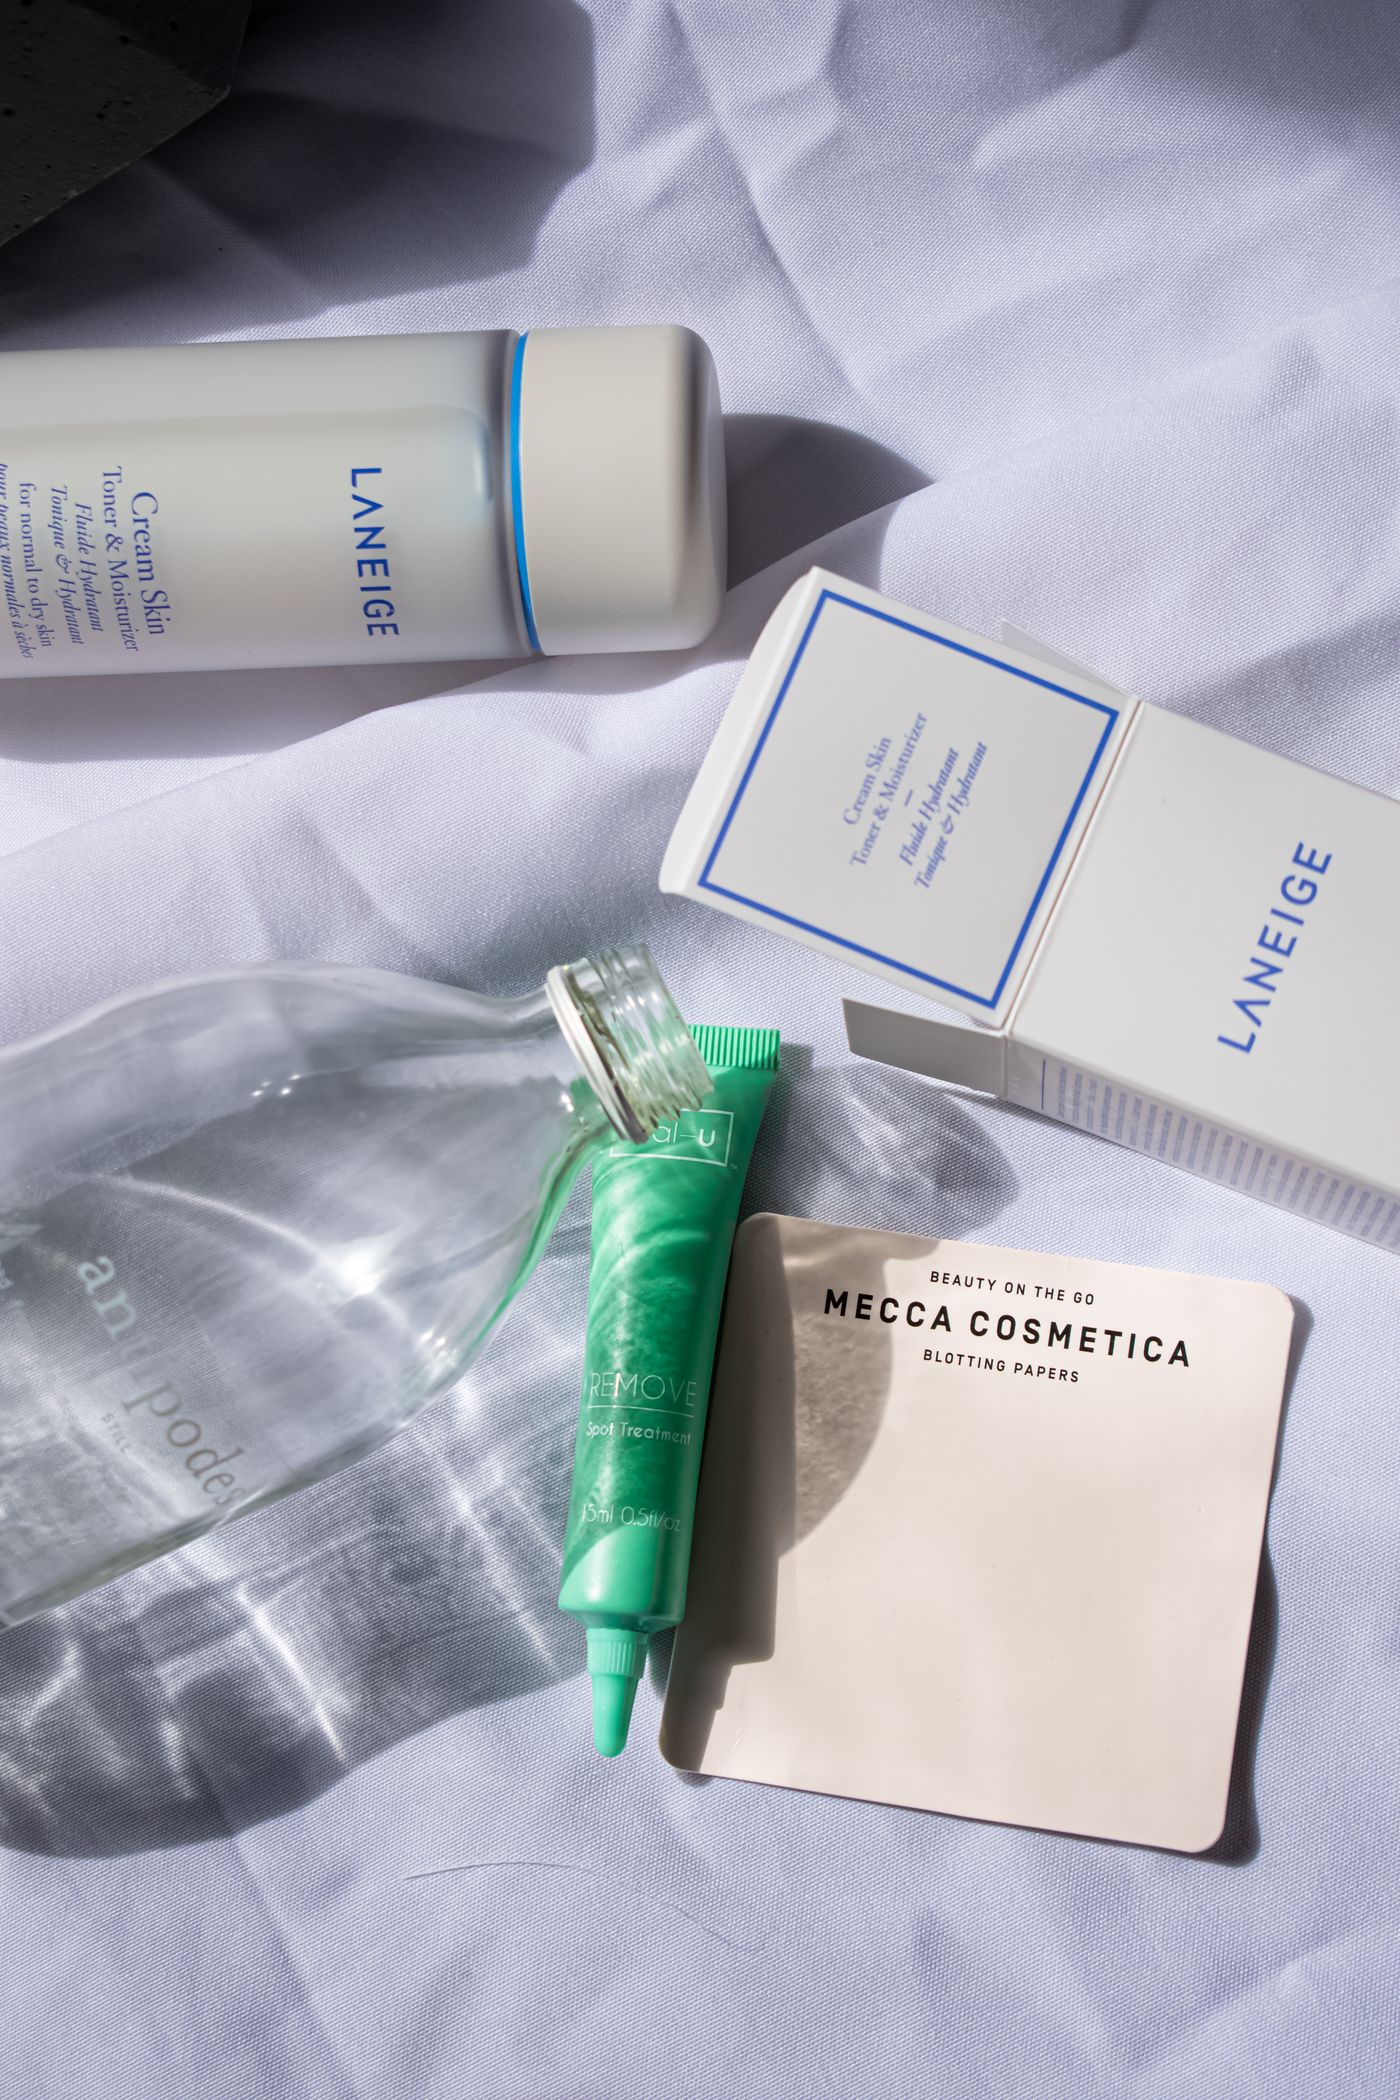
For flat kits, lean small pieces against the base of larger ones, or let a sachet sit half under the box. In a hamper, tuck each item partly behind the one in front. The test: can you trace one continuous outline around the group? Then it cuts as one shape.
Large deliberate gaps are fine — the hole inside a handle loop reads as negative space and looks right transparent. What hurts is a sprinkle of small random gaps: a ragged silhouette at listing size.
Keep every piece on one focal plane
Depth of field is the quiet killer. Arrange the group across the frame rather than deep into it, so every item sits roughly the same distance from the lens. On a camera, f/8 is a safe starting point for a shallow arrangement — enough depth of field to hold every item, without stopping down so far that diffraction softens the edges. With the camera braced, a slower shutter costs you nothing. On a phone, switch Portrait mode off — a blurred back item becomes a mushy, indecisive edge in the cutout. Brace it on a tripod or a stack of books and fire on the shortest self-timer your camera app offers, so pressing the shutter does not nudge the arrangement.
Watch the shadows falling between items
Hard light from a bare bulb or a bright window throws long shadows from the tall items across the short ones, landing in exactly the wrong place: the gaps. A dark band bridging two items is ambiguous. It can stay part of the object, leaving a grey web between your pieces, or read as background and eat the edge beside it.

Use one large soft source close and slightly above the arrangement rather than off to one side; a window with a thin white curtain is ideal. Bounce white card in opposite. Aim for shadows short and tight under each item, not stretching sideways.
Shoot square-on, not at a jaunty angle
If the bundle contains printed boxes, tubes or labelled bottles, an angled three-quarter view foreshortens every printed face at once. At the size a shopper sees in a results grid, a steeply tilted label is unreadable, and unreadable packaging looks like a bundle whose contents you are hiding.
Pick one of two positions and stay there: straight-on at the height of the tallest item, or directly overhead for flat kits of small pieces. Overhead, keep the sensor parallel to the surface or you keystone every rectangle in shot. Use one position for every bundle — the logic behind Etsy photos that hold together as a shop.
One shadow for the group, not one per item
Once the background is gone, the tell of an amateur composite is per-item shadows: a candle with its own contact shadow, next to a mug with its own, next to a box with its own. That reads as a collage.
In the editor at remover.bg you replace the background with a solid colour, a custom brand colour or your own photo, then add one drop shadow. Because the group is one cutout, the shadow lands under the whole arrangement rather than under each piece — which is what makes it read as one object on one surface. Our shadow guide goes further.
Check the cutout before you upload
Drop the finished cutout onto a mid-tone colour rather than white. White hides swallowed corners and pale fringing; a medium grey or a saturated brand colour shows both. Then zoom out to roughly thumbnail size and look only at the silhouette. If the outline alone does not tell you how many items are in the bundle, rearrange and reshoot.

Match the file to the destination: PNG when you need transparency, WebP when you want a smaller file at the same quality for your own site, JPEG or PNG when a marketplace only accepts those; uploads under 25 MB. Marketplace rules sit on top: Amazon has long required the main image to show only the product being sold on a pure white background, with no props or extras that do not ship — so a hamper on a decorative tray may be the wrong file for that slot. Check the current wording in Seller Central before you upload; the Amazon image rules walk through it. At a hundred bundles, the background removal API handles the volume.
Set the arrangement once, then repeat it
The win with bundles is not any single photo. It is fixing one logic — overlap, shallow depth, one soft light, square-on camera, one shadow — and reusing it, so two kits shot months apart still look photographed in the same hour.