English
 Español
 Português (BR)
 Deutsch
 Français
 Italiano
 Türkçe
 Bahasa Indonesia
 Русский
 日本語
日本語 한국어
한국어 Українська
 Tiếng Việt
 Polski
 Nederlands
 ไทย
ไทย Română
 简体中文
简体中文 繁體中文
繁體中文 العربية
 Български
 Filipino
 हिन्दी
 اردو
اردو বাংলা
বাংলাWhy Background Is Left Inside Handles and Gaps
Background left inside a mug handle or between chair spindles? Why enclosed gaps are harder than the outline, and four capture habits that keep them empty.
- background removal
- product photography
- cutouts
- transparent png
- photo tips
- ecommerce
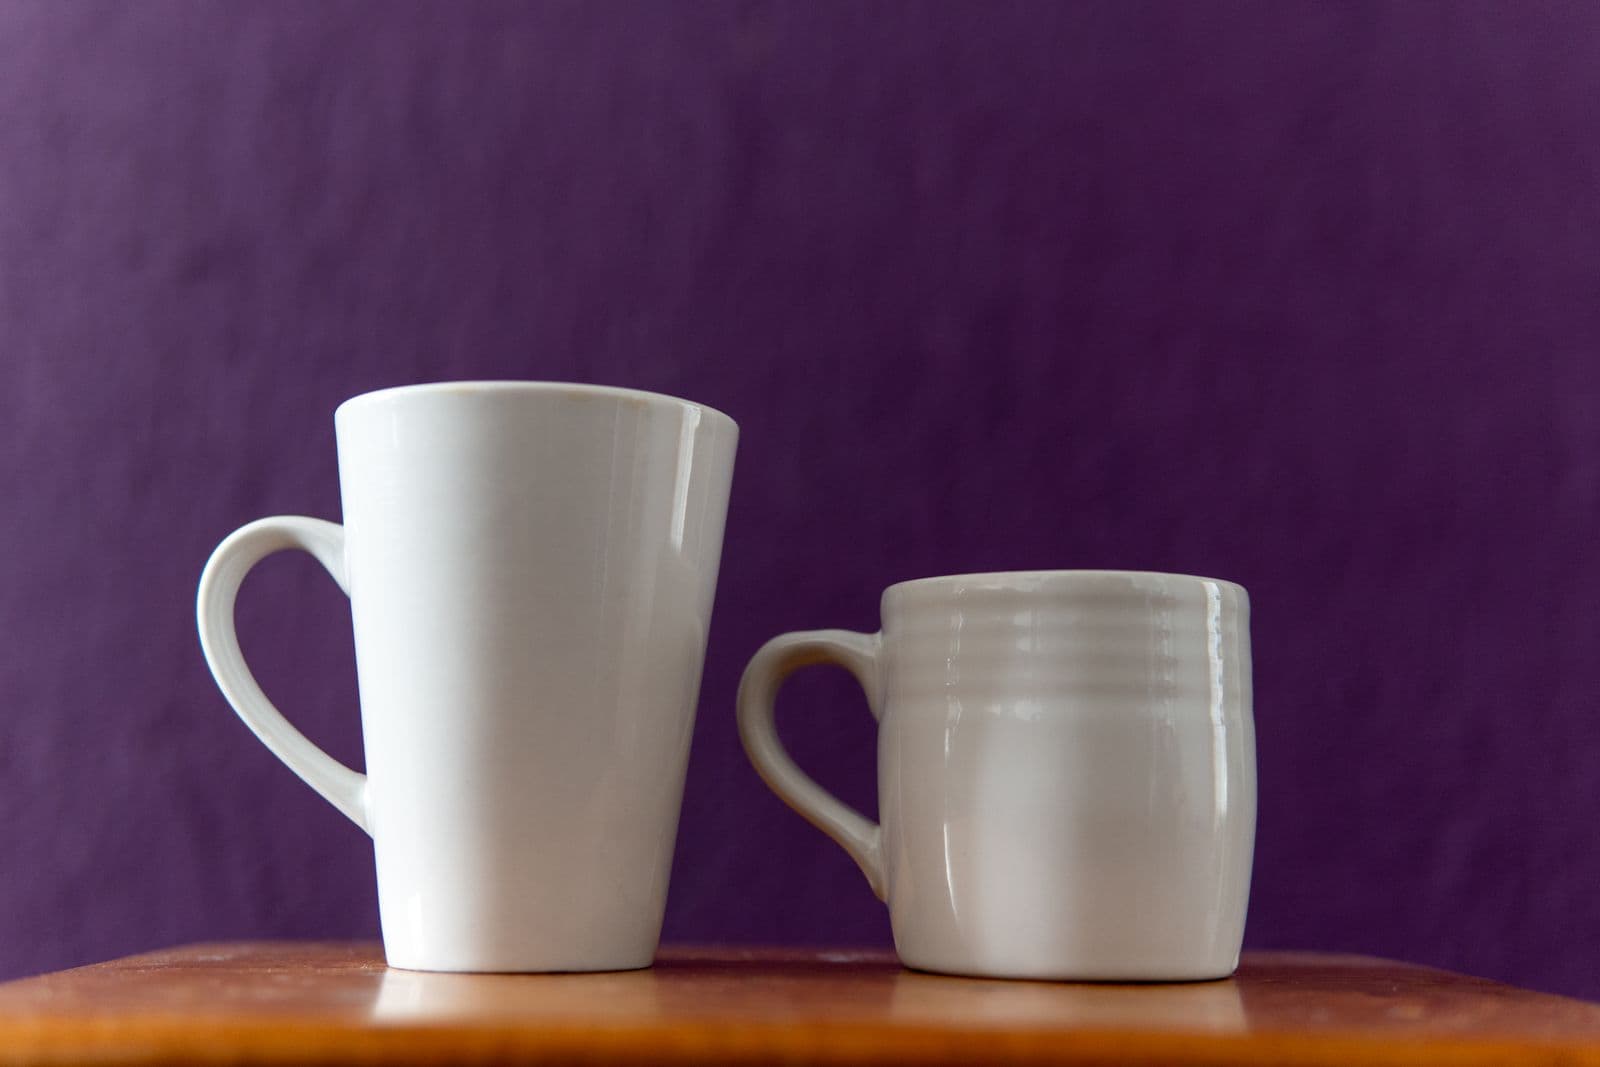
A mug photographed on a pale table cuts out beautifully. Clean rim, sharp base, no fringe anywhere along the silhouette. Then you drop it onto a navy banner and there it is: a white lozenge floating inside the handle, exactly where the table used to be.
That leftover patch is not a bad edge. It is enclosed negative space — the hole in a handle, the gaps between chair spindles, the triangle inside a bag strap, the finger loops of scissors, the daylight between chain links. Background visible through the object without ever touching its outer contour.
It needs its own diagnosis. The causes differ from those behind a ragged outline, and so do the fixes — almost all of which happen before you upload anything.
Why an interior hole is harder than an outer edge
Along the outside of an object, a continuous boundary has a large field of background on one side of it — plenty of evidence. Inside a handle the call is reversed: a small region completely surrounded by product has to be read as not product.
When that region is ambiguous — too few pixels, the same tone as the object, or drowned in shadow — there is far less to go on, and an ambiguous patch is more likely to stay. Clean gaps come from removing that ambiguity in the shot.
Cause one: the gap is a tiny share of the frame
Shoot a mug from across the kitchen with the whole worktop in frame and the handle opening ends up a sliver of the image.
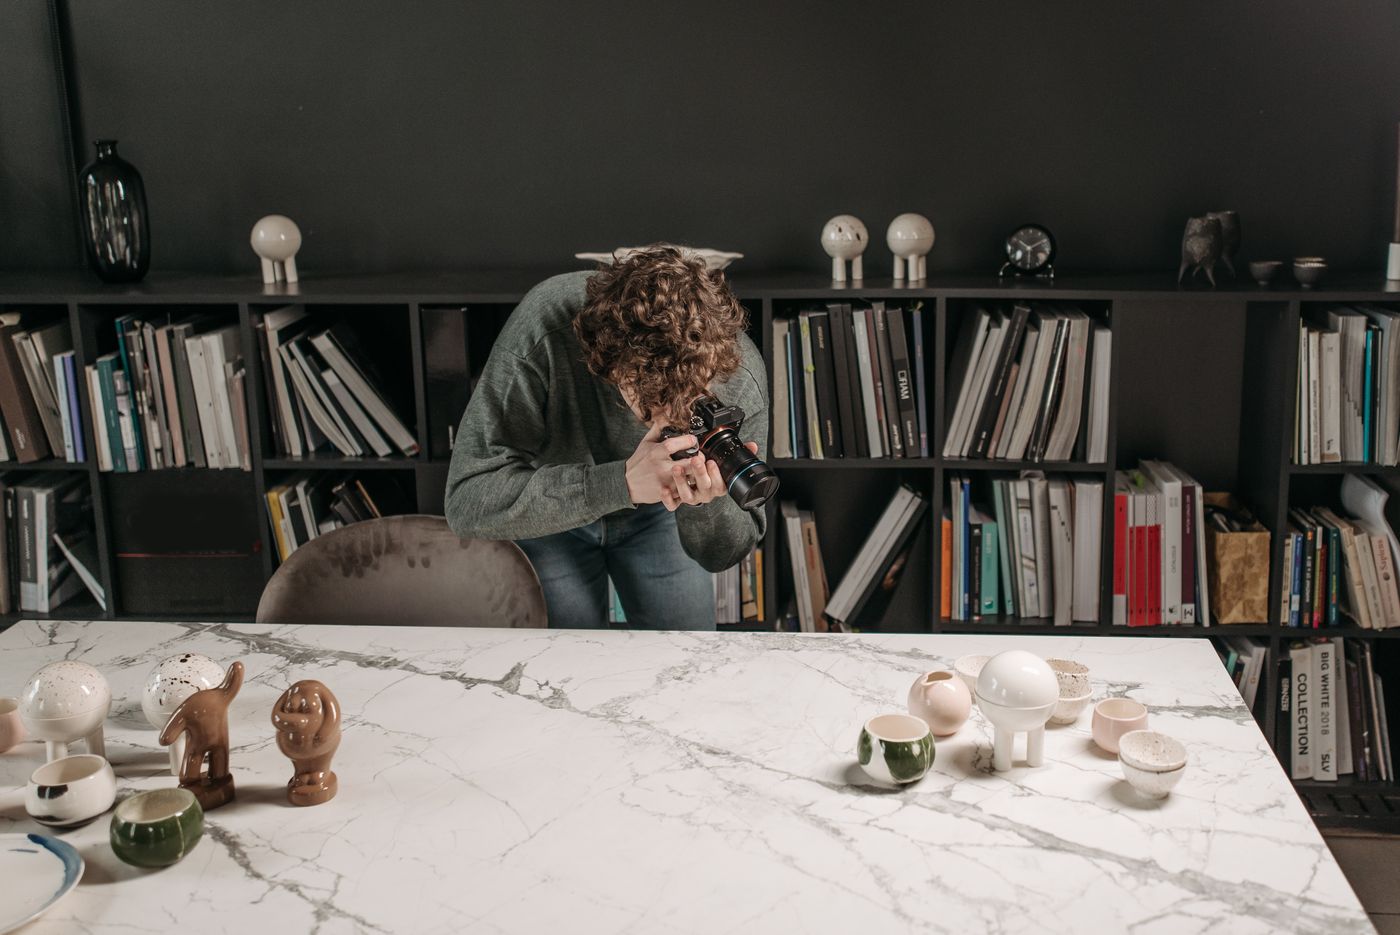
Fill the frame: move the camera closer until the item occupies most of the picture, with a modest margin of backdrop. It has to happen at capture — cropping in your phone's photo editor afterwards adds no detail, so the gap stays as thin, only bigger on screen.
Send the file as it came off the camera rather than a shrunken copy; detail thrown away before upload was never in the gap. Uploads go in as PNG, JPEG or WebP, up to 25 MB. If your camera shoots RAW, export from your own photo software first — WebP holds detail at a smaller file size than the equivalent JPEG.
Cause two: what shows through matches the product
A white mug on a white table has a handle full of white. A walnut chair on a wooden floor has spindle gaps full of walnut-coloured floor. The outer edge still works — the object casts a shadow and has a visible contour — but the interior offers nothing to separate.
You need not change the whole set, only the area the openings look onto. A sheet of coloured paper laid on the surface behind a chair, or a mid-grey card slipped under a mug handle, is often the entire fix. Jewellery is the extreme case, where the gaps between links are smaller than the links; the discipline that makes chains and rings photograph well applies to any fine opening.
With the openings separated in the source photo, the rest is quick. Upload to remover.bg and the enclosed gaps are far more likely to come out along with the outline, then replace the background with a solid colour, a custom colour or a photo of your own.
Cause three: the gap is full of shadow
Push a bag against the backdrop and the space inside the strap goes dark. That gap is now neither background nor product but a black wedge, and dark pixels inside a dark object read as part of it.
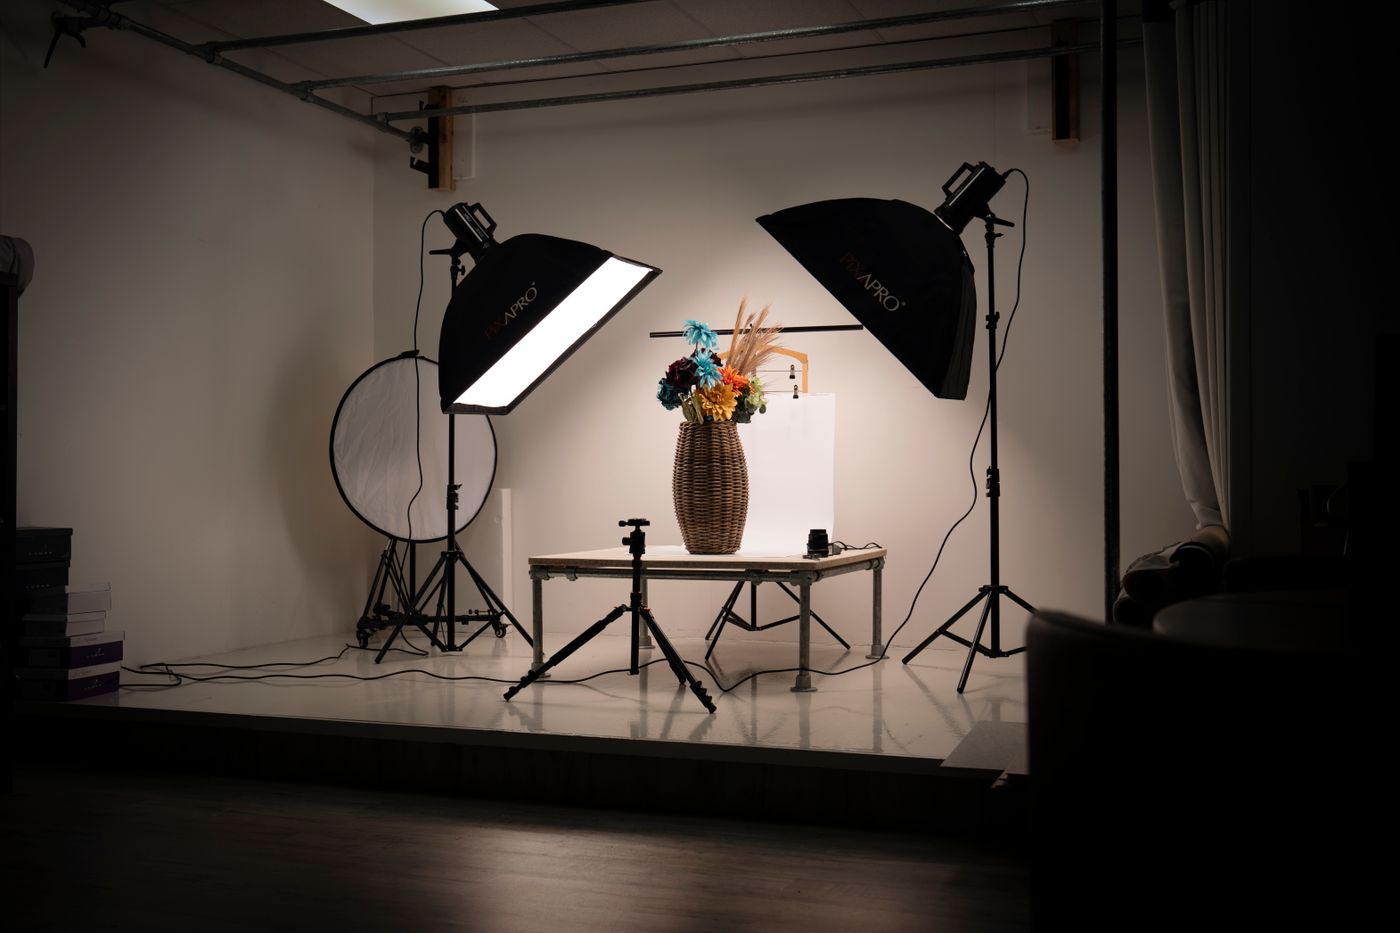
Get light into the opening:
- Move the item well forward of the backdrop, so the background is lit independently.
- Lift it on a box so light reaches underneath and through.
- Add a second light or a white card opposite the main one to fill the shadow.
- Shoot near a window on an overcast day, which lights openings from many angles.
Angle the opening toward the lens
A handle shot edge-on is a slot a couple of millimetres wide. Rotate the mug fifteen or twenty degrees and it becomes an open oval. Turn a chair to three-quarters and the spindle gaps widen. Open a pair of scissors slightly. Hang a bag so the strap loops away from the body.
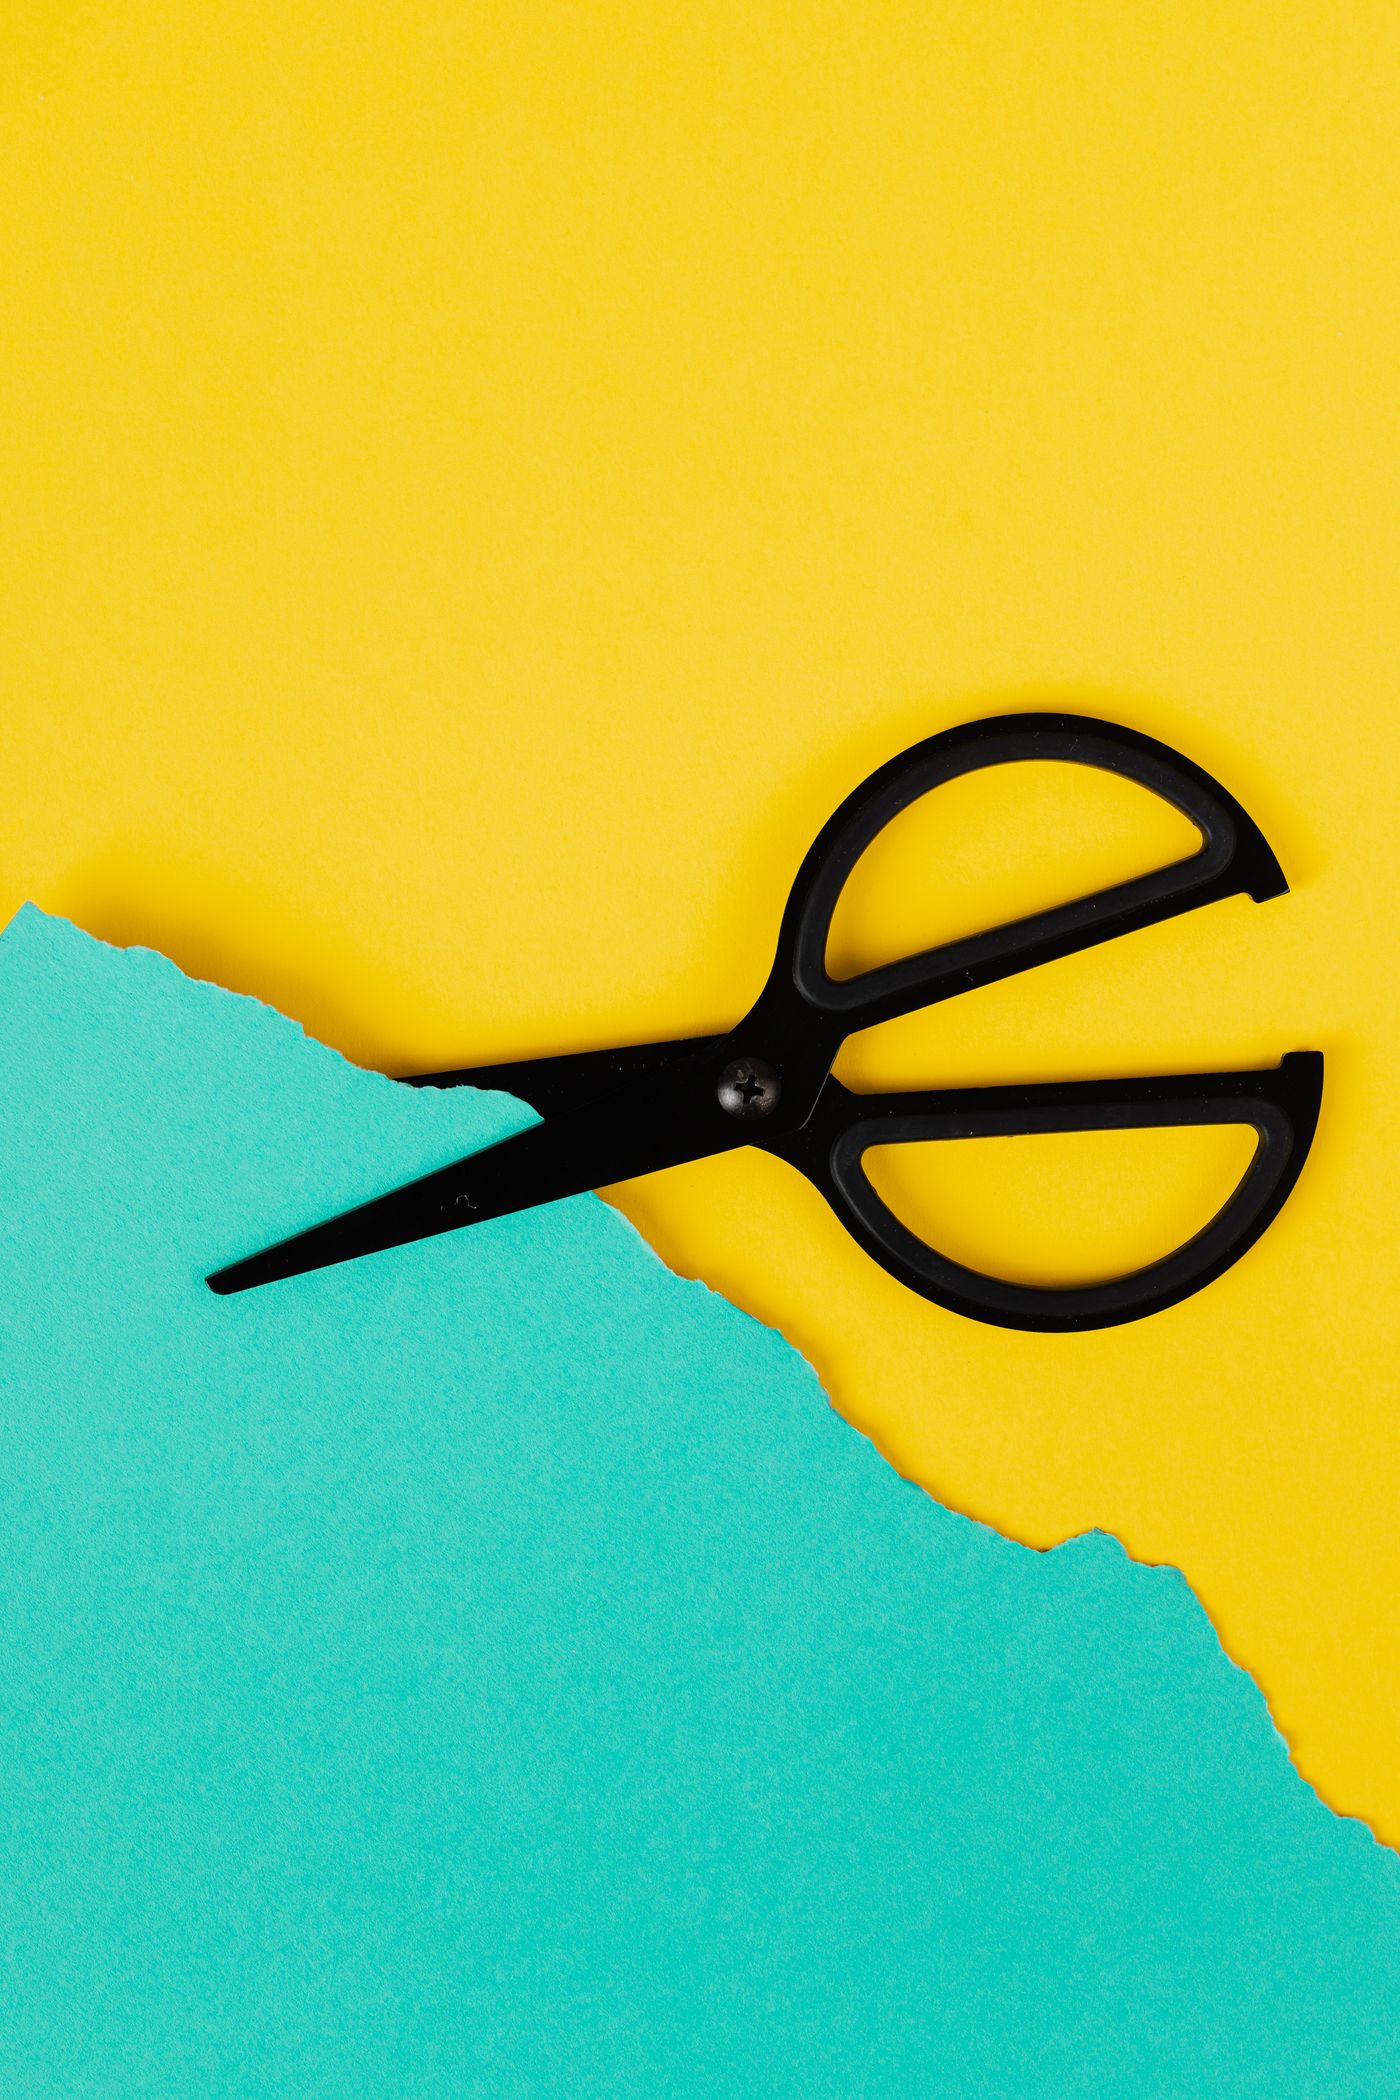
Even shut, scissors laid flat on a contrasting sheet give each finger loop a clear disc of colour, and parting the blades widens the gap between them too. Angling the opening does more than any other single move: a hairline slot becomes a region with real area.
Check the gaps, not the outline
Filled gaps get published because people inspect cutouts on a white page, where a leftover white patch is invisible.
Put the cutout on a saturated mid-tone colour before you approve it, then zoom in on every opening. Anything left behind announces itself. Check again after adding a drop shadow: a shadow behind a filled gap looks obviously wrong. If you are exporting for stickers or print, the same pass belongs in your transparent PNG routine.
Fix it in the shot
Light through the gap, contrast behind it, the opening turned toward the lens, the product filling the frame. None of it costs money — it is where you stand and what you put behind the object. Build those four into how you shoot and the leftover lozenge never reaches the banner.