English
 Español
 Português (BR)
 Deutsch
 Français
 Italiano
 Türkçe
 Bahasa Indonesia
 Русский
 日本語
日本語 한국어
한국어 Українська
 Tiếng Việt
 Polski
 Nederlands
 ไทย
ไทย Română
 简体中文
简体中文 繁體中文
繁體中文 العربية
 Български
 Filipino
 हिन्दी
 اردو
اردو বাংলা
বাংলাHow to Photograph Lace, Mesh and Sheer Fabric
Sheer fabric puts the backdrop inside the product. How to backlight lace, tulle and mesh, keep the wall behind empty, dodge moiré, and test the edge on dark.
- product photography
- fashion photography
- lace
- tulle
- sheer fabric
- background removal
- transparent png
- lighting
- moire
- ecommerce
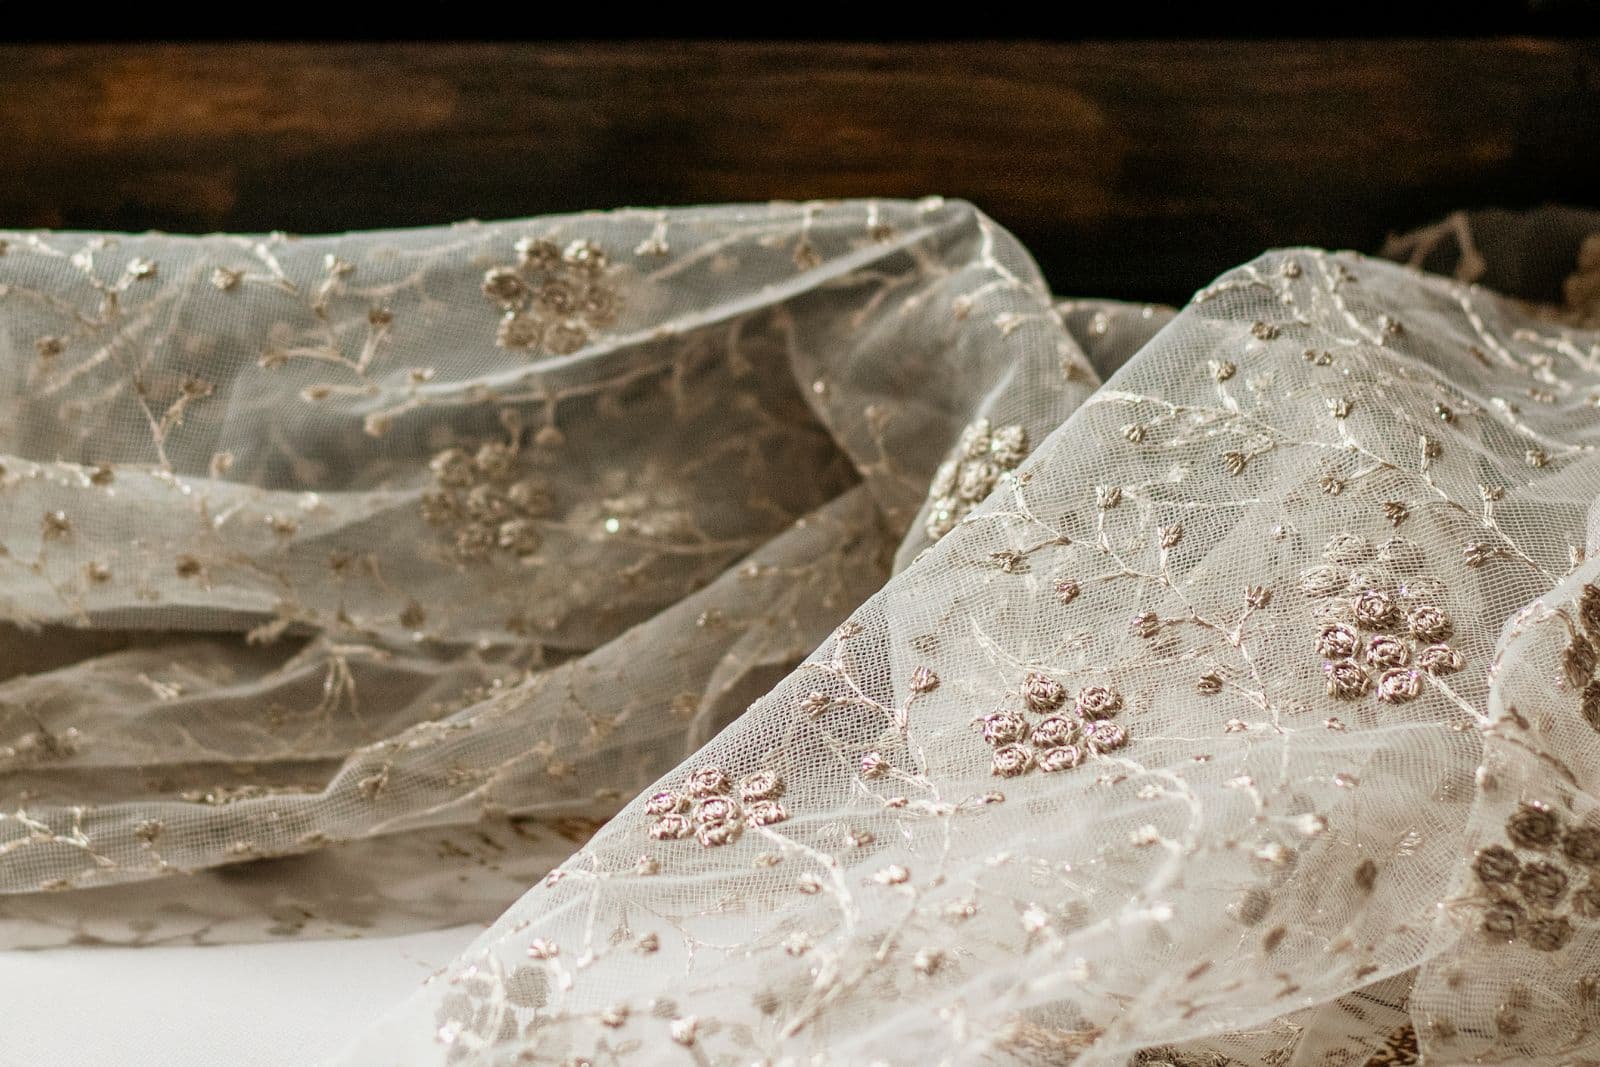
A tulle overskirt, a lace bralette, a mesh dance top and a voile curtain share one awkward property: your backdrop is part of the product. Whatever sits behind the fabric shows through it, and the cutout has to judge every one of those pixels — thread, or the wall behind the thread?
So decide before you set anything up how much of the weave you want to see. A tulle skirt on a lookbook page reads best with every thread separated from what is behind it. A curtain in a listing grid looks better lit flat and even, dense enough that the buyer judges drape and colour instead of the mesh.
That drives how you light the piece and what you put behind it, and light is the one thing you cannot add back at the laptop.
Light the weave, not the backdrop
Sheer fabric reads most convincingly as sheer when there is more light behind it than in front. Front-lit tulle against a white wall goes chalky and flat; backlit, the same tulle becomes a dark lattice against a bright field — the most legible edge you will ever capture.

The cheapest version is a window. Hang the piece on a rail a step in from the glass on an overcast day, so the sky acts as one huge even panel, and shoot from inside. With lamps, aim at a plain wall a metre or two behind the garment and let the wall glow.
Expose so the threads still hold tone: if the lace burns out to pure white, there is nothing left to separate.
Keep what is behind it empty and even
Anything with pattern or a hard edge behind sheer fabric becomes part of the image inside the fabric. A radiator, a skirting board, the line where wall meets floor — all of it prints through the weave.
The working rule: whatever sits behind should be one continuous tone across the whole area the fabric covers, plus a margin. A smooth gradient is fine, texture is not. Pushing the garment further off the wall throws it out of focus and softens what is left.
Do that and the file you hand to remover.bg has an unambiguous job — find the silhouette — not decide whether a chair leg is part of your bralette.
Tension, height and moiré
Clip the piece to a rail or pin it to a form so it hangs taut. Slack fabric folds back onto itself, and doubled tulle is twice as dense as single, giving patchy opacity across one piece.
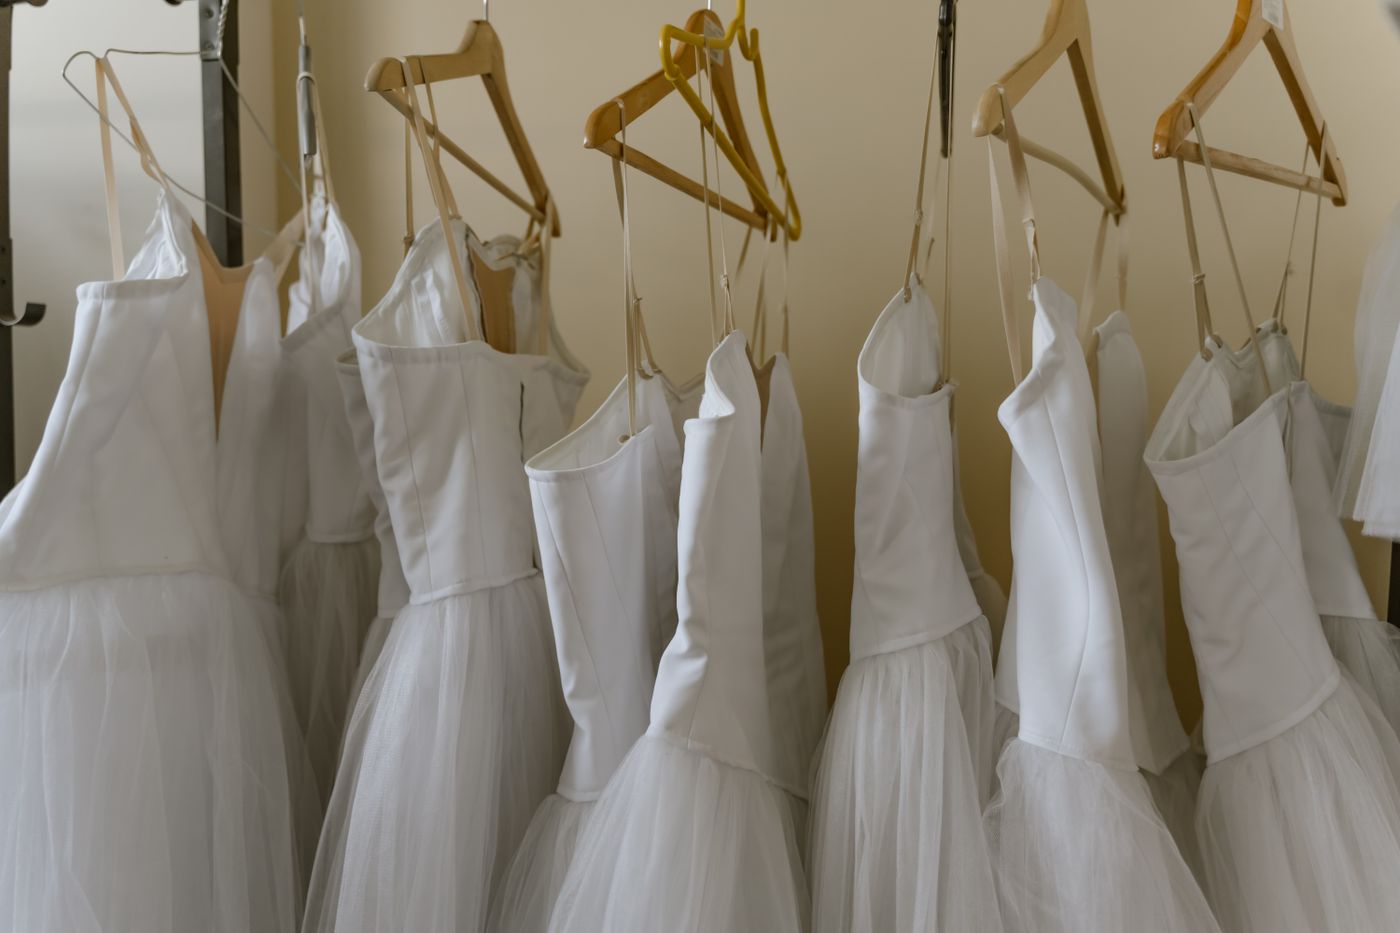
Lift it clear of any surface. A hem lying on a table casts a contact shadow directly under the weave, and dark shadow seen through mesh looks exactly like more mesh. Twenty or thirty centimetres of air under the hem pushes that shadow away.
Then watch for moiré. A fine regular weave photographed at certain distances beats against your sensor's photosite grid, and because the colour filter array guesses colour from neighbouring pixels, you get wavy rainbow patterns that are not in the fabric. It is a sampling artefact, so the fix happens at capture: shift the camera-to-subject distance slightly, or change angle, then check at 100% before you move on. Some raw converters have a moiré-reduction brush, but re-shooting is the reliable fix.
Always shoot the safe frame
Take two frames of every piece in the same session. The backlit one is your hero. The second is insurance: the garment front-lit against a plain light background, even enough that the mesh reads as solid colour.
Openness is sometimes a liability. On a marketplace grid that renders listings on white, a skirt that is mostly holes reads as a gap in the page. The denser frame is safer for busy search grids — the framing and background choices covered in our Etsy product photo guide. The backlit frame earns its keep on your own site, where you control the colour behind it.
Preview the alpha on a dark colour
Never judge a sheer cutout on white. A milky halo where the thread used to be is invisible against white and glaring against navy. In the editor, set the background to a strong dark colour, check the hem and the lace edge, then swap in the colour or photo you want.
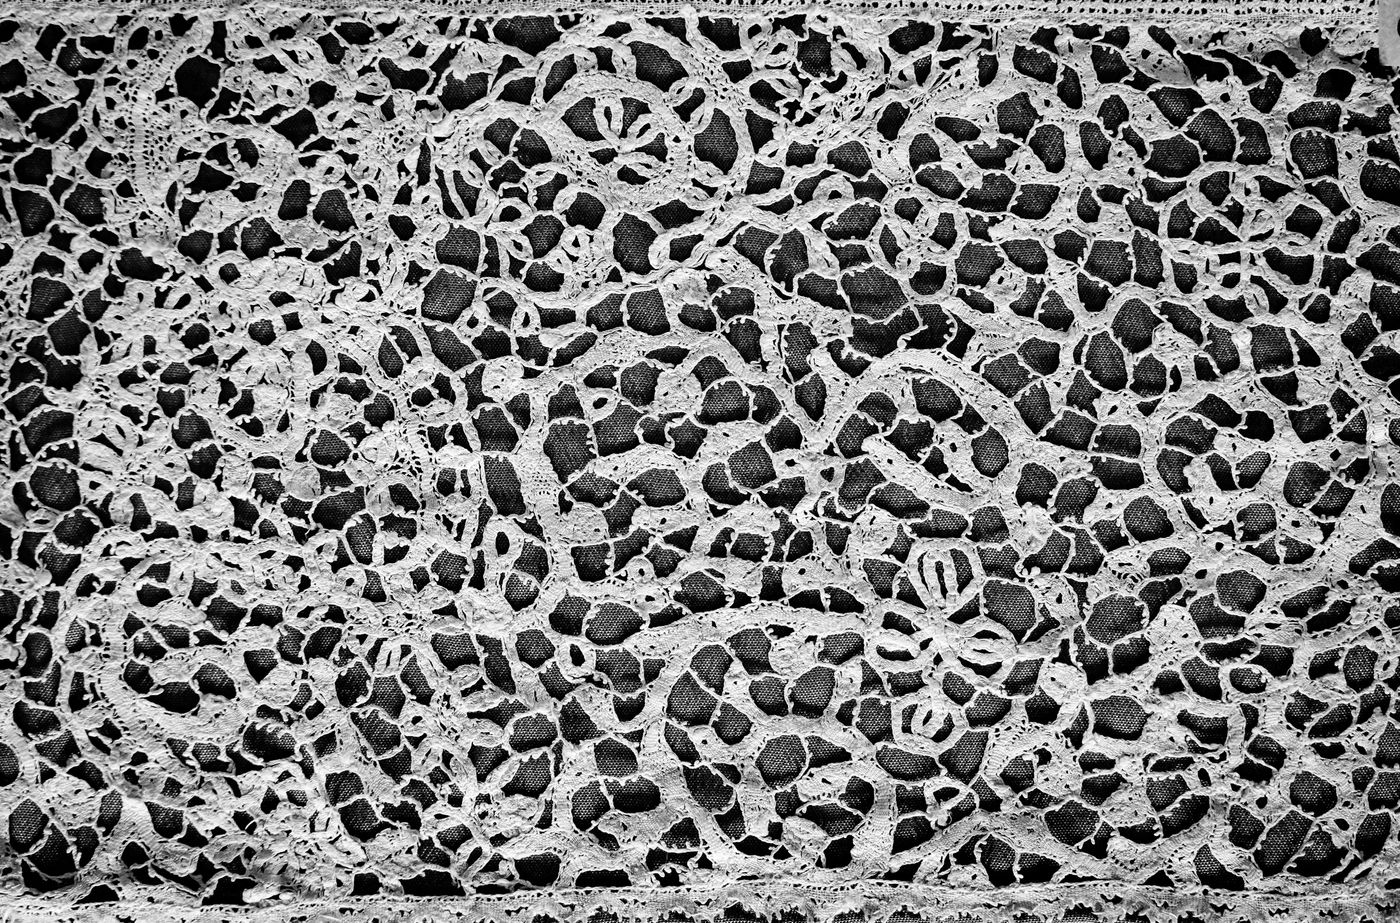
Export as PNG or WebP. Both carry a real alpha channel rather than a flat on/off mask, so wherever the cutout has partial opacity along an edge, the file can store it. WebP holds 8-bit alpha, 256 levels of opacity per pixel; PNG holds 8-bit or 16-bit. JPEG has no alpha at all — the transparent PNG guide covers when each makes sense.
Uploads cap at 25 MB. If a frame is close, save it out as WebP in your own photo editor rather than crushing JPEG quality to get under the limit.
Think twice about a drop shadow. A shadow under something the viewer can see through reads as fake, so on sheer pieces it is usually better left off — where one does help, the shadow walkthrough covers keeping the contact point believable.
Build the setup once
Rail, plain wall, window, a clip and a white card. Once that corner exists, every veil, mesh panel and lace sample runs the same two-frame routine, and the whole range comes back with edges that behave alike. That repeatability beats any single perfect photograph.