English
 Español
 Português (BR)
 Deutsch
 Français
 Italiano
 Türkçe
 Bahasa Indonesia
 Русский
 日本語
日本語 한국어
한국어 Українська
 Tiếng Việt
 Polski
 Nederlands
 ไทย
ไทย Română
 简体中文
简体中文 繁體中文
繁體中文 العربية
 Български
 Filipino
 हिन्दी
 اردو
اردو বাংলা
বাংলাBarbershop Photos That Show the Cut, Not the Clutter
That mirror behind the chair is photographing your towel bin — and a skin fade dies against a dark wall. How to shoot cuts that hold their edge between clients.
- barbershop
- salon
- haircut photography
- portfolio
- background removal
- hair cutout
- phone photography
- lighting
- small business
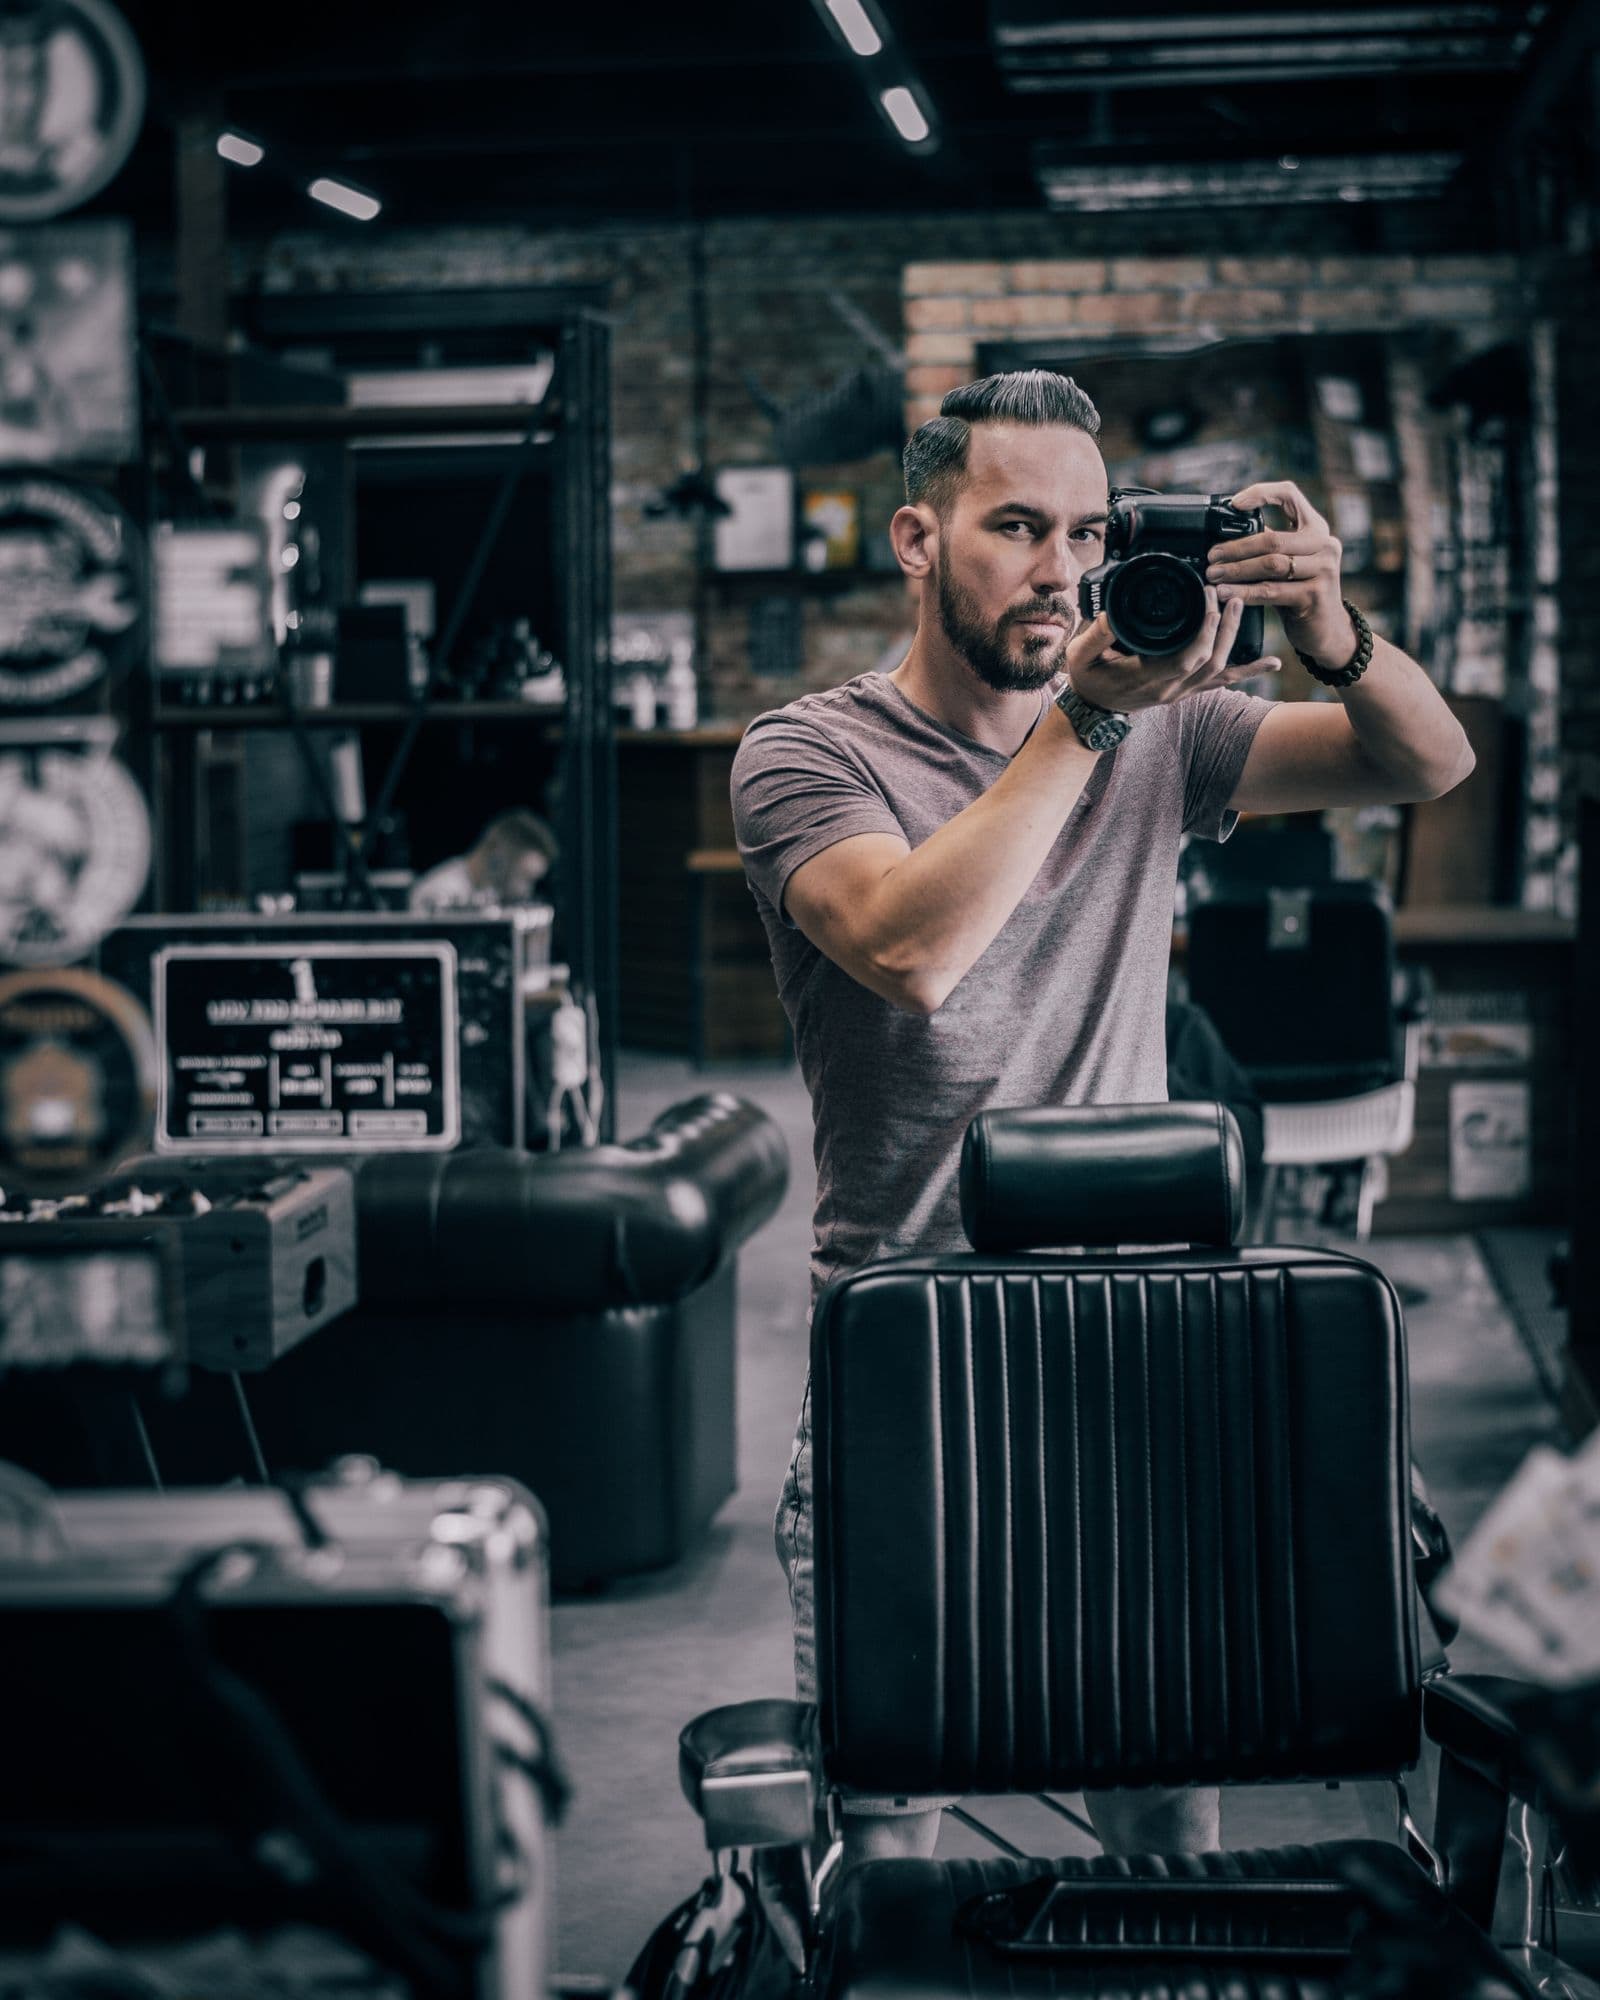
Scroll back through your last twenty haircut photos. In most of them there is a mirror, and in the mirror there is you holding a phone, a towel bin, a shelf of pomade tins and whoever is waiting in the second chair. The cut is sharp. The photo is about your storage arrangements.
The other problem is harder. Hair is one of the hardest things to separate cleanly from what sits behind it. A skin fade dies against a dark wall because the shortest part of the blend has almost no contrast to work with, and flyaways can taper to a single pixel. Get the shot wrong at the chair and no editing later will invent an edge that was never captured.
Here is a routine you can run between clients, on the phone in your apron.
The mirror is doing the damage
A mirror behind your client puts a second version of their head in the frame. It is a real object, not a distraction you can wish away, and it sits right behind the edge you care about.
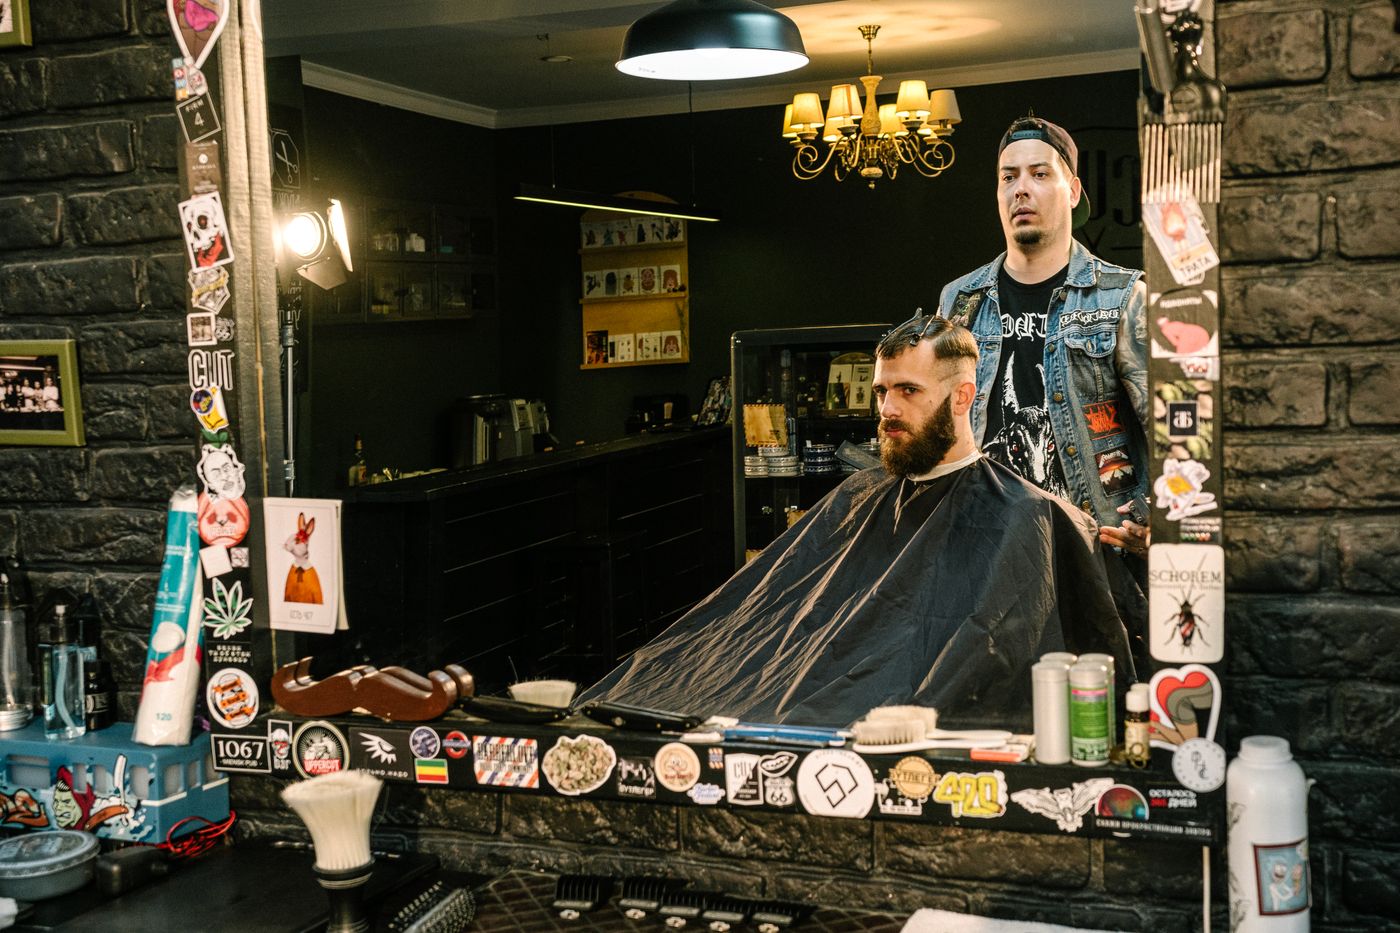
The fix is free — turn around. Shoot from the mirror wall towards the plainest surface in the room: the back of the door, the wall the coat hooks are on.
Where to stand the client
Get them out of the chair. Standing gives you control of distance, and distance is what makes this work.
- Put a metre or more between their back and the wall, so no hard shadow lands right behind the head.
- Hold the phone at the client's eye level. Shooting down flattens the top of a cut; shooting up widens the jaw.
- Step back rather than pushing the phone close; at arm's length a wide lens stretches a nose and shrinks the ears.
- Check the top corners. A ceiling vent creeping into frame will outlive the haircut.
Shoot the same four angles, every time
Front, left profile, right profile, back. Same order, every client, until you stop thinking about it.
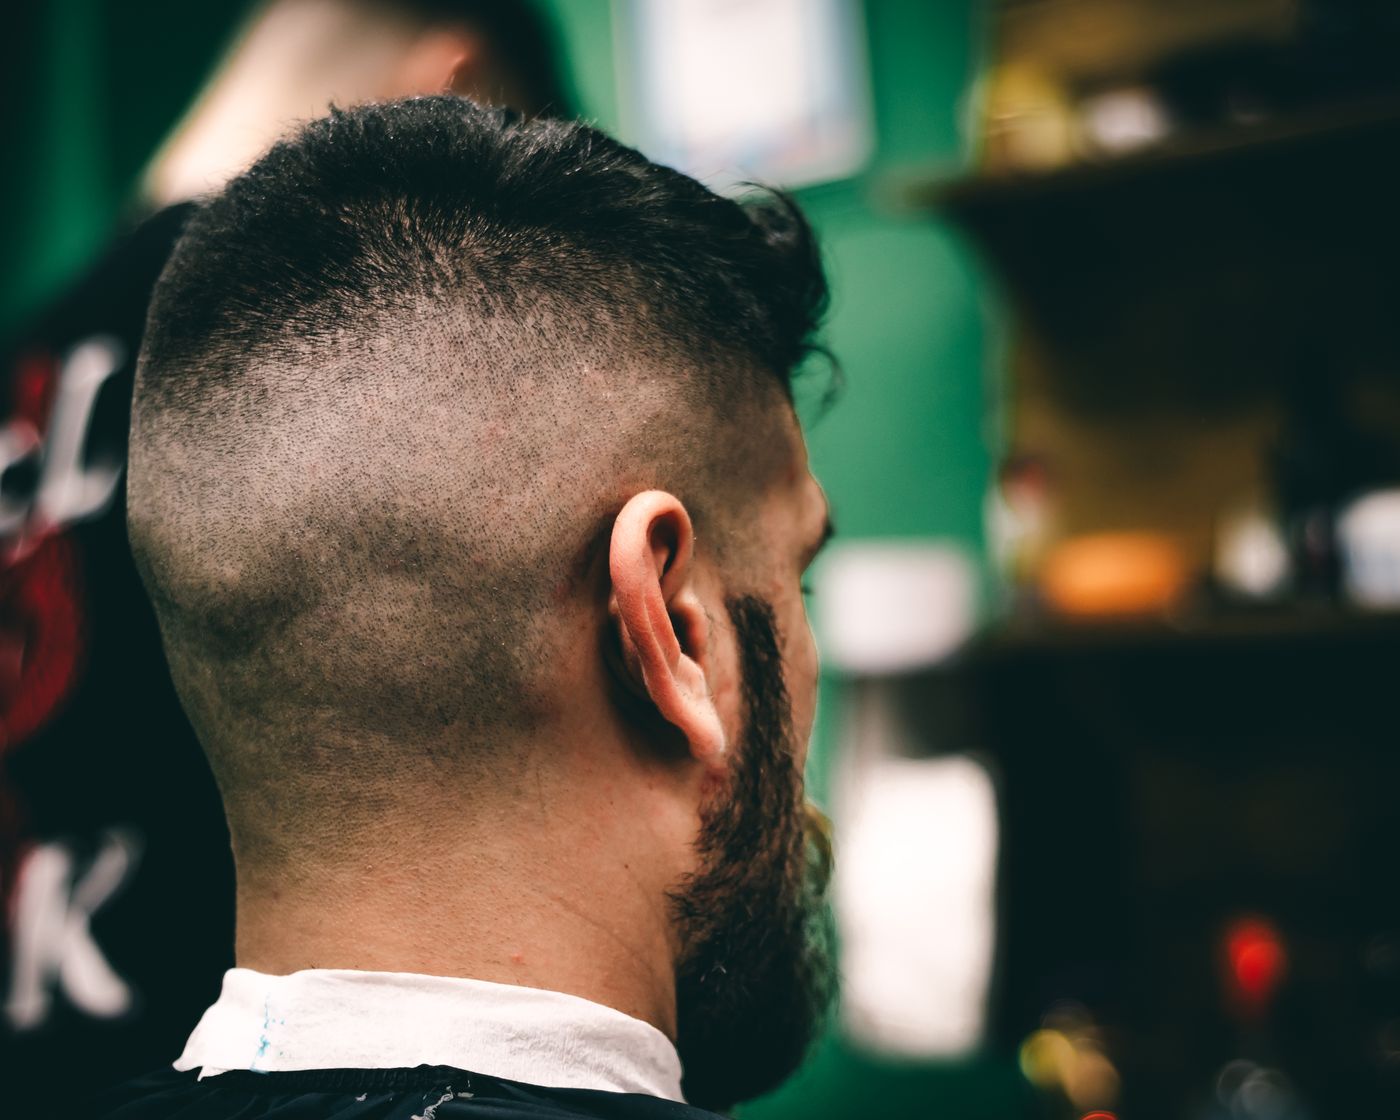
The back is the one clients ask for and barbers skip. On a fade it carries the whole story: the guide line, the blend into the neckline, the shape of the taper. Ask for square shoulders and a slightly dropped chin. On a colour or a long layered cut the profiles matter more — that is where the ends and the graduation live.
Light the hair, not just the face
Overhead salon spots drop the eye sockets into shadow and flatten the texture on top of the head. Turn your client so the window or shop door is about forty-five degrees to one side.
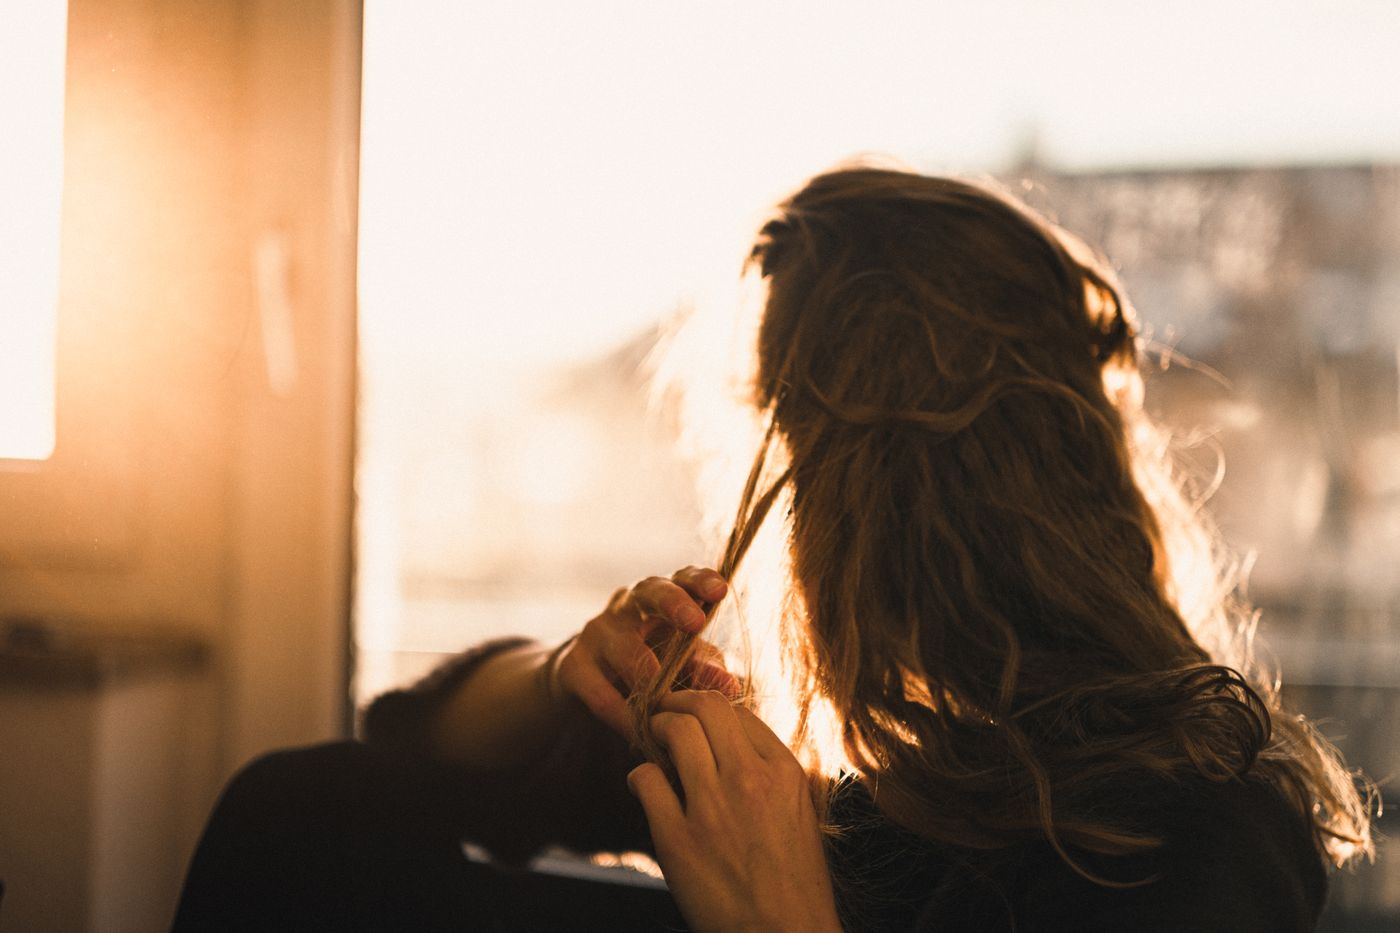
Then do what almost nobody does: get light behind them. A window or lamp behind and slightly to one side draws a bright rim along the outline of the hair, and that rim is the most useful thing you can hand a cutout — especially with dark hair, which otherwise merges into anything darker than mid-grey.
The cutout, and what to check afterwards
Upload the frame to remover.bg and the wall and shelves behind your client come away while the hair edge stays — which is why you kept the second chair out of shot at the chair, not in the edit. It takes PNG, JPEG and WebP up to 25 MB and runs on iOS and Android, so it is a between-clients job.
Before posting, drop the cutout onto a colour much darker than the original background and look at the crown and temples, where thin flyaways hide. Then add a drop shadow: a head touching nothing reads as fake, while a soft shadow behind and below sits it back into the frame. Our guide to realistic shadows covers direction and softness.
Want a particular shape for the grid? Crop it in your phone's photo editor. Instagram downscales anything wider than 1080 pixels to 1080 wide, and leaves your framing alone only if the aspect ratio sits between 1.91:1 and 3:4 — outside that it crops for you, usually through the top of the hair. Portrait runs to 3:4, so you need not go square; the help page on photo resolution has the current numbers.
One background, forty clients
Pick one colour — from your sign, your apron, your shop front — and put every client on it. You get a wall of heads, all shot from the same distance so they land at the same scale, where the only variable is the work. Consistent team headshots applies the same logic to your barber roster, and the at-home portrait guide covers your own profile picture.
Keep some photos untouched, though. Google's Business Profile guidance says a photo should be in focus and well lit, with no significant alterations or excessive filters — check the current wording on Google's help page for business photos — so your shop, chairs and street front are safest going up exactly as taken.
Start with your next client
Choose your wall today. Ask the next person in the chair whether they are happy to be photographed and posted, in writing if you can, and check what your local rules say about publishing someone's face. Then run the four angles and put the results on one colour. A fortnight of that gives you a grid where every frame shows the taper and nothing else.