English
 Español
 Português (BR)
 Deutsch
 Français
 Italiano
 Türkçe
 Bahasa Indonesia
 Русский
 日本語
日本語 한국어
한국어 Українська
 Tiếng Việt
 Polski
 Nederlands
 ไทย
ไทย Română
 简体中文
简体中文 繁體中文
繁體中文 العربية
 Български
 Filipino
 हिन्दी
 اردو
اردو বাংলা
বাংলাOutdoor Daylight Product Photos That Cut Out Cleanly
No studio, no window? Shoot product photos outdoors: which sky to wait for, why tree shade wrecks edges, how grass tints a white mug, and what wind costs you.
- product photography
- background removal
- outdoor photography
- natural light
- ecommerce
- phone photography
- cutouts
- small business

Most product photography advice assumes a spare table by a big window and room to leave a paper roll standing. Plenty of sellers have neither: the kitchen table is the only table, the stock lives under the bed, and the one window faces a wall.
The workaround is outside. Daylight is the largest even light source you will ever get for free, and a shaded doorstep works fine. It also punishes carelessness: a shot that looks good on your phone can cut out with blotchy, broken edges and a product that has quietly turned green.
The best day to shoot is the one you would cancel
A flat, overcast sky is a diffuser the size of the county. Light arrives from every direction, so there are no blown white patches on a glossy lid and no black holes in a fold of fabric. Both wreck edges: a blown highlight has no detail to grab onto, and pure black merges with the background.
Aim for bright overcast, the kind where you can just about see a faint shadow under your hand. A storm sky pushes the ISO up, and edge noise wrecks cutouts. Direct sun throws a hard shadow straight out of the silhouette, so the cut clips the object or drags a wedge of paving.
Never shoot under a tree
Tree shade is the obvious answer and the worst light in the garden. Leaves let through coin-sized patches of direct sun, so the product ends up striped with bright and dark blotches. The damage lands on the outline: a sun patch straddling the edge leaves half the boundary bright and half dark, so the cut follows the leaves.
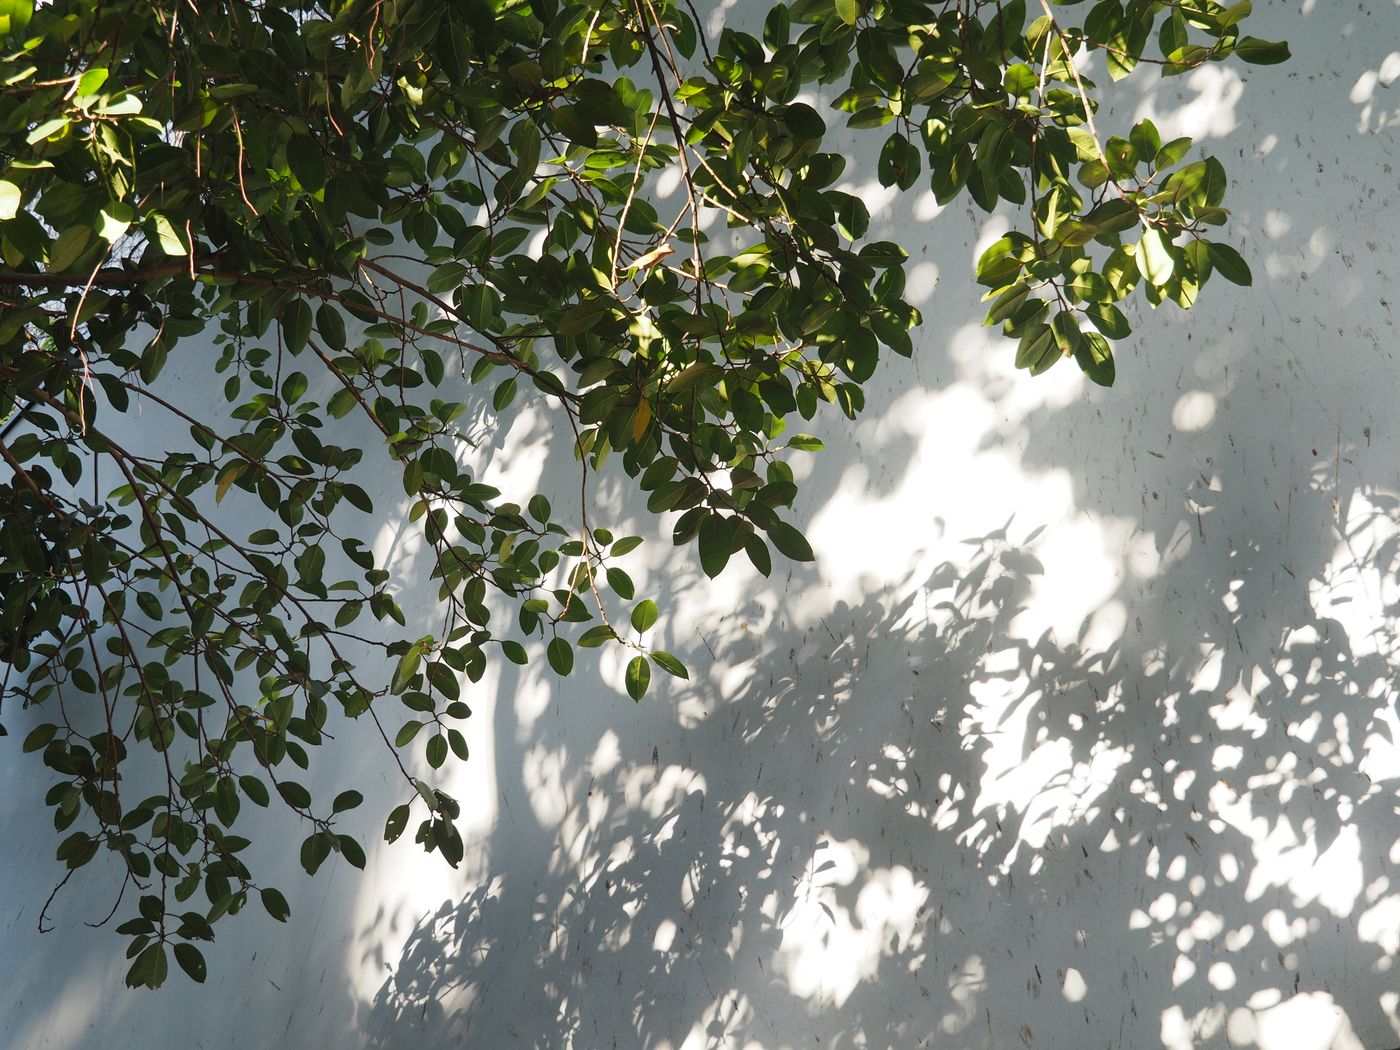
Leaves also move, so no two frames match. Use a building's shade instead: a wall casts one continuous shadow, lit by open sky, identical every time.
Grass and brick will tint your product
Any surface you set a product on bounces its colour back up. A white mug on a lawn picks up green along its lower half; terracotta paving throws warm orange. Undoing it later means colour work in your own photo editor, far more effort than preventing it.
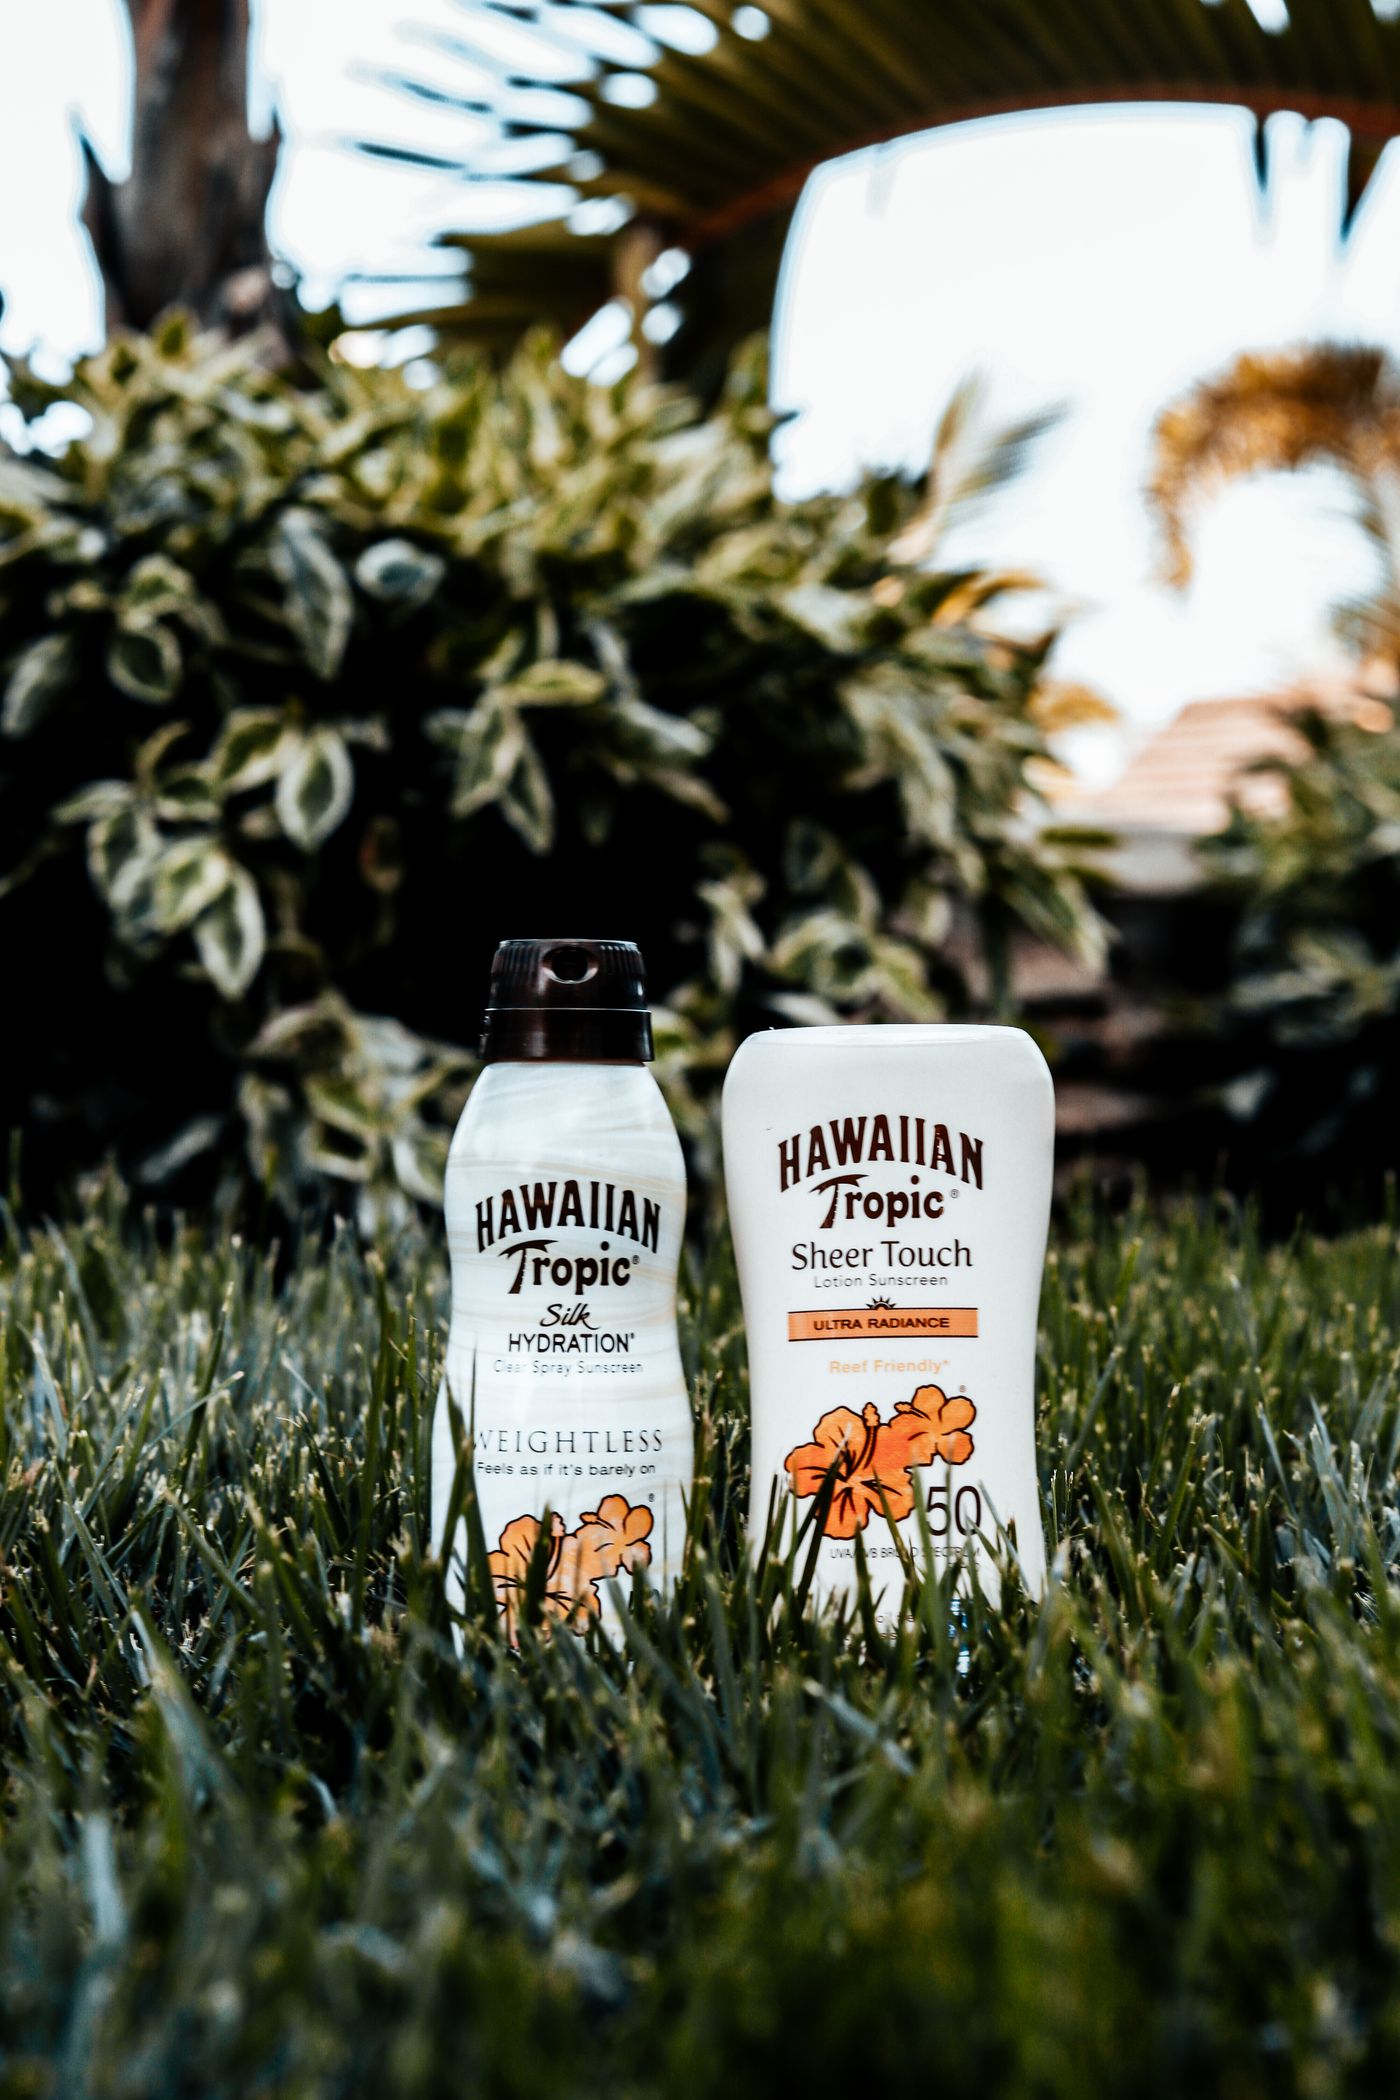
Lay white printer paper beside the product, shoot a test frame, and look at the paper on screen: if it looks green, so does your product. Fix it by lifting the item onto something neutral, like foam board or a sheet.
If your camera or your phone's pro mode lets you lock white balance, set Cloudy or Shade for the session — auto drifts between frames. With no such control, keep the light and the surface identical across the set so the frames drift together. remover.bg separates the product from its background; it does not colour-correct, so a cast has to be prevented at capture.
What to use as a backdrop outside
The background is coming off, so it need not be pretty, only plain and clearly different in tone from the product.
- A rendered or painted wall in even shade: the most reliable option for anything you can stand upright.
- Open sky, shooting slightly upward, for tall or awkward items. Expose for the product and let the sky blow out: blown highlights on the product destroy an edge, bright emptiness behind it does not.
- A white sheet pegged to a washing line — wrinkles are fine.
Avoid repeating lines behind the subject: fence slats, decking, trellis, brick courses. They read through handles, spouts and chair legs, making the negative space ambiguous. Polished surfaces mirror the whole sky, so reflective items need their own approach.
Cut the shadow, then rebuild it
The shadow you shot outdoors carries the texture of paving or grass, which survives as a grey smear under the object. Shoot the product cleanly separated, remove the background, then add a realistic drop shadow in the editor so the cutout sits on the surface, the step that grounds a floating cutout.
Wind is what actually ruins the take
Motion blur is the input problem background removal cannot undo: the edge is smeared before the file is uploaded, so there is no clean boundary left to find. Fabric, paper and hang tags are all vulnerable.

- Put your back to the wind and use the wall as a windbreak.
- If your camera or a pro-mode app lets you set shutter speed, keep it at 1/250s or faster. If it hides shutter speed, shoot in bright shade rather than deep — the app picks a fast shutter itself.
- Anchor light items with poster putty; hold cards upright with a hidden clip.
- Shoot a burst and keep the one still frame.
- Failing that, lay the item flat on your board and shoot straight down.
Check what your phone is actually saving
Many phones default to a space-saving HEIC file, which is not an accepted upload type: open your camera app's format setting and pick the compatibility option, or share the shot out of your gallery as a JPEG. Uploads accept PNG, JPEG and WebP, up to 25 MB each.
Upload the shots one at a time, drop each onto the same background colour, and use one shadow style across the set. For a large catalogue handled programmatically, that is what the background removal API is for.
Ten minutes on a cloudy Tuesday
None of this needs a purchase: a grey afternoon, a shaded wall, a white board, and the discipline to leave the camera alone. Do it once and you stop reshooting, because every listing finally matches.