English
 Español
 Português (BR)
 Deutsch
 Français
 Italiano
 Türkçe
 Bahasa Indonesia
 Русский
 日本語
日本語 한국어
한국어 Українська
 Tiếng Việt
 Polski
 Nederlands
 ไทย
ไทย Română
 简体中文
简体中文 繁體中文
繁體中文 العربية
 Български
 Filipino
 हिन्दी
 اردو
اردو বাংলা
বাংলাShooting White Products on a White Background
A white product on a white background leaves no edge for an automatic mask. Spot-meter off the product, separate it with black card, and shoot on light grey.
- product photography
- white background
- exposure
- ecommerce
- background removal
- studio lighting
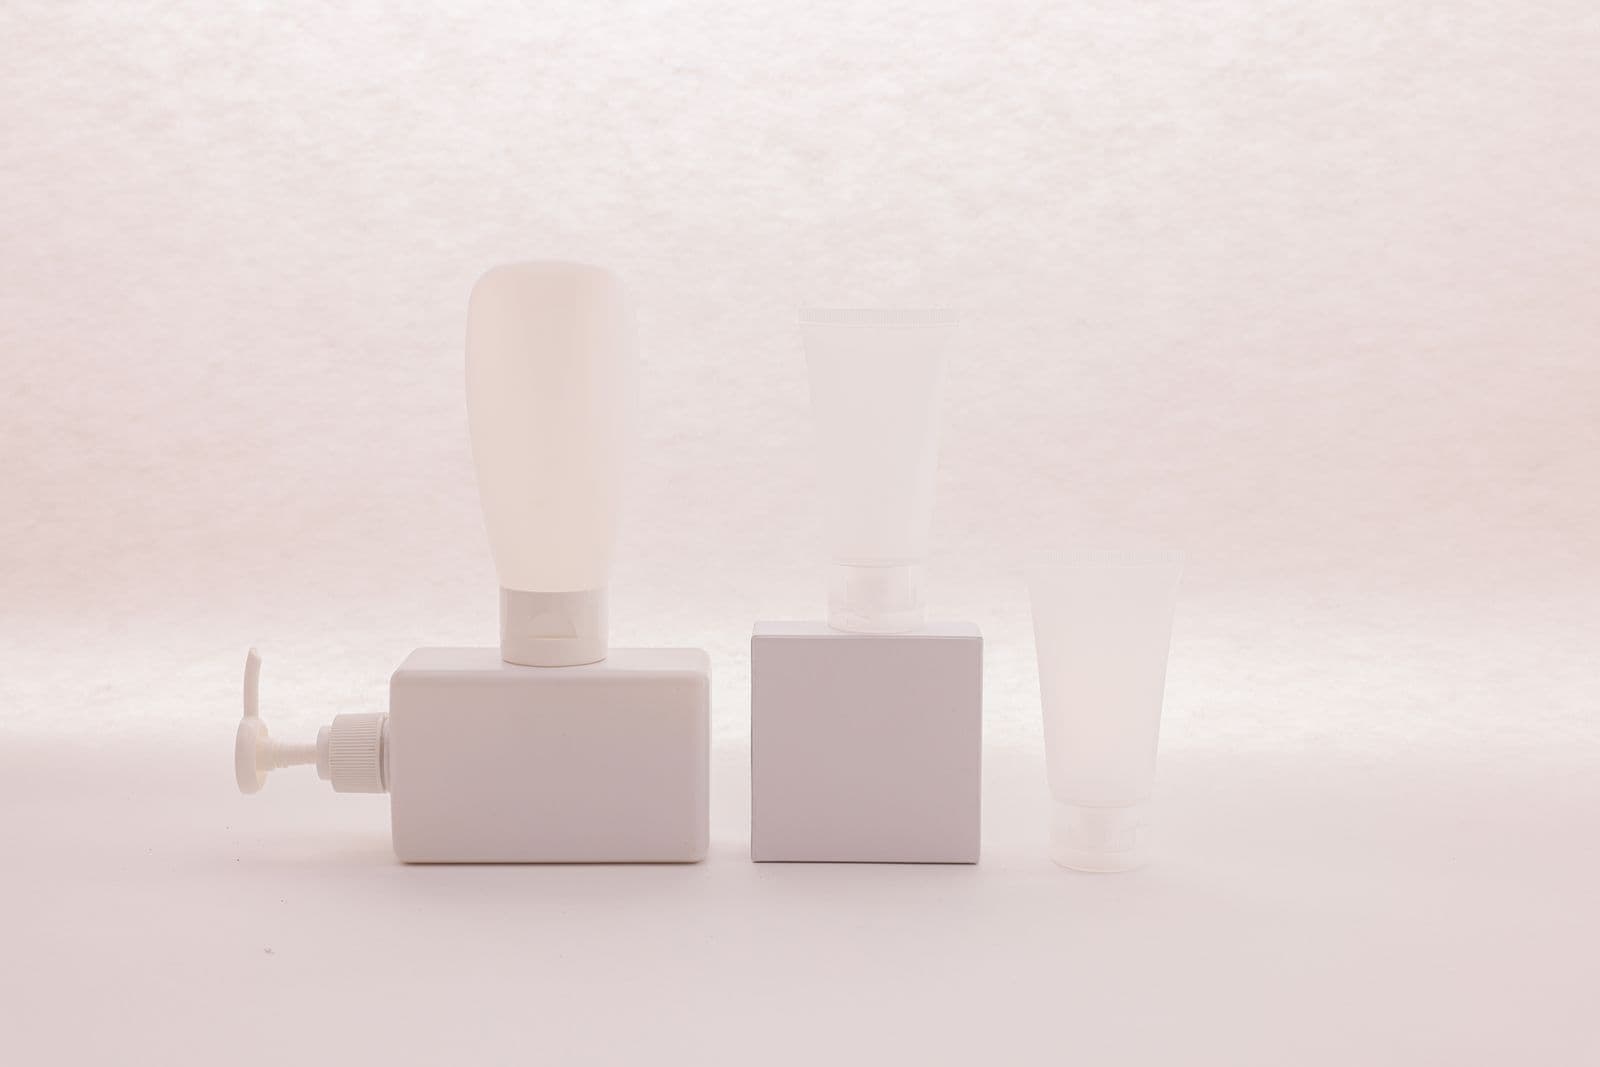
Photograph a cream candle, a white trainer or a bar of soap against a white sweep and you meet the same failure: the product's own edge stops existing. At thumbnail size it looks fine. Zoom to 100% along the shoulder of a bottle and there is no line there at all — just a soft ramp from one white into another.
A retoucher cutting by hand can invent the missing edge; they know what a mug looks like. An automatic mask works only from what the pixels say, and when the product's last pixels and the backdrop's first pixels are both pure white, nothing in the file marks the boundary. The mask picks somewhere anyway — usually eating a sliver of rim, or leaving a white lump welded to one side.
The fix is not a better cutout tool. It is a few minutes of exposure discipline at capture, and it pays off on every frame afterwards.
Meter the product, not the scene
Most metering modes pull exposure towards mid grey. Fill the frame with a white backdrop and the meter drags everything down until the sweep is grey and your product is grey with it — the dishwater look sellers blame on the room.
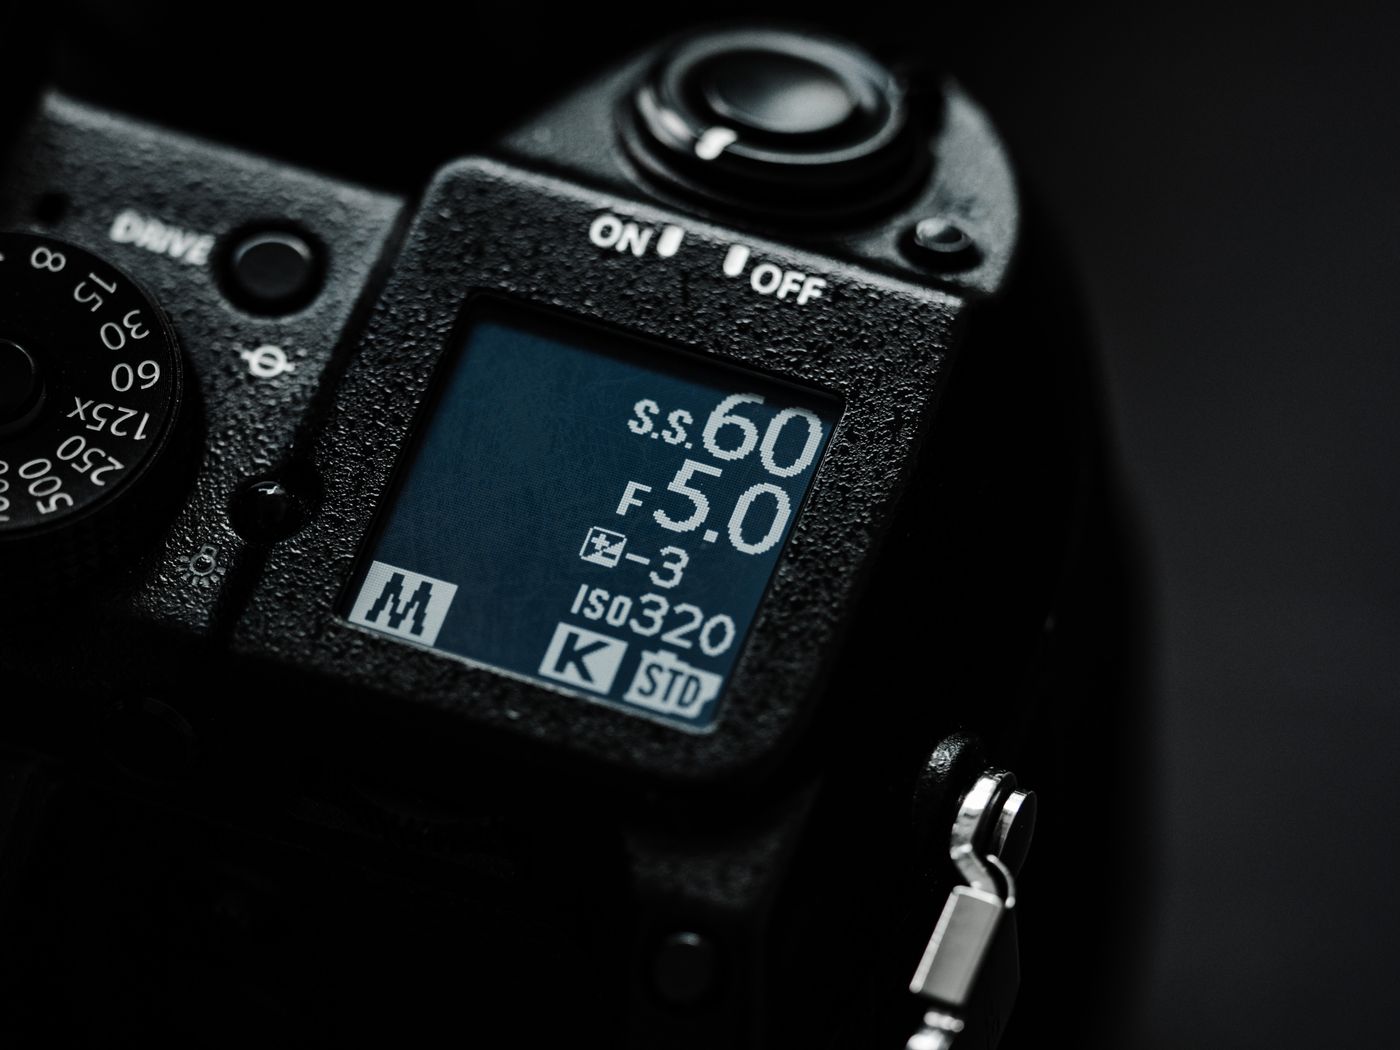
Switch to spot metering and meter off the largest flat face of the product, never off the sweep — then dial in one and a half to two stops of positive exposure compensation, because a meter renders whatever it reads as mid grey. A phone does the same thing: tap the product to set the exposure point, then drag the exposure slider up until the surface reads white again — and ease it back just far enough that the material returns, the weave in linen, the glaze on porcelain. Either route, the product sets the exposure and the background falls where it lands.
Keep the product below clipping, the sweep just above the product
Now split the two deliberately. With the compensation dialled in, trim back a third to two-thirds of a stop from the point where the product's brightest face starts to clip: far enough that the white holds texture, not so far that it reads grubby. Let the backdrop sit a touch brighter than the product.
You do that with light placement, not a slider. Move the product forward, away from the paper, then aim a second lamp or bounce card at the backdrop alone. With one light, feather it so the hot centre lands on the sweep and the product sits in the softer edge. A stop of separation is plenty; you are not blowing the background out, just creating a difference where there was none.
Draw a dark edge with black card
Exposure alone will not save a curved white surface: the curve rolls off into the same brightness as everything behind it. That is what black flags are for — two pieces of black foam board or matte card, stood vertically just outside the frame, angled slightly towards the product.
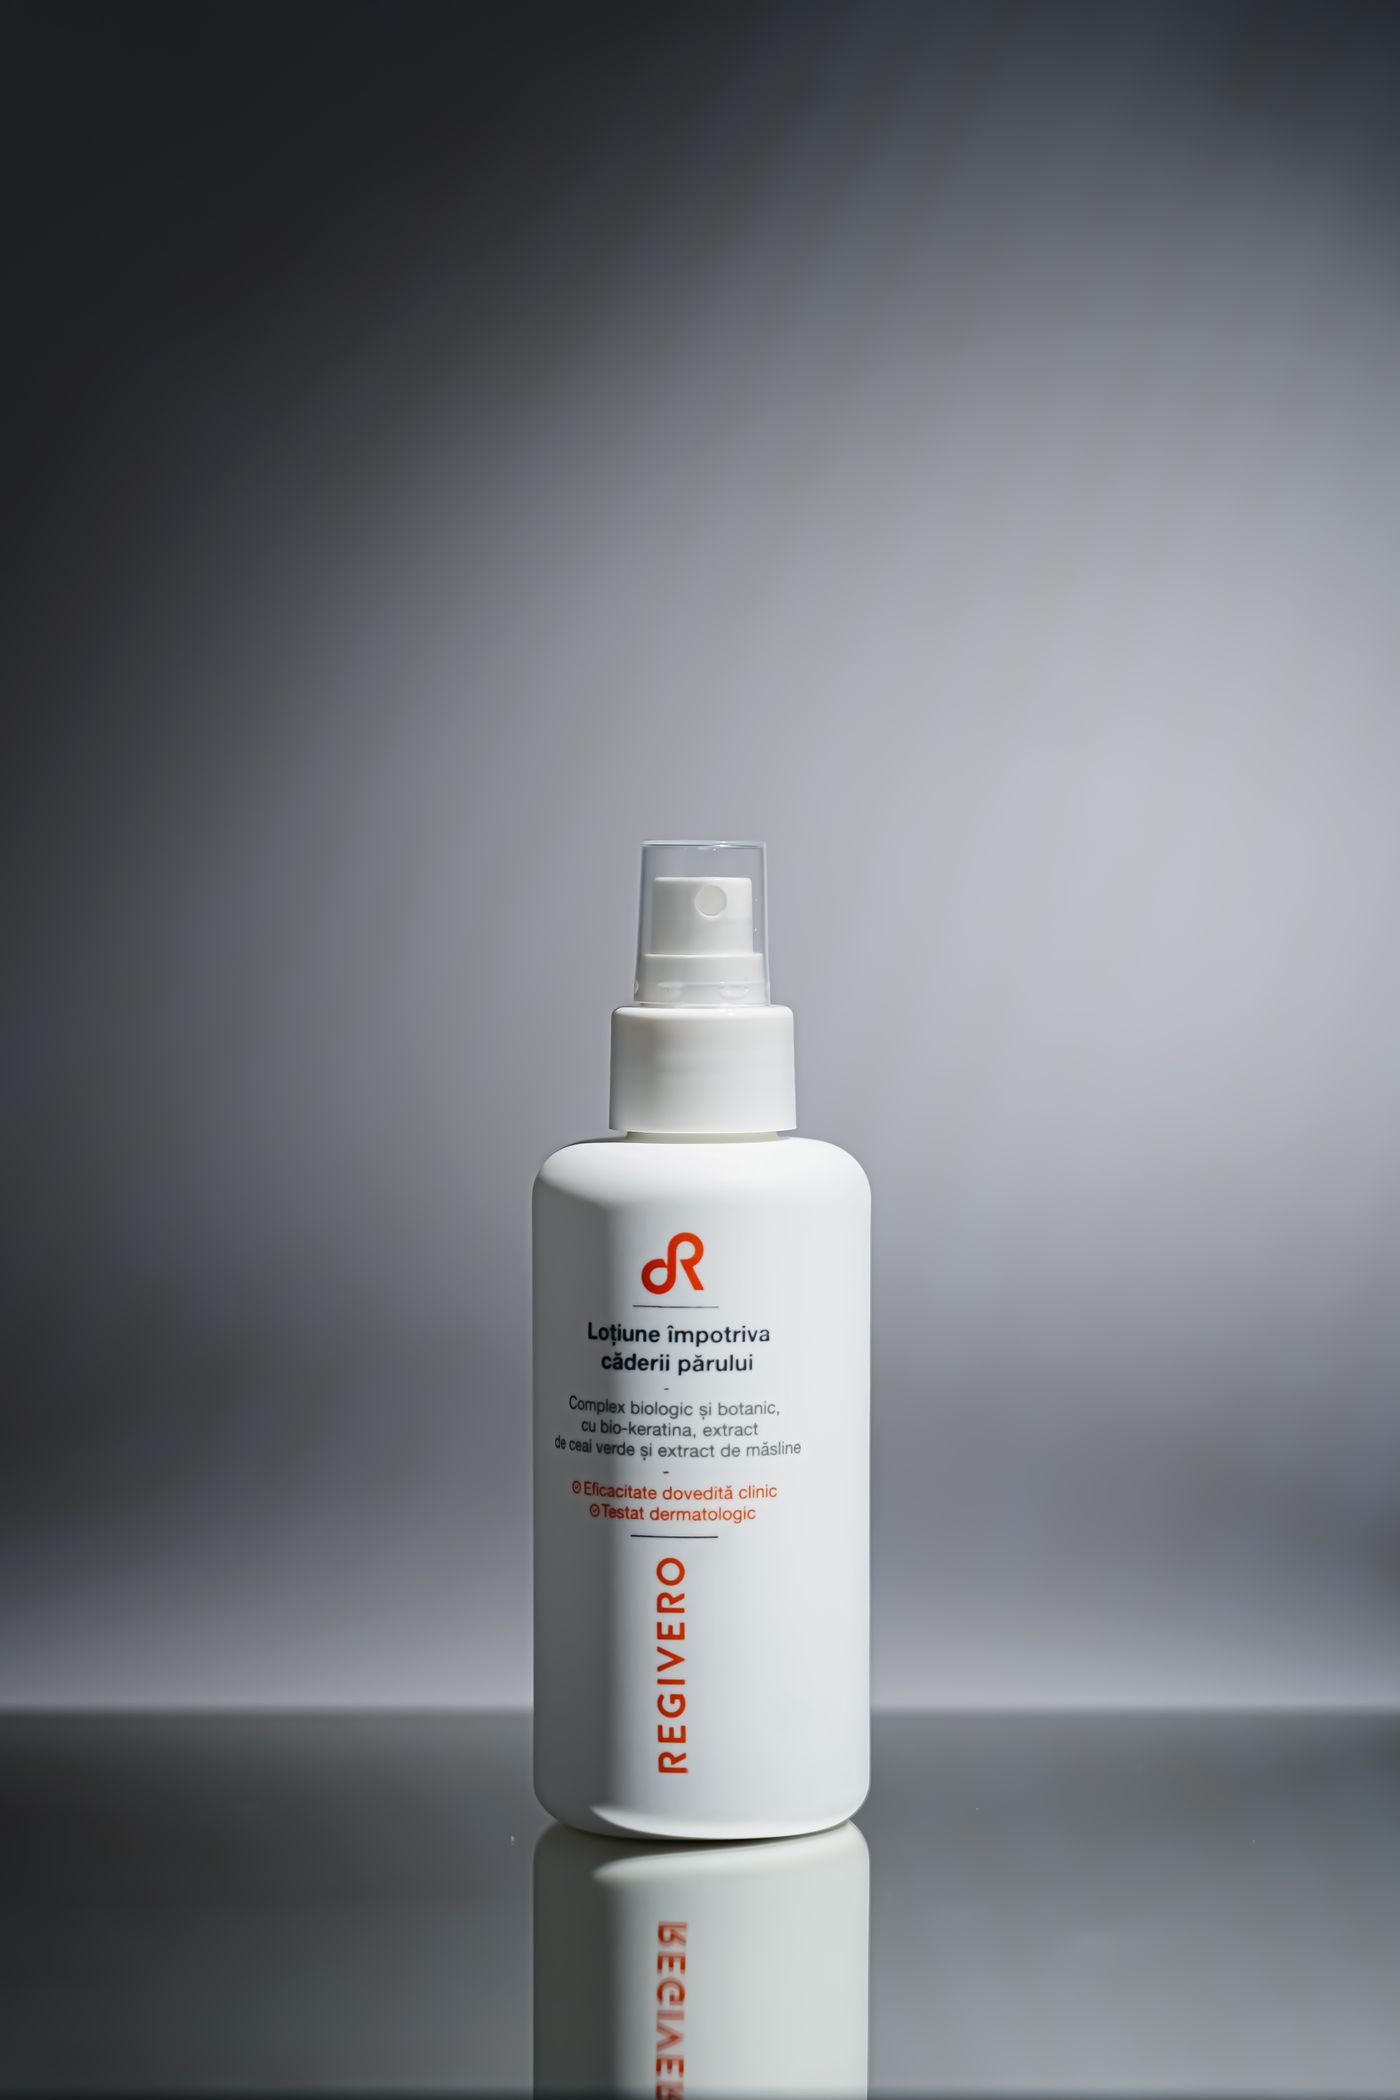
They add nothing to the shot; they subtract. Anything glossy or curved — a shampoo bottle, a ceramic jar — picks up a soft dark gradient down its sides, and that gradient is the contour a mask locks onto.
- Start a hand's width away and slide the cards closer until the edge appears on the preview.
- Use two: one card leaves the far side to dissolve again.
- Reflective white items behave like the shiny subjects in our jewelry photography guide: control what they reflect and you control the edge.
Shoot on light grey, finish on white
Chasing pure white in camera is the instinct, because that is what marketplaces ask for. Amazon wants a pure white background on the main image — check its requirements in Seller Central before you publish, since the rules do change; we cover the practical side in our Amazon image requirements guide.
But the tone in the capture does not have to be the tone on the listing. Shoot on a very light grey sweep instead — a grey that reads as white until you hold a card against it, and that still gives your eye and the mask a real boundary. Cut the product out in remover.bg and set the background to solid white for the main listing image; save brand colours for secondary and lifestyle shots, where marketplaces allow them. The listing gets its white; the capture never had to fake it.
Check one frame before you shoot forty
Shoot one test frame and inspect it at 100%, zoomed into the thinnest part of the outline — a bottle neck, a shoe's heel counter. If you can trace it yourself, a mask can too.
If it vanishes into the backdrop, slide a black card in or lift the backdrop's brightness and shoot again. Fixing it now costs one frame; finding it after a forty-item session costs the session.
Putting the finished cutout to work
Once the edge is real, the rest is quick: cut out, drop the product onto white, and add a soft drop shadow so it sits on the surface rather than floating — the reasoning is in how to add realistic shadows. Upload your shot as PNG, JPEG or WebP — up to 25 MB — and export in whichever of those three formats your marketplace accepts. Build the setup once and it becomes the default: every white product you shoot afterwards reaches the cutout stage already carrying its own outline.