English
 Español
 Português (BR)
 Deutsch
 Français
 Italiano
 Türkçe
 Bahasa Indonesia
 Русский
 日本語
日本語 한국어
한국어 Українська
 Tiếng Việt
 Polski
 Nederlands
 ไทย
ไทย Română
 简体中文
简体中文 繁體中文
繁體中文 العربية
 Български
 Filipino
 हिन्दी
 اردو
اردو বাংলা
বাংলাClothing Product Photography: Flat Lay, Mannequin, or Model?
Flat lay, mannequin, or on-model? Pick the clothing photography method that fits each garment and budget, see what ghost mannequin editing really involves.
- clothing product photography
- apparel photography
- flat lay photography
- ghost mannequin
- ecommerce product photos
- background removal
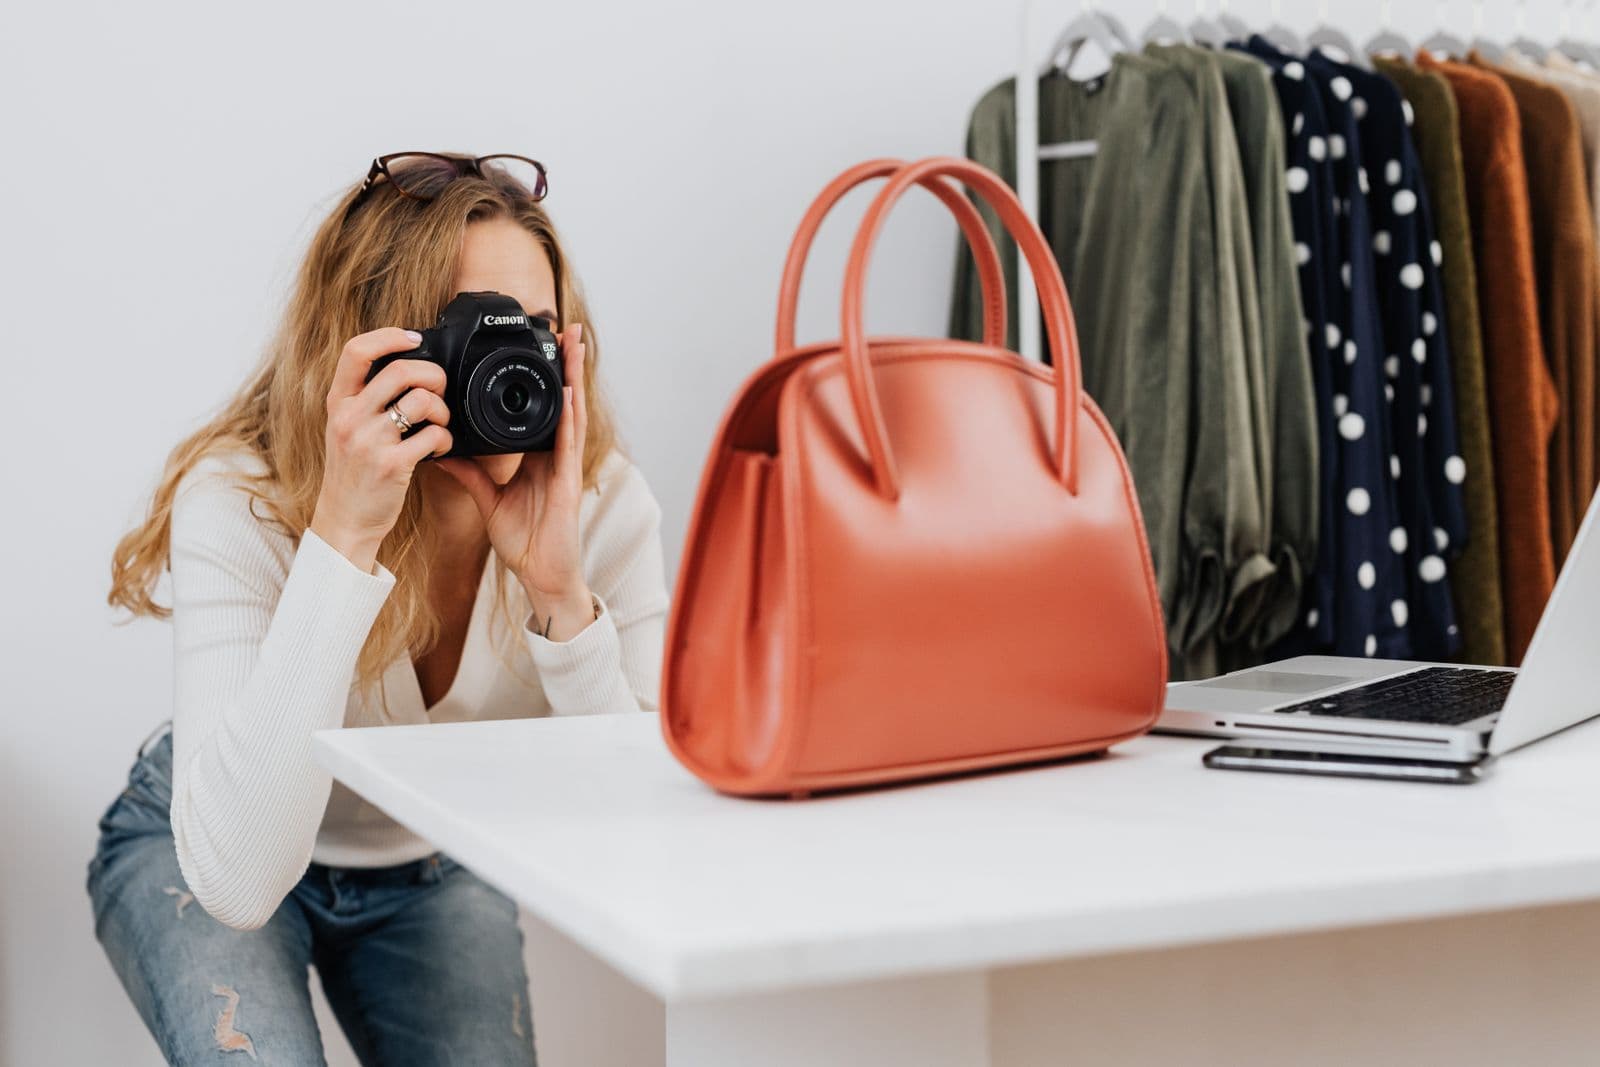
Fabric is a touch-first product sold through a no-touch medium. A shopper can't pinch the hem of your linen shirt or feel the weight of your knitwear, so your photos have to do all the persuading on their own. That's why clothing product photography has settled into three core methods — flat lay, mannequin, and on-model — and why experienced sellers rarely commit to just one.
Each method answers a different buyer question. Flat lay says here's exactly what it is. Mannequin says here's the shape it holds. On-model says here's how it looks on a body. The right mix depends on your product type, your price point, and how much budget your shoot can absorb.
Here's how to choose per garment — plus the one upgrade that improves all three methods at once: clean, consistent backgrounds.
Flat Lay Photography: The Budget Workhorse
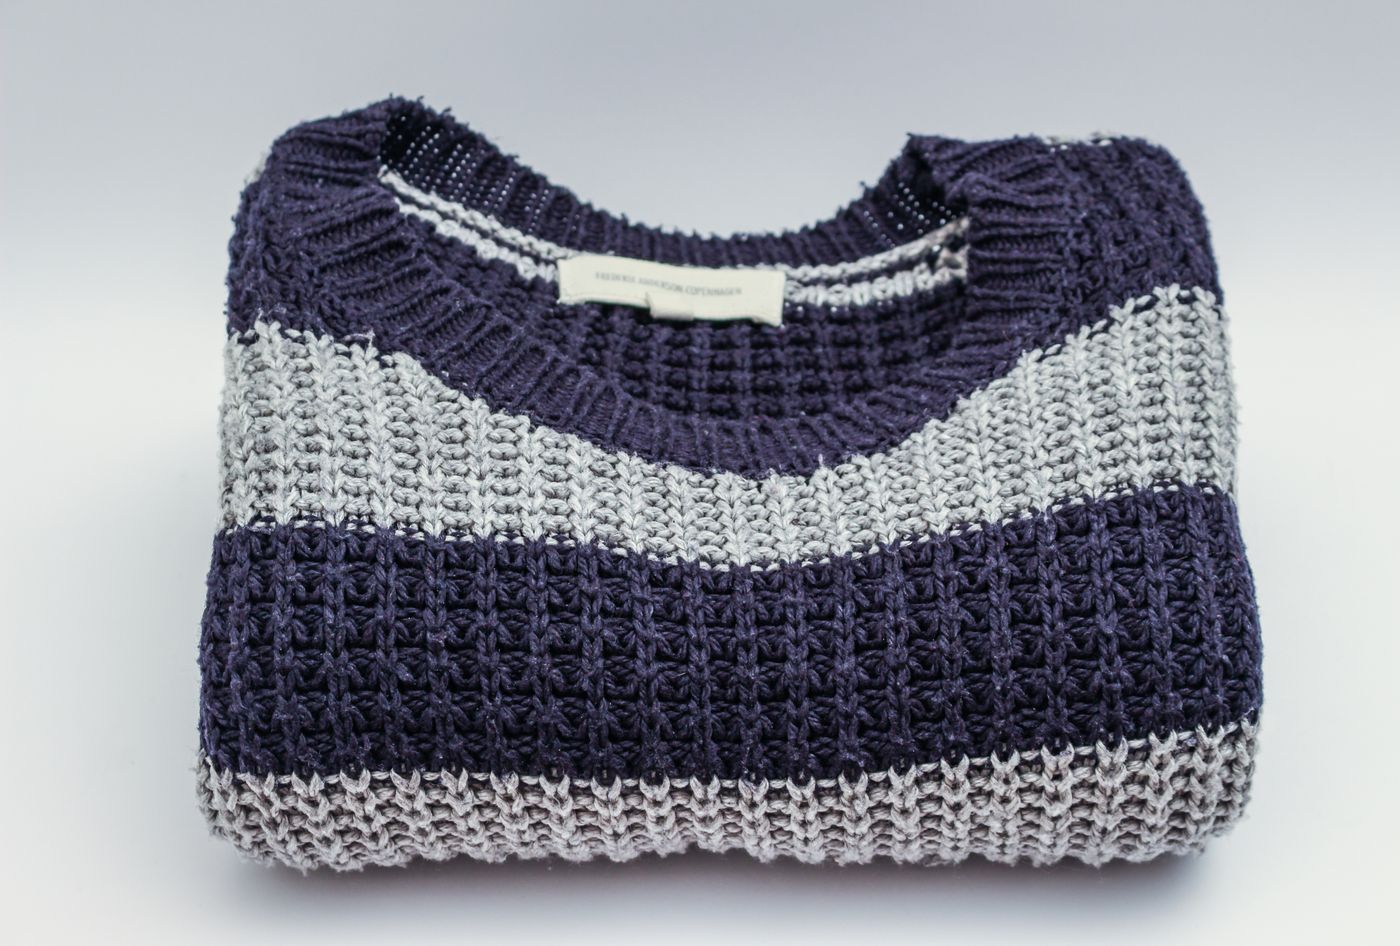
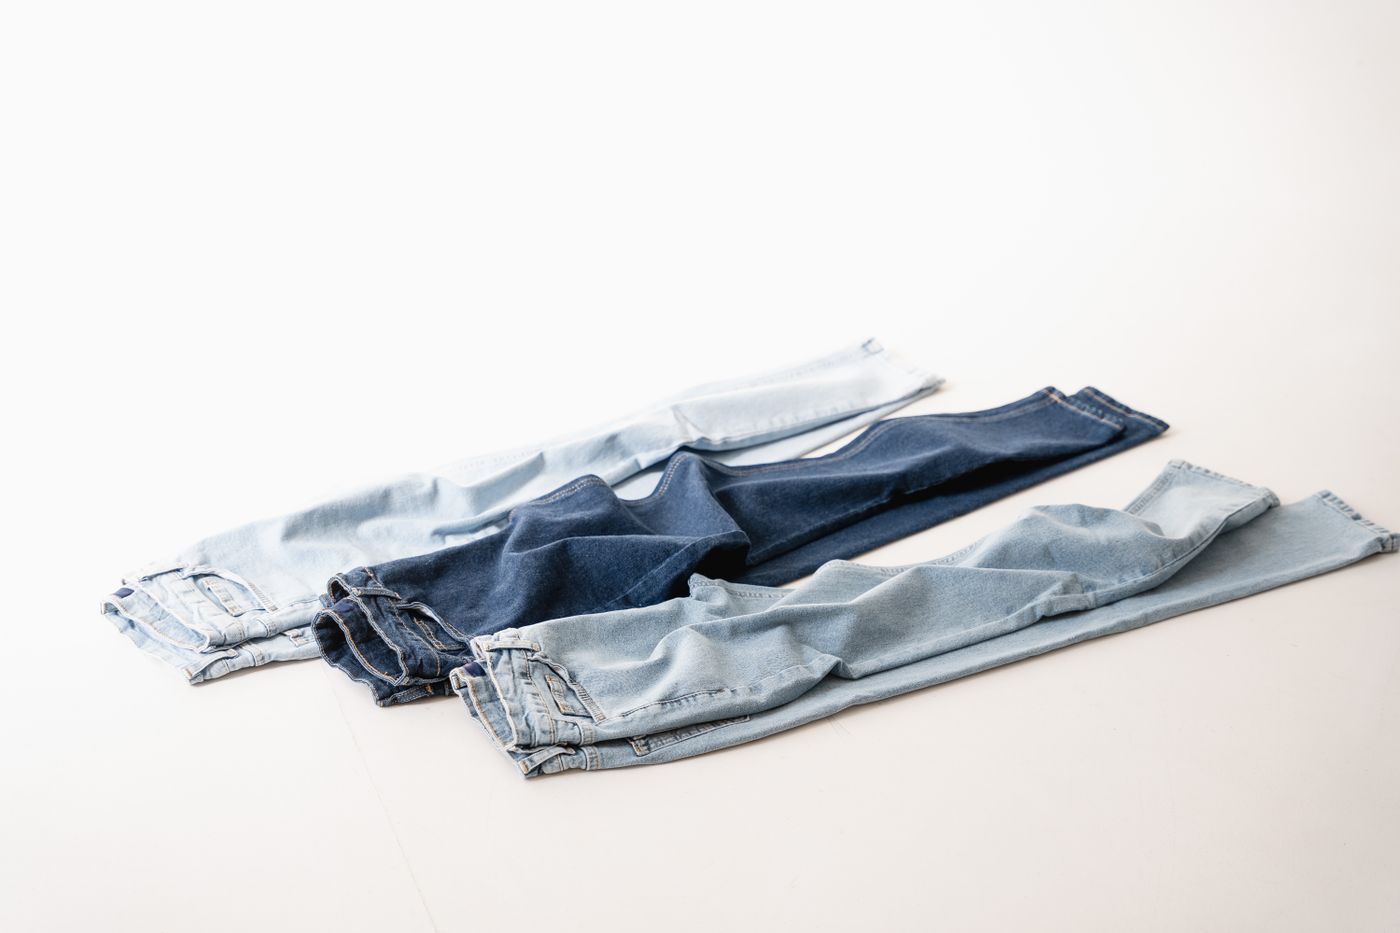
A flat lay is the garment laid flat on a surface, photographed from directly above. It's the cheapest method in apparel photography: a table, soft window light, a phone camera, and ten minutes with a steamer will get you a usable catalog image.
- Choose flat lay for — t-shirts, sweaters, jeans, loungewear, baby clothes, and accessories. Anything that reads clearly without a body inside it.
- Skip it for — blazers, fitted dresses, and anything where the silhouette is the selling point. Laid flat, structured pieces look like deflated versions of themselves.
Three habits separate amateurs from pros: steam every wrinkle (the camera exaggerates them), place sleeves deliberately, and shoot dead-center overhead so proportions stay true. Handmade and vintage sellers get extra mileage here, since flat lays double as lifestyle content — the exact aesthetic we cover in our Etsy product photos guide.
Mannequin Photography: Shape Without a Model Fee
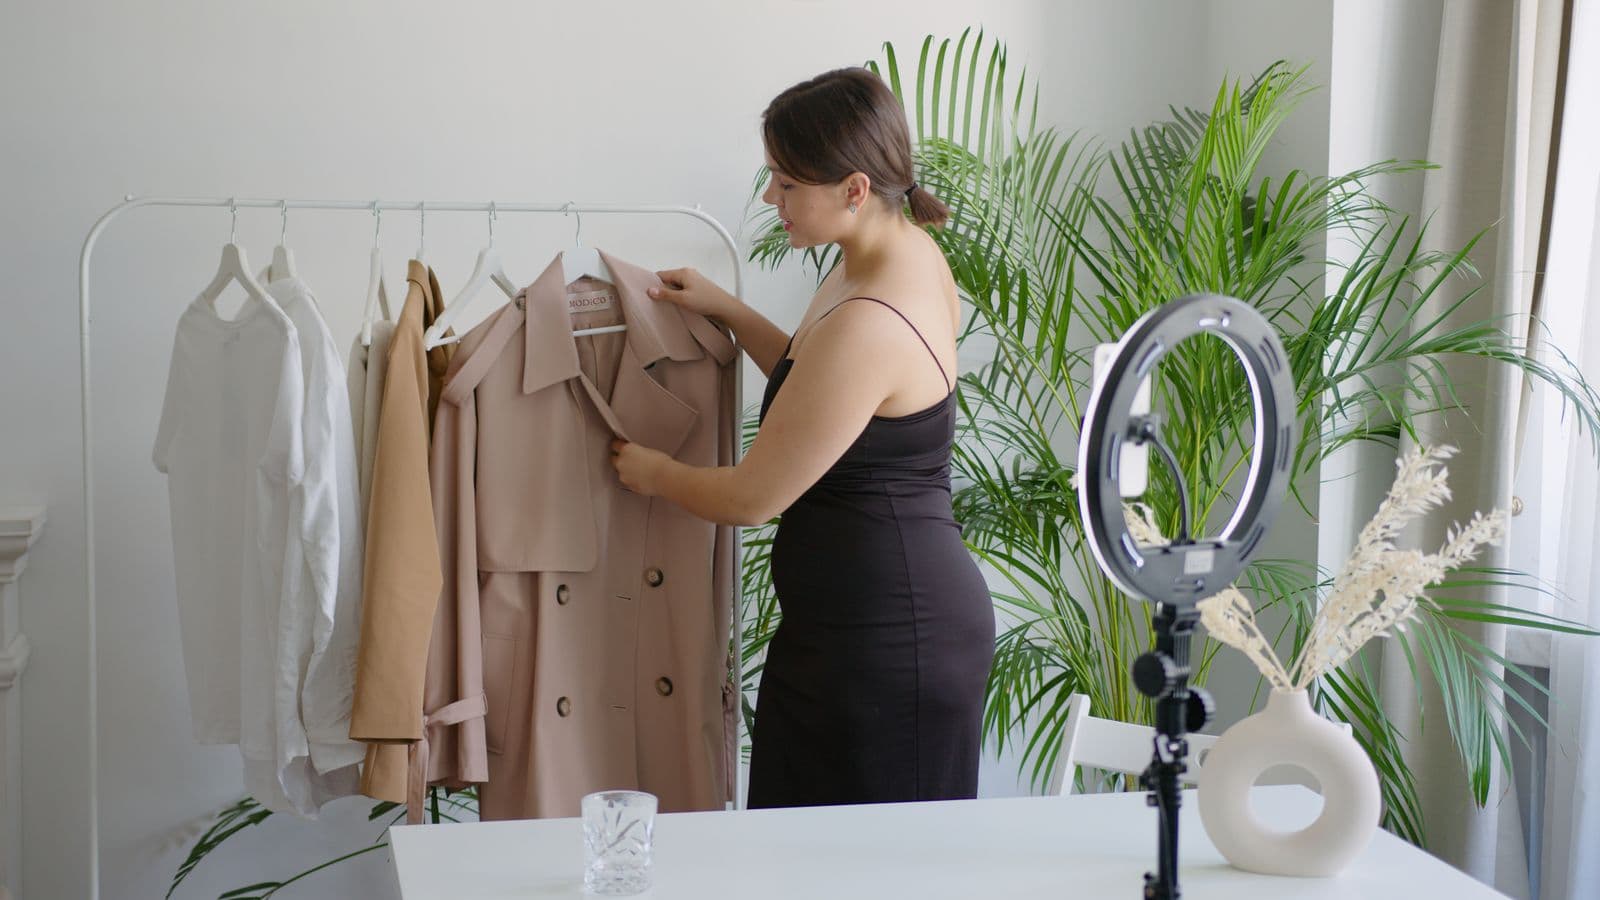
A mannequin or dress form gives garments their three-dimensional shape back for a one-time equipment cost. For structured clothing, it's the sweet spot between flat lay's speed and on-model's expense.
- Choose mannequin for — jackets, button-downs, dresses, outerwear, and mid-size catalogs where hiring a model for every drop isn't realistic.
- Watch out for — glossy plastic forms that create distracting reflections. A matte, fabric-covered form photographs far better than a shiny one.
Pin the garment at the back to pull it taut, and shoot every product from the same distance and angle. Consistency is what makes a mannequin catalog look intentional instead of improvised.
On-Model Photography: When Fit Sells the Product
Nothing communicates drape, stretch, and movement like a real person wearing the garment. It's also the most expensive method: model, photographer, studio time, coordination. That investment makes sense for dresses, activewear, swimwear, denim, and premium brands — categories where "how will this look on me?" is the entire purchase decision.
If you go on-model, standardize ruthlessly. Same poses, same crop heights, same lighting, same background for every product. And list the model's size alongside the garment size they're wearing, so shoppers can judge fit before they buy instead of after.
What Ghost Mannequin Actually Is (the Honest Version)
You've seen the "invisible mannequin" look: a hollow garment floating in space, neckline open, apparently worn by a ghost. Since plenty of tools imply this happens with one click, here's the honest explanation.
Ghost mannequin is a compositing technique. The photographer shoots the garment on a mannequin, then shoots a second frame of the inner neckline and back label — often with the garment turned inside-out on a foam board. An editor then combines both frames in an editing suite like Photoshop, masking out the mannequin and manually joining the neckline so the interior looks continuous.
That neck-joining step is skilled manual retouching, and we won't pretend otherwise: it is not something background removal does. If you want the ghost effect, learn the composite, hire a retoucher, or embrace a clean mannequin or flat lay shot instead. All three are honest, professional options.
Background Replacement: The Upgrade Every Method Shares
Whatever you shoot, the background decides whether your catalog looks curated or chaotic. A kitchen table behind one shirt and a bedsheet behind the next reads as a side hustle; identical clean backdrops across fifty products read as a brand.
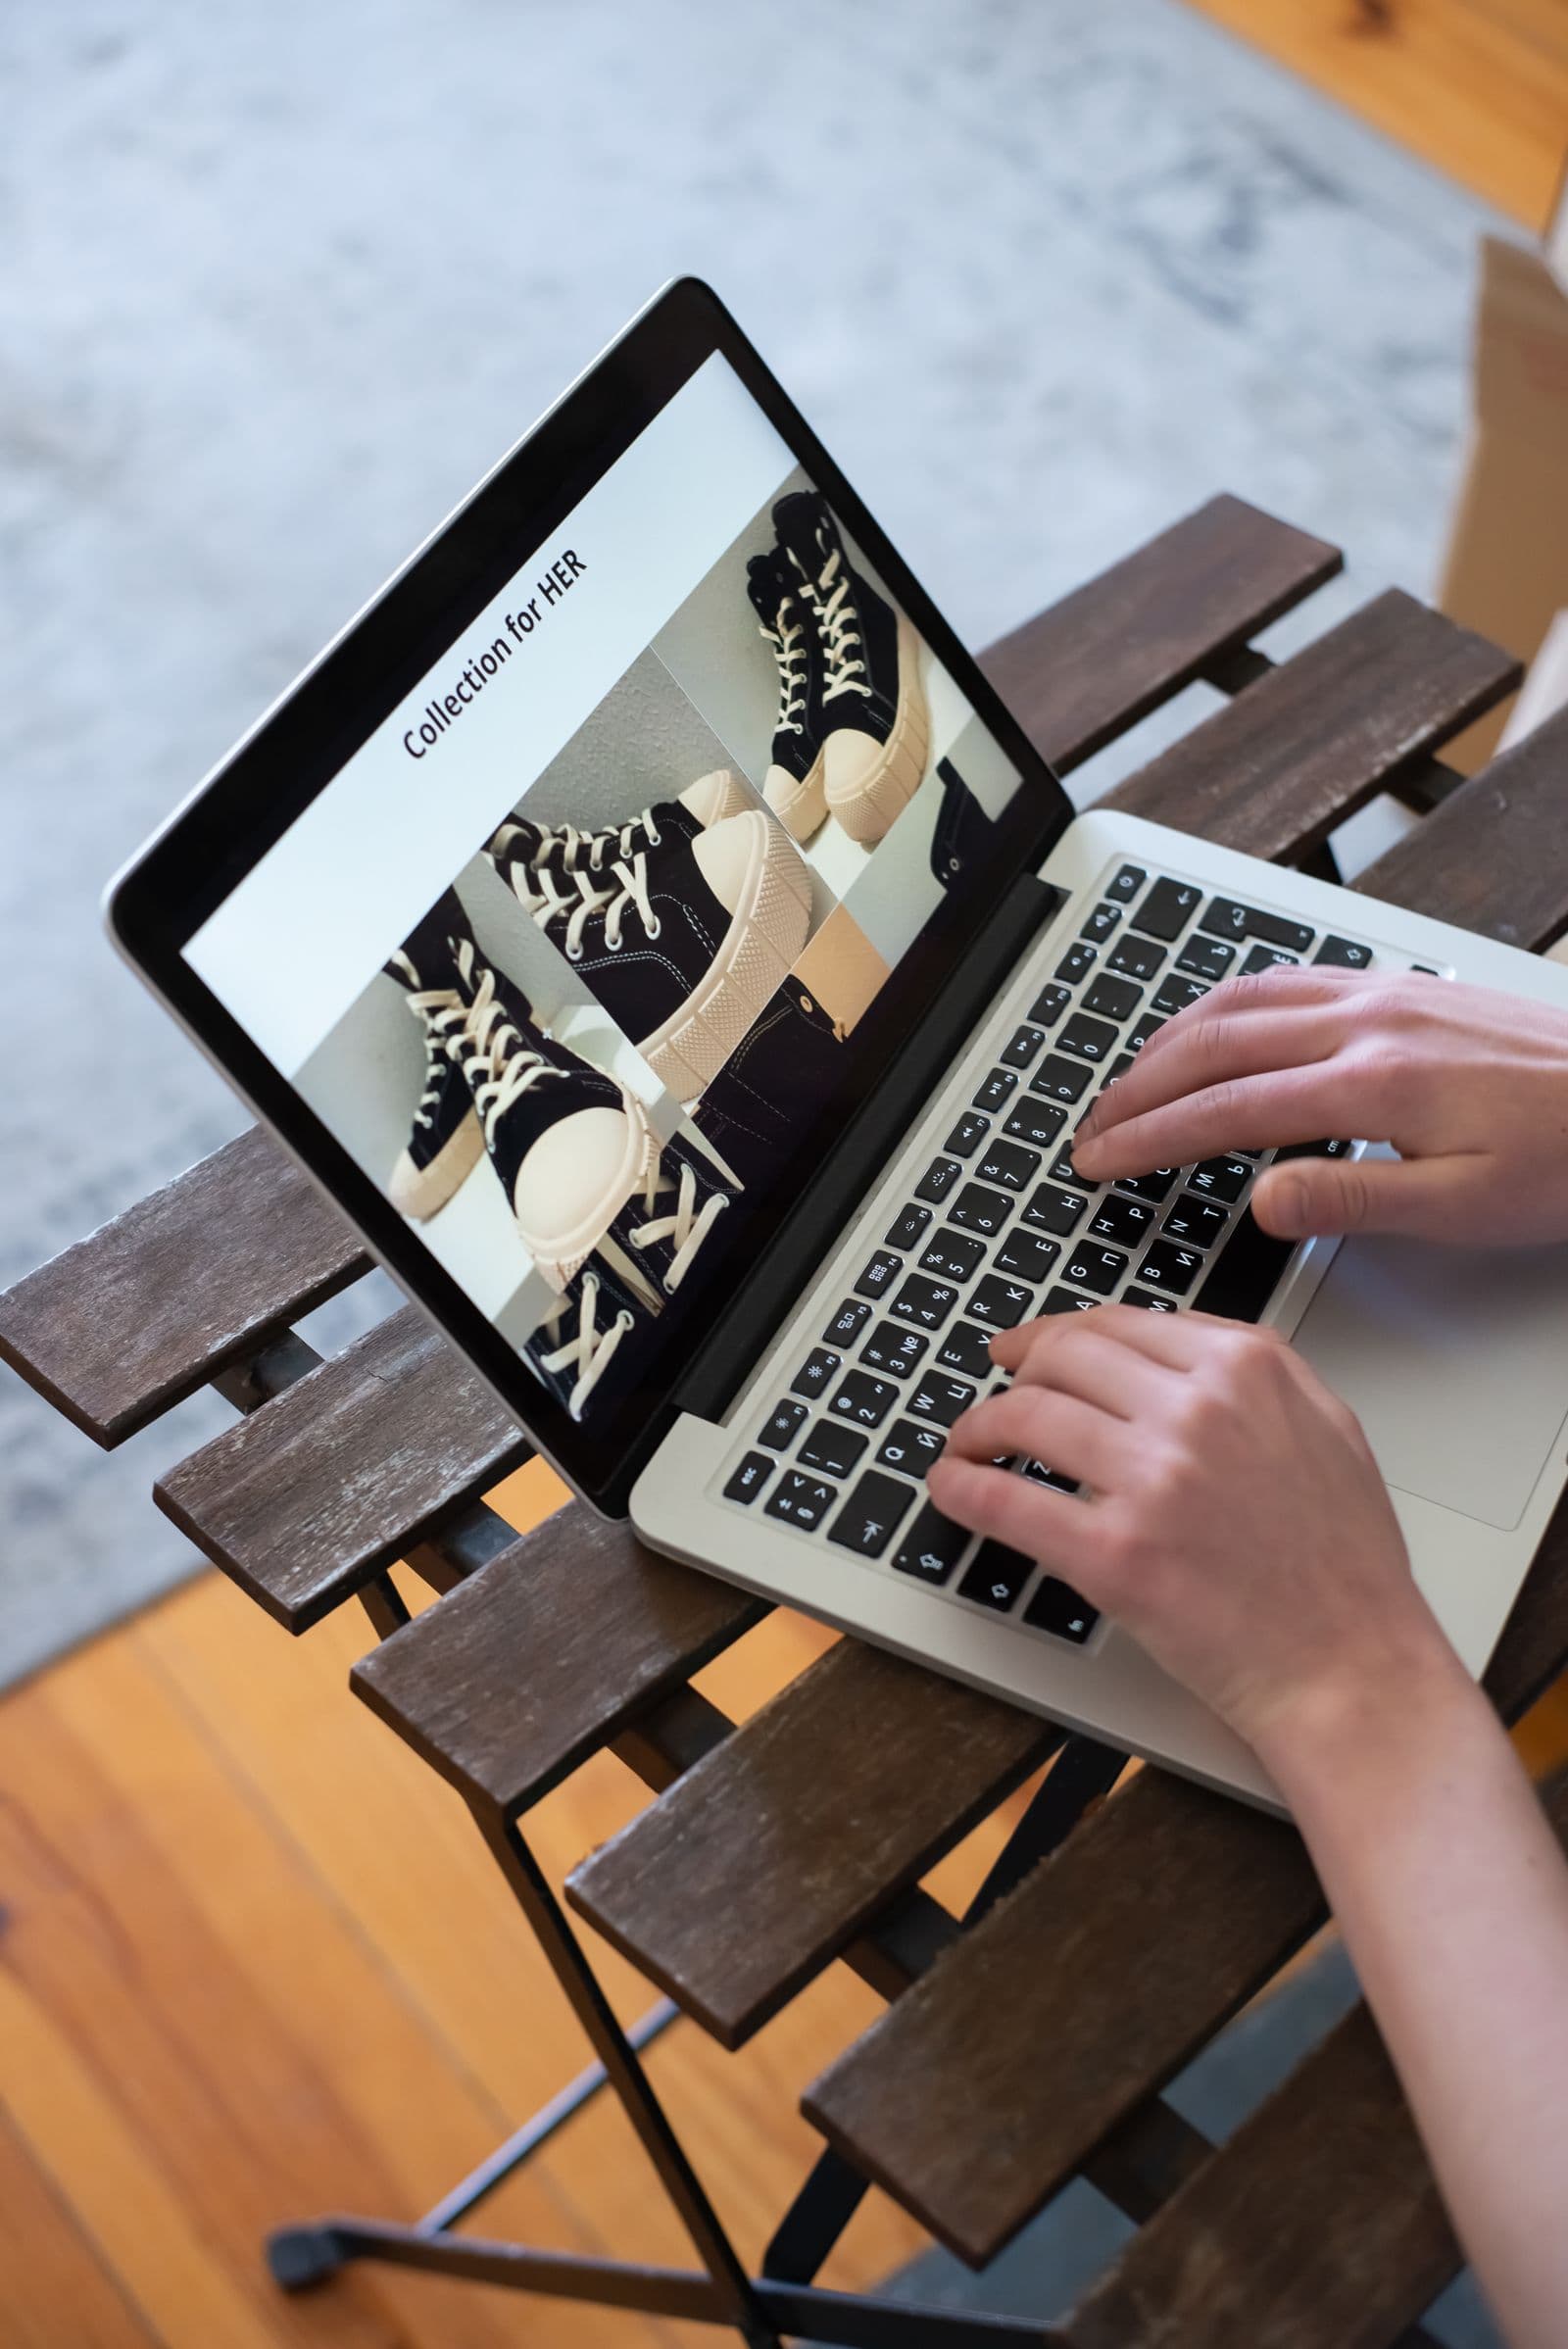
This is where AI background removal earns its keep. Upload your shot to remover.bg and the AI cuts the garment out cleanly, including tricky edges like knit textures, thin straps, and loose threads. From there, the editor drops in a pure white background for marketplace listings — a hard requirement for Amazon main images, as our breakdown of Amazon's product image requirements explains — a brand color for your own store, or a photo backdrop for lifestyle shots.
One detail most sellers miss: a cutout on white with no shadow looks like it's levitating. A soft, believable shadow grounds the garment and keeps the photo natural — here's how to add realistic shadows in about a minute.
The Takeaway
Match the method to the garment: flat lay for soft basics, mannequin for structure on a budget, on-model when fit drives the sale. Treat ghost mannequin as an editing skill or an outsourced service, not a button. And whichever method you choose, make your backgrounds identical across the catalog — it's the fastest, cheapest way to make a small shop photograph like a big one.