English
 Español
 Português (BR)
 Deutsch
 Français
 Italiano
 Türkçe
 Bahasa Indonesia
 Русский
 日本語
日本語 한국어
한국어 Українська
 Tiếng Việt
 Polski
 Nederlands
 ไทย
ไทย Română
 简体中文
简体中文 繁體中文
繁體中文 العربية
 Български
 Filipino
 हिन्दी
 اردو
اردو বাংলা
বাংলাPhotographing Memorials Without the Churchyard Behind Them
Memorial photography without the churchyard: shoot in the workshop before fixing, rake the light so the lettering reads, and put every stone on one background.
- monumental masonry
- memorial photography
- headstone photos
- product photography
- background removal
- lighting
- granite
- stonemason
- catalogue photography
- drop shadow
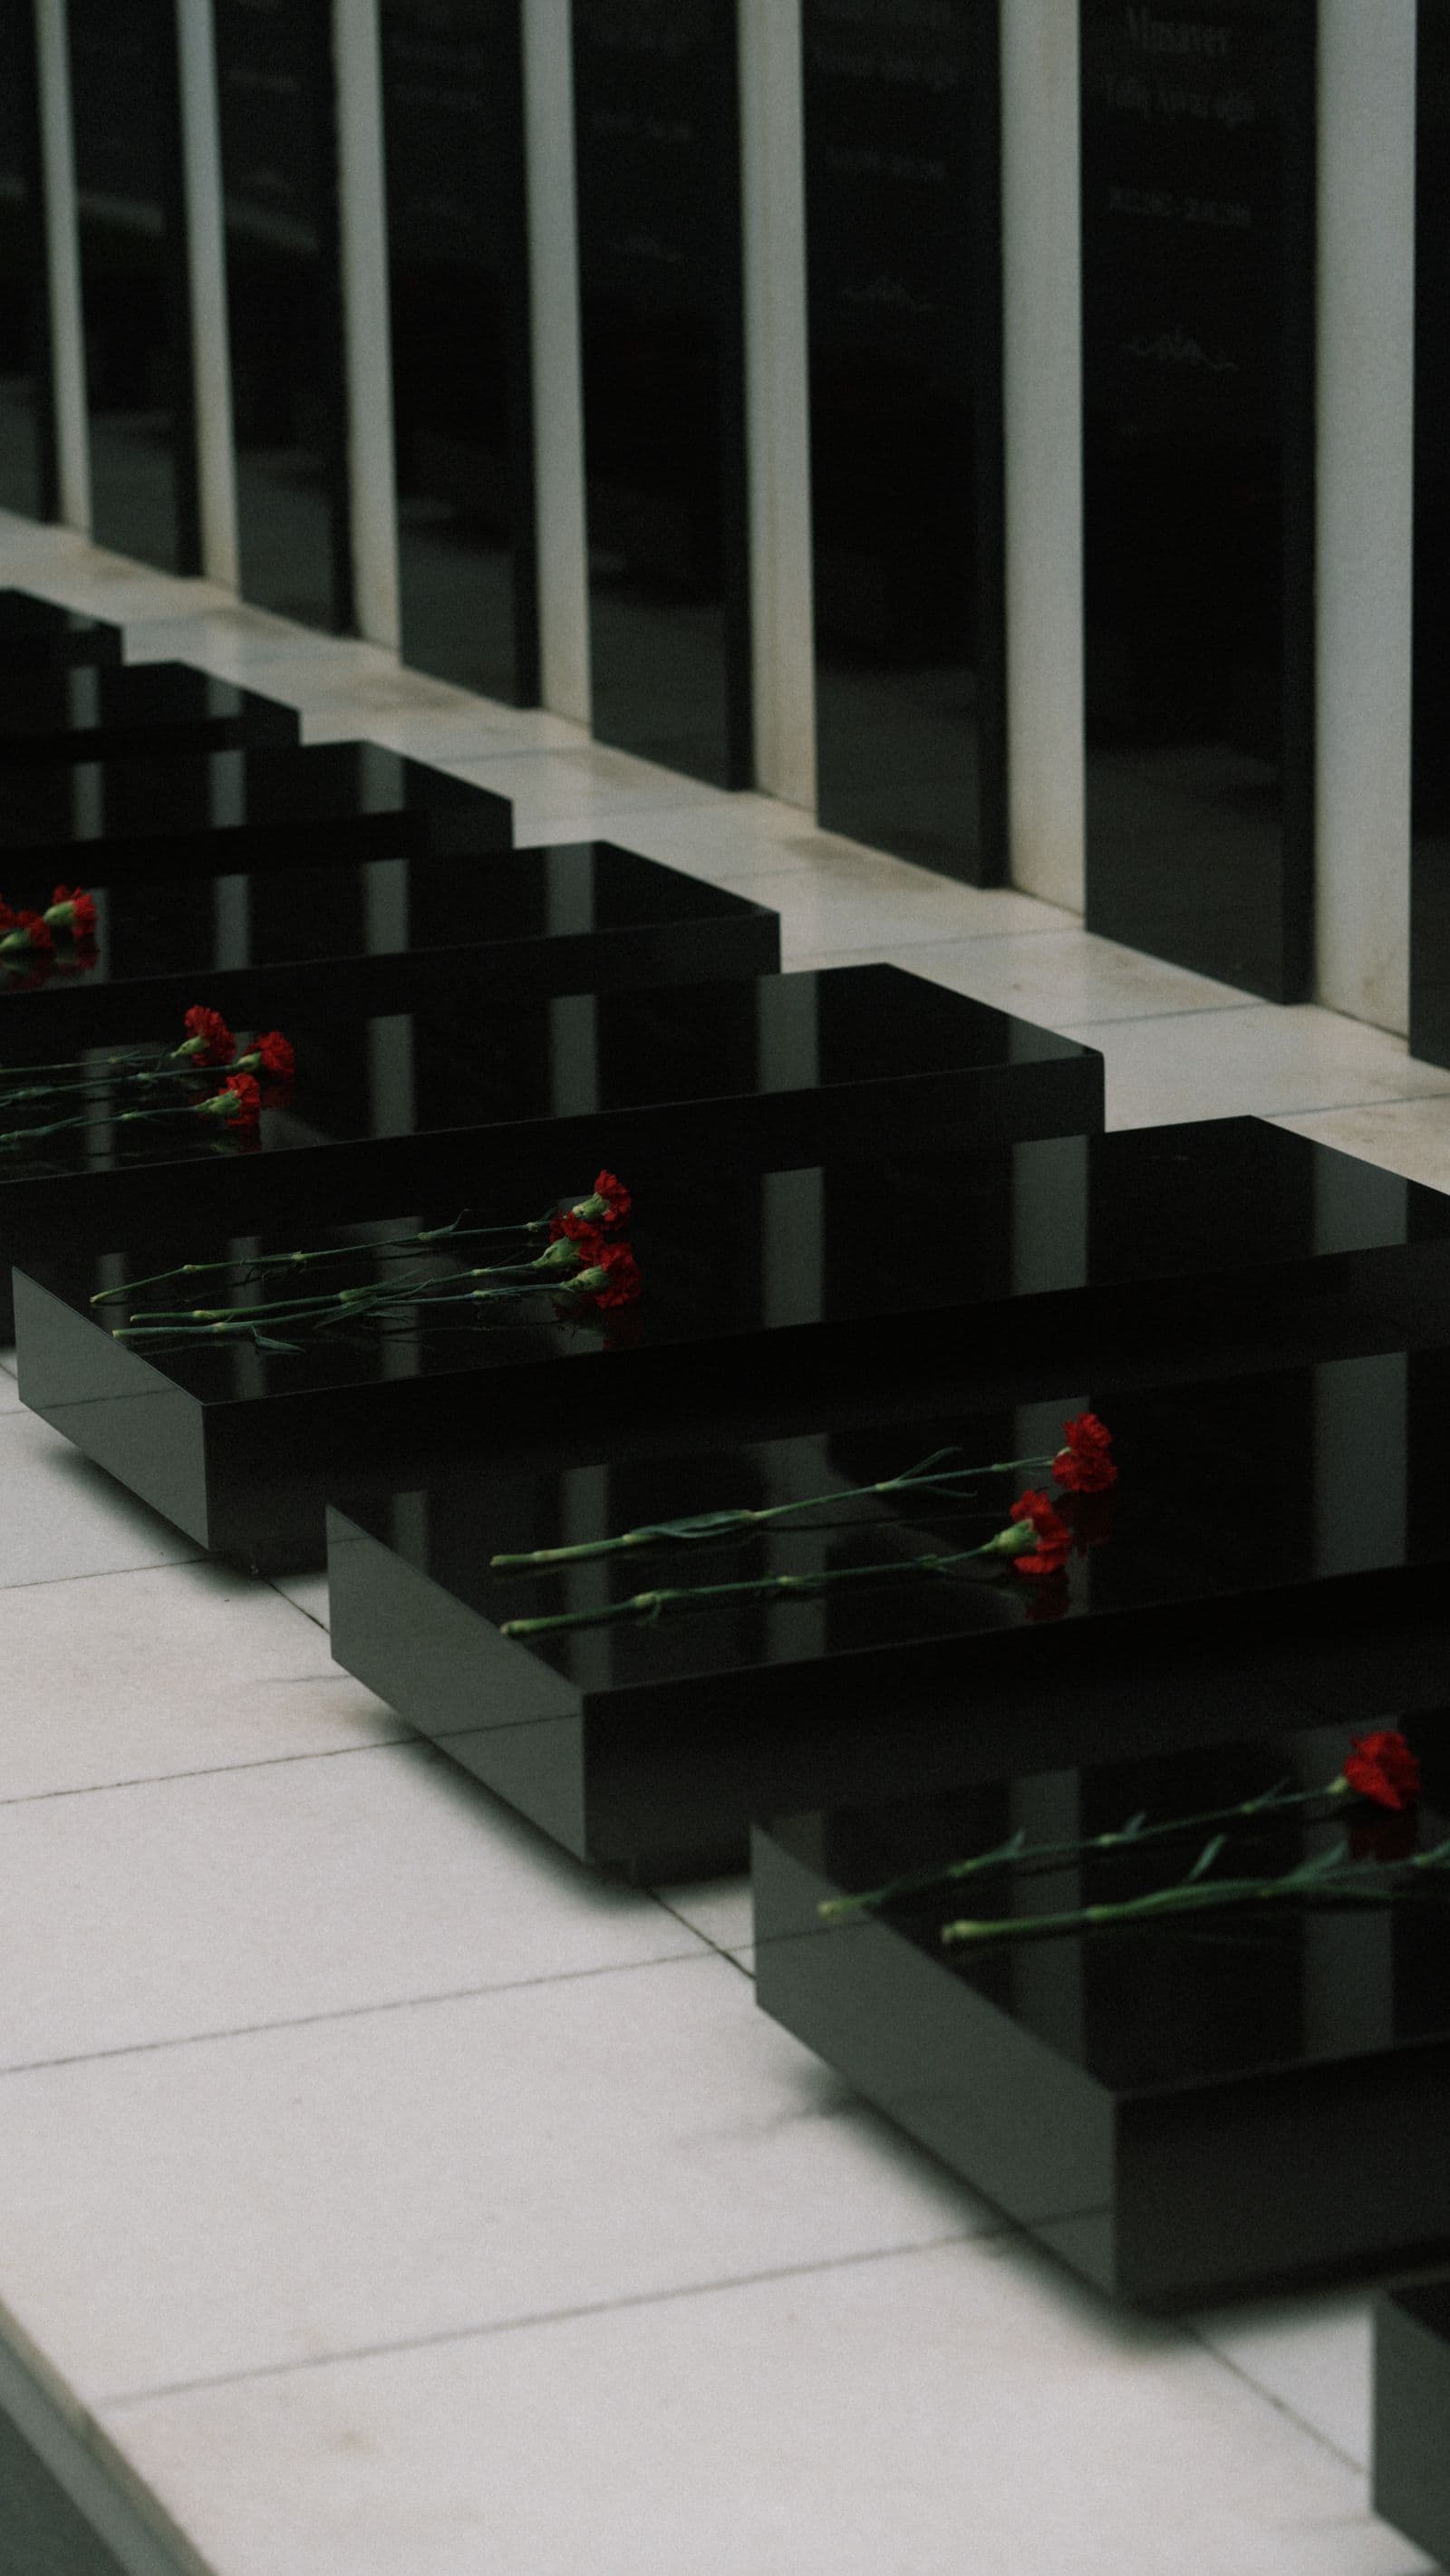
A polished granite memorial is one of the hardest things a small business photographs. The stone is close to black, so the camera lifts everything around it, and the face is a mirror handing back the sky, the yard and whoever holds the camera. What the family is buying — incised lettering, gilding, a carved rose — is shallow detail that vanishes the moment light hits it flat on.
Most memorial websites show the symptoms: half the gallery is a phone shot from the churchyard on fixing day — white sky across the panel, wet grass, somebody else's headstone at the frame edge. Those pictures prove the work was done. They do not let anyone choose a design.
Here is a workshop routine for finished memorials, and a way to put every frame on one background so families compare lettering, not burial grounds.
Photograph before delivery, not after fixing
Once a memorial is fixed you have lost control. The light is whatever the day gives you, the ground is uneven, and neighbouring memorials are in shot — awkward composition, and a permissions question too: rules on photographing memorials are set by each burial ground and vary widely, some requiring a permit or written permission and a few prohibiting it outright, so ask the burial authority, parish or churchyard manager for their current policy first, especially for commercial use.

Photograph in the yard the day before it goes out. Stand the stone upright on a pallet the way it will be seen, not flat on a bench where perspective distorts it, and put the camera at lettering height. In-situ shots are for the fixing record.
Overcast beats sunshine, every time
A polished face is a dark mirror. In direct sun you get a hard band of white sky, a silhouette of the photographer, and a highlight that swallows the top of the panel. On a flat grey day the sky becomes one enormous soft source and the reflection turns into an even wash you can read the lettering through.
If the sky will not cooperate, work in the workshop doorway or the shaded side of the building. Then watch what the face reflects: tilting the stone forward a few degrees, or moving two paces sideways, often swaps a sky reflection for a dark shed wall. A dark cloth behind the camera does the same deliberately — and wear dark clothes yourself; pale overalls turn up as a grey smear.
Rake the light across the letters
Incised lettering is a shallow recess — a V-sunk trough if it is hand-cut, a flatter, softer-walled cut if it is sandblasted through a stencil — and either way the cut is only a few millimetres into the face. Light from behind the camera fills both walls of the cut equally and the letter vanishes into the stone. Light from one side, low and close to grazing, lights one wall and drops the other into shadow, so every letter casts its own micro-shadow and reads as carved.
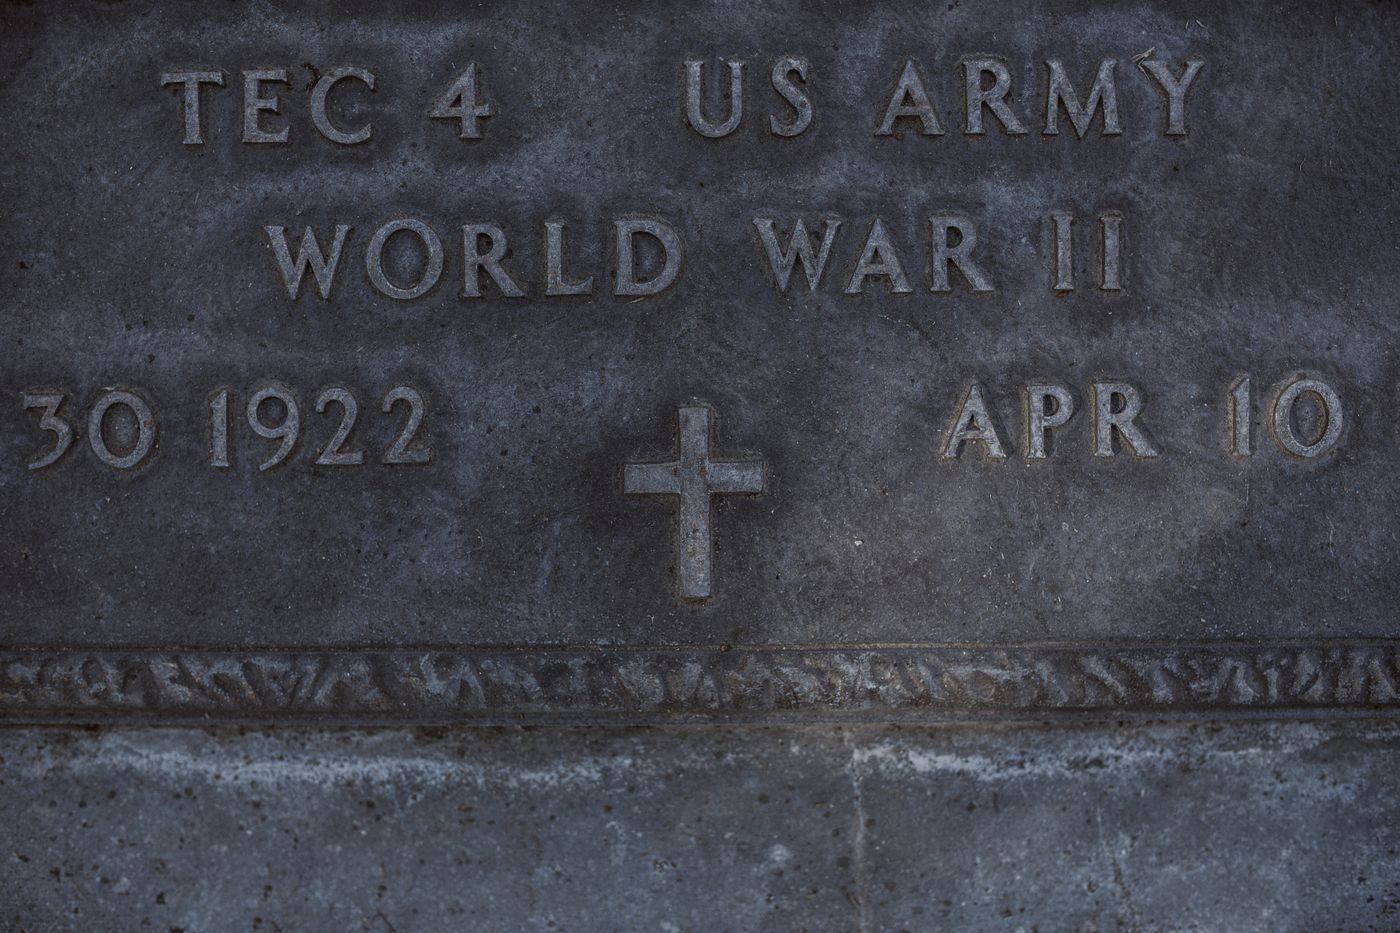
Gilding needs the opposite instinct. Gold leaf only looks gold when it bounces a source back toward the lens, so move the light toward the camera axis until the gilding lifts, then check the ungilded text has not gone flat.
Shoot one frame lit from the front and one from the side, then zoom in on the dates. Whichever keeps them readable survives on a phone screen. Our jewelry photography guide is the same problem at a smaller scale.
Take the churchyard out of the picture
With a clean, well-lit frame, only the background stands between it and a catalogue. Upload the photo to remover.bg and the stone comes away from the yard, the pallet and the fence line — dark polished granite against a lighter surround cuts cleanly.
Then set the new background deliberately. A plain mid-grey or a soft warm off-white suits almost every stone; avoid near-black, because a black granite memorial loses its outline against it. For a lawn setting, use the same photograph of clean grass as the custom background on each image in turn, so the memorials differ and the setting does not. Finish with a soft drop shadow under the base — our notes on adding realistic shadows explain why a grounded shadow sells the composite.
A background swap cannot undo a reflection. A sky mirrored in the polished face is part of the stone itself, and that is a reshoot. It is why the overcast rule earns its keep.
Make the range look like a range
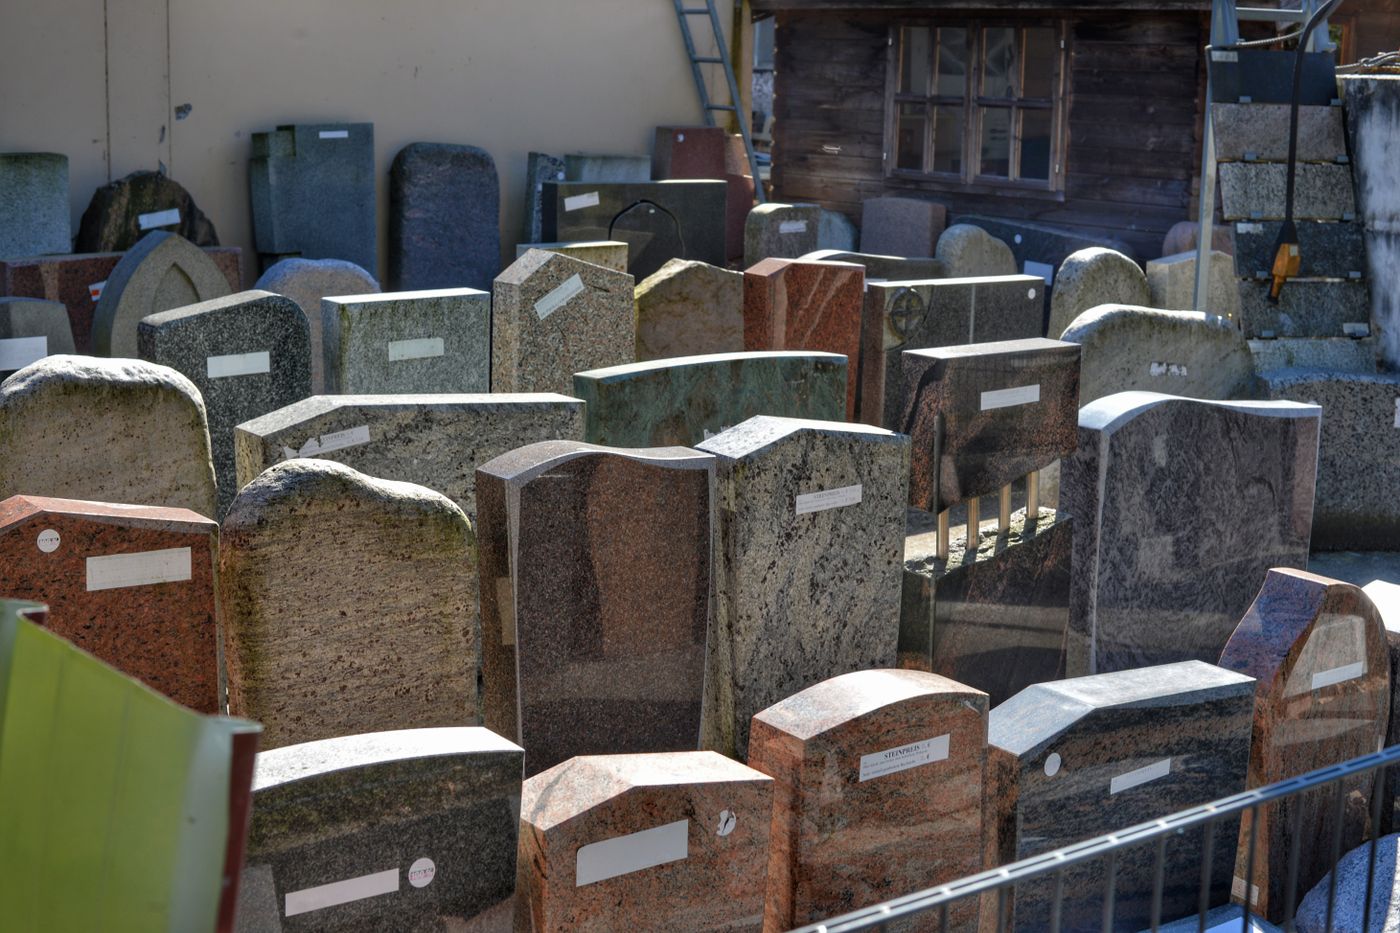
Shoot the same three frames for every memorial: square-on to the face, a three-quarter showing thickness and edge profile, and one close frame of the lettering. Put them all on the same background, with the same drop shadow, so the set reads as one series. A mixed catalogue of granite, marble and slate then reads as one considered selection, which is what a custom background gives a product range.
Work in PNG, JPEG or WebP, under 10 MB an image — phone photos sit inside that comfortably. There is a mobile app too, so a stone can be shot and prepared at the bench.
The picture does the choosing
Families rarely order from a specification list. They point at a photograph and say that shape, with that lettering. Give them frames with nothing to look past, and the stone answers the question before you do.