 English
 Español
 Português (BR)
 Deutsch
 Français
 Italiano
 Türkçe
 Bahasa Indonesia
 Русский
 日本語
 한국어
 Українська
 Tiếng Việt
 Polski
 Nederlands
 ไทย
 Română
 简体中文
 繁體中文
 العربية
 Български
 Filipino
 हिन्दी
 اردو
 বাংলা
Keeping Your Own Shadow Out of Product Photos
Shooting handheld puts you between the light and the product. A shadow on the backdrop leaves with the background; one across the product is permanent.
- product-photography
- lighting
- flat-lay
- shadows
- background-removal
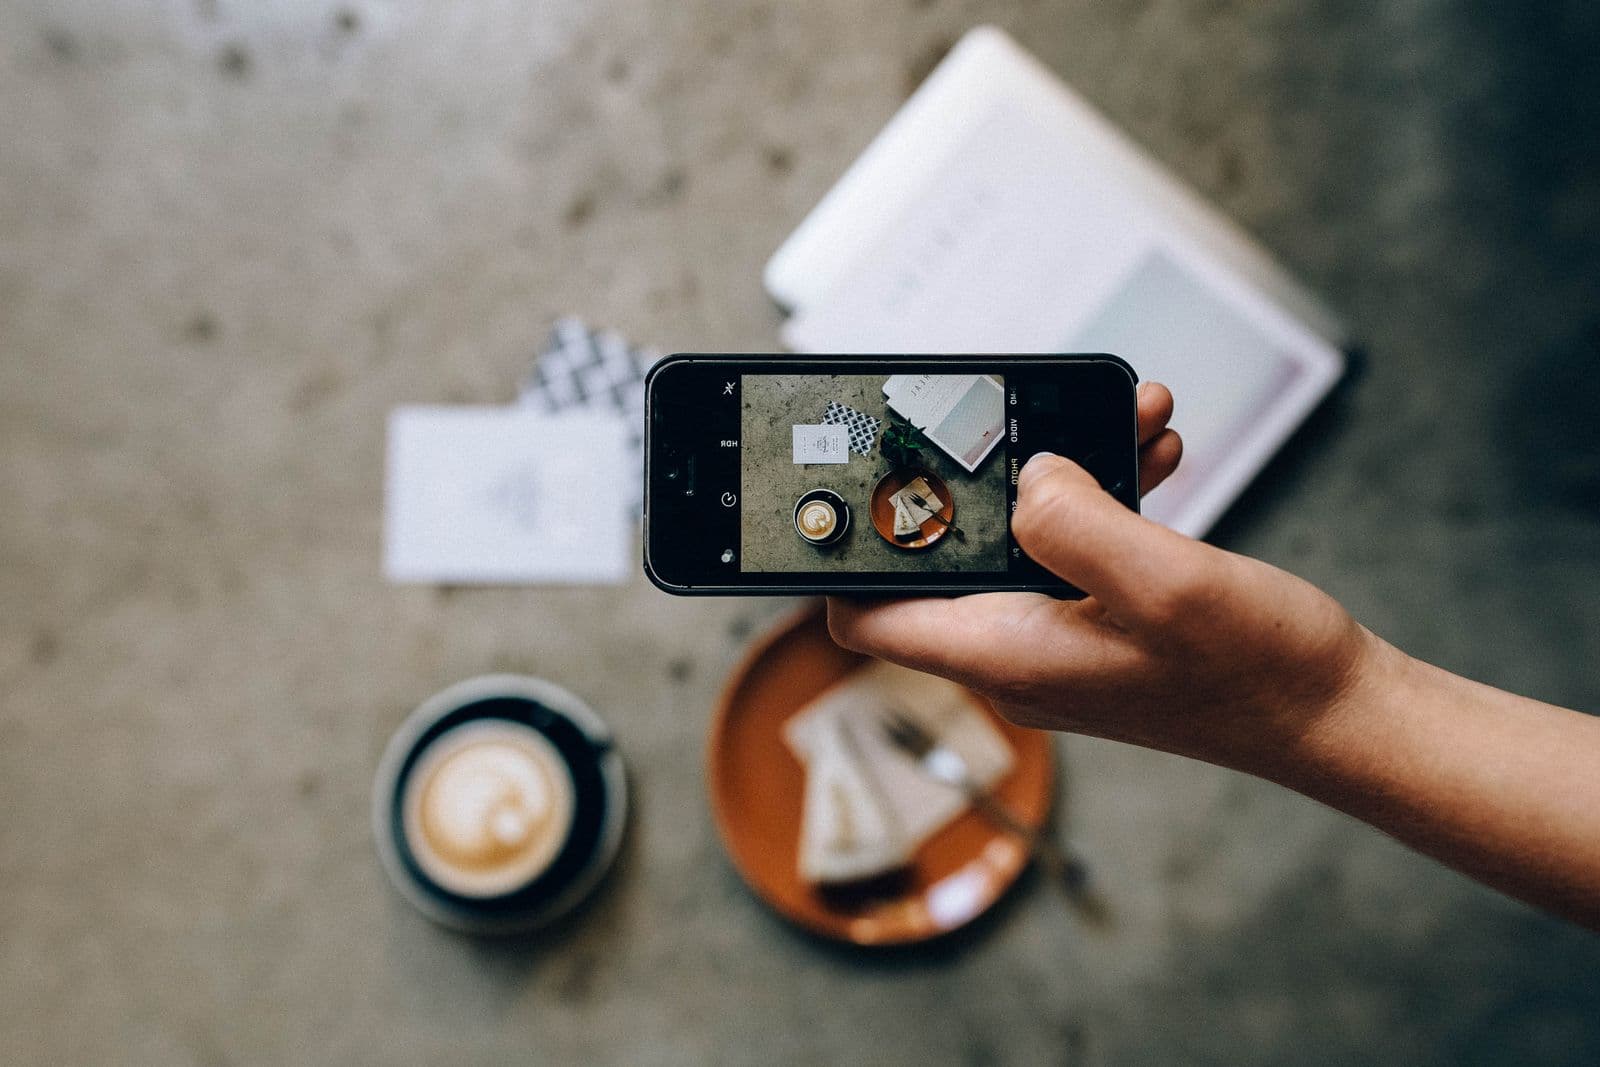
You hold the phone over the table, frame the shot, and the preview comes back muddier than the scene looked. Nothing moved but you: the light that was on the product is now on the backs of your hands.
It is one of the most common lighting problems in home product photography, and one of the few nobody names: the obstruction is you. One window or one lamp gives a single line from source to subject, and shooting handheld keeps putting you on it.
Work out first which of your two shadows you are looking at. One costs nothing. The other is permanent.
The Shadow You Can Afford and the One You Cannot
A shadow lying on the backdrop is disposable. It sits outside the product's outline, so the band your shoulder threw across the corner leaves with the background. Run the frame through remover.bg and the cut follows the product's contour; everything outside it goes. Amazon requires a listing's main image to sit on a pure white background — RGB 255, 255, 255 — while the additional images are free to use other settings; check the current requirement on Seller Central before you shoot. A shoulder shadow that breaks it in camera costs nothing to repair.
A shadow falling across the product is a different object — not behind the subject but inside it, recorded in the same pixels as the fabric or the label, travelling with the cutout into every layout you build. Background removal is not retouching: no object removal, no colour correction, nothing that lifts a shadow recorded as part of the product. It also makes the edge harder to place: a dark band crossing the contour hides the boundary itself, from you and from anything reading the frame.
Why Overhead Flat Lays Are the Worst Case
Shooting straight down guarantees the problem: to aim at the tabletop you have to be above it, which puts your head, shoulders, arms and the phone between the light and the subject. Very few overhead flat lays put your body off that line by accident — it has to be arranged.
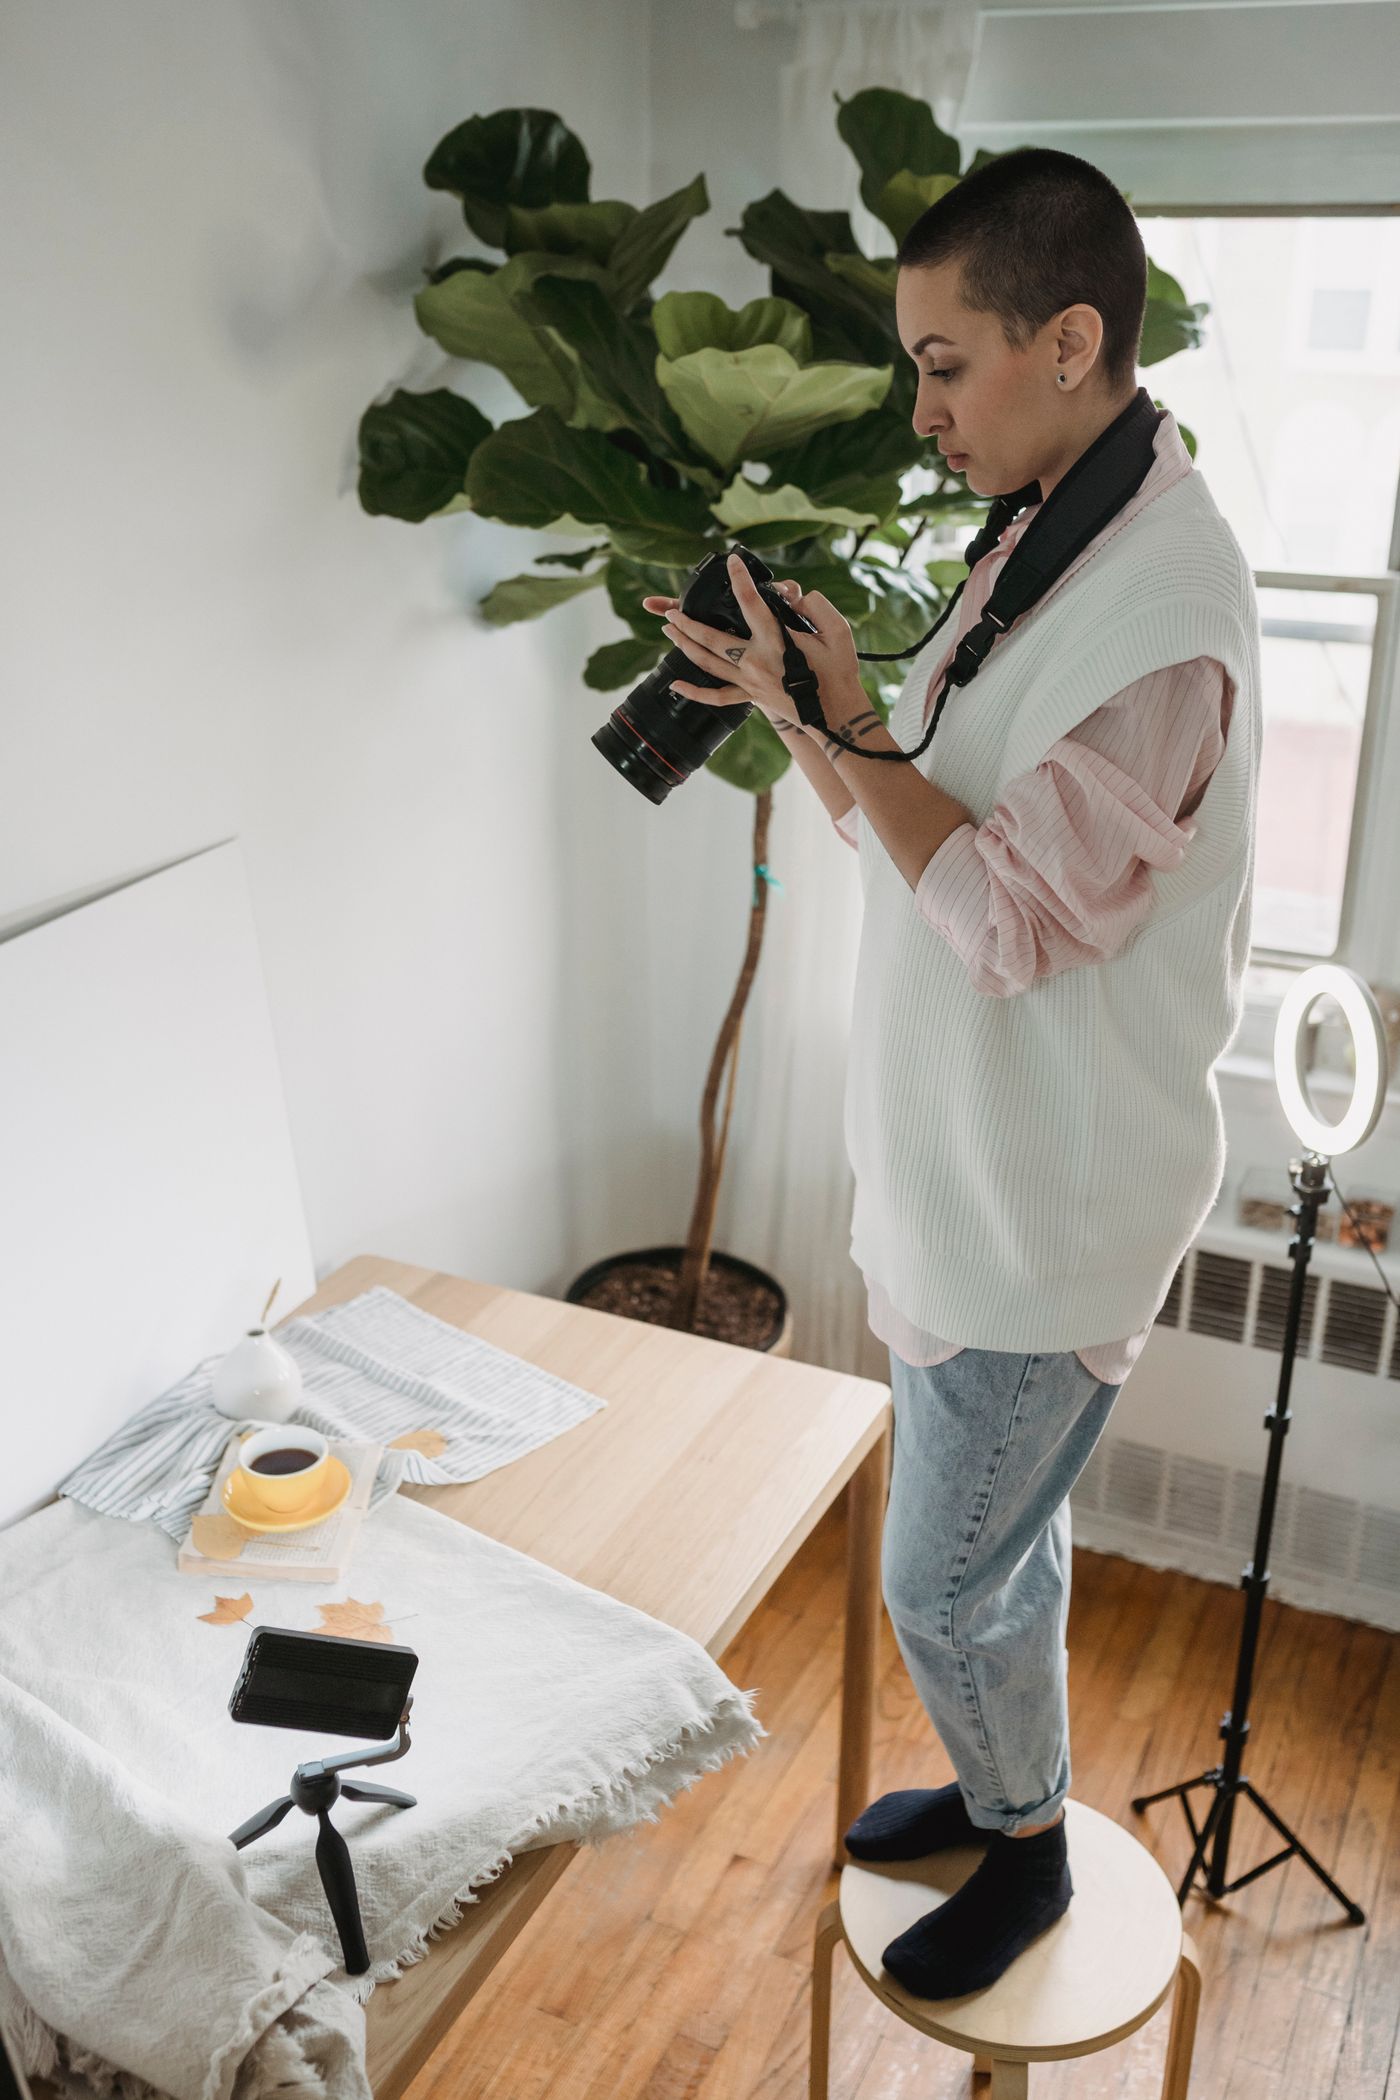
It gets worse as you move in: what matters is how much of the source you cover, seen from the product. At arm's length you block a slice; lean in close over a small lamp and you can cover most of it. A big window keeps spilling around you; a bare bulb switches off the moment you cross it — the hard-versus-soft rule with your body as the thing in the way.
Spotting Yourself Before the Shutter
You cannot judge your own shadow by looking at the table; your eyes adapt. Watch the preview.
- Raise and lower the phone about thirty centimetres. If the product's top surface brightens as you pull back, you were the reason it was dark.
- Wave a flat hand slowly about thirty centimetres above the setup. Wherever a soft shape crosses the product is where your shadow will land.
- Look along the contour for a soft dark band that moves when you do. Props throw shadows that stay put.
Move the Light, Not Just Your Feet
Stepping sideways trades one obstruction for another, and you drift back into the light path without noticing. Move the source instead, so its line to the product misses you.
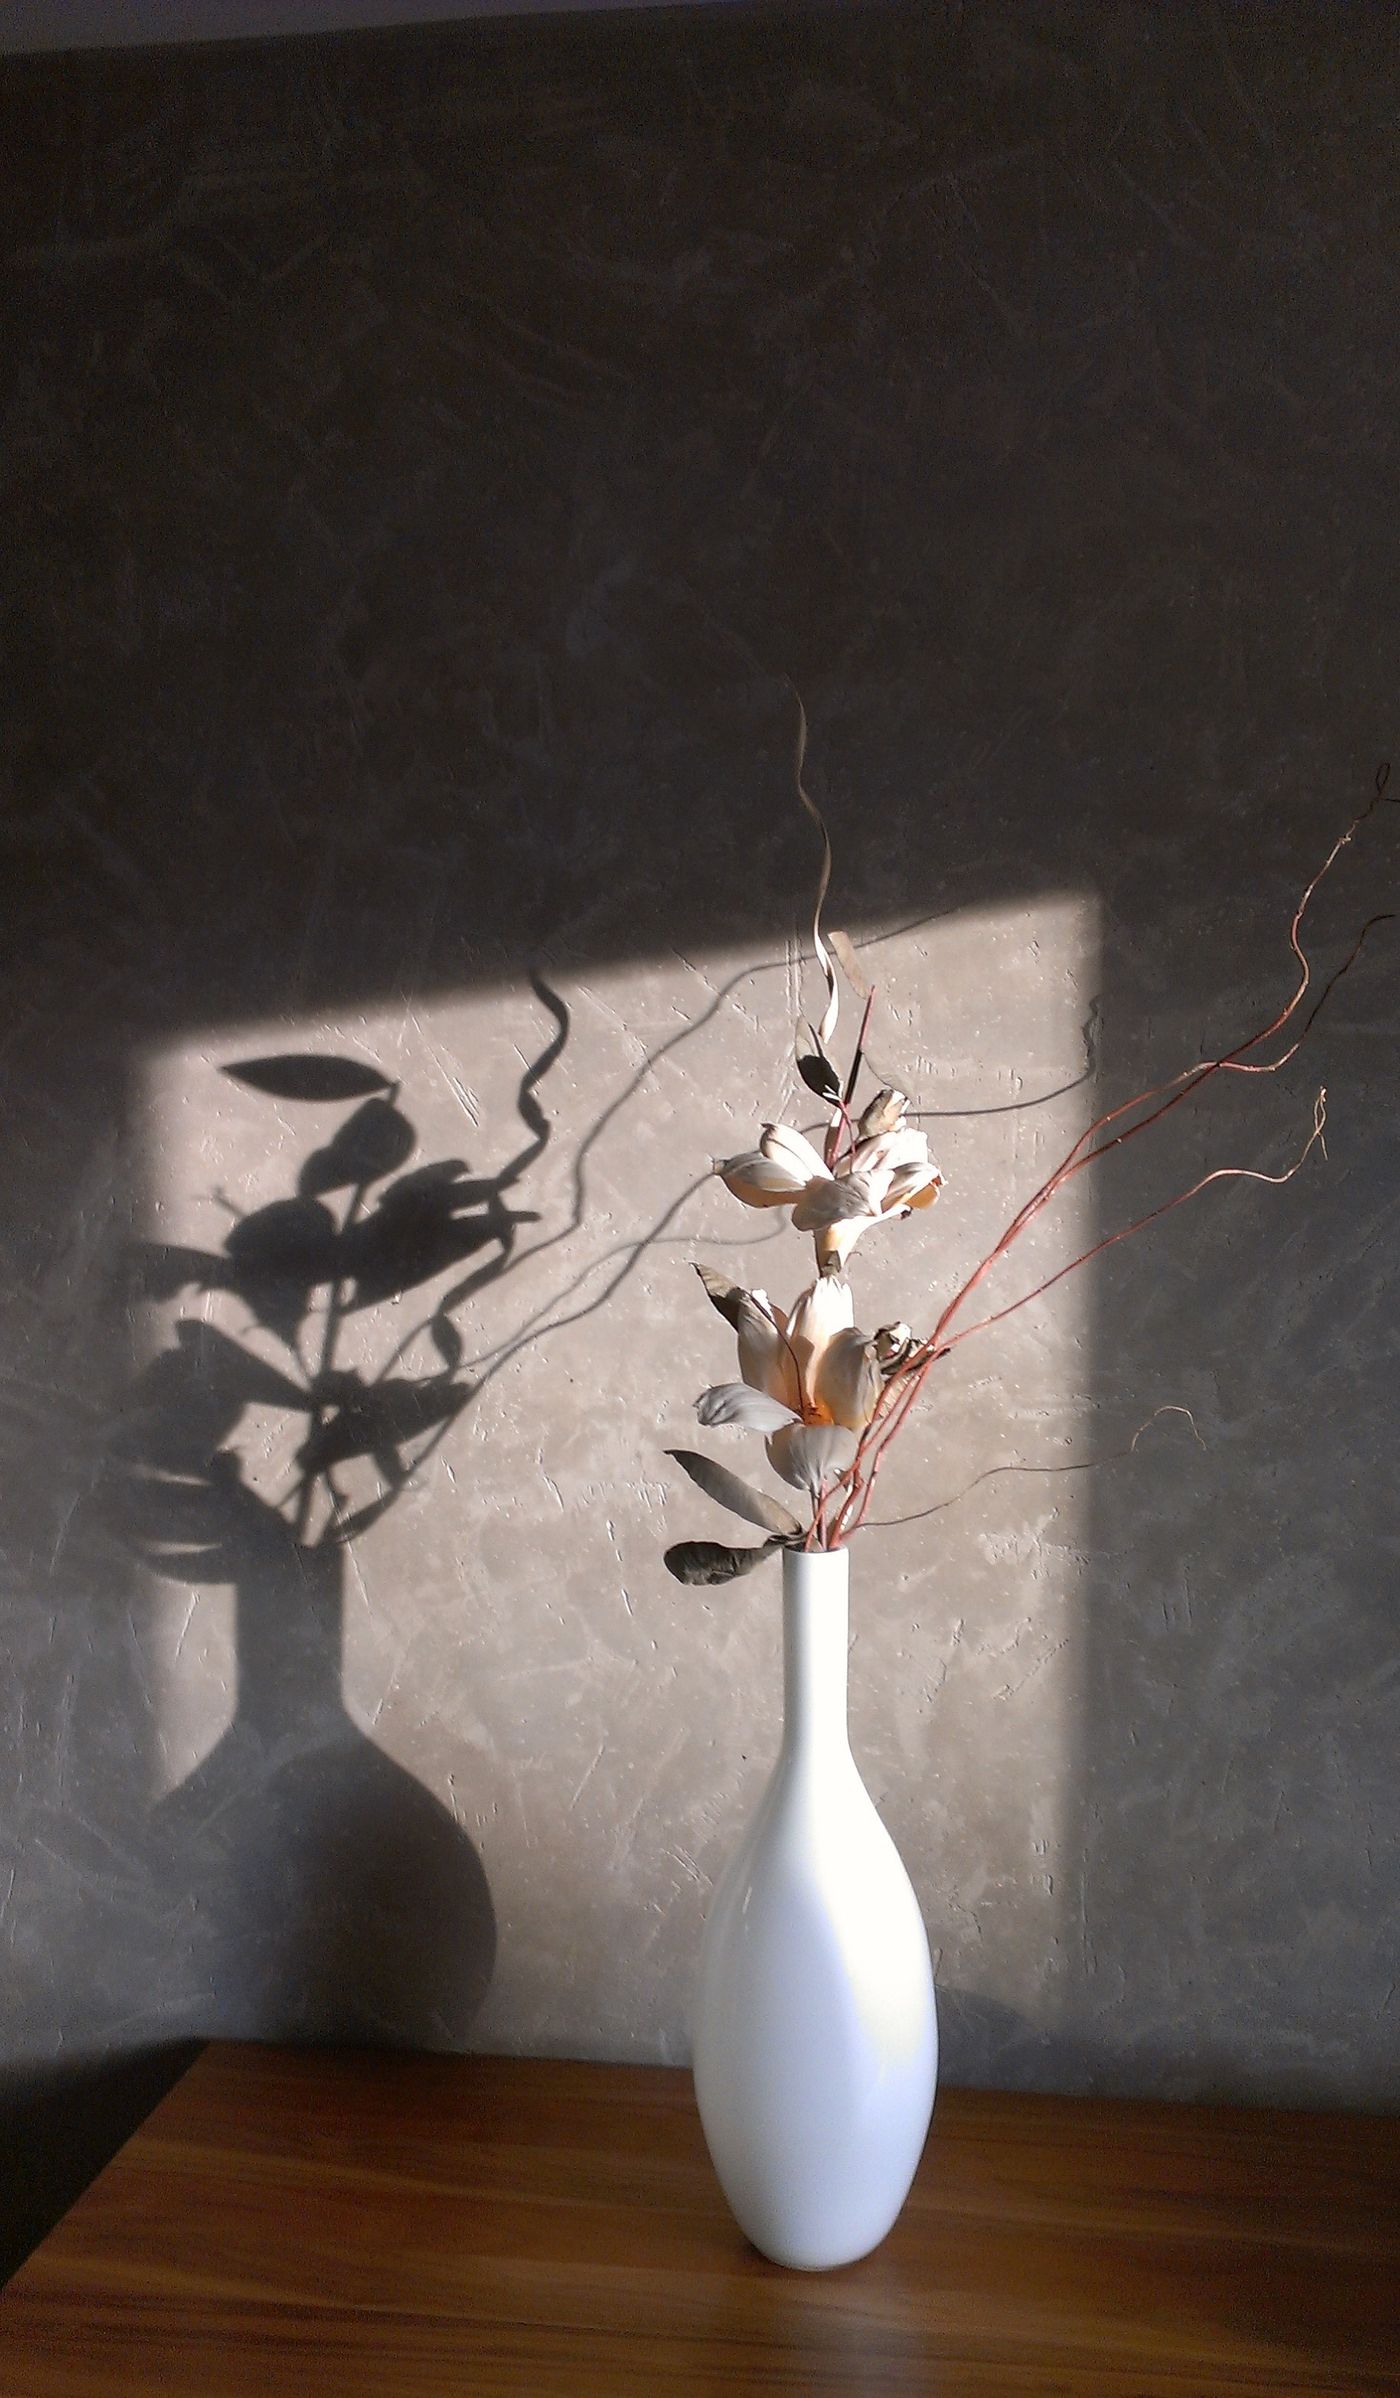
- Raise the lamp above your head height. Light from above and behind the camera reaches the table over your shoulders, not through them.
- Work across a window, not into it. Put the window at ninety degrees to the camera axis so you stand beside the light path.
- Make the source bigger. A large, near source wraps around a partial obstruction; a small, distant one does not. A light tent does that, and still leaves the opening you reach through — weigh one against a plain window setup.
Outdoors the same holds with a far larger source overhead, though tree shade breaks into dappled patches that wreck the edge — take a building's shade instead.
Where to Stand at Each Camera Angle
Assume one window as the only light.
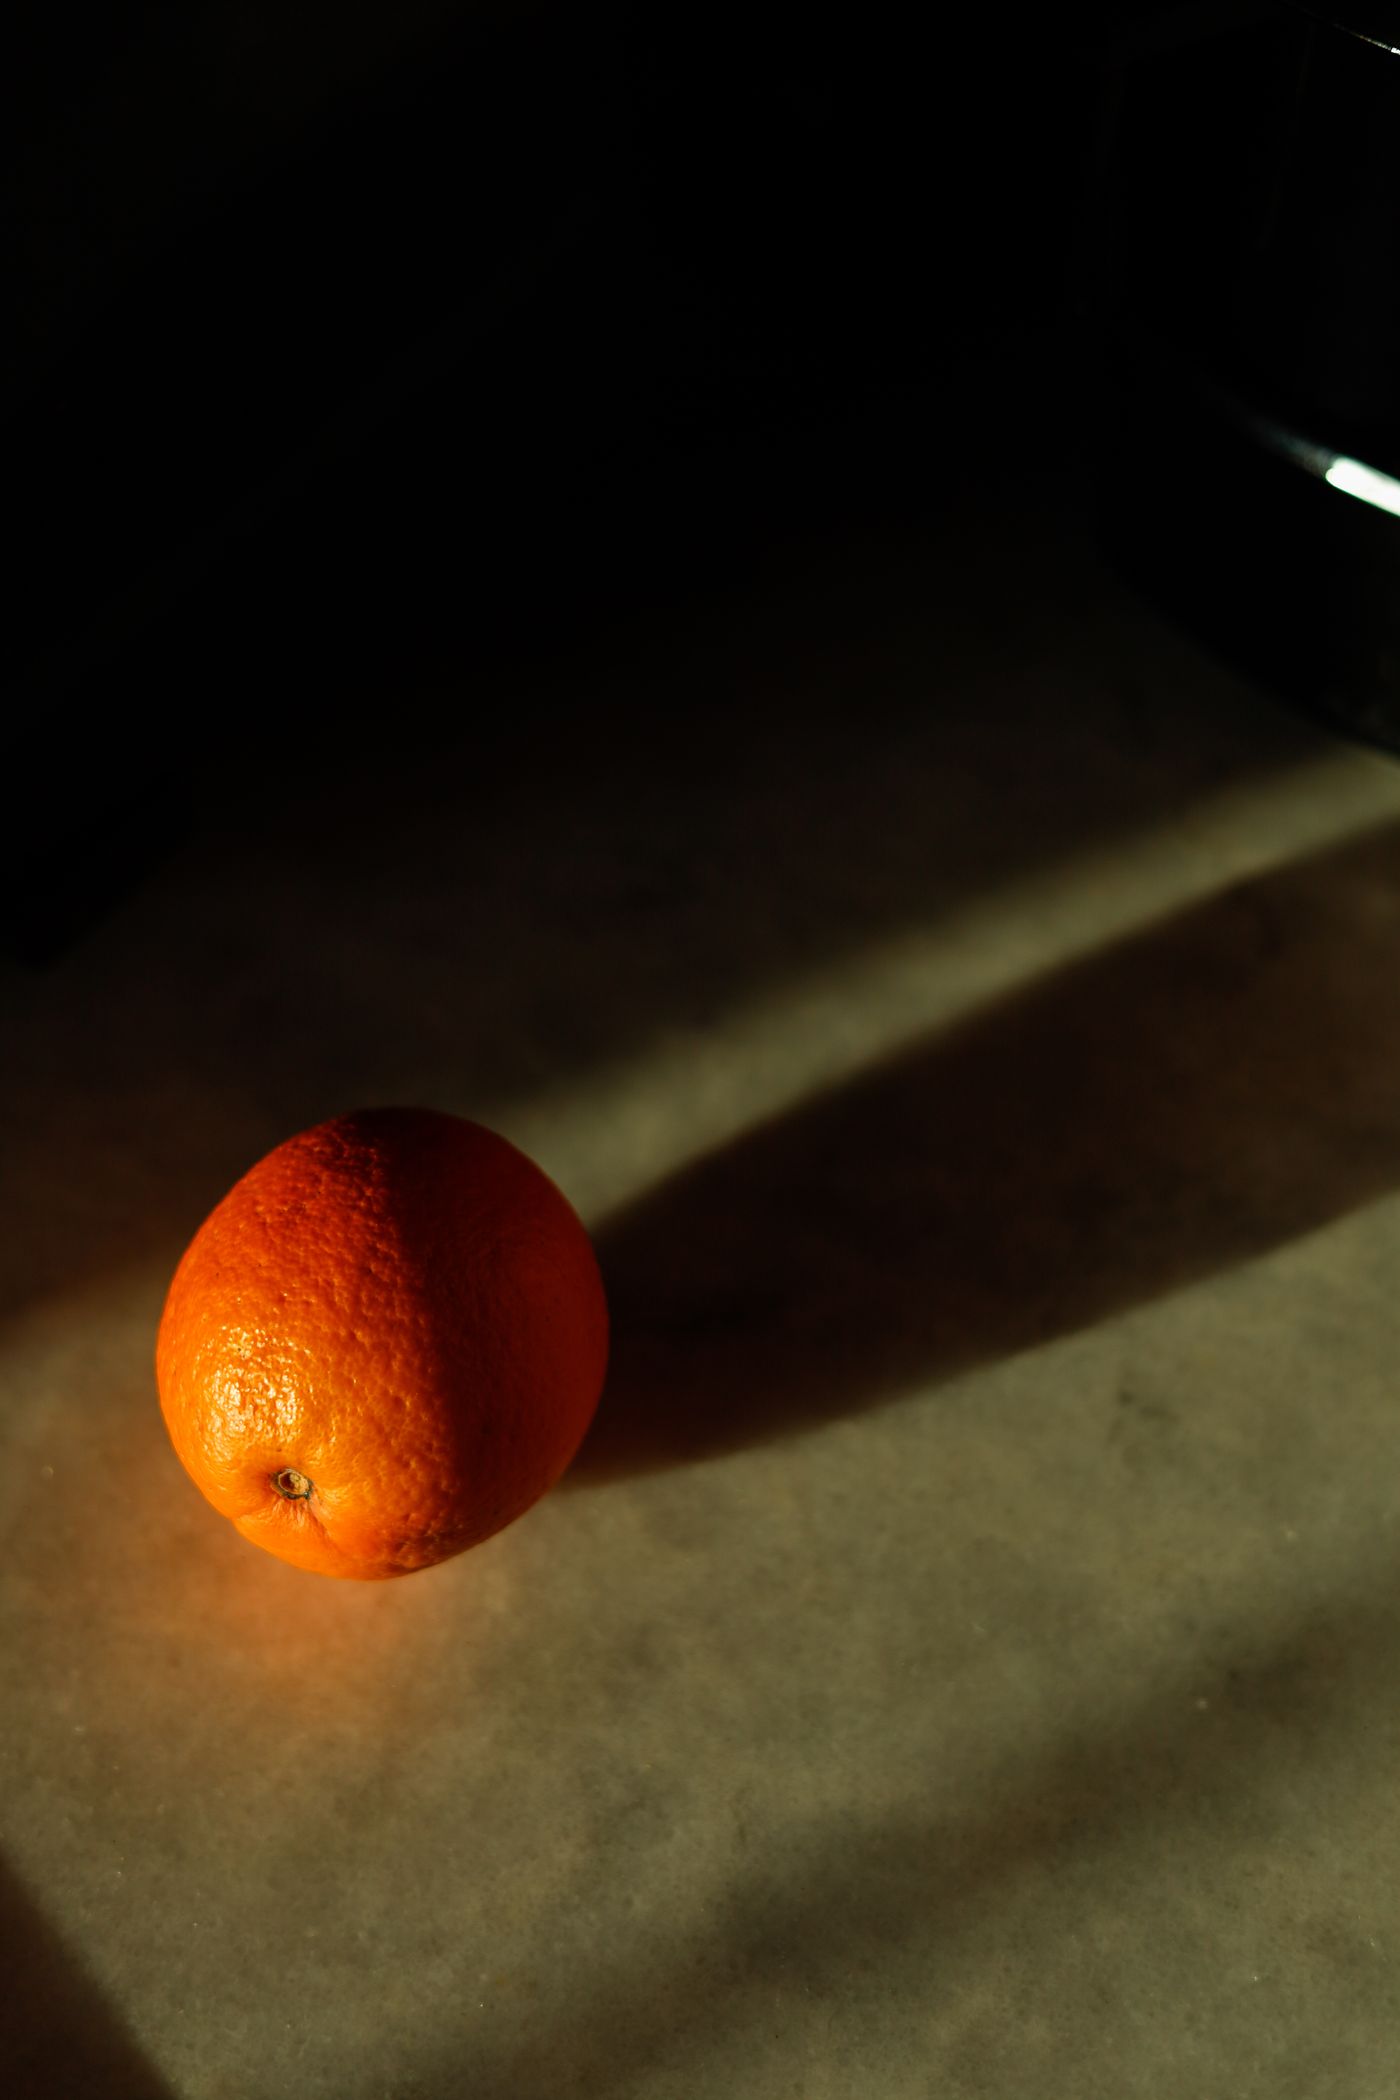
- Straight-down flat lay. Turn the table so the window is at the top of the frame and stand at the bottom edge. Your shadow falls away from the window and mostly out of frame; whatever lands, lands on the backdrop, where it costs nothing.
- Forty-five degree three-quarter. Window off to one side, you on the other side of the camera, shooting into the lit face rather than across your shadow.
- Straight-on eye level. Window at ninety degrees to the lens axis, so standing square to the product throws your shadow sideways, away from the window and clear of the set.
- Tight detail shot. The hardest, because close is the point. Shoot wider and crop, or set the self-timer and step aside.
One Last Look Before You Shoot
Check the product's surface for your silhouette, then its contour, then the backdrop. If the only shadow is on the backdrop, take the frame.
Whatever grounding shadow the finished image needs, you add to a clean cutout afterwards — a separate, deliberate step where you choose the direction and softness. The one you cast across the product is the only shadow you cannot undo.