English
 Español
 Português (BR)
 Deutsch
 Français
 Italiano
 Türkçe
 Bahasa Indonesia
 Русский
 日本語
日本語 한국어
한국어 Українська
 Tiếng Việt
 Polski
 Nederlands
 ไทย
ไทย Română
 简体中文
简体中文 繁體中文
繁體中文 العربية
 Български
 Filipino
 हिन्दी
 اردو
اردو বাংলা
বাংলাWhy LED Lights Put Stripes Across Your Product Photos
Pale stripes across product photos are cheap LED lighting flickering with the mains. How to spot it in two minutes and pick a shutter speed that cancels it.
- led banding
- flicker
- product photography
- shutter speed
- home studio
- lighting
- background removal
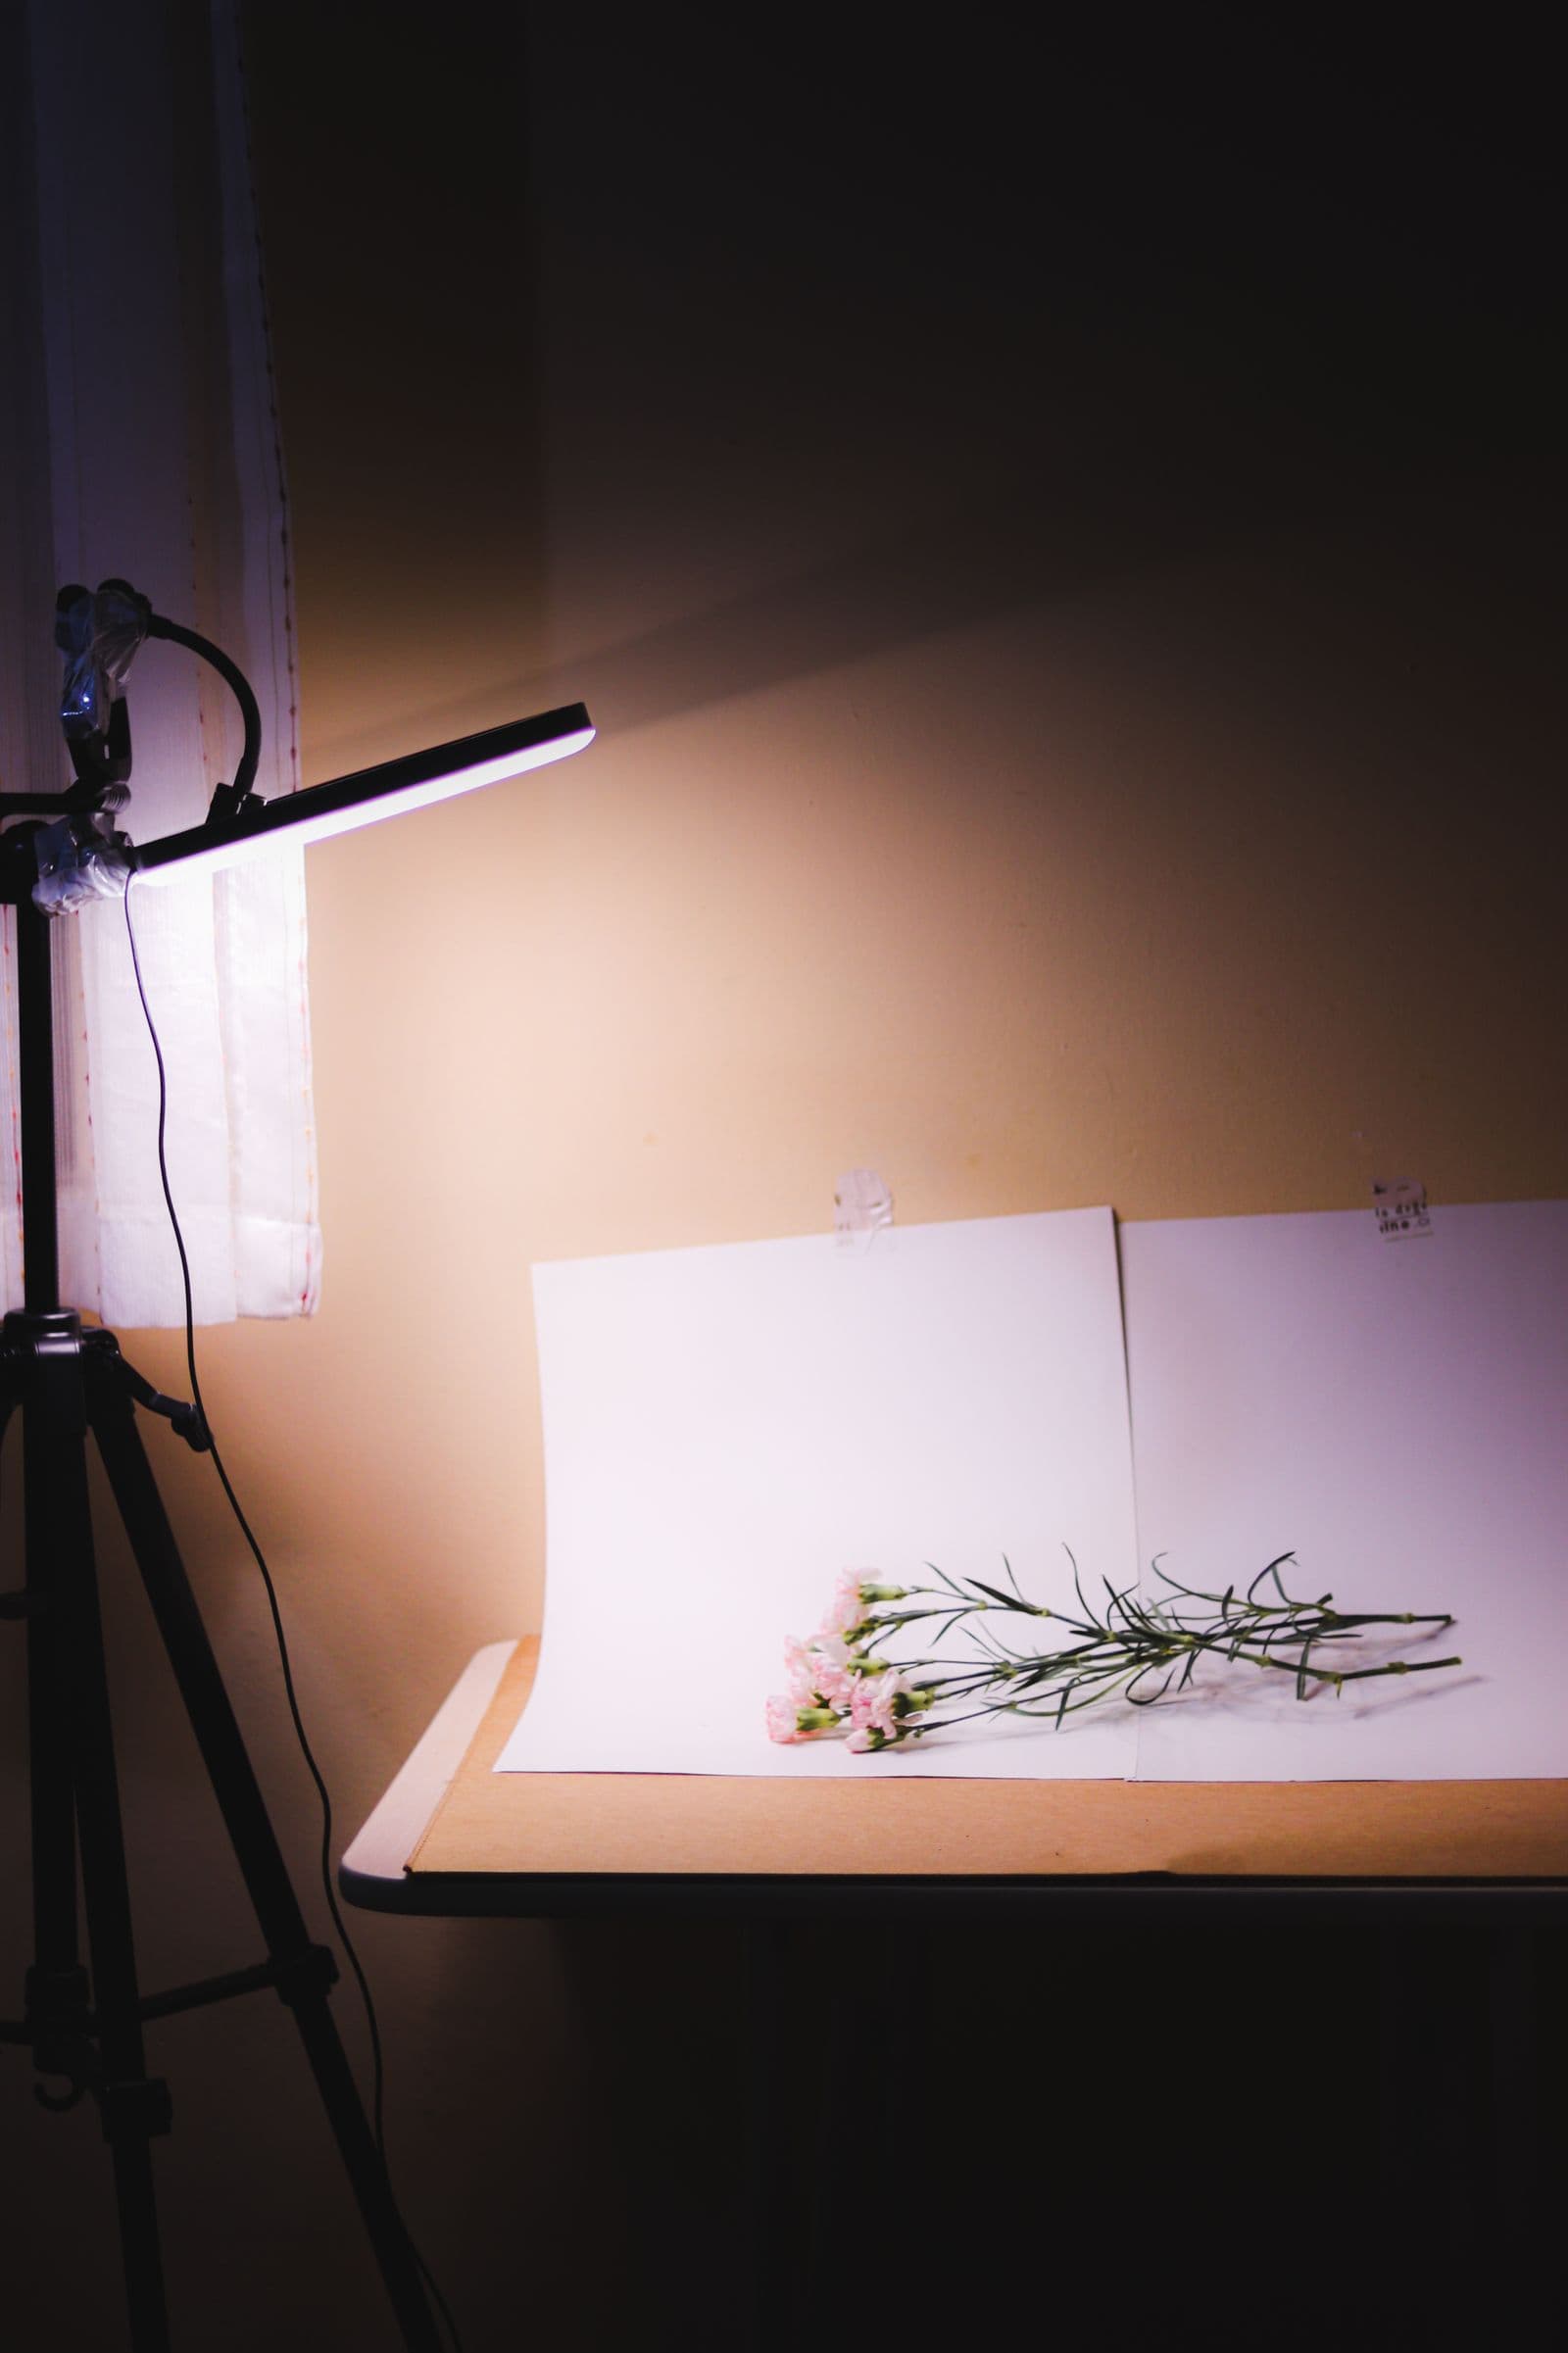
You tape white paper to the garage shelving, and the LED batten overhead looks perfectly even. Then you open the photos on a laptop: half have pale horizontal stripes across the backdrop, in a different place in every frame.
Nothing is broken. The stripes are the light itself, recorded by a sensor that does not read the whole frame at once. Worse than cosmetic: a striped backdrop changes brightness along the product's edge, the exact line an automatic cutout has to trace.
Your light is blinking and your camera reads the room in strips
Mains electricity runs at 50 Hz across most of Europe, Africa and Asia, and at 60 Hz in North America, Brazil, much of northern South America, and South Korea, Taiwan, the Philippines and western Japan. The exceptions catch people out: Argentina, Chile, Bolivia, Paraguay and Uruguay are all 50 Hz, and Japan is split down the middle. Check your own supply before you pick a shutter speed. A well-built LED driver smooths that supply into steady output; a cheap strip light does not, so its brightness dips twice per mains cycle. That holds for a fixture running flat out, so turn any dimmer up to full before you trust the numbers below. A phase-cut wall dimmer chops the mains waveform and normally leaves the flicker locked to it, so the shutter speeds still work, but a driver that dims by pulsing at its own frequency flickers at a rate no shutter speed will match.
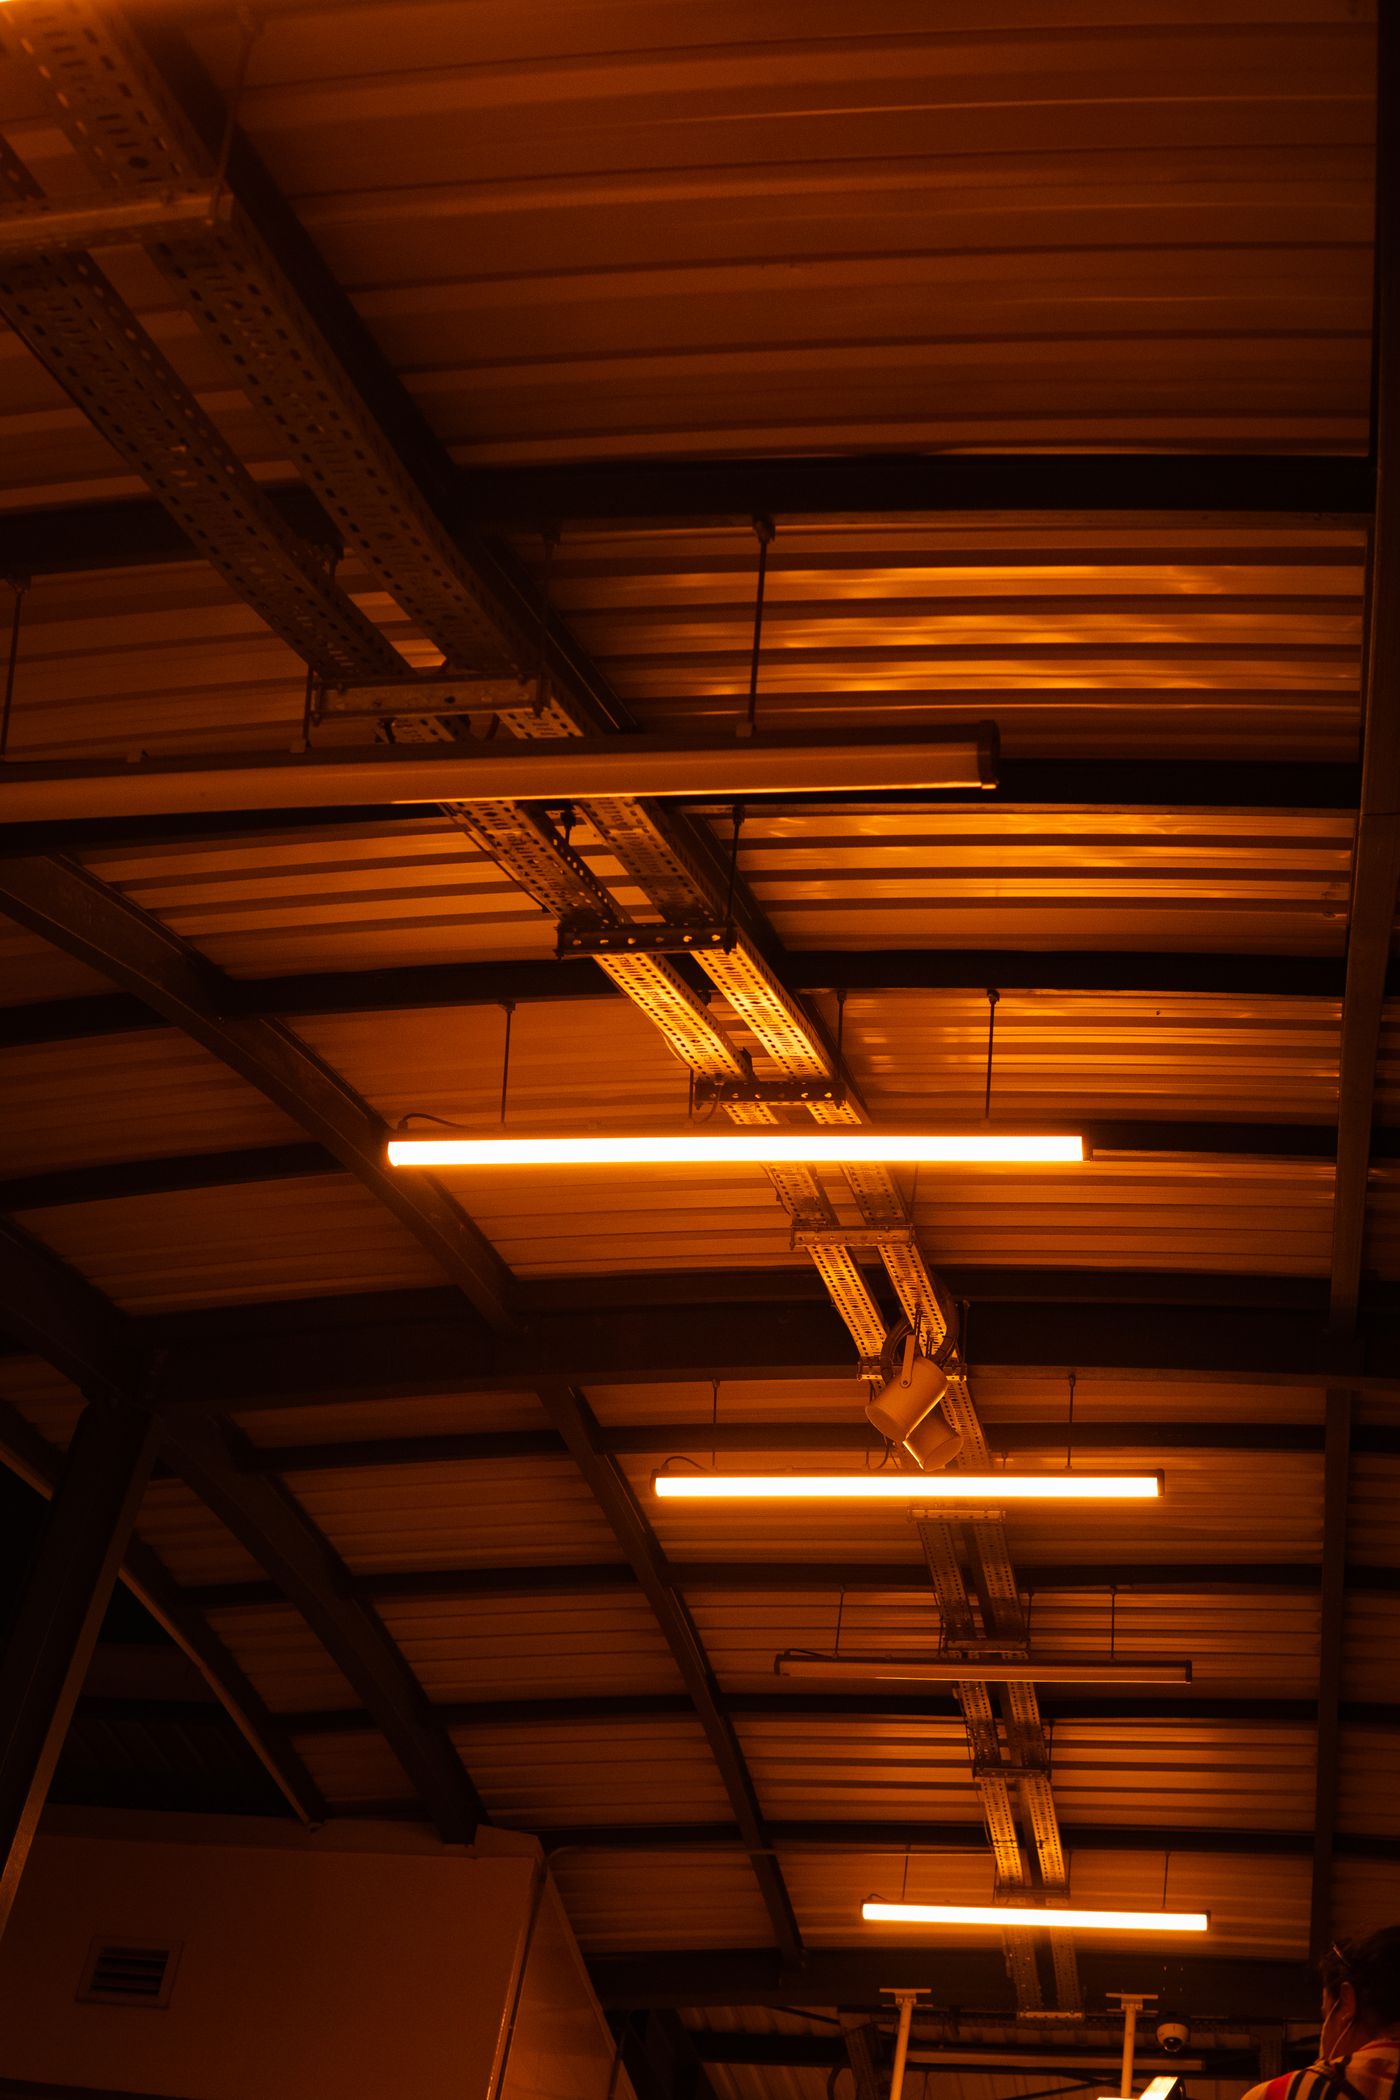
Your eye averages that flicker away; phone and mirrorless sensors do not. Almost all read out row by row from top to bottom over a few milliseconds, so rows that caught a bright part of the cycle come out brighter than rows that caught a dip. Stacked, they read as horizontal bands — and because the readout rarely starts at the same point in the cycle twice, the stripes move between frames.
The two-minute test that tells you if the room is usable
Before you shoot:
- Fill the frame with empty backdrop and zoom into the live preview — banding often shows before you press anything.
- Take five frames without moving, then view them at 100% on a real screen, not a phone thumbnail.
- Stripes in some frames but not others means the room is flickering.
- Turn the LEDs off and repeat on daylight alone. Clean but dim beats bright and striped.
Two minutes of this saves re-shooting a whole range. Our Etsy product photo guide covers the rest of the room.
Settings that actually stop the bands
Every fix below matches the exposure to the flicker instead of fighting it afterwards.
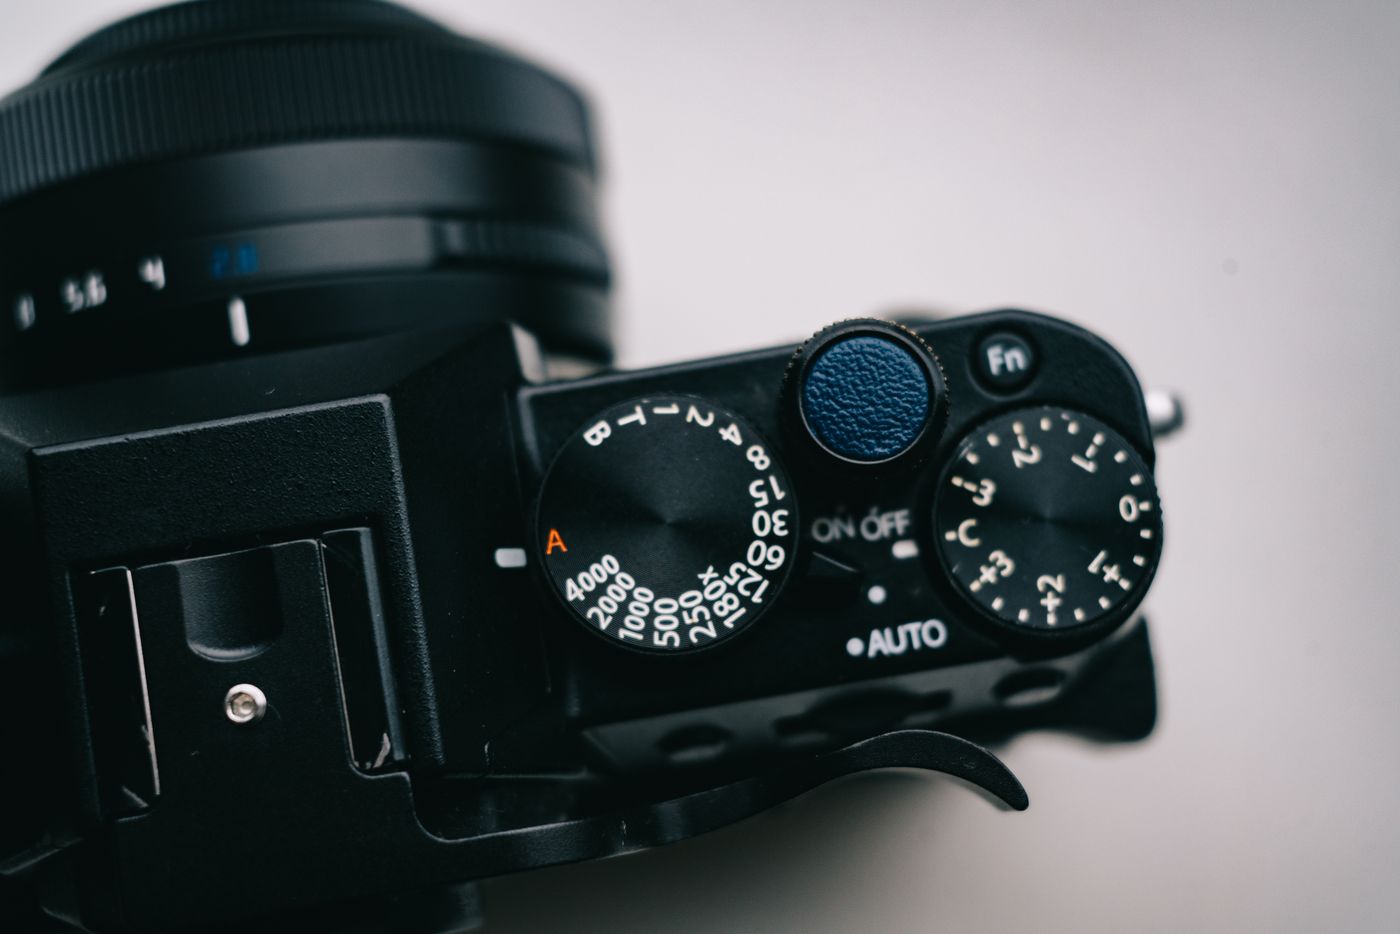
- Find the flicker setting. Many Android camera apps carry an anti-banding option listing Auto plus mains frequencies; naming your own frequency beats Auto. The stock iPhone Camera app has neither that nor a shutter control, so you need a third-party manual camera app.
- Slow the shutter down. If the exposure lasts a whole number of flicker cycles, every row collects the same total light and the bands cancel. In a 50 Hz country that means 1/100 s or a multiple of it, such as 1/50 s or 1/25 s; in a 60 Hz country, 1/60 s or 1/30 s — 1/120 s also works if your app lets you type an exact exposure time, but most cameras jump from 1/100 s straight to 1/125 s, and 1/125 s will still band. In-between speeds band even though they are slower, so 1/80 s will not save you.
- Brace the camera. 1/100 s and 1/120 s are easy to hand-hold, but 1/50 s, 1/30 s and 1/25 s are slow enough that shake becomes the next problem. A tripod, a stack of books or the self-timer solves it.
- Add light, not speed. More light lets you keep the slow shutter and drop ISO instead of shortening the exposure.
Why the window makes it worse, not better
Daylight does not flicker, so diluting the LED with it sounds like a fix. It is not: every passing cloud shifts the ratio between the two sources, so banding contrast changes shot to shot and the light's colour moves with it. Correcting that cast is your own photo editor's job.
Pick one. Shut the blind and shoot on the LEDs at a safe shutter speed, or kill the LEDs and use the window. Small, shiny items punish mixed lighting hardest, which is why our jewellery photography guide starts with a single controlled light.
What banding does to a cutout
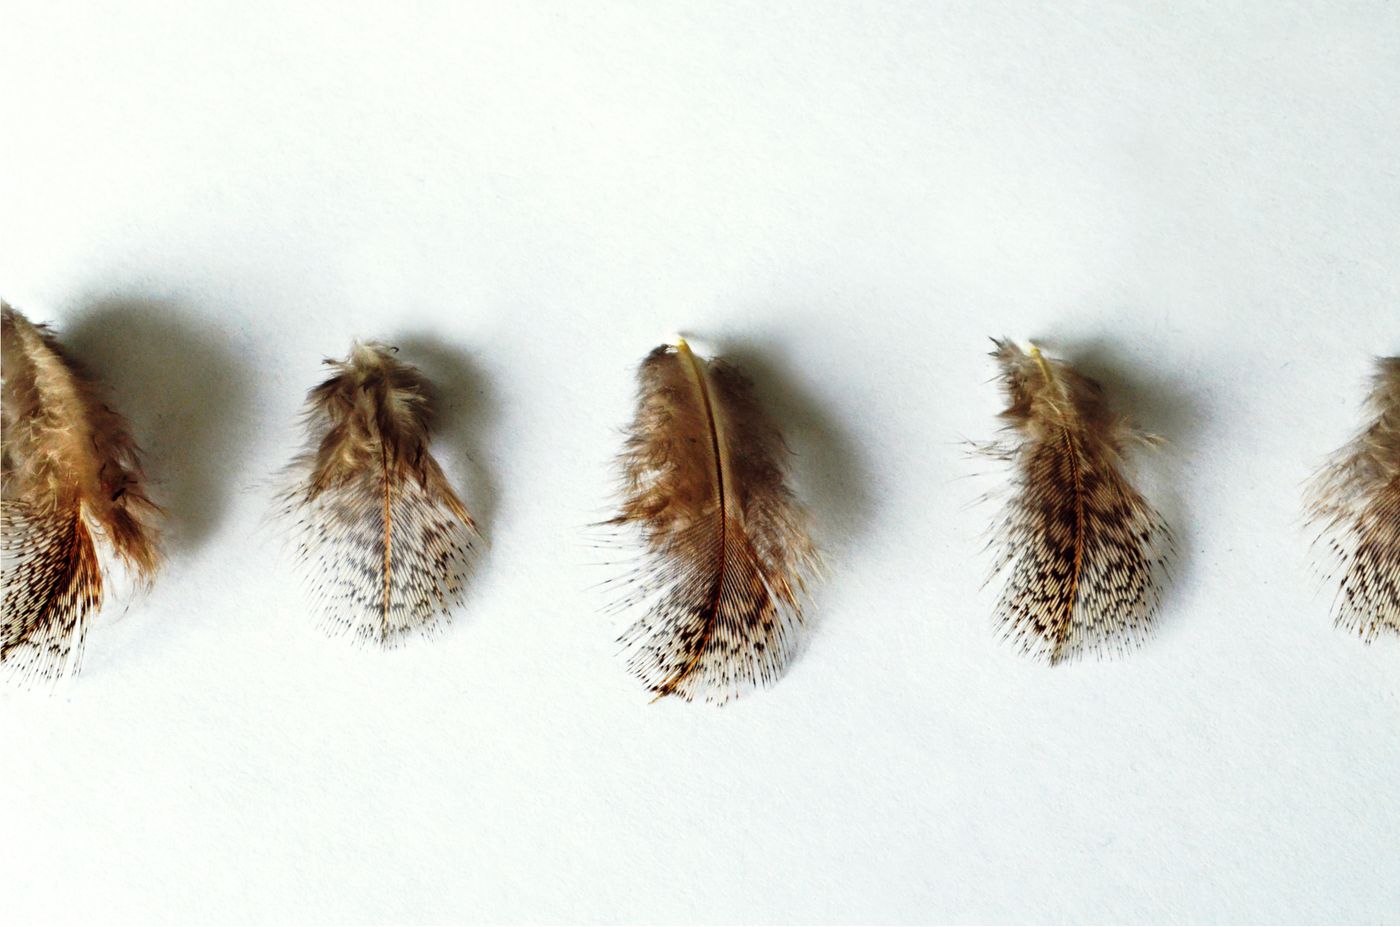
A mask has to decide where the product stops and the backdrop starts. When the backdrop alternates between light and dark bands, some stretches drop a dark band directly behind a dark part of the product and contrast at the boundary collapses. Solid edges usually survive; fur, wire, mesh, feathers and frayed fabric are where it shows.
So fixing the capture is the whole job. Once the frames are clean, dropping every item onto the same solid colour with remover.bg makes a range shot over several evenings read as one set, and a consistent drop shadow finishes it. No background replacement can lift stripes that fell across the product itself — those are baked in.
Fix the room, not the file
Five test frames, one light source, and a shutter speed matched to your mains — run the check before the first product hits the paper.