English
 Español
 Português (BR)
 Deutsch
 Français
 Italiano
 Türkçe
 Bahasa Indonesia
 Русский
 日本語
日本語 한국어
한국어 Українська
 Tiếng Việt
 Polski
 Nederlands
 ไทย
ไทย Română
 简体中文
简体中文 繁體中文
繁體中文 العربية
 Български
 Filipino
 हिन्दी
 اردو
اردو বাংলা
বাংলাLab Supply Photos: Shooting Sealed, Shiny Packaging
Lab supply photos are packaging photos. Soften the source so glare never lands on the catalogue number, and keep near-identical white boxes apart in the grid.
- product photography
- packaging photography
- lab supplies
- catalogue photography
- glare
- lighting
- background removal
- b2b ecommerce
- medical supplies
- drop shadow
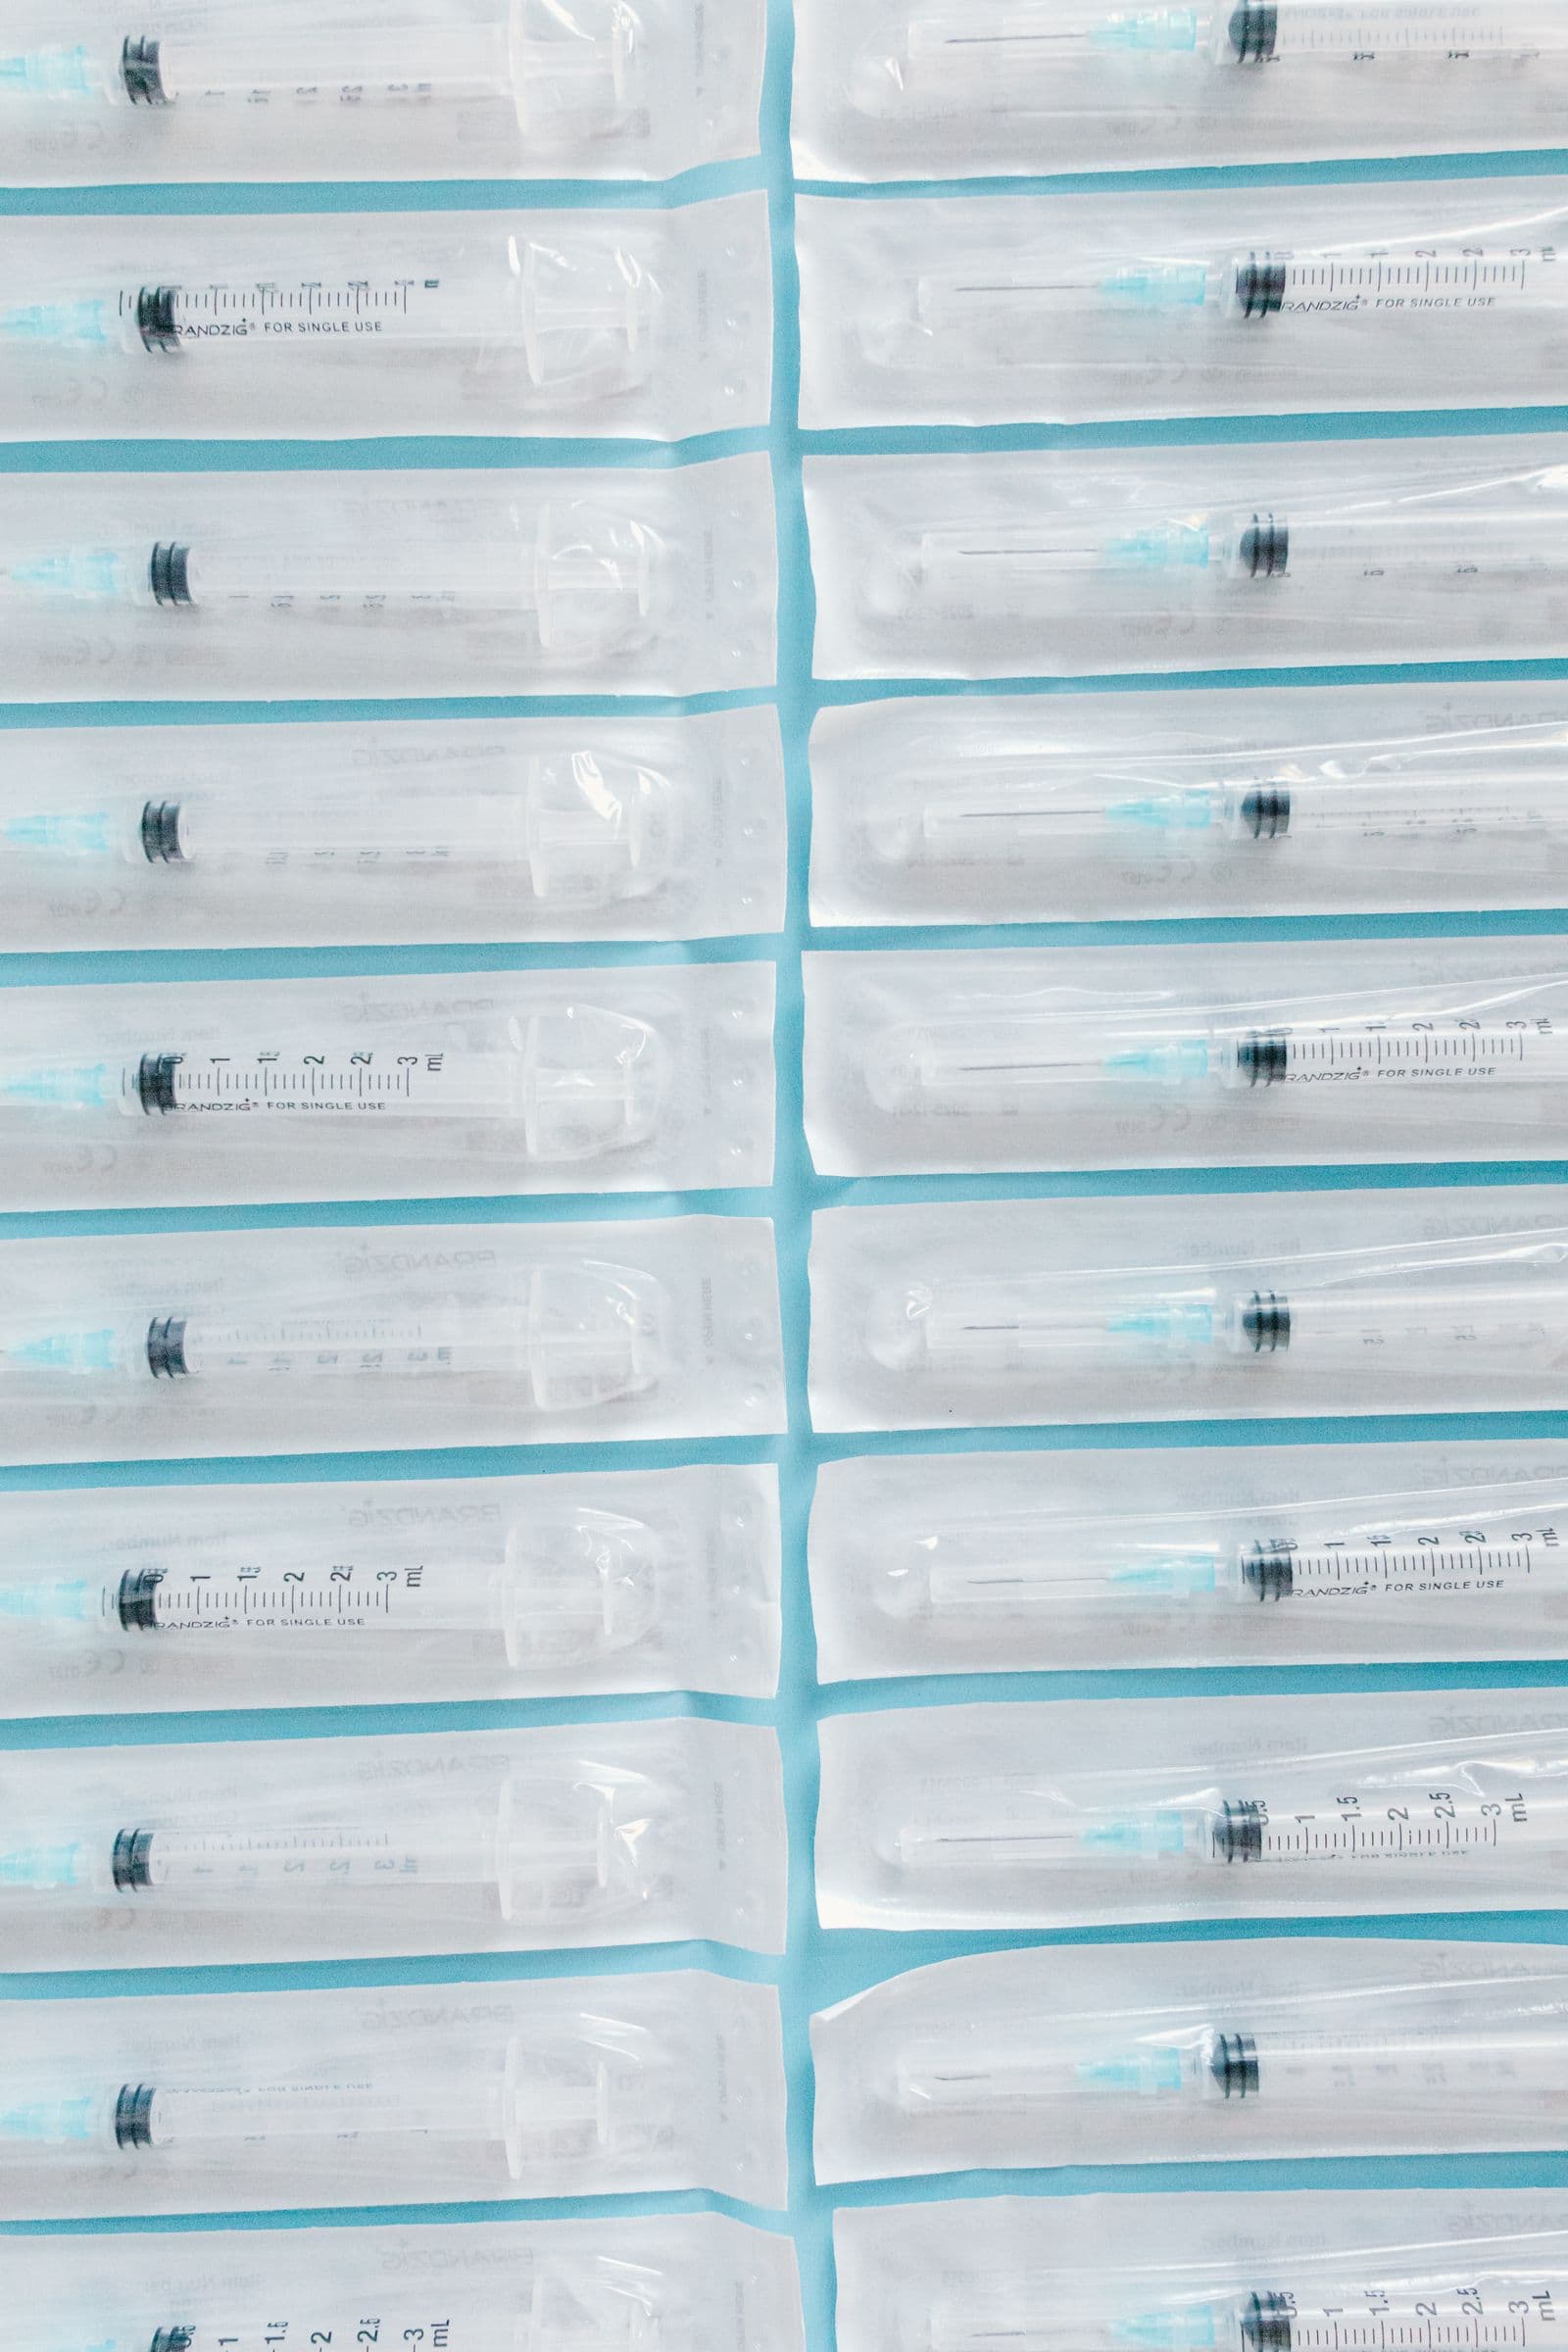
A laboratory supply catalogue is not really a catalogue of products. It is a catalogue of packaging. Pipette tips arrive as a shrink-wrapped stack, sutures in a Tyvek-faced pouch, gloves in a printed dispenser carton, syringes on a blister card. What the buyer sees is film, foil and board.
That matters because film reflects. Smooth polymer mirrors whatever is lighting it: a ring light becomes a bright ring across the pouch, an on-camera flash a blown circle right where the catalogue number is printed. A buyer cross-checking that number cannot read through a highlight.
The second problem shows up in the grid: a scientific range is dozens of near-identical white boxes separated by two digits and a colour band, collapsing into one rectangle at thumbnail size. The first is fixed before you press the shutter. The second is fixed afterwards, when you give the whole range one background.
The glare is on the film, not the product
Specular reflection follows one rule: light bounces off at the same angle it arrived. A small hard source gives a small hard highlight with a sharp border. A large soft source gives a broad gradient the eye reads as sheen rather than damage.

The first move is size and distance: get the light bigger relative to the pack, and closer. A window behind a sheer curtain, a cool-running LED panel behind a sheet of diffusion fabric, or light bounced off a white wall — never paper or fabric taped across a hot bulb. A phone torch does not qualify; the same reasoning makes or breaks a shoot of small shiny objects.
Kill the overhead lights too: mixed sources put two competing reflections on one panel, and you will never place both.
Put the light to the side, not the front
Set one diffused source to one side at shoulder height, not above the pack, and put a white card opposite to lift the shadow. Side light rakes across the film, so the reflection travels away from the camera rather than back into it, and it draws a soft gradient down one side of a white carton, giving the box an edge. Front-on light flattens the pack and parks the highlight on the printed face.
Tilt the pack, not the light
When the highlight still lands on the panel you need readable, move the pack, not the set. A few degrees of tilt sends the reflection somewhere harmless, and repeats faster across a range.
Fold a strip of card into a wedge, slide it under the back edge of the pouch, and watch the highlight travel; stop when it clears the print block. Keep the wedge — the same tilt on every item is half of what makes a catalogue look deliberate.
Loose shrink film over a rack of tips creases, and every crease is its own mirror. Uncoated Tyvek is comparatively matte; gloss cartons and clear blister domes need the tilt.
Shooting stock you are not allowed to open
Sterile barrier packaging usually cannot be opened for a photograph: once the barrier is breached, the unit cannot go back into saleable stock. Check the manufacturer's instructions and your own quality procedures first, and assume the image has to carry what a buyer would otherwise learn by handling the item.
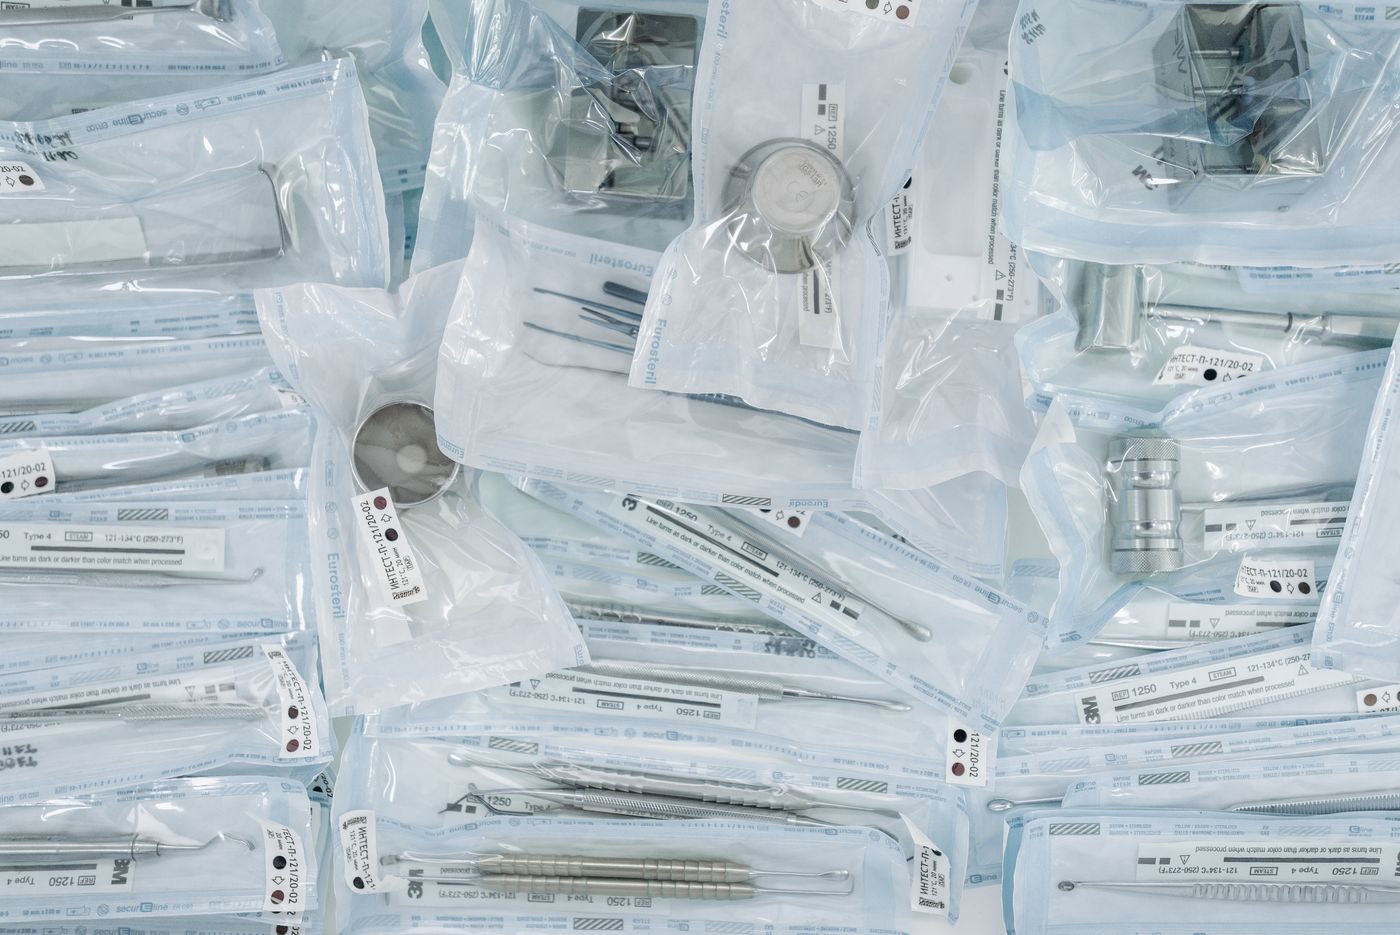
- Shoot the sealed unit square to the printed face so the description panel is fully legible.
- Keep one marked photo sample per SKU, stored outside saleable stock so nobody ships it.
- If you need a contents shot, ask whether an expired lot or a QC reject can be released for photography, and caption it as such.
- Include a scale reference in a secondary frame: a ruler alongside, or the pack in a gloved hand.
- Wear gloves: fingerprints on gloss film photograph far more clearly than they look in the room.
One background for a shelf of near-identical boxes
Once the frames are clean, the range needs a single background. Pure white is the wrong choice for your own site: a white carton on white loses its edges, and smaller thumbnails make it worse. Keep a white version for the channels that ask for one; our guide to Amazon's image rules covers what a marketplace usually means by a white main image; the binding wording lives in that marketplace's own seller documentation. Do not let it dictate your category page.

Use a very light grey — light enough to read as neutral beside your page background, dark enough that the silhouette draws itself. In the editor at remover.bg you set that grey as a custom background colour, then add a soft drop shadow so the pack sits on a surface. Reuse the same hex on every product; a shadow that falls the same way in every frame is what makes a mixed-supplier catalogue read as one line.
Across a large range, bulk processing runs through the HTTP API: one request per image, the same background colour and shadow settings on each, and the whole day's shoot comes back matching.
Before you publish
View the finished set at thumbnail size, the way a buyer will: every pack edge visible against the grey, no highlight over a catalogue number, every shadow falling the same way. If two products still read as the same grey rectangle, the photography is fine — the boxes are that similar, and the fix is a second image showing what is inside.