English
 Español
 Português (BR)
 Deutsch
 Français
 Italiano
 Türkçe
 Bahasa Indonesia
 Русский
 日本語
日本語 한국어
한국어 Українська
 Tiếng Việt
 Polski
 Nederlands
 ไทย
ไทย Română
 简体中文
简体中文 繁體中文
繁體中文 العربية
 Български
 Filipino
 हिन्दी
 اردو
اردو বাংলা
বাংলাHow to Prop Products Upright Without Ruining the Cutout
Blocks and putty hold a product upright, then survive background removal welded to it. Hide the support on the camera axis, tone-match it, and check the shadow.
- product photography
- background removal
- ecommerce
- studio setup
- props
- shadows
- styling
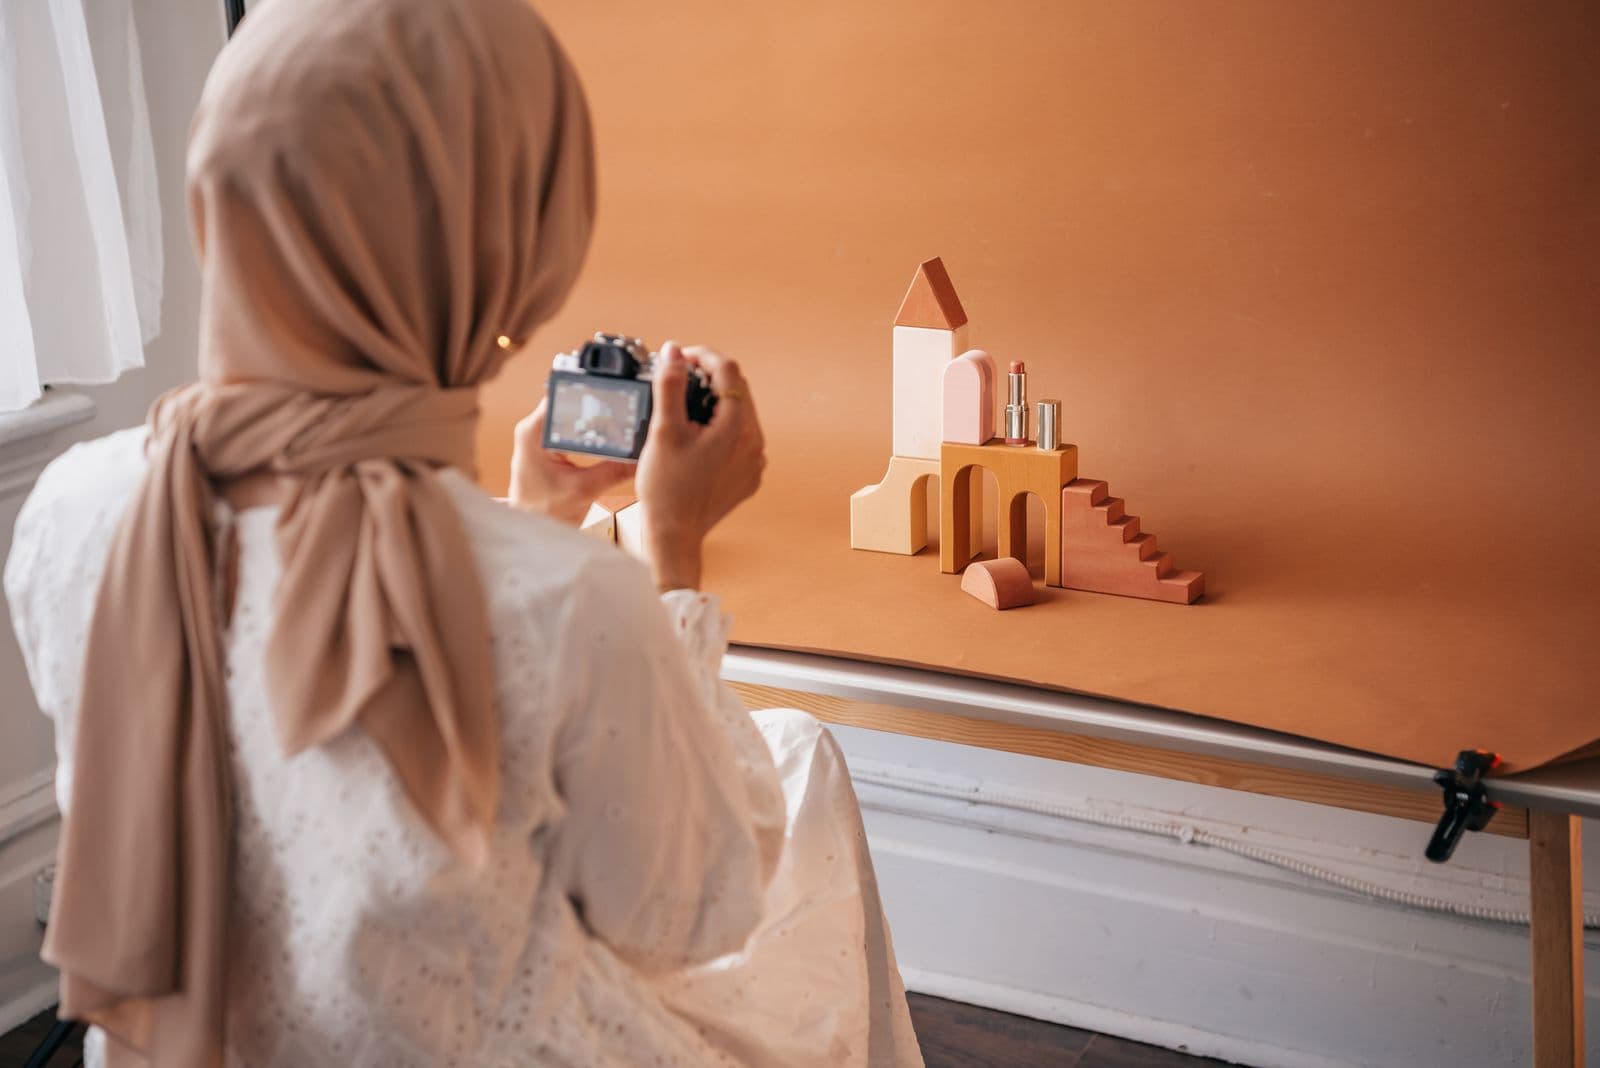
A trainer photographed on its sole tips sideways. A handbag slumps the moment there is no shoulder in it. A boxed set buyers want to see standing up would much rather lie down. So you reach for something — a block of wood, a clothes peg, a lump of adhesive putty — and the shot is saved. Then you cut the background out, and the prop is still there, welded to the product like a growth.
Background removal decides what is subject and what is not, and anything touching the product, in focus and lit the same way, reads as part of it. There is no object-removal button to fall back on, so almost every fix below happens on the table, before the shutter fires. All that is left afterwards is checking the cutout.
Hide the support on the camera axis
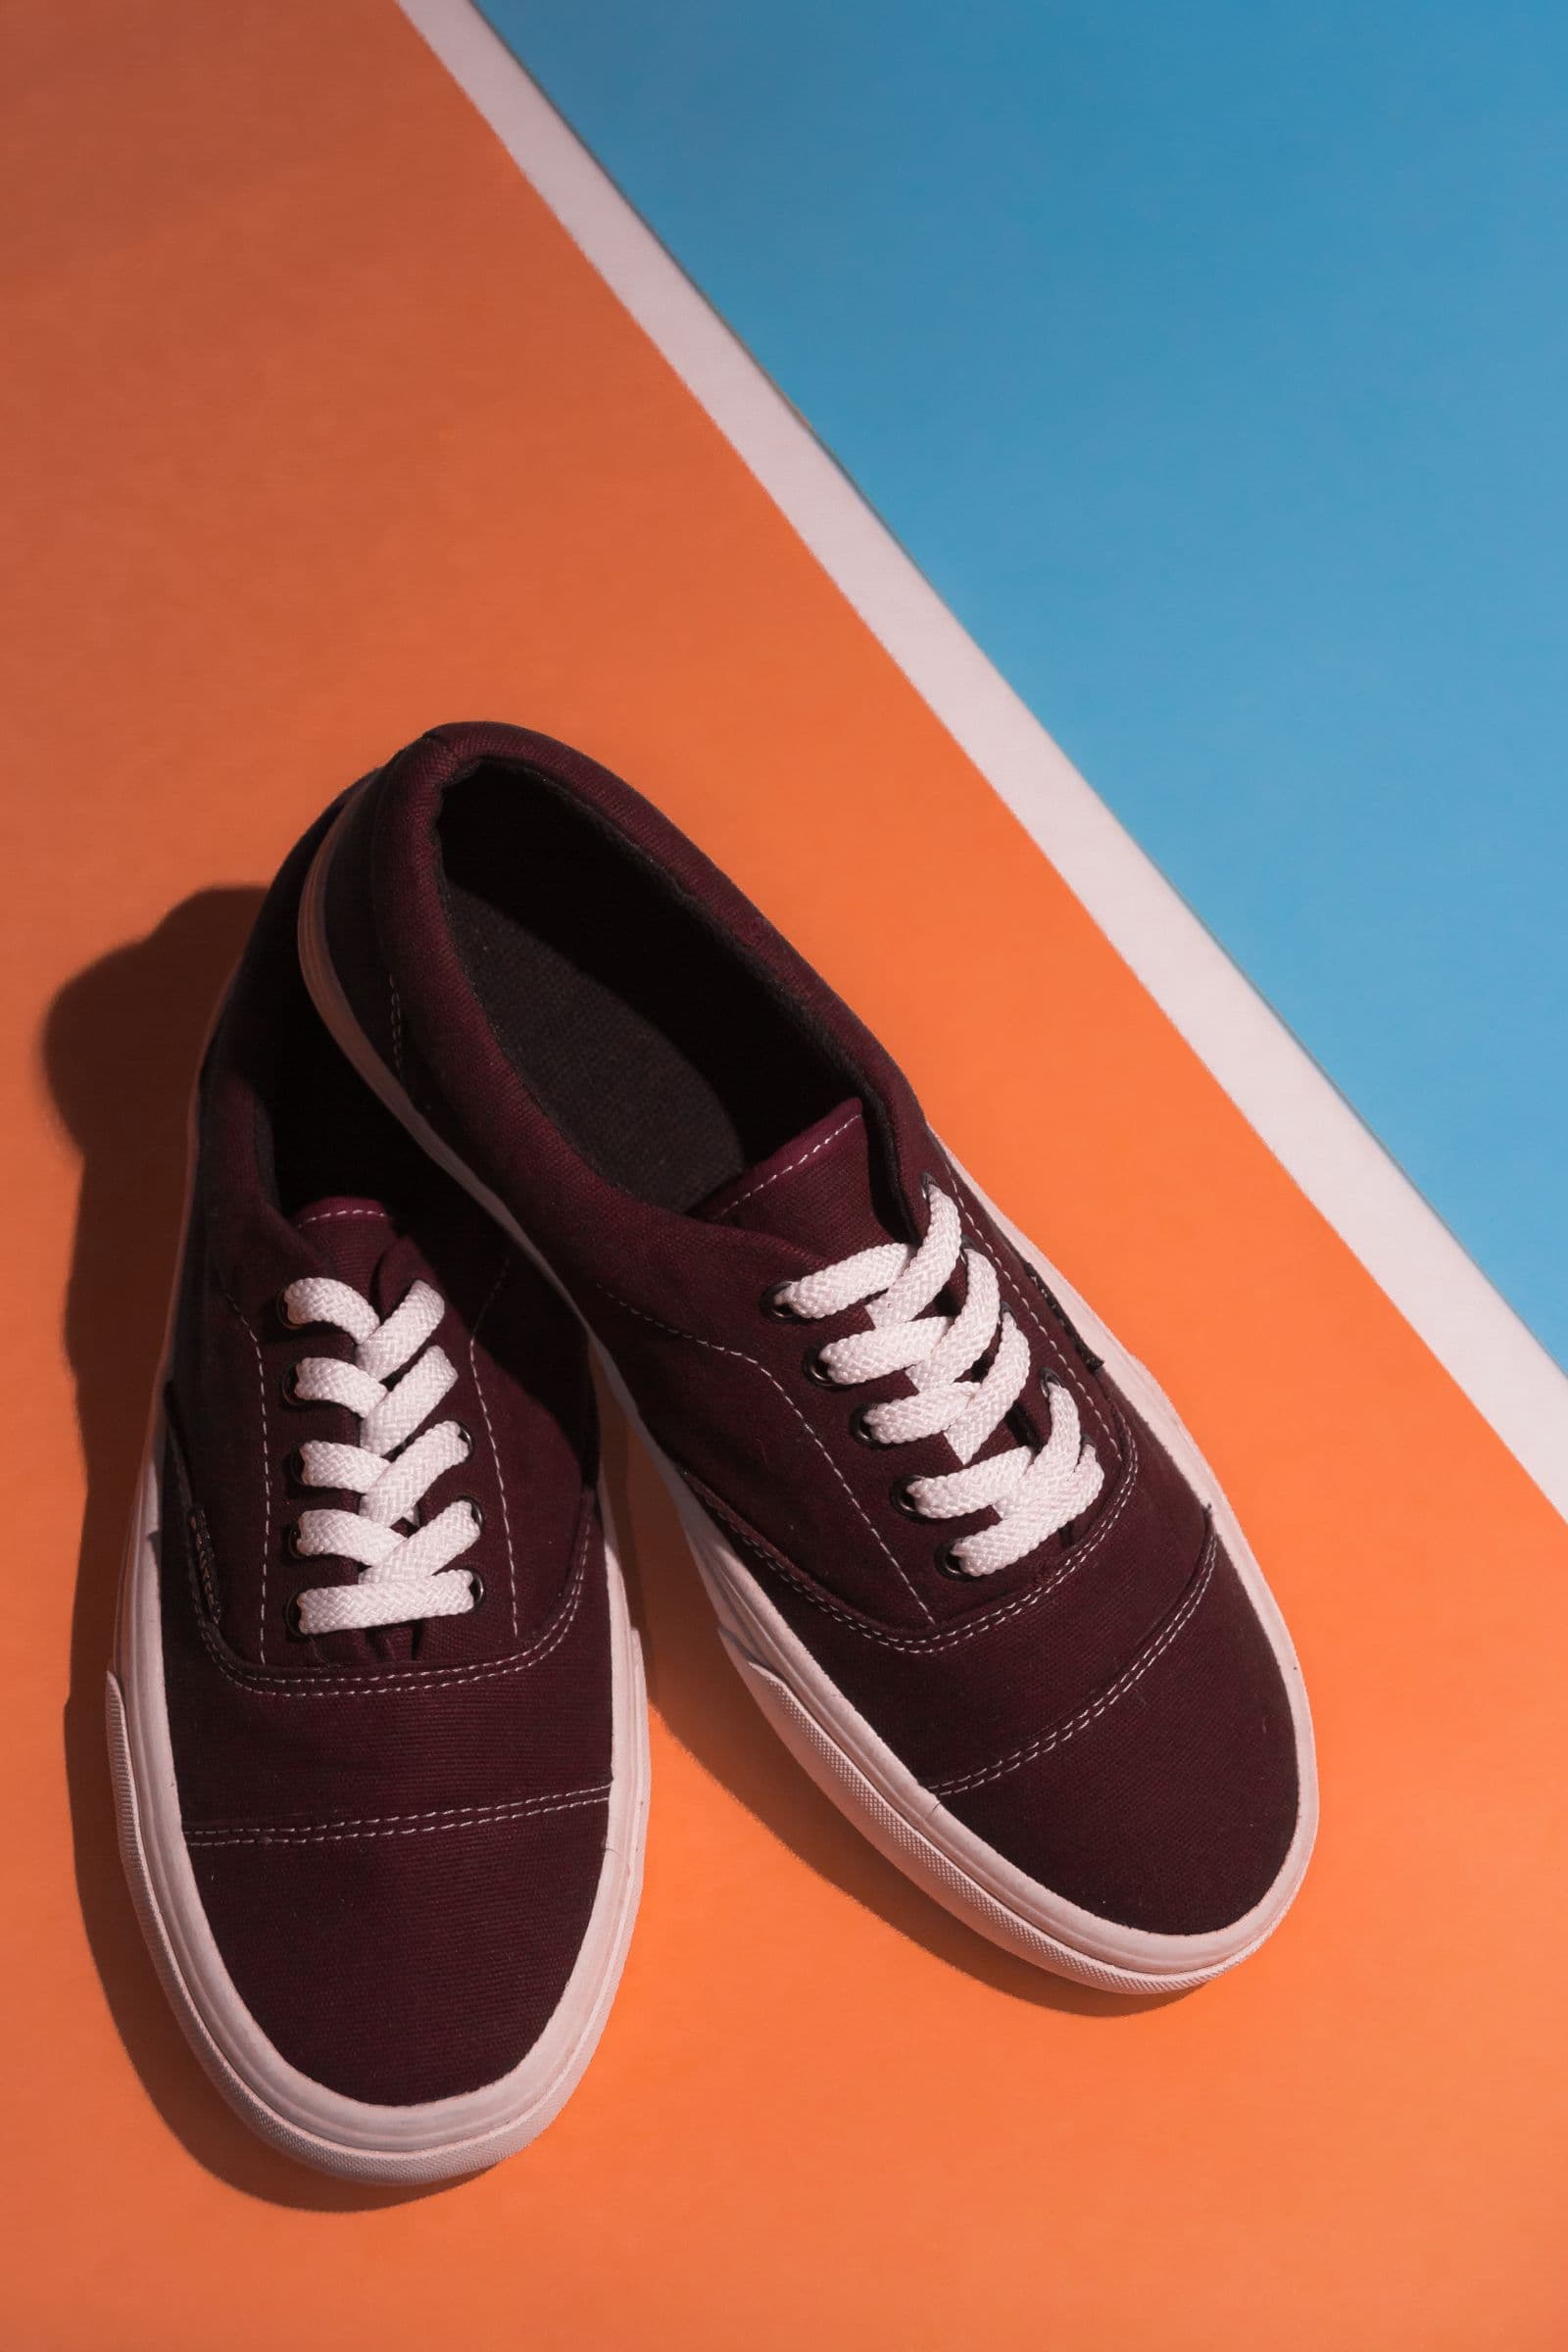
The oldest trick in catalogue photography is still the best: put the support directly behind the item, in line with the lens, so the product's own silhouette covers it. A block behind a shoe's heel, a stack of erasers behind a bottle, a bulldog clip standing on its handles behind a box — none of it exists as far as the camera is concerned.
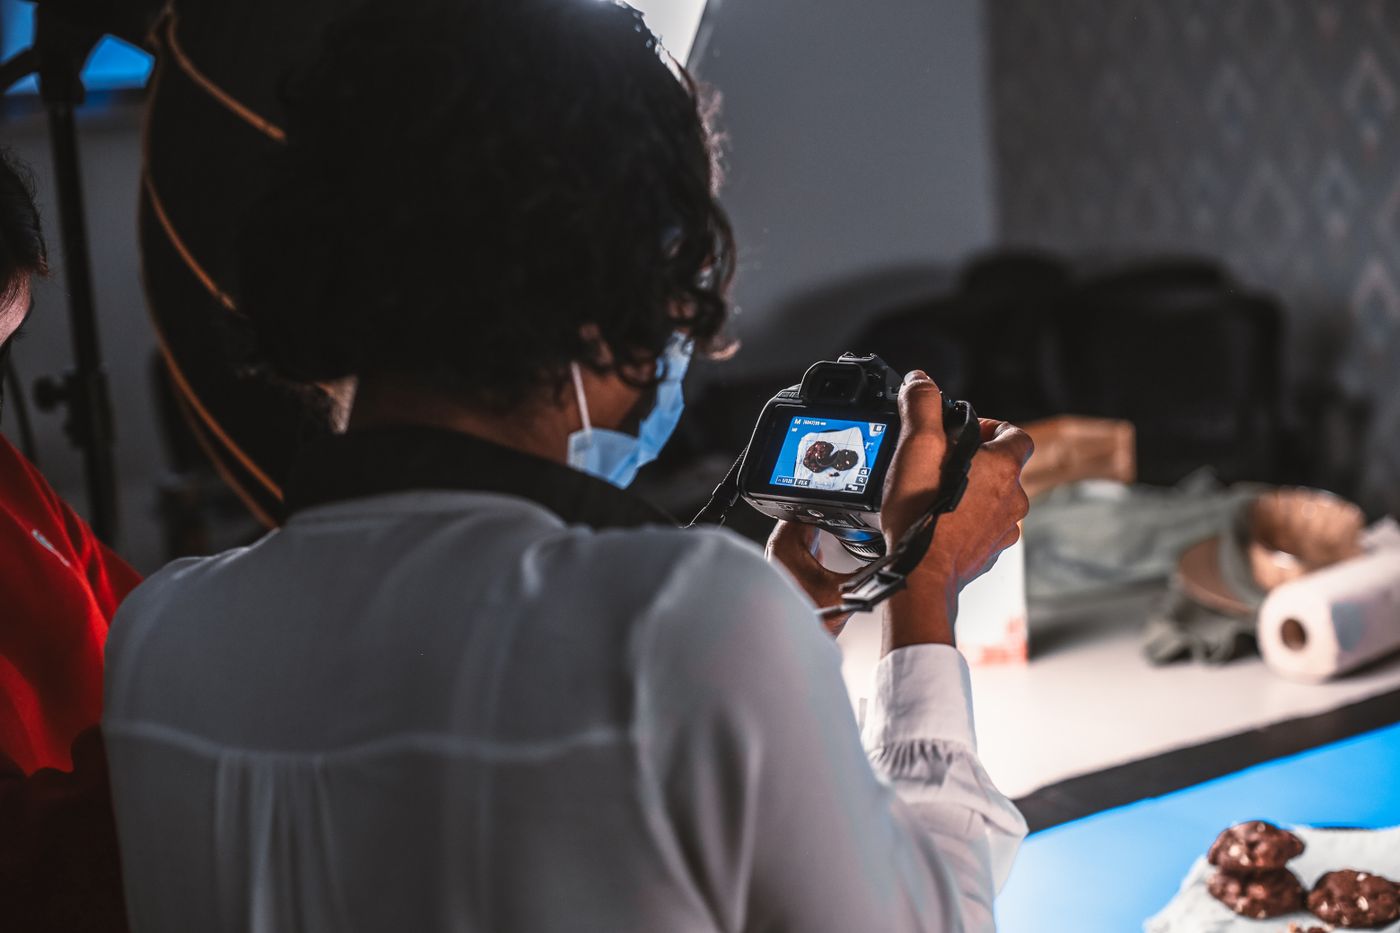
The failure mode is a sliver. Move a few centimetres off axis and a corner of the block pokes past the product's edge, and that corner is now attached to your subject. Trace the whole outline in the live view rather than on the object itself — a prop peeking out at a bag's left hip is easy to miss in the room and obvious on white. Use a tripod: the axis you lined up survives only until you hand-hold the next frame.
Match the prop to the backdrop, not the product
When the support cannot hide completely — a tall bottle leaning back, a jacket on a hanger — make it the same colour and tone as the surface behind it. Wrap the block in an offcut of the paper you are shooting on, or paint the wire stand matte grey.
There is then no visible boundary between prop and backdrop, so any sliver that survives is grey on grey rather than a black wedge on white. Never match the prop to the product instead — a white block behind a white sneaker looks invisible to you and merges into the subject in the cutout.
Avoid clear acrylic risers here. Transparent supports refract the backdrop and catch a bright line along their edges. Matte and opaque beats clever and invisible.
Tilt the surface instead of propping
Often the cleanest answer is to stop propping. Lean a board back at a shallow angle, cover it with your backdrop material, and let the item rest against it. Gravity holds the product, the board is the background, nothing else is in frame. Tilt the camera to match the board so the item reads as standing rather than reclining.
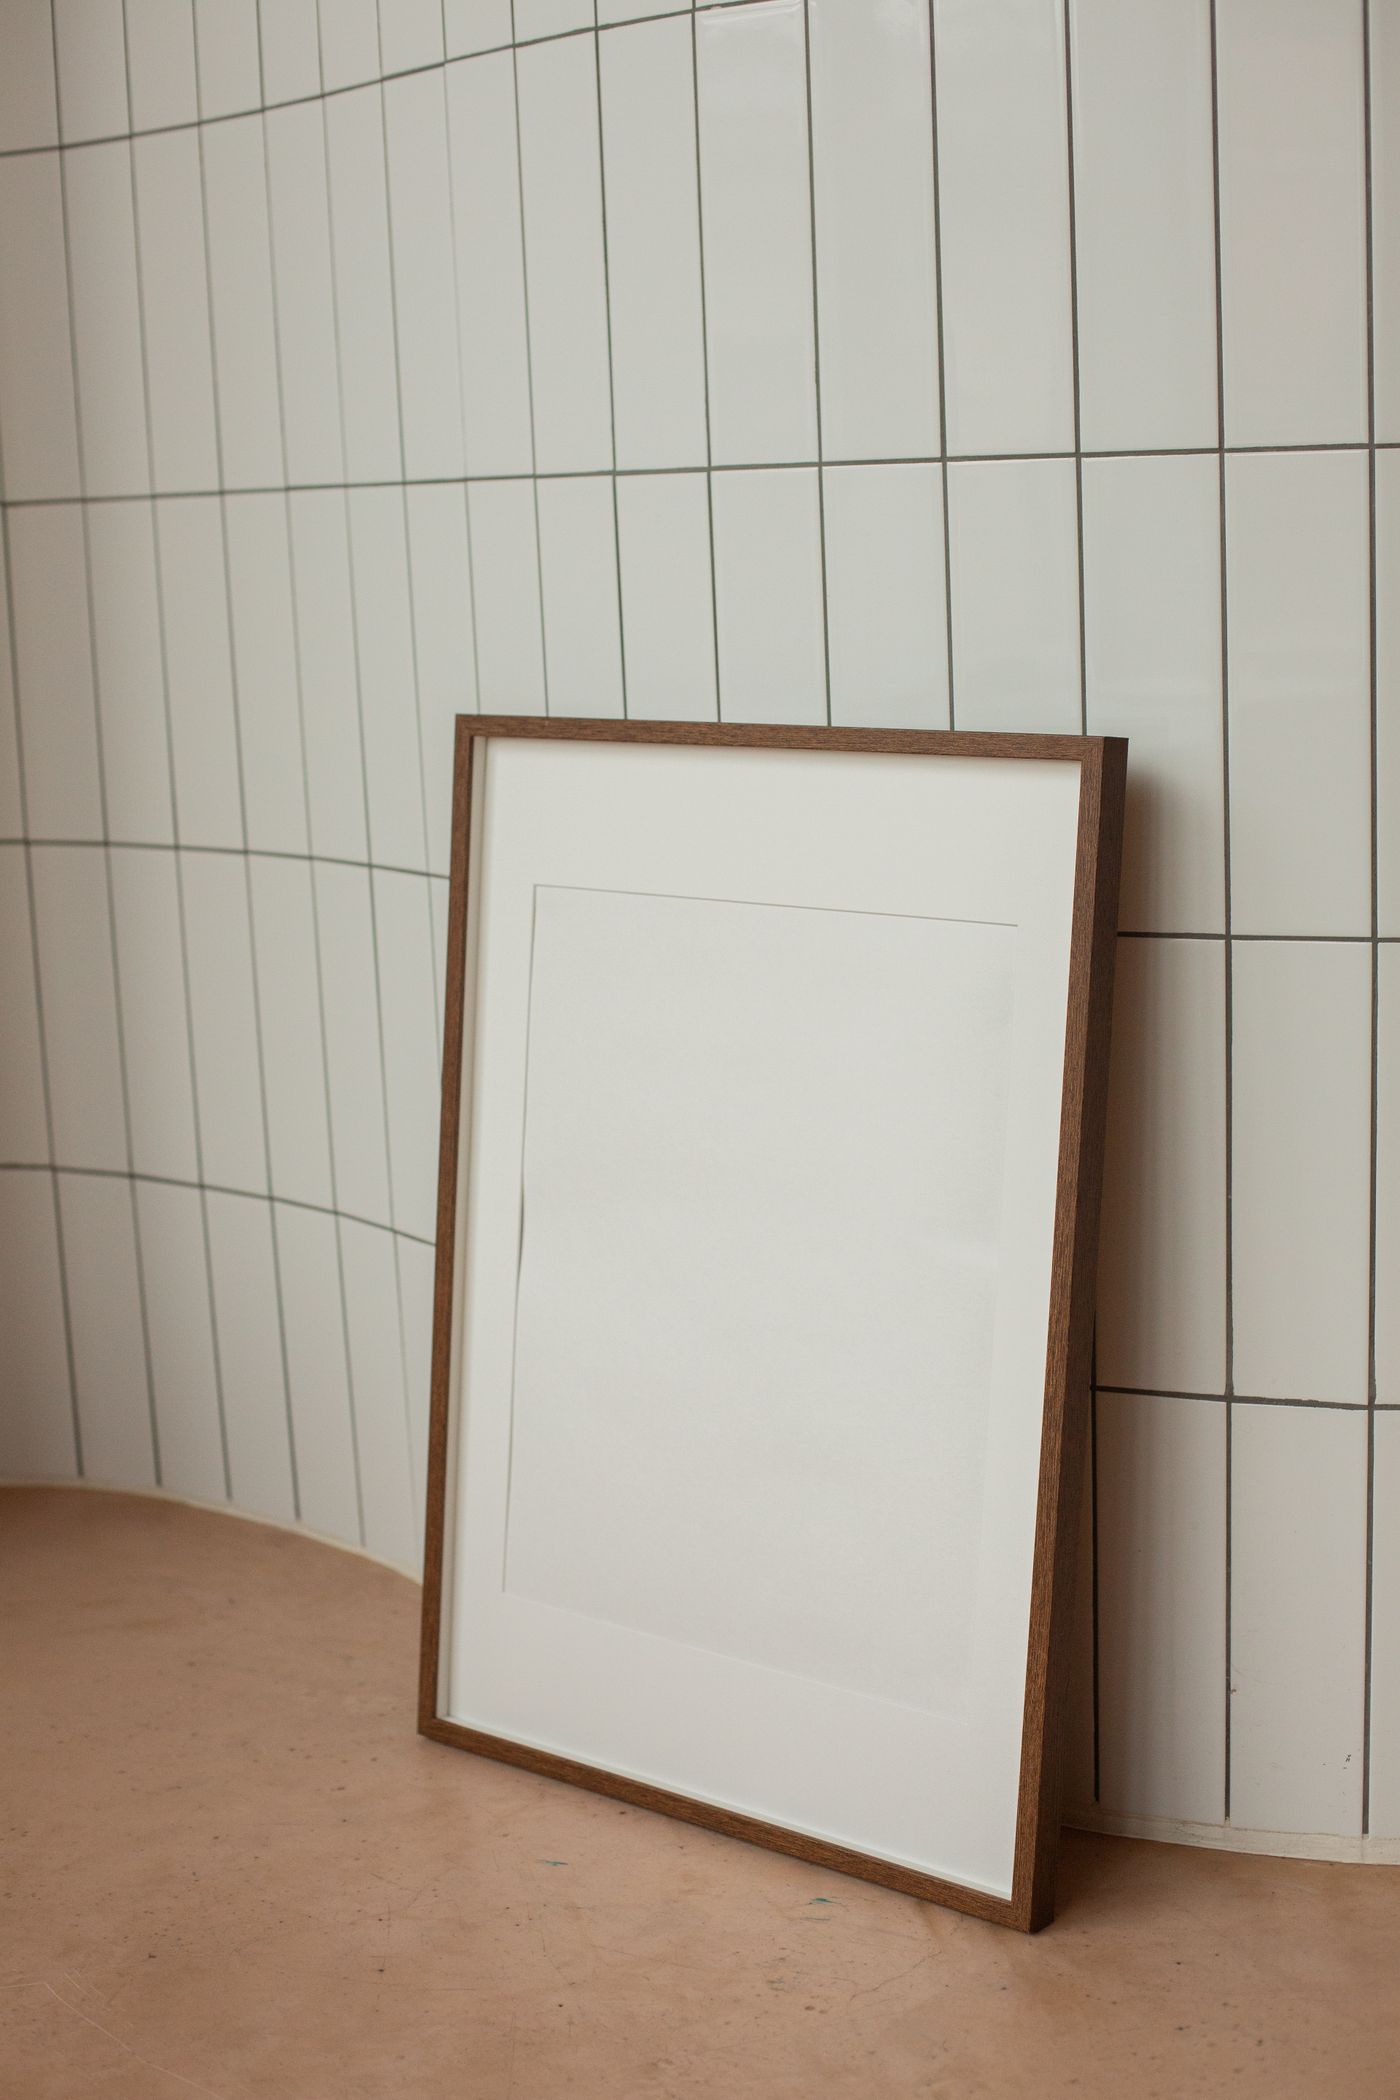
This works for flat-backed things: boxed goods, books, framed prints, phone cases, folded garments. Anything with depth that must sit level goes back to a hidden block. It is also the friendliest setup for a range, since every item lands in the same spot at the same angle, and custom backgrounds work across a catalogue only when the shots underneath already match.
Where adhesive putty and fishing line go wrong
- Adhesive putty squeezes out from under the base as a coloured bead at the contact line, fused to the outline. Use a nail-head amount, keep it strictly inside the footprint, and keep it off suede and printed card.
- Fishing line holding a strap up is thin, bright where light catches it, and it crosses the item. Sometimes it vanishes; sometimes it survives as a hairline scratch. Run it behind the product, keep light off it, check at full size.
- Stuffing is the underrated one. Tissue paper in a bag, a rolled sock in a boot, an insert in a cap: support that lives inside the product cannot show up outside it. Small, shiny items bring their own version of this problem — see the jewellery shooting guide.
The shadow outlives the prop
Last, check the shadow the support cast while it was there. A shadow falling on the backdrop is usually read as background and goes with it, though a soft contact shadow right under the base can survive at the edge of the cutout. A shadow the prop threw onto the product stays outright: a dark bar across the back of a shoe, a wedge under a bottle's shoulder.
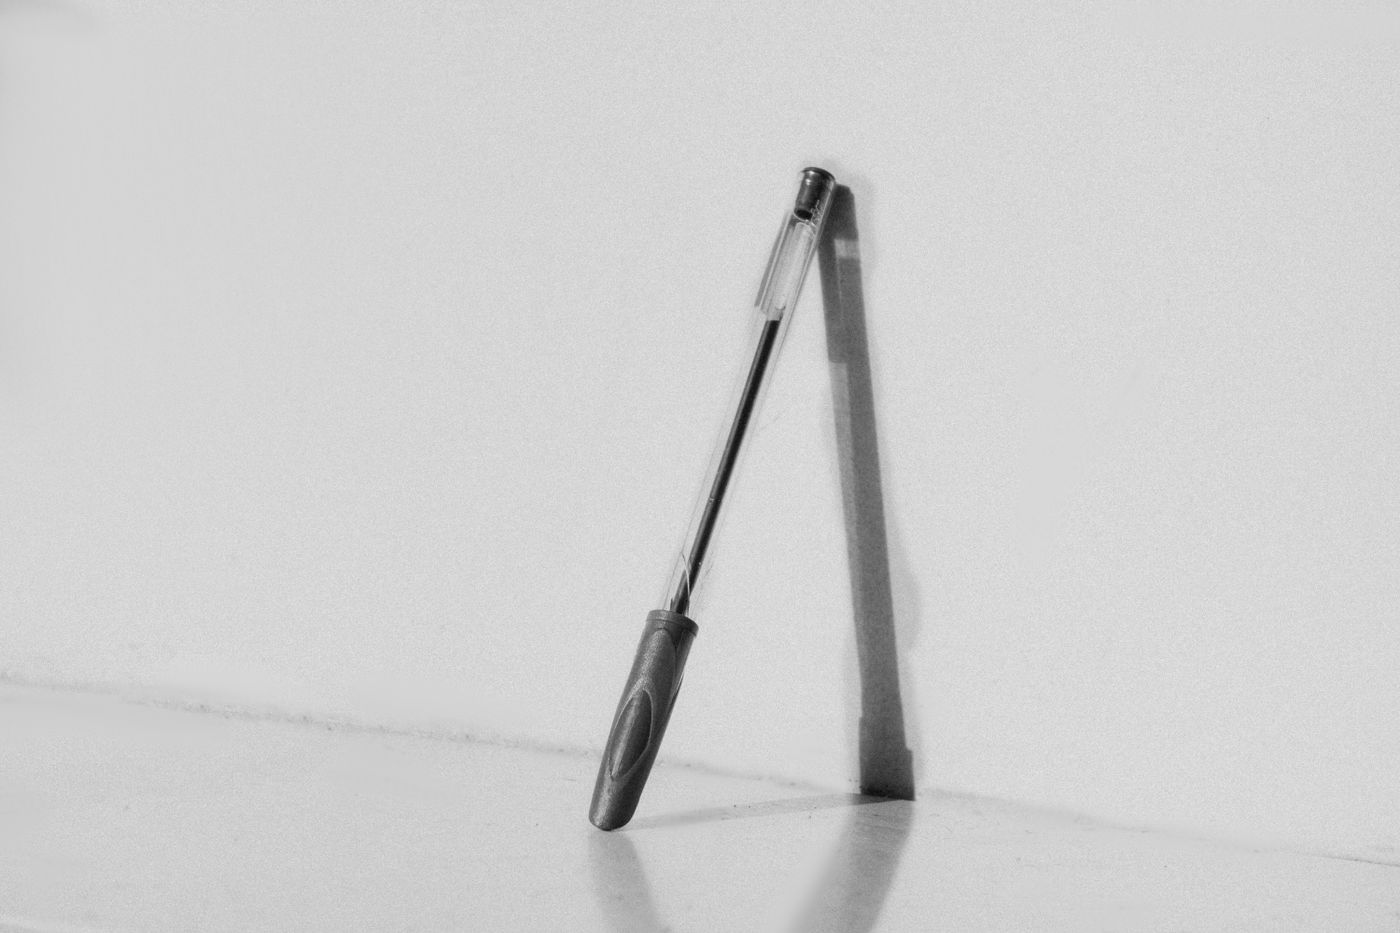
Upload your best frame to remover.bg and inspect the base and rear edges at full size before shooting the rest of the range. If a hard shadow does not belong to the object's own form, move the prop back, or move the light so its shadow falls away from the product rather than across it. Then add a clean drop shadow in the editor, where you control direction and softness — shadow direction and weight matter more once images sit side by side in a grid.
Test one item before you shoot forty
Run one SKU end to end — prop, shoot, cut out, inspect at full size — before you photograph the rest. Fixing a support position on the table costs a minute; finding it afterwards costs the shoot.