English
 Español
 Português (BR)
 Deutsch
 Français
 Italiano
 Türkçe
 Bahasa Indonesia
 Русский
 日本語
日本語 한국어
한국어 Українська
 Tiếng Việt
 Polski
 Nederlands
 ไทย
ไทย Română
 简体中文
简体中文 繁體中文
繁體中文 العربية
 Български
 Filipino
 हिन्दी
 اردو
اردو বাংলা
বাংলাHard vs Soft Light: The One Rule of Product Photography
Hard light vs soft light comes down to one rule: source size next to your product. When crisp shadows sell, why ecommerce goes soft, how to diffuse for free.
- hard light vs soft light
- product photography
- lighting
- ecommerce photos
- photo editing
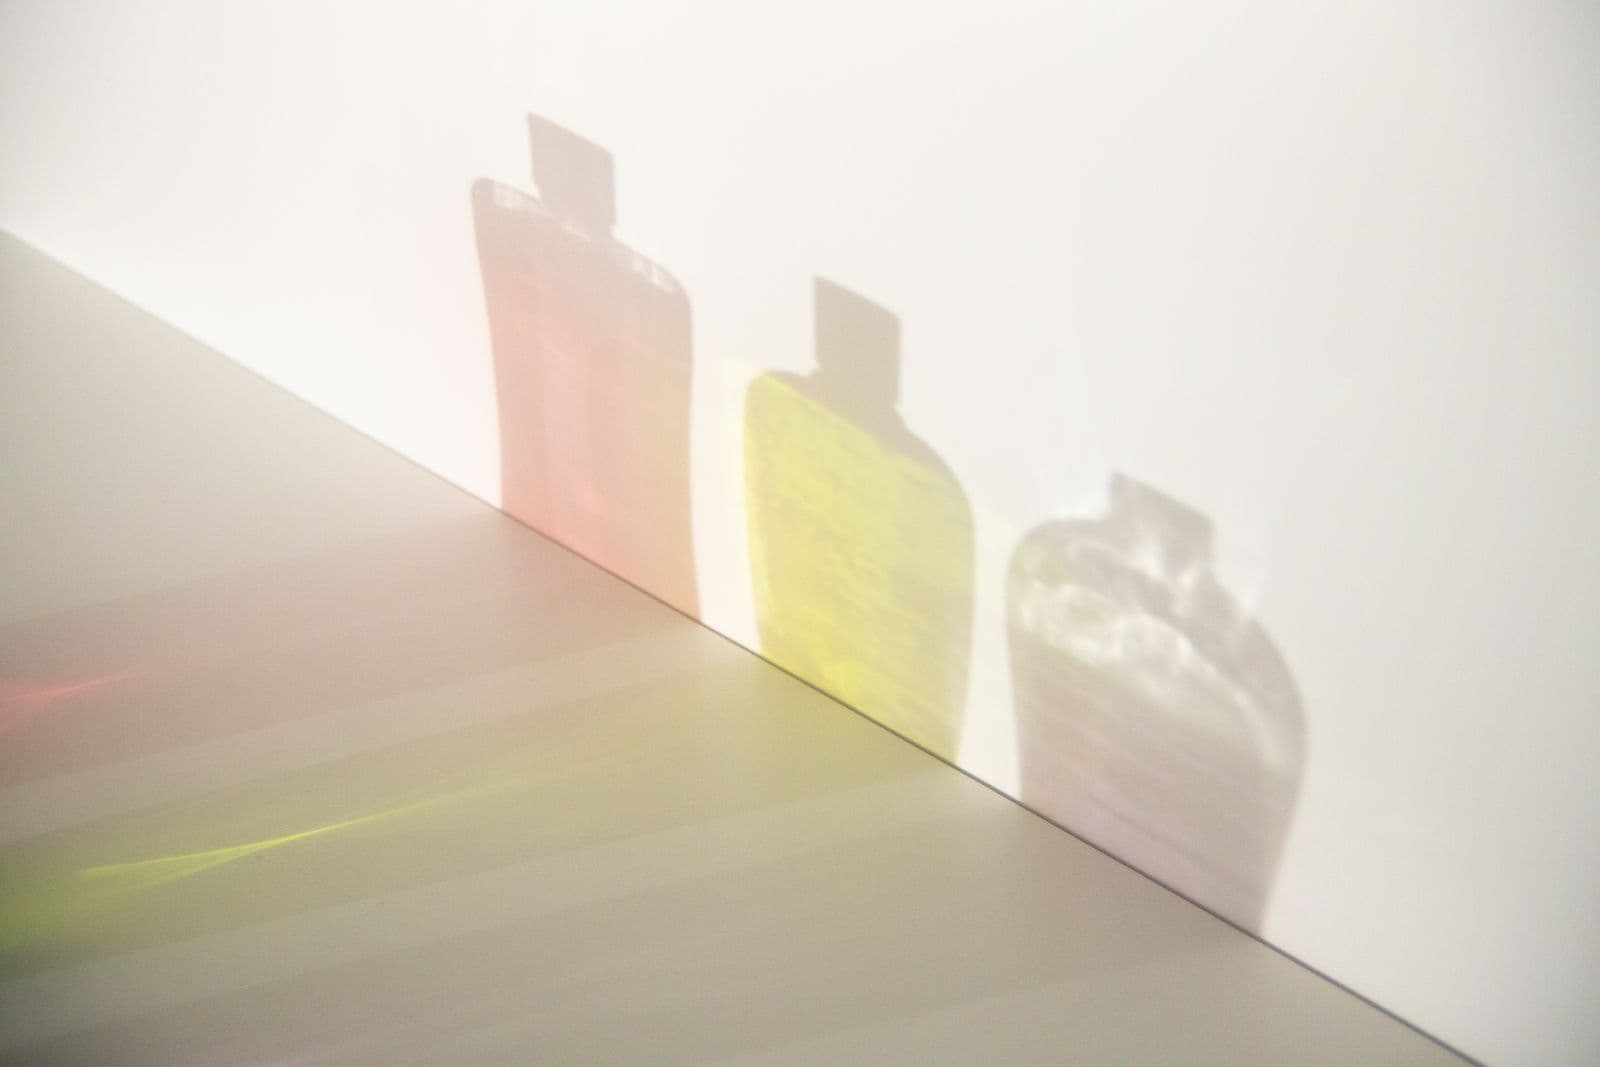
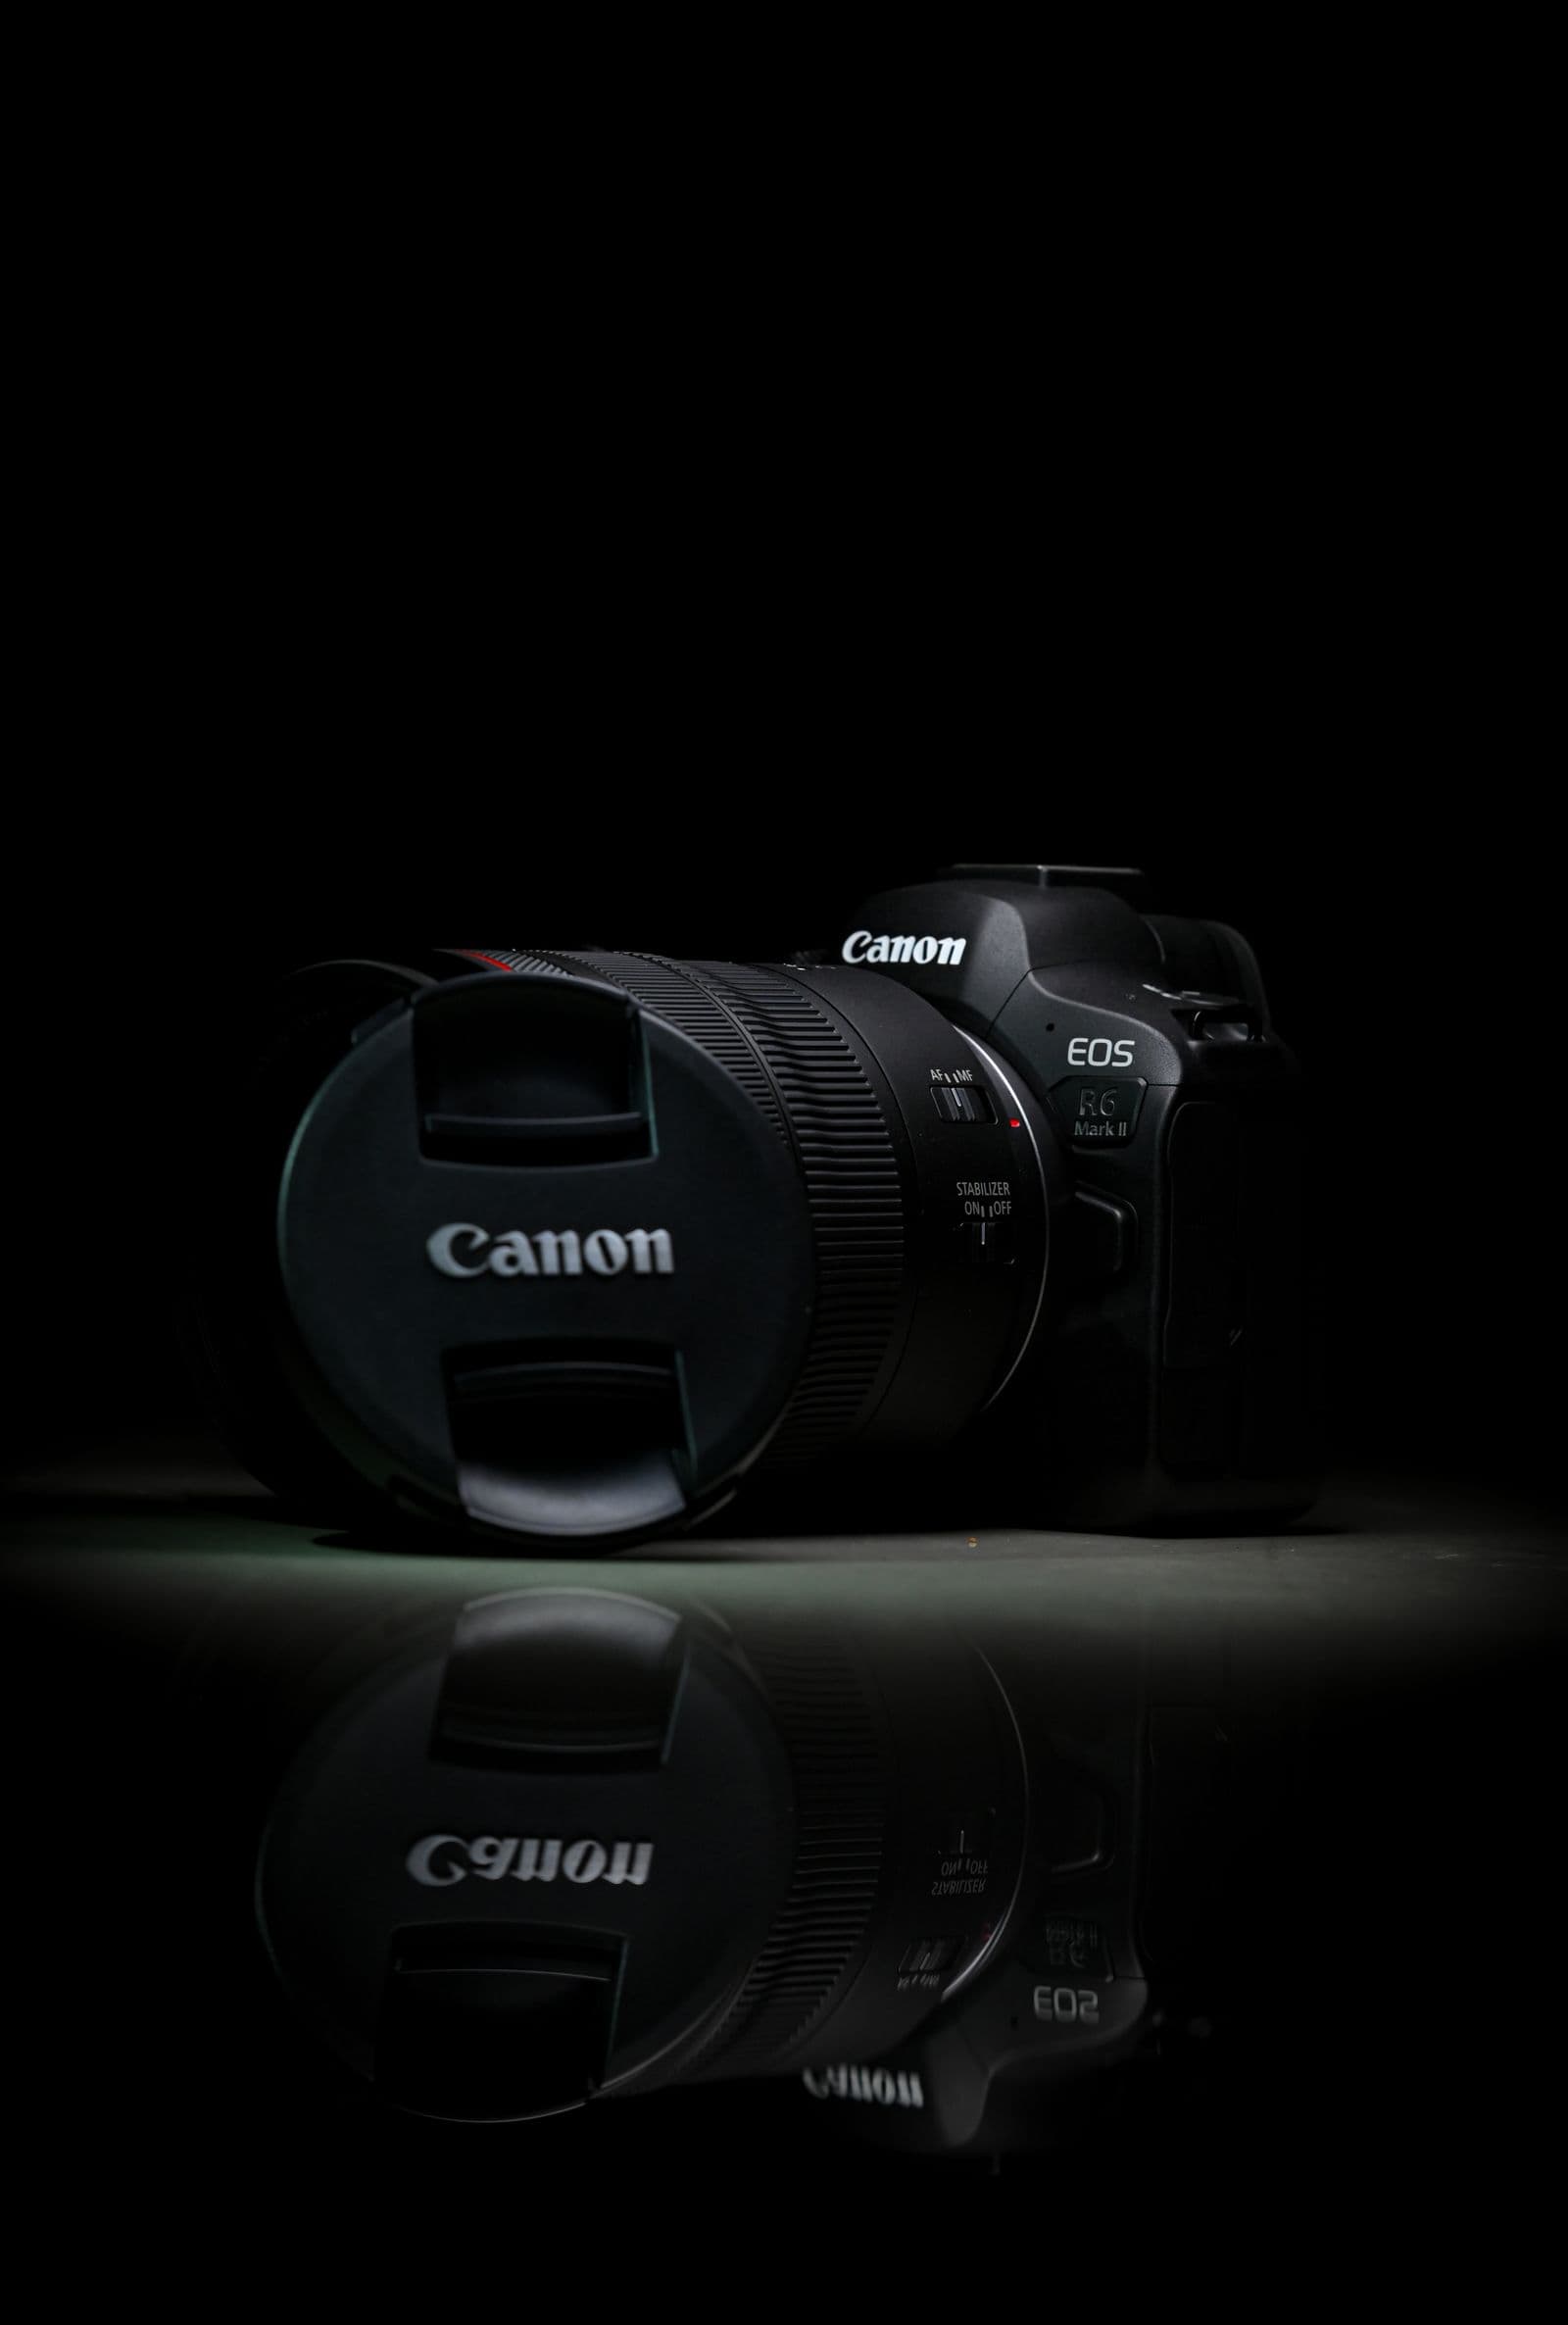
Every product photo you've ever admired — and every one you've quietly deleted — comes down to one question: how big is your light source compared to your subject? Not how bright. Not how expensive. How big, from the product's point of view.
A large source wraps around your product and fills in its own shadows. That's soft light. A small source hits from one direction and stops dead, leaving shadow edges you could cut yourself on. That's hard light. Neither is better. But confusing them is why a watch looks flat when it should smolder, and why a moisturizer looks harsh when it should look like a spa day.
Here's the concept, when to use each, and how the choice ripples all the way into background removal and shadow realism later.
The One Rule: Light Size Relative to Your Subject
The sun is enormous, but it's so far away that at noon it acts like a tiny point — and throws the hardest shadows you'll see all day. Slide clouds in front of it and the whole sky becomes the source: an instant, sky-sized softbox, and shadows nearly vanish.
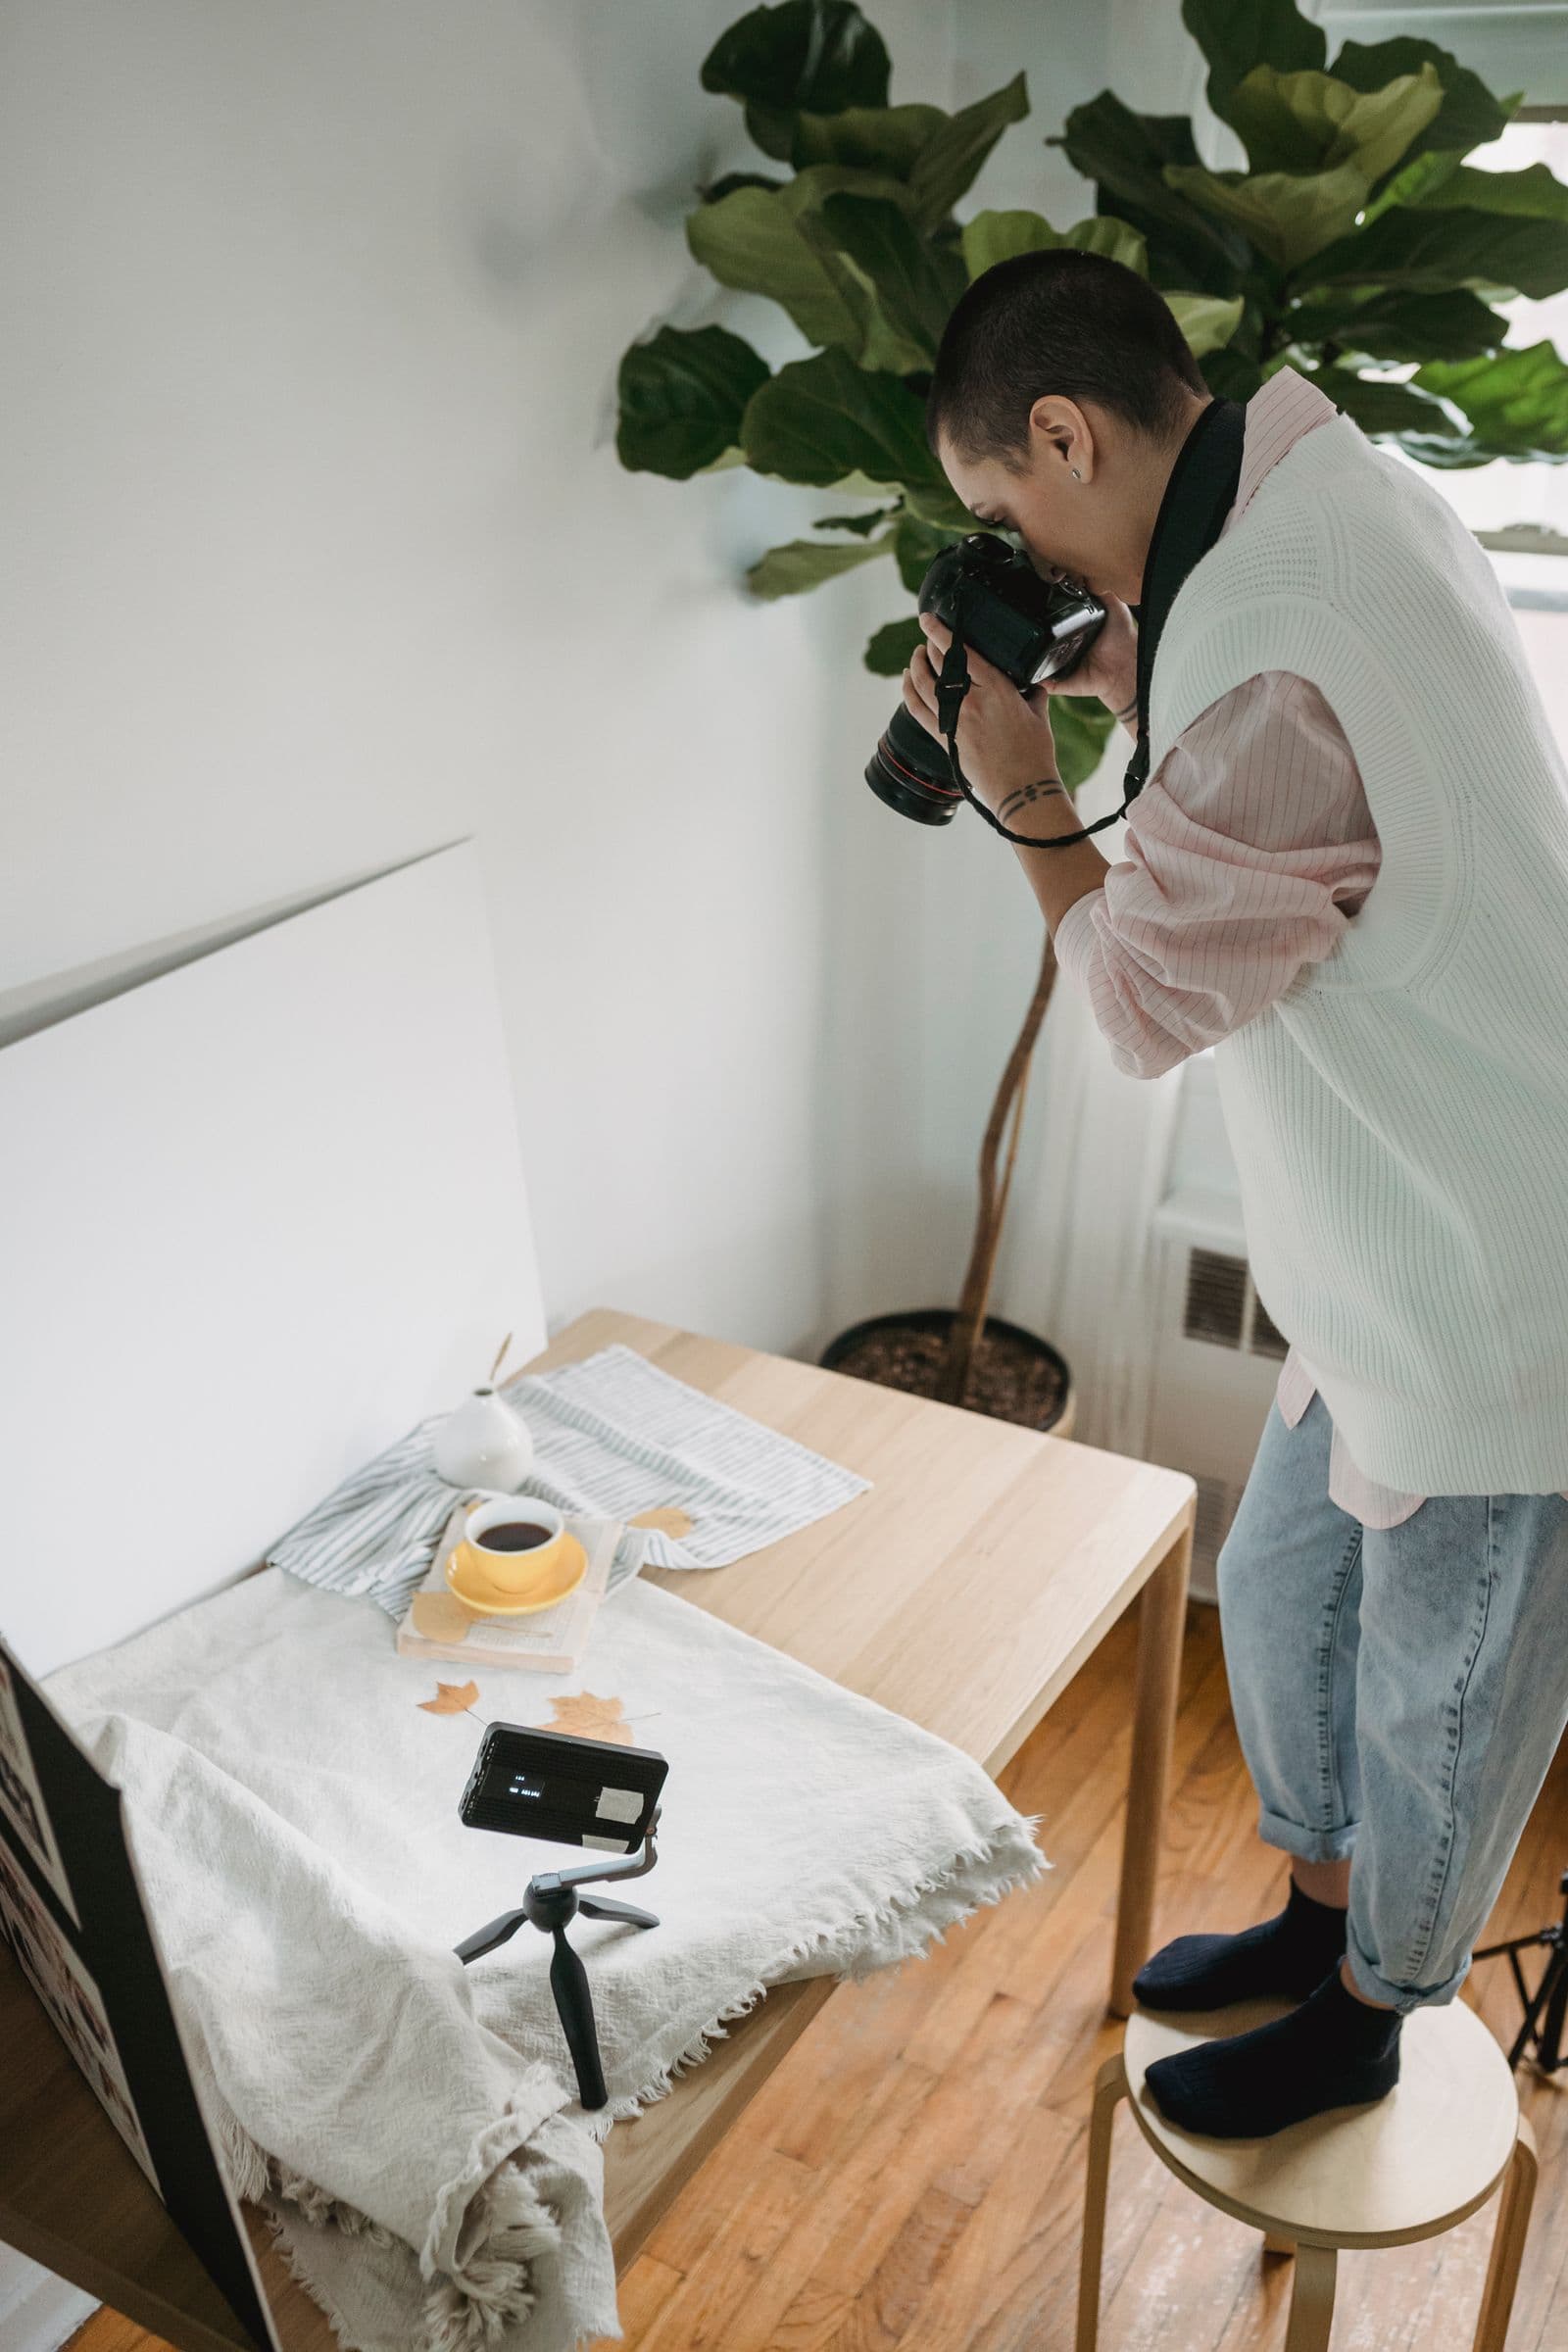
The same physics works on your kitchen table:
- Move a light closer — it gets bigger relative to the product, so it gets softer.
- Move it farther away — it shrinks, so it gets harder.
- Add diffusion — the diffusion material becomes the new, bigger source. Softer again.
Quick diagnostic: ignore the light and look at the shadow's edge. A crisp line means hard light. A gradual fade means soft.
What Hard Light Does to Product Photos
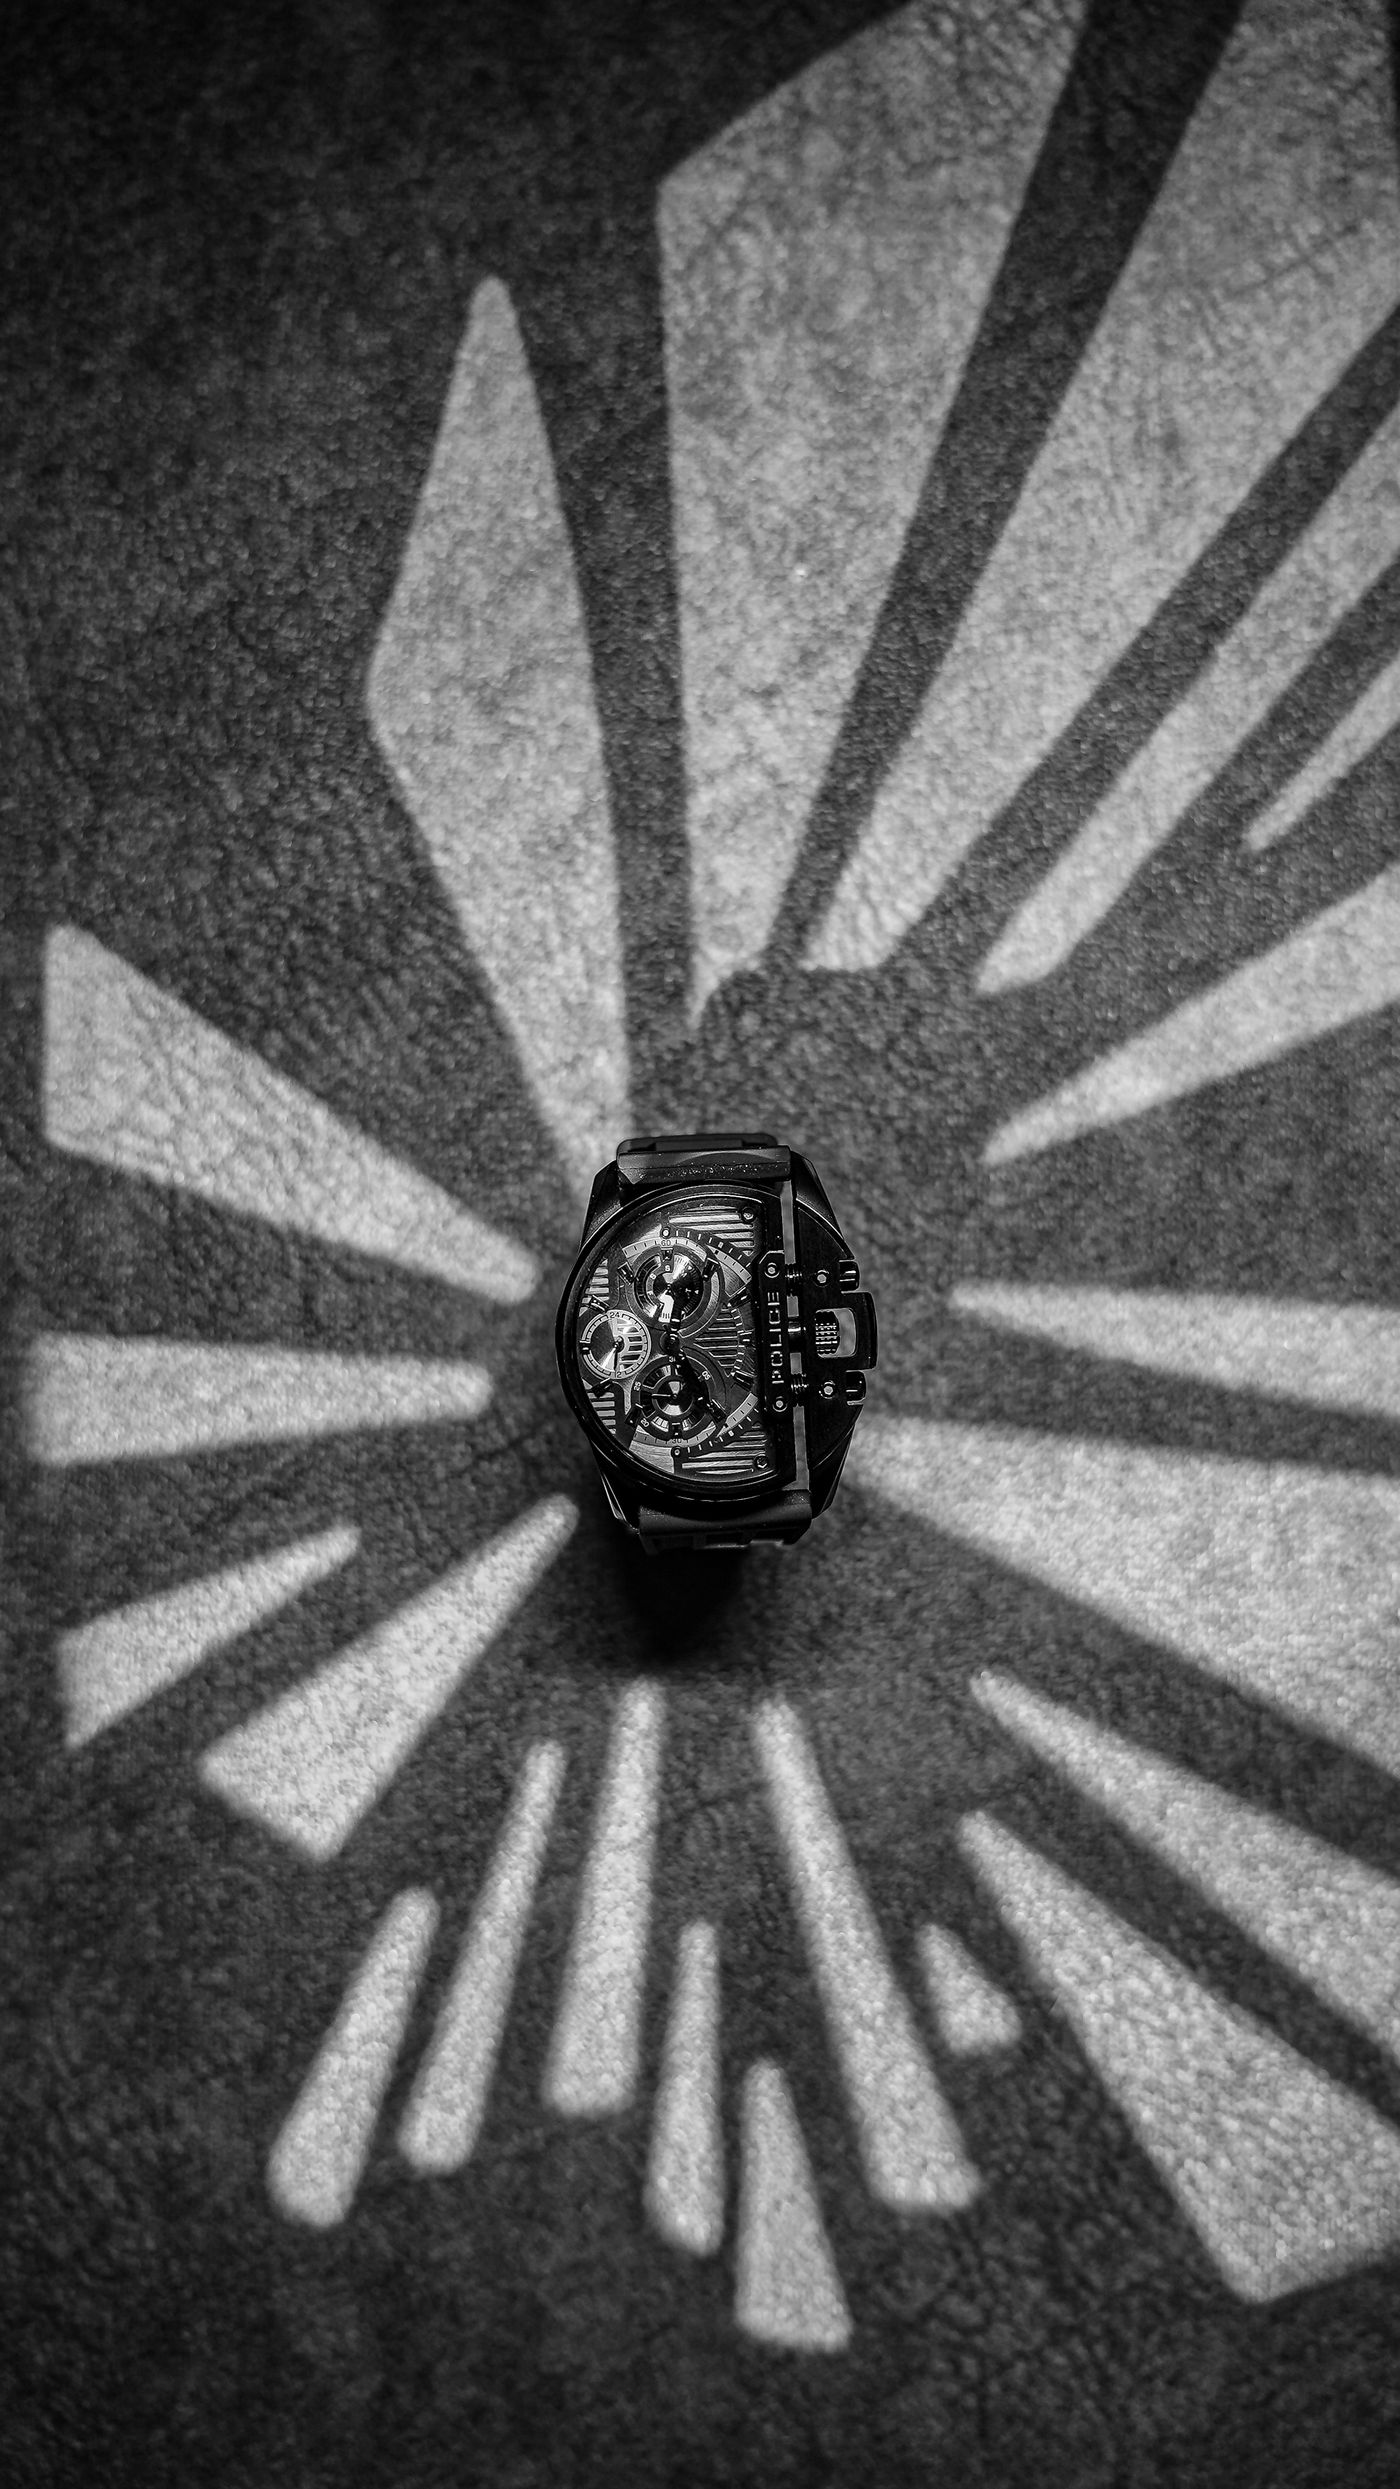
Hard light rakes across surfaces and exaggerates every ridge, stitch, and grain — exactly what you want when texture is the selling point. Think embossed leather, brushed metal, a knit's weave. It brings deep contrast, moody falloff, and long graphic shadows that read as expensive.
That's why luxury and editorial shots lean hard: direct sun through a bare window can make a fragrance bottle look sculptural, though lighting glass without glare takes its own setup. And if you shoot jewelry, hard light is half the recipe for real sparkle — our jewelry photography guide covers the rest.
The catch: hard light is merciless. Dust, fingerprints, and micro-scratches all get top billing, and one degree of lamp movement changes the entire mood.
Why Soft Light Is the Ecommerce Default
Soft light wraps, fills, and forgives. Colors read accurately, glare shrinks, minor imperfections melt away, and the product looks the way a customer hopes it will look out of the box. That's why nearly every catalog-style image is shot soft — it's the lowest-risk way to make anything look clean and true.
It's also the default for anything organic. Food, skincare, and textiles all look fresher under a big gentle source, which is why our guide to food photos for delivery menus starts with a window, not a flash.
The trade-off: shoot everything soft and your catalog drifts toward beautiful, well-lit boredom. No drama, no texture, no pulse.
How to Make Light Softer for Free
You don't need a softbox. You need surface area:
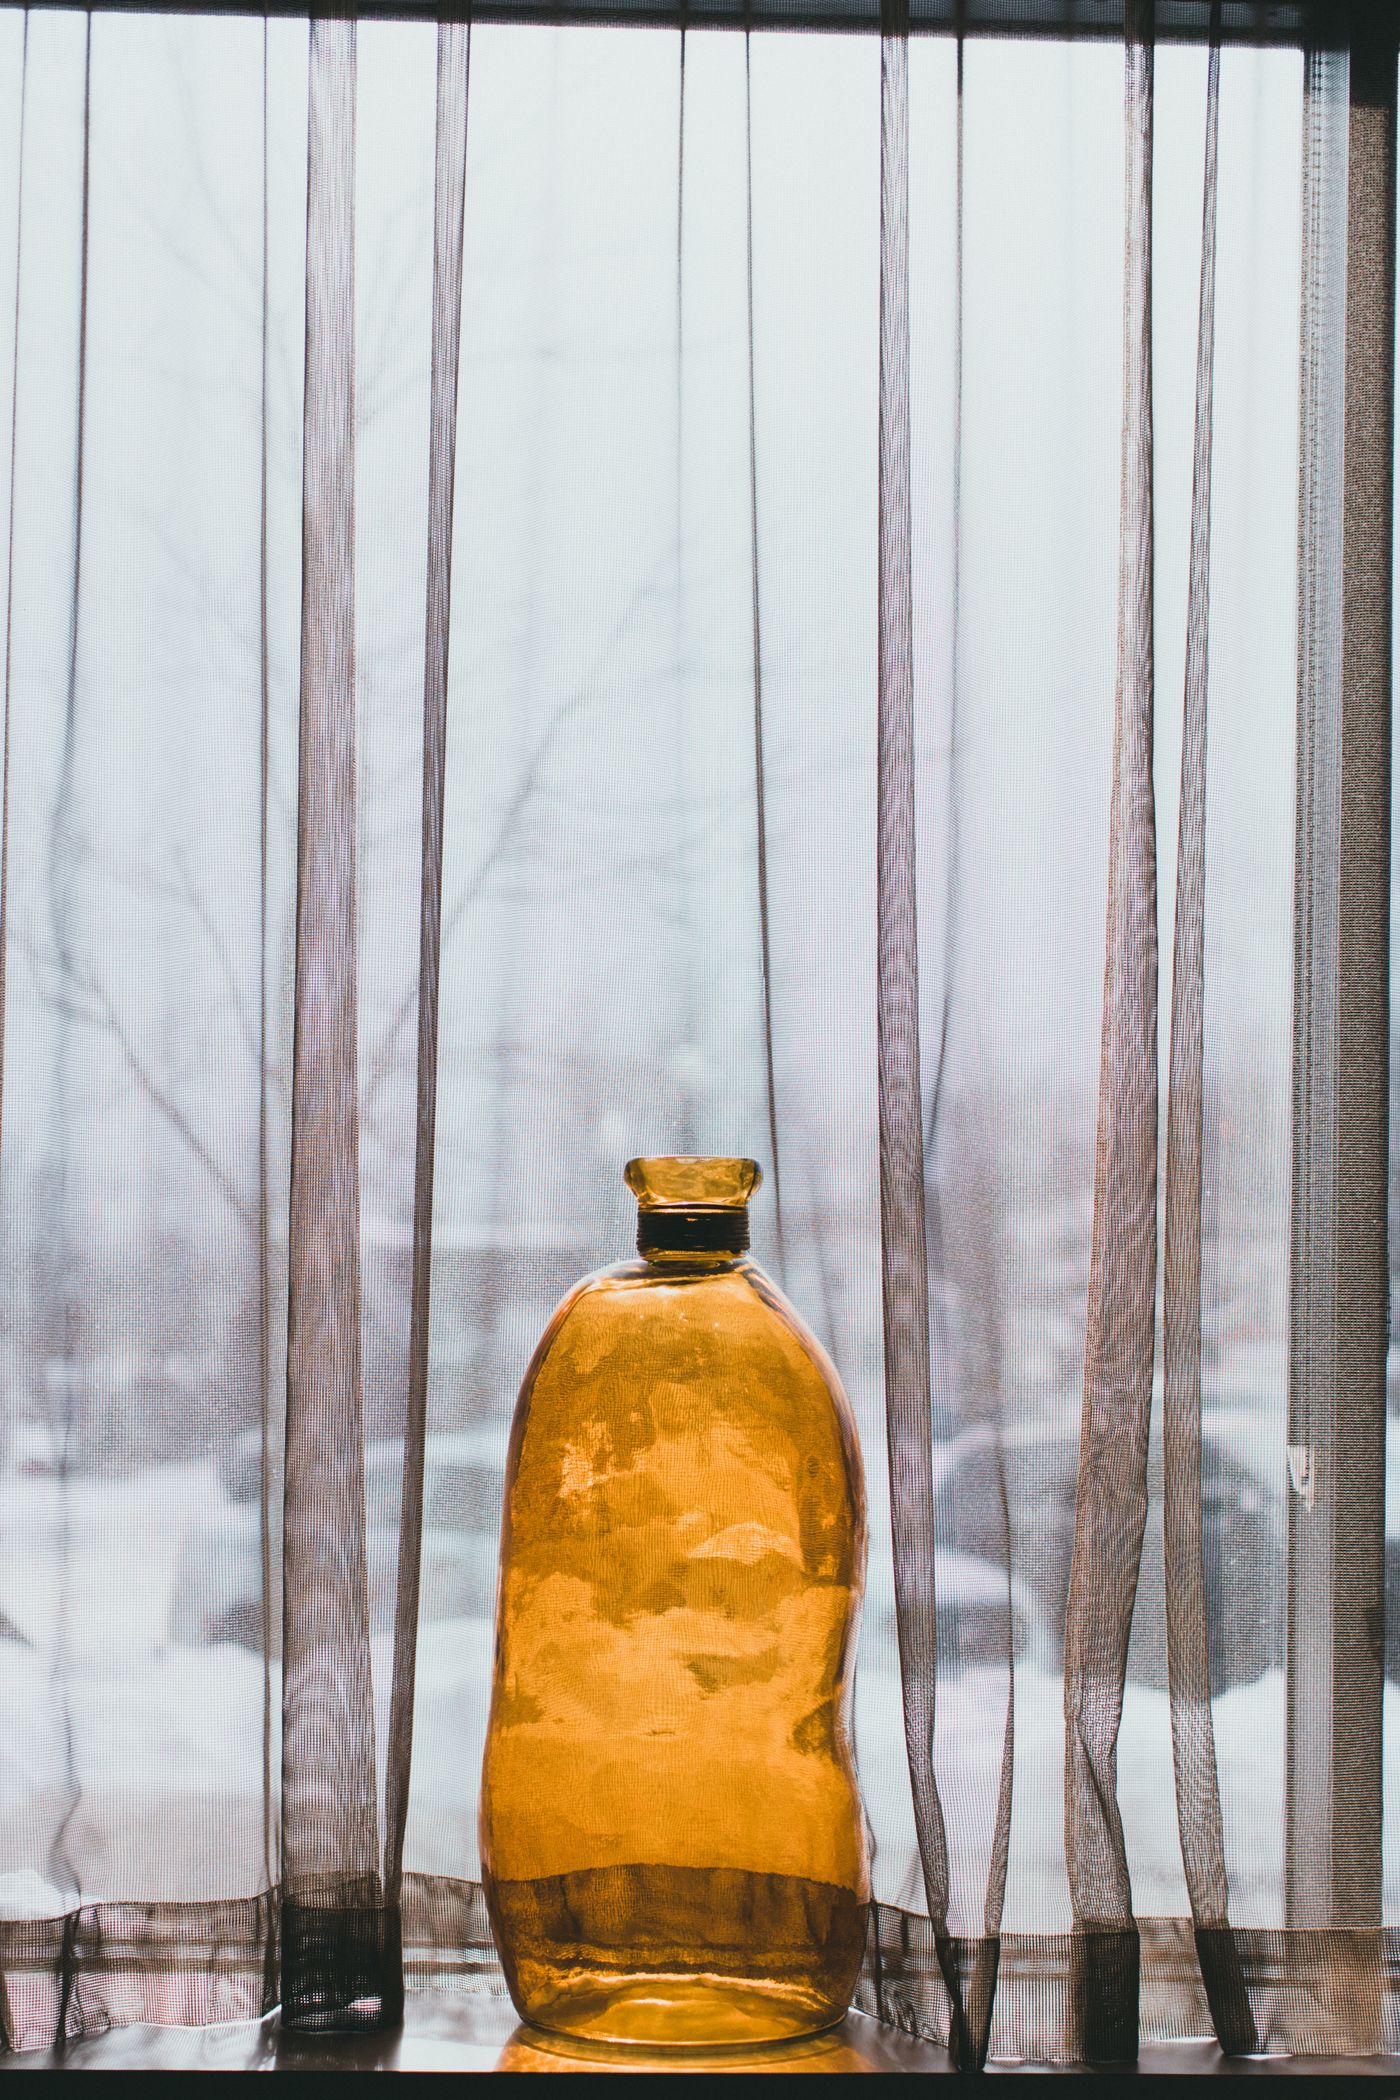
- Window plus sheer curtain — the classic. The curtain turns a sunbeam into a wall of light. No sheer? Baking parchment or a white shower liner taped to the glass does the same job.
- Bounce it — aim your lamp at a white wall, ceiling, or foam board. The wall becomes your source, and walls are huge.
- Bring the light closer — closer means bigger relative to the subject, which means softer. Costs nothing, works every time.
- Wait for clouds — overcast daylight is a free softbox the size of the sky.
How Lighting Affects Cutouts and Shadow Realism
Here's the part most lighting tutorials skip: your choice decides how well the photo survives editing.
Soft, even light hands AI background removal clean, well-defined edges — no blown white rims, no shadows so dense they weld the product to the table. Hard light cuts out beautifully too, but watch the contact shadow: if it's pure black and hugging the base, the product's lower edge gets ambiguous.
Then there's believability. When you swap the background with remover.bg, the new scene has to agree with the light in the original shot. A hard-lit product needs a crisp, directional shadow in its new home; a soft-lit one needs a gentle, diffuse pool. Mismatch them and viewers can't articulate why the image feels off — they just feel it. Our guide to adding realistic shadows shows how to match shadow softness to your lighting.
The Takeaway
Big source, soft light: flattering, forgiving, the right default for catalogs. Small source, hard light: dramatic, textural, the right call when mood or material is the message. Softness is free if you know where your window is — and whichever you pick, honor it in the edit. The light you choose at the table is the shadow story you'll have to tell in the composite.