English
 Español
 Português (BR)
 Deutsch
 Français
 Italiano
 Türkçe
 Bahasa Indonesia
 Русский
 日本語
日本語 한국어
한국어 Українська
 Tiếng Việt
 Polski
 Nederlands
 ไทย
ไทย Română
 简体中文
简体中文 繁體中文
繁體中文 العربية
 Български
 Filipino
 हिन्दी
 اردو
اردو বাংলা
বাংলাPhotographing Glass Products: Beat Reflections and Glare
Photographing glass means lighting what is around it: diffused back lighting, dark-field vs bright-field setups, and how to keep yourself out of the reflection.
- glass product photography
- product photography
- studio lighting
- reflections
- ecommerce photos
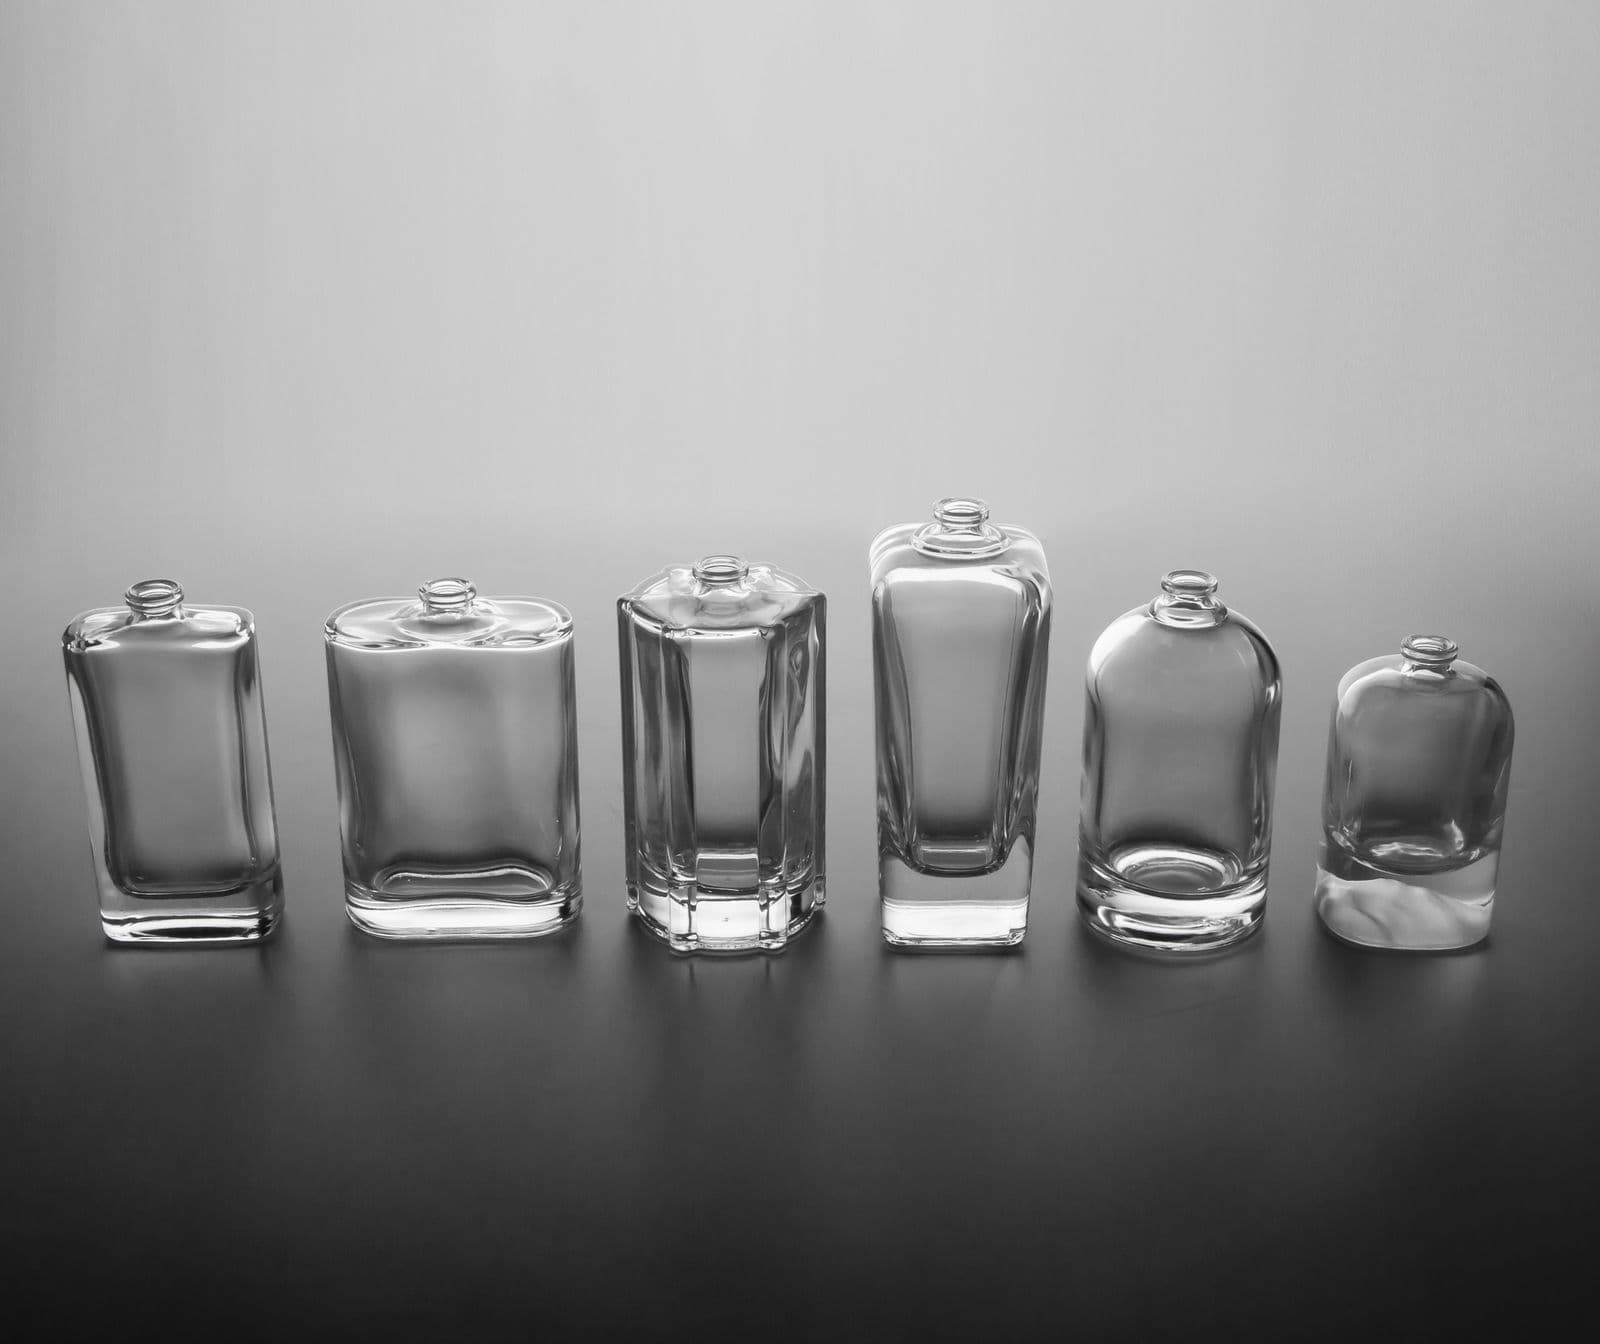
Glass doesn't play by the rules. Point your usual product lighting at a wine bottle, a serum dropper, or a rocks glass, and you get chaos: hot white blobs, vanishing edges, and a tiny warped portrait of you and your tripod hovering inside the product. Setups that flatter t-shirts and ceramic mugs actively sabotage anything transparent.
Here's the mental shift that fixes it: you don't light glass — you light what's around it. Transparent products are defined by edges and reflections, so your job is controlling what those show. Once that clicks, glass goes from the hardest thing on your shot list to one of the most satisfying.
This guide walks through the core setups for bottles, cosmetics jars, and drinkware, plus how to keep yourself out of the reflection and what to do when the glass picks up half your living room.
Why Glass Breaks Normal Product Lighting
Two physical properties cause all the pain.
Transparency — most light passes straight through glass instead of bouncing back to your camera. Front lighting mostly illuminates the background behind the bottle while the glass itself stays faint and shapeless.
Specular reflection — a glass surface is effectively a curved mirror. Every lamp, window, white wall, and human in the room shows up on it, warped and multiplied. The big softbox you love for other products? On glass it becomes a harsh white rectangle stamped across your label.
The fix for both is the same principle: define the product with bright or dark edges, and treat every reflection as something you placed deliberately.
Start With Diffused Side and Back Lighting
The workhorse setup for glass is light coming from behind or beside the product, passed through heavy diffusion.
Backlight through a diffuser — put a diffusion panel or a large white sheet behind the bottle and aim your light through it. Liquids glow, the silhouette sharpens, and label text stays readable.
Diffused side light — a softened light raking in from the side paints a long, clean highlight down the edge of a jar or tumbler, describing its shape without nuking the front surface.
The bigger and closer the diffusion, the smoother those highlights get. For the theory on why size and distance change everything, see our guide to hard vs. soft light.
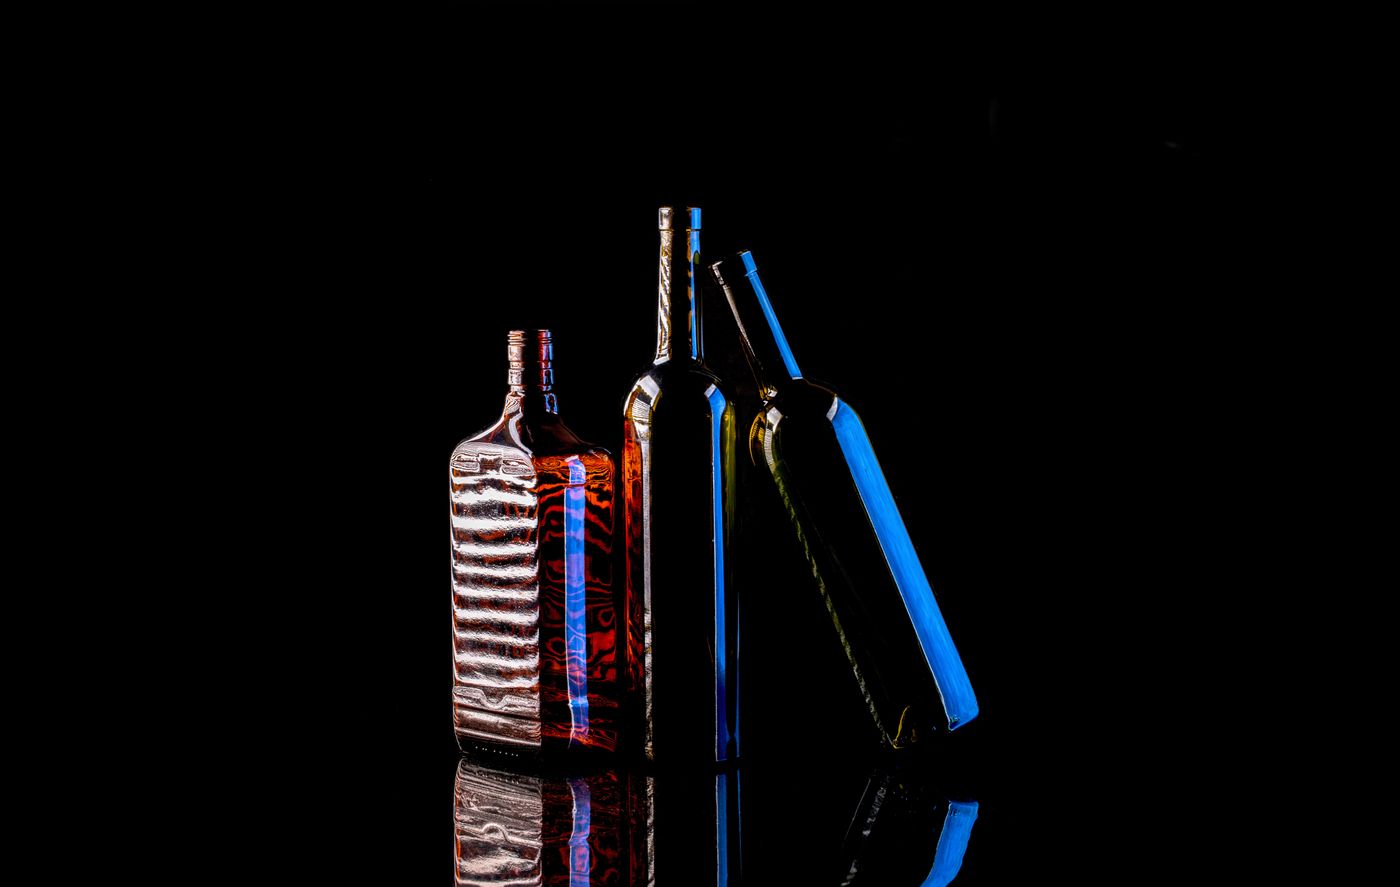
Dark-Field vs. Bright-Field: Pick Your Edges
Classic glass lighting comes in two flavors, and the names describe the background.
Bright-field — the glass sits in front of a lit white background. The product renders as dark, crisp outlines on white. Ideal for clean e-commerce shots of clear bottles and drinkware, and it plays nicely with white-background marketplace listings.
Dark-field — the background is black, and narrow strips of light placed just outside the frame skim the sides of the glass. The product renders as bright, luminous edges on black. This is the moody premium look you see on spirits and high-end skincare.
Neither is "better." Bright-field sells clarity; dark-field sells drama. Shoot both if you have time — switching mostly means swapping the background and moving two lights.
Flags, Cards, and Keeping Yourself Out of the Bottle
Now the detail work. Stray reflections are controlled with cheap tools:
- Black flags — pieces of black card placed just out of frame kill unwanted bright reflections and can add a defining dark line along a glass edge.
- White cards — the opposite: they add a controlled bright highlight exactly where you want one.
- Camera position — shoot slightly above or below the height where the glass mirrors the lens directly, or shoot through a hole cut in a large card so the glass reflects the card instead of you. Sleeved and slabbed collectibles flip that rule: trading card photos need the camera square to the card, so you move the light instead.
Move things an inch at a time and watch the glass, not the light. This is the same discipline as shooting polished metal — our jewelry photography guide leans on identical tricks, because a silver ring is just a very small mirror with the same attitude.
When the Glass Picks Up the Whole Room
Even with flags, glass loves to collect clutter: the ceiling fan, the window frame, the orange wall behind you. A busy room means busy reflections, and no crop saves that.
The fix has two parts. First, shoot in the plainest space you can manage — seamless paper, neutral walls, tidy surroundings. Reflections in the glass become smooth gradients instead of recognizable junk.
Second, replace the background digitally. Upload the shot to remover.bg, let the AI cut the product out cleanly, and drop it onto a pure white, brand-color, or photo background in the editor. Then add realistic shadows so the bottle sits on the new surface instead of floating. One well-lit hero shot becomes every background variant your store needs.
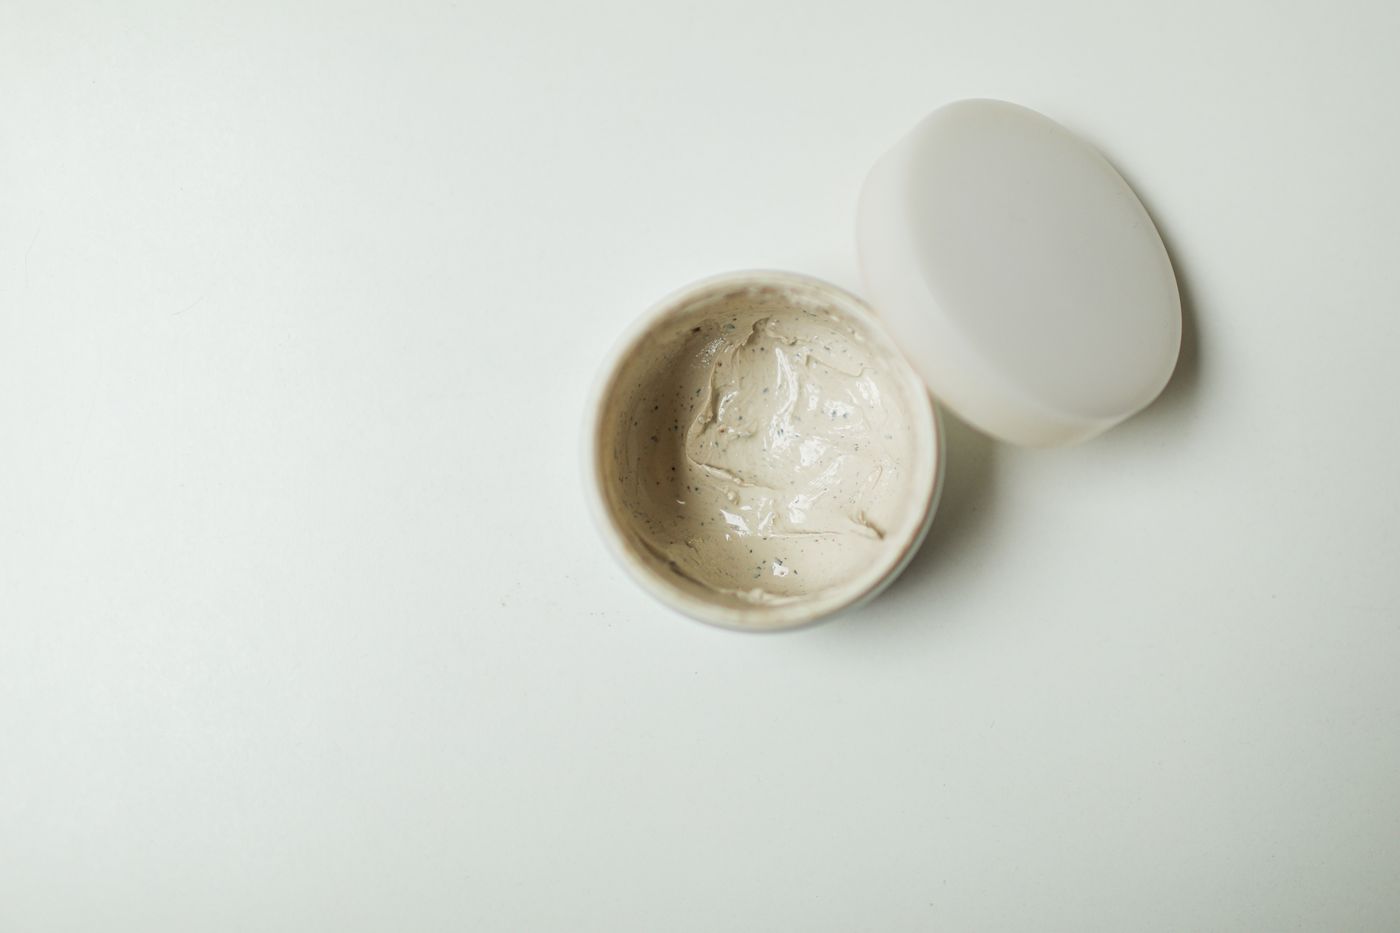
One honest caveat: background replacement fixes what's behind the glass, not what's mirrored on its surface — one more reason to keep the shooting space tidy.
The Takeaway: Reflections Are a Choice
Sometimes the reflection is the shot. A soft window gradient sweeping across a perfume bottle, a mirror-finish tabletop doubling a whiskey glass — these read as intentional and premium. The goal was never zero reflections; it was zero accidental ones.
So: light the edges, not the face. Choose bright-field or dark-field on purpose. Flag what you don't want, card in what you do, and keep yourself out of the bottle. And when the room sneaks into the frame anyway, a clean cutout and a fresh background will save the shoot.