English
 Español
 Português (BR)
 Deutsch
 Français
 Italiano
 Türkçe
 Bahasa Indonesia
 Русский
 日本語
日本語 한국어
한국어 Українська
 Tiếng Việt
 Polski
 Nederlands
 ไทย
ไทย Română
 简体中文
简体中文 繁體中文
繁體中文 العربية
 Български
 Filipino
 हिन्दी
 اردو
اردو বাংলা
বাংলাWhy Glasses Look Wrong After Background Removal
Remove the background and the old room is still in the lenses. Why the mask keeps glasses whole, when a reflection reads as fake, and the in-camera fixes.
- portrait photography
- background removal
- glasses
- reflections
- headshots
- studio lighting
- sunglasses
- photo editing

You cut out a headshot, drop in a clean grey, and something is off. The face is fine and the hair edge is clean, but the glasses look borrowed from another photo. Zoom in: the old room is still in the lenses — a pale rectangle where the window was, a sliver of beige wall at the outer edge.
Nothing went wrong with the cutout. Background removal sorts pixels into person and room, and the lenses belong to the person — but a lens is part window and part mirror, so those pixels carry a picture of the room you just deleted. That is a capture problem, not an editing one — the reflection is baked into the image, like the eyebrows behind it.
Through the lens versus on the lens
Through the lens. Straight on, a corrective lens mostly shows the eye and skin behind it, shifted by the prescription: plus lenses push the face larger, minus lenses pull it in. The room only creeps in at the outer edge, and gets worse with wider frames, stronger prescriptions and any turn of the head.
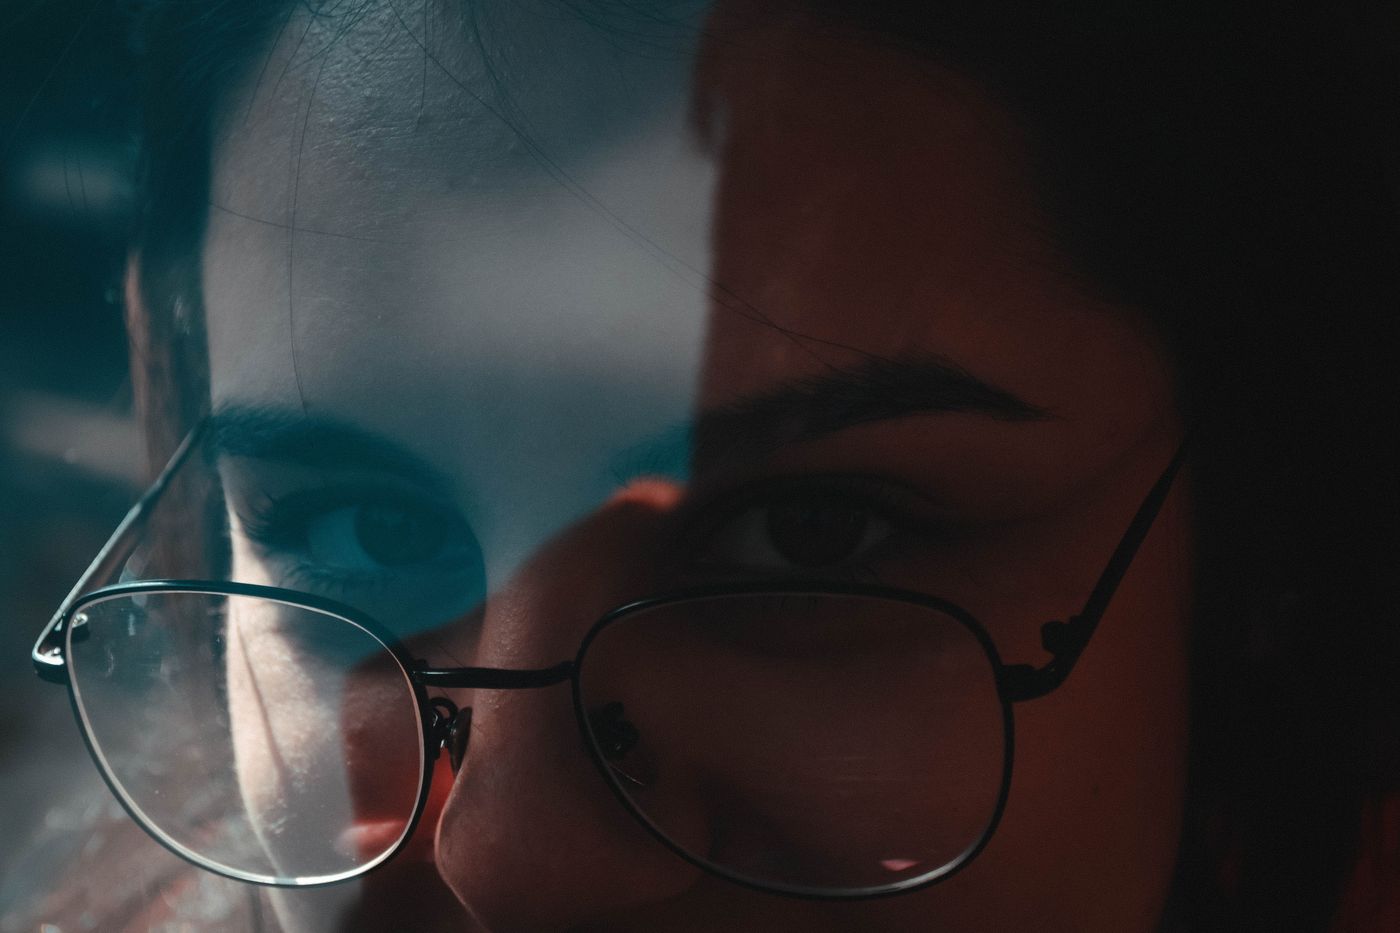
On the lens. The front surface mirrors whatever stands in front of the subject: your light, the window behind you, a bright ceiling. It shows up even in a dead-on portrait, and it is often the brightest thing in the frame. Anti-reflective coating dulls it and does nothing for the first case.
Why the mask keeps the lenses
Clearing the lens area as background looks worse: the new backdrop shows through where the eyes should be. Keeping the glasses whole is the right outcome, and it is what you should expect from remover.bg: the cutout treats the person — frames and lenses together — as the subject, with the fine-edge handling that also picks up hair and thin frame arms.
Large sheets of glass are different. A vehicle window holds a coherent region of background that can be cleaned and rebuilt as realistic tinted glass — that is how cutting out car photos with the windows included works. A spectacle lens is small, curved and sits over an eye — nothing separable in there.
When it looks fine, and when it reads as fake
Viewers do not decode reflections; they detect mismatch. A lens can carry plenty of the old room and still look normal, provided nothing in it contradicts the new backdrop.
Usually fine:
- A soft, shapeless gradient with no recognisable edges.
- A reflection whose brightness roughly matches the new background.
Reads as fake instantly:
- Recognisable geometry: a window frame with its cross bars, a doorway, a strip light.
- A hot white rectangle over a dark or deeply coloured new background.
- The old wall colour at the lens edge, appearing nowhere else — and it multiplies across a set: three people shot against three different walls keep three different tints.
Shoot so the lens carries nothing
Every fix worth having happens before the shutter.
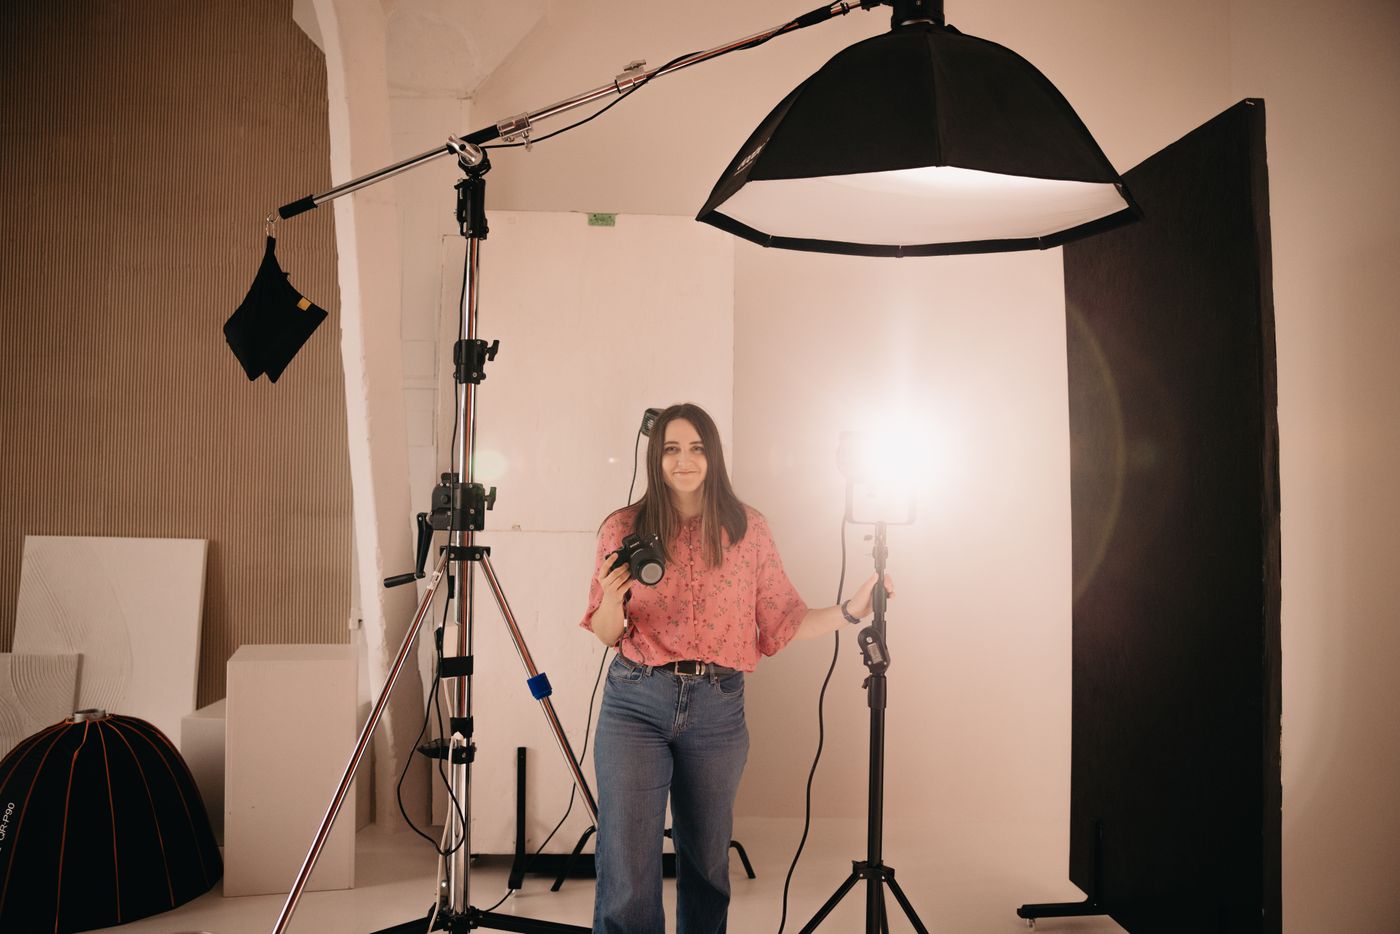
- Get the light off the camera axis. A ring light or on-camera flash reflects straight back down the lens. Move the source to one side and above, and the highlight slides off.
- Tilt the frames down. Push the arms up a fraction where they sit over the ears. The lens front tips down enough to reflect the floor rather than the ceiling — barely visible in the photo, and often enough to drop the highlight entirely.
- Turn the head slightly away from the light. A highlight reaches the camera only when the lens front sits roughly halfway between light and camera; turning away opens that angle and the reflection bounces off.
- Deal with the window, and the wall. A window behind the photographer is the most common recognisable reflection: turn ninety degrees to it or shut the blind. Moving the subject away from the wall blurs the sliver at the lens edge.
- Consider empty demo frames. For staff pages and marketing shots, lens-free frames remove the problem. Never do this for a passport, visa or ID photo. Rules on glasses vary by country and change — the UK tells applicants not to wear glasses unless they have to — so check the issuing authority's current guidance before you shoot, alongside the notes on taking a passport photo at home.
Sunglasses and safety goggles
Tinted and mirrored lenses are the extreme version: the whole lens is a picture of whatever stands in front of the subject. Swap the background behind wraparound sunglasses and both lenses still show the car park.
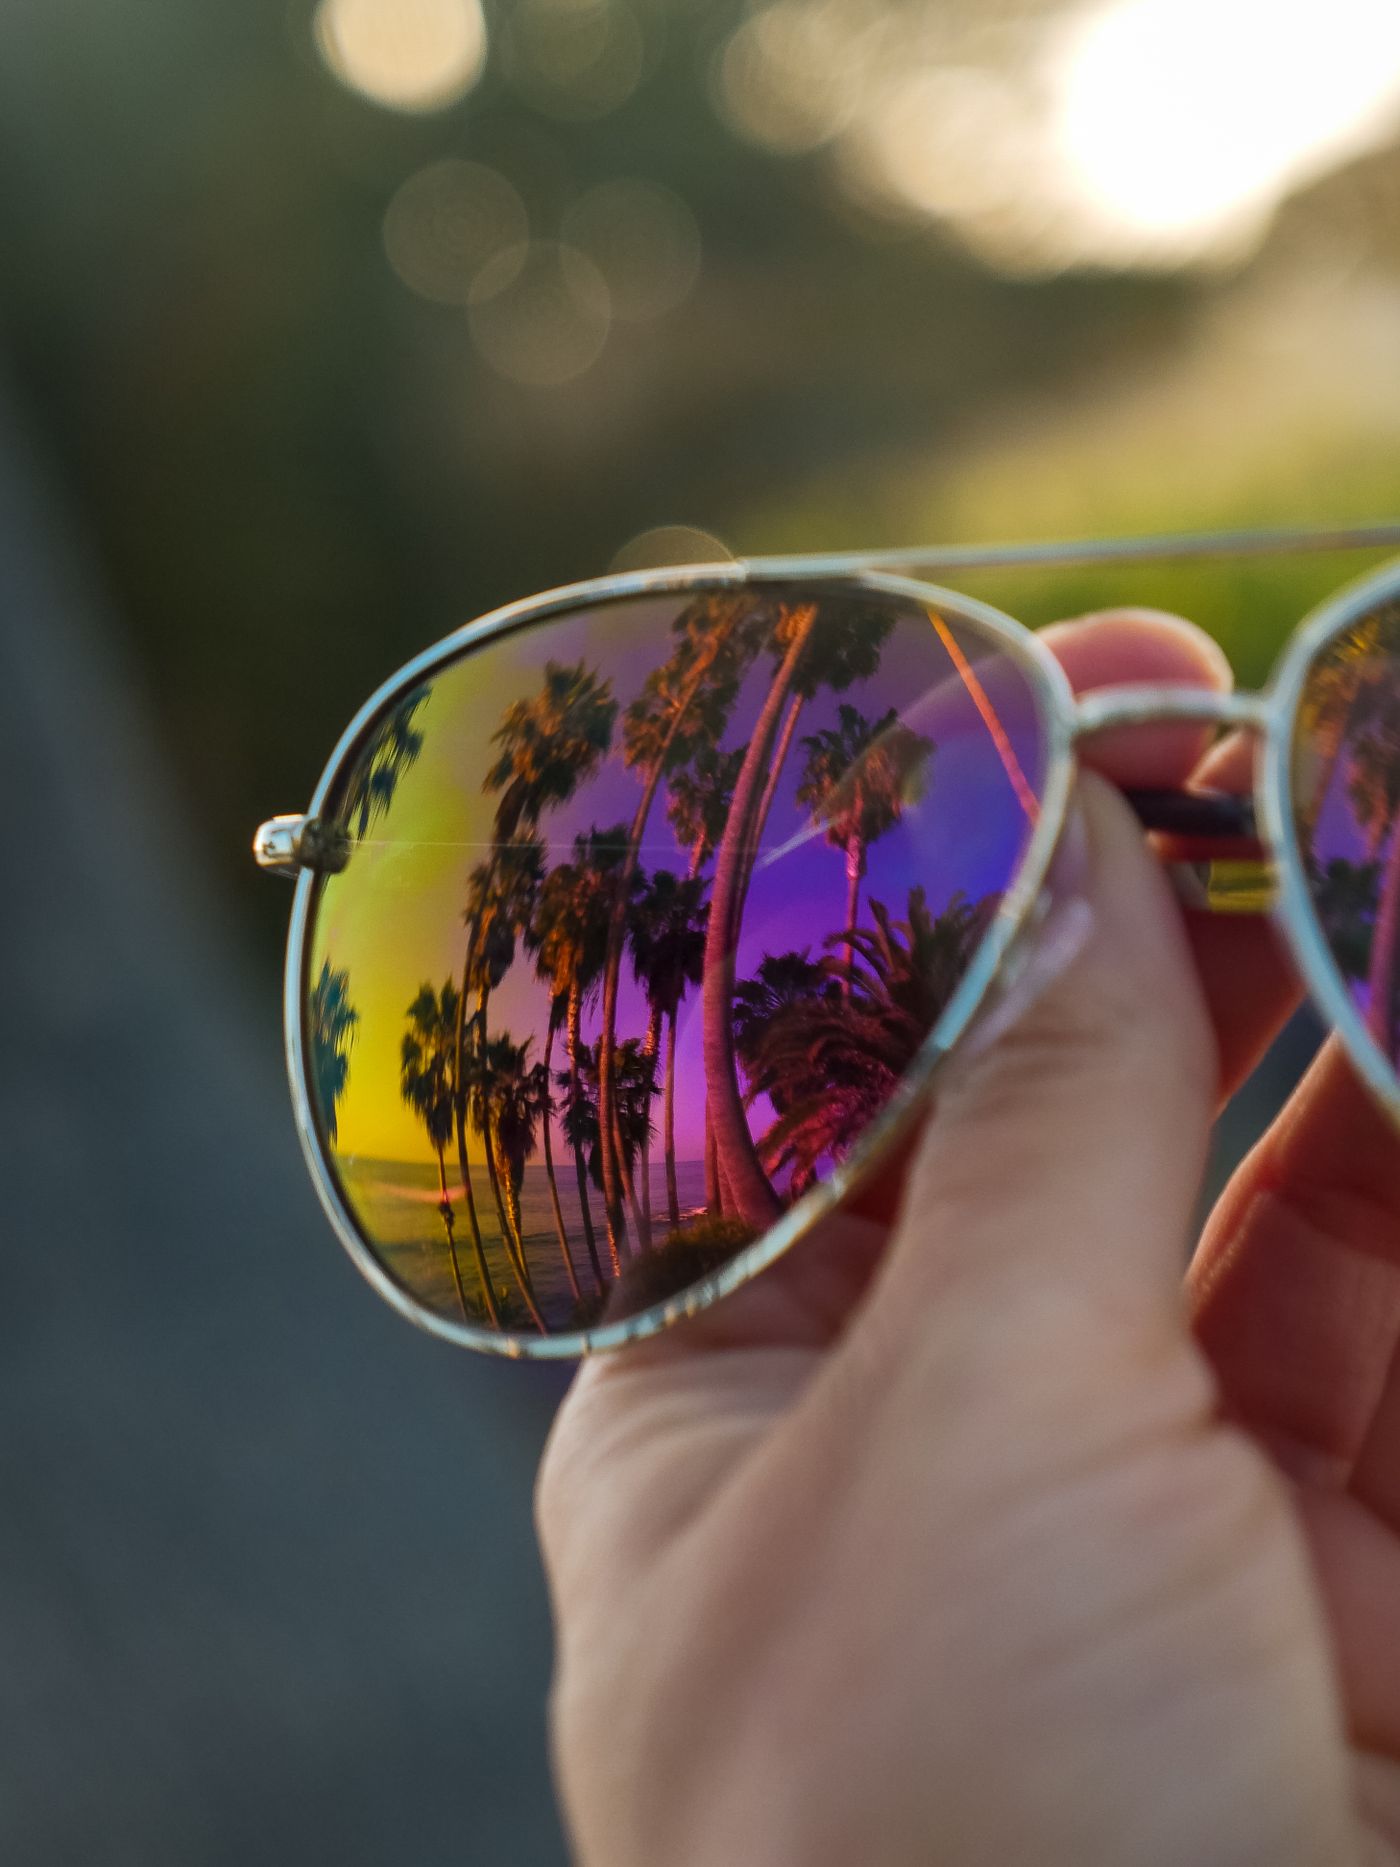
Control what is in front of them, not behind. Shoot facing a large plain surface — a blank wall, a card held out of frame — and the lenses fill with a flat field that survives any swap. If you are selling eyewear, shoot against the background you intend to keep.
Check the lenses before it goes live
Open the finished cutout, zoom in, and check each lens on its own: recognisable shapes, colour from the old room, highlights landing differently across a set. If a lens highlight and the drop shadow under the subject imply light from opposite directions, the composite announces itself — reshoot with the light on the side the image implies.
A lens keeps a record of the room it was shot in. Check it while you can still reshoot, not after the page is live.