English
 Español
 Português (BR)
 Deutsch
 Français
 Italiano
 Türkçe
 Bahasa Indonesia
 Русский
 日本語
日本語 한국어
한국어 Українська
 Tiếng Việt
 Polski
 Nederlands
 ไทย
ไทย Română
 简体中文
简体中文 繁體中文
繁體中文 العربية
 Български
 Filipino
 हिन्दी
 اردو
اردو বাংলা
বাংলাCar Background Remover: Clean Glass and Real Shadows
Remove the background from car photos — glass, wheel spokes and ground shadow included, plus eBay photo rules and a bulk API workflow.
- car-photography
- automotive
- dealership
- background removal
- feature
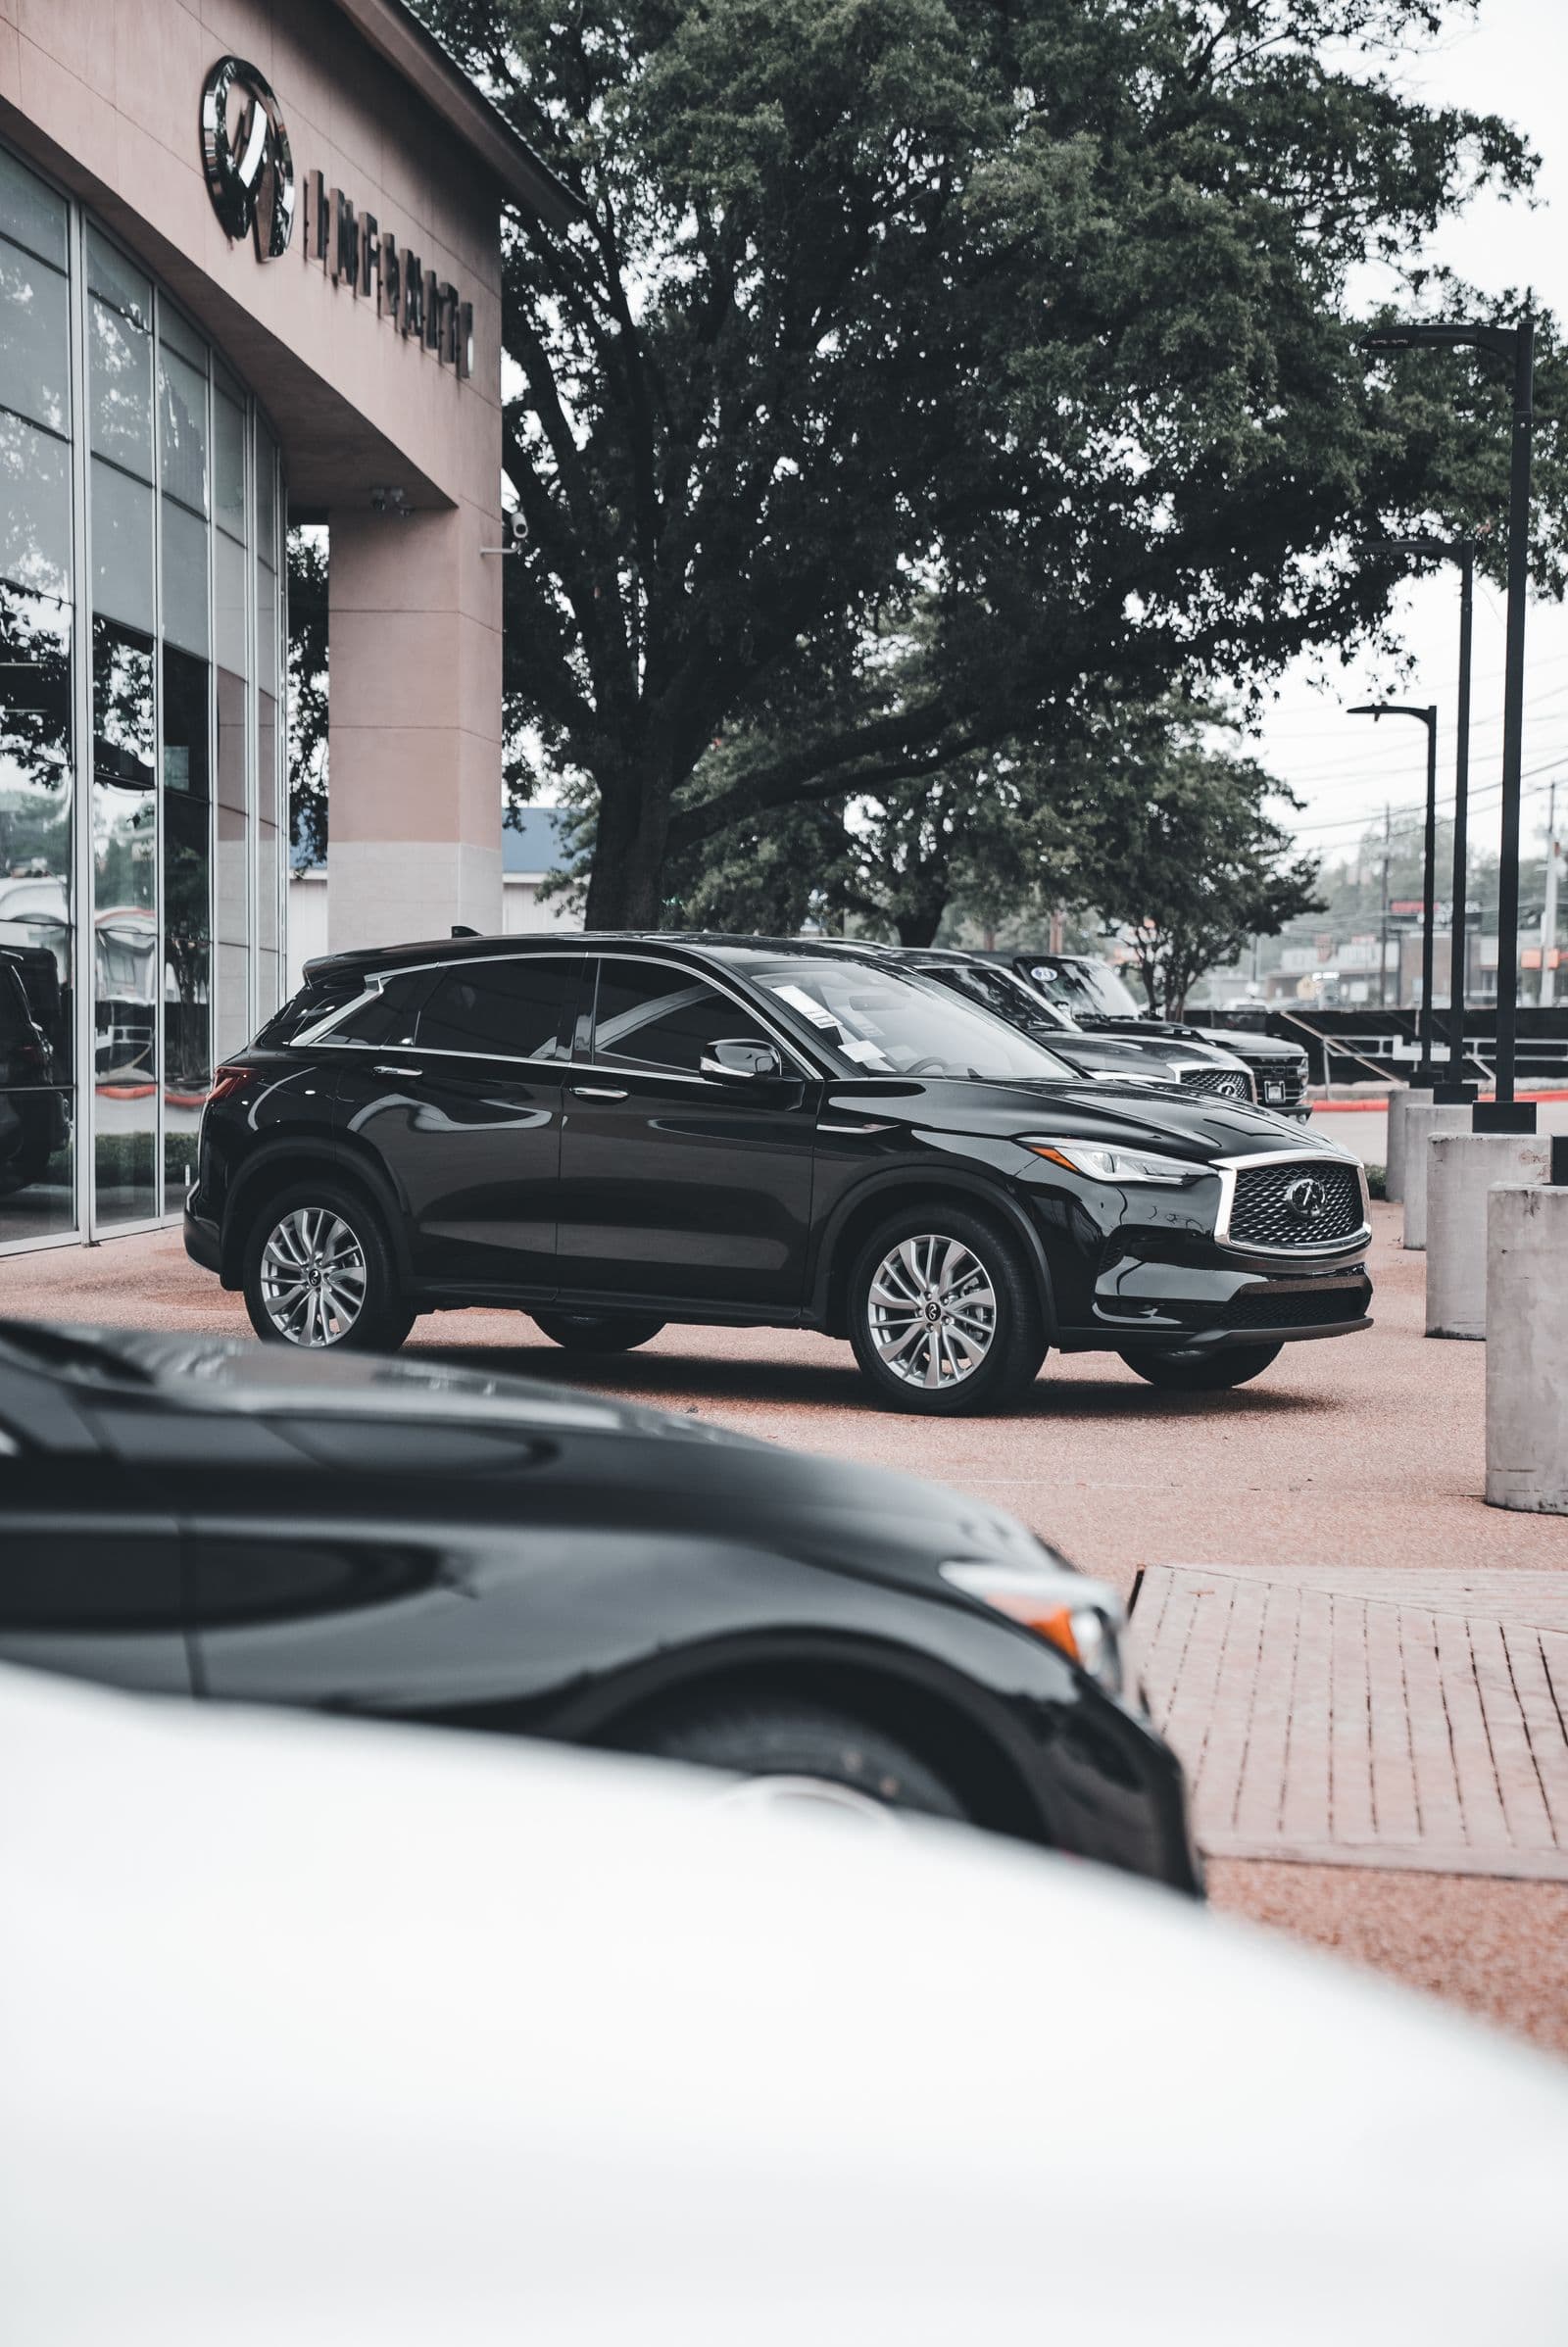
Removing the background from a car photo sounds like a solved problem — until you look at the windows. (How background removal works on any subject is the general version; cars are the awkward case.) Most background removal tools cut a clean silhouette around the body, then leave the old parking lot, the fence, and the photographer's shadow perfectly visible through the glass. The car is "cut out," but every window is a little postcard of the place you photographed it.
remover.bg handles this differently, and it's worth understanding why — especially if you list vehicles for a living. The same see-through problem turns up at part scale, on radiator cores and open wheel spokes — and if you sell components as well as whole cars, our guide to used auto parts on eBay Motors covers shooting them.
The window problem, explained
A car isn't a solid object. Side windows, the windshield, and the rear glass are see-through, so the original background shows through them. When a standard cutout tool removes everything around the car, the scene inside the glass outline stays untouched.
The result is instantly recognizable — and instantly unprofessional:
- A car "floating" on a clean white background, with a cluttered street still visible through its windows.
- Listings where every vehicle carries a different backdrop inside its glass, even after editing.
- Composites that fall apart the moment you place the car on a new background, because the old world is still trapped in the windows.
Fixing this by hand means masking each window in Photoshop and rebuilding believable glass — slow, fiddly work on a single photo, and multiplied by every car in your inventory.
What remover.bg does instead
When you upload a car photo to remover.bg, the AI doesn't just outline the body. It also detects the glass — windshields, side windows, rear glass — and treats it like glass:
- The old background behind the windows is removed, not just the background around the car.
- The glass is rendered as realistic, semi-transparent smoked glass — a subtle, neutral tint that looks like a professionally shot studio image, with no ghost of the original scene left behind.
- Dark factory-tinted windows stay as they are — if the glass wasn't see-through in real life, it stays opaque in the result. Nothing gets invented.
All of this happens automatically on upload. There's no extra button, no "car mode" to enable — the pipeline recognizes vehicle glass on its own and applies the treatment only where it belongs.
Wheels, grilles and the other holes in a car
Glass is the obvious see-through part; the quiet ones are the gaps — open wheel spokes, grille slats, bumper mesh, the roof antenna. An alloy wheel with the old lot still packed between its spokes looks as fake as a filled-in window.
Like hair and fur, these edges resolve cleanest when gap and metal don't share a tone:
- Park so the ground behind the spokes contrasts with the wheel; silver alloys vanish into pale gravel.
- Turn the front wheels toward the camera, so spokes sit against open space rather than the dark arch.
- Watch what pokes through — weeds and cones land inside the gaps, and an antenna reads better against sky than trees.
Car shadow remover: the ground shadow goes too
A car's shadow belongs to the asphalt, so when the background goes the shadow goes with it — which is why a fresh cutout looks like it is hovering. Anyone searching for a car shadow remover usually wants both halves: the old shadow gone, and a new one that grounds the car again.
- Let the old shadow go with the background; light from the original direction fights any new backdrop anyway.
- Add a realistic shadow in the editor instead, with the same direction across the inventory — our shadow guide walks through it.
- Keep it tight under the sills and tires; a long, dramatic shadow reads as a poster.
Why this matters for dealerships and marketplaces
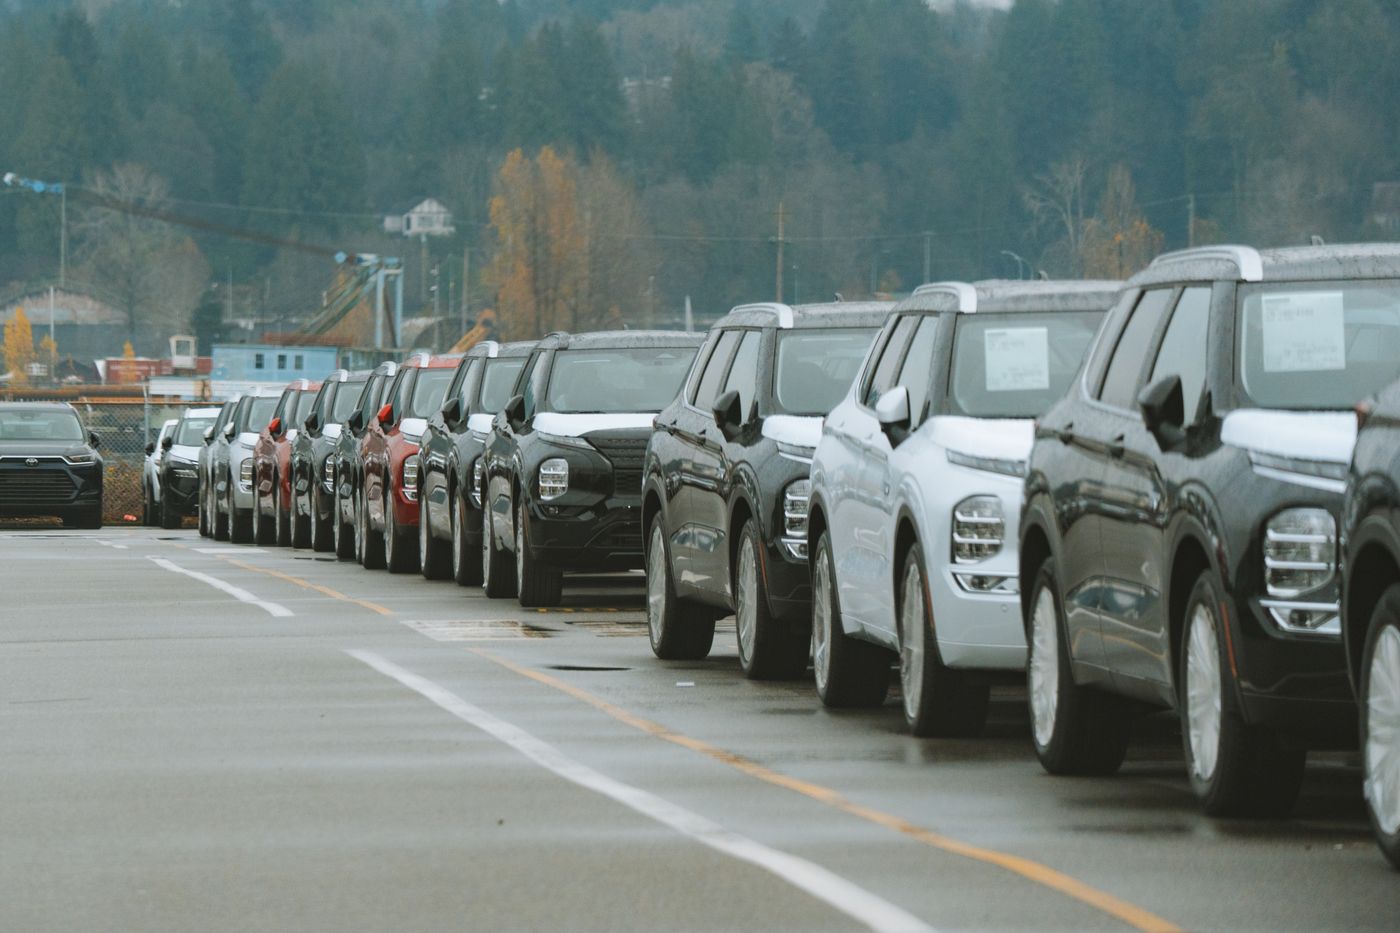
Vehicle listings live and die by visual trust. A buyer scrolling a results page judges your photos long before reading a single spec — a cluttered backdrop reads as a careless seller, fairly or not.
Consistency across inventory. Photograph cars wherever it's convenient — the lot, the street, the service bay — and every listing comes out with the same clean background and the same clean glass. Your inventory page looks like one professional shoot instead of forty different locations. Detail and repair shops can give their before-and-after service photos the same treatment, so both frames share one backdrop.
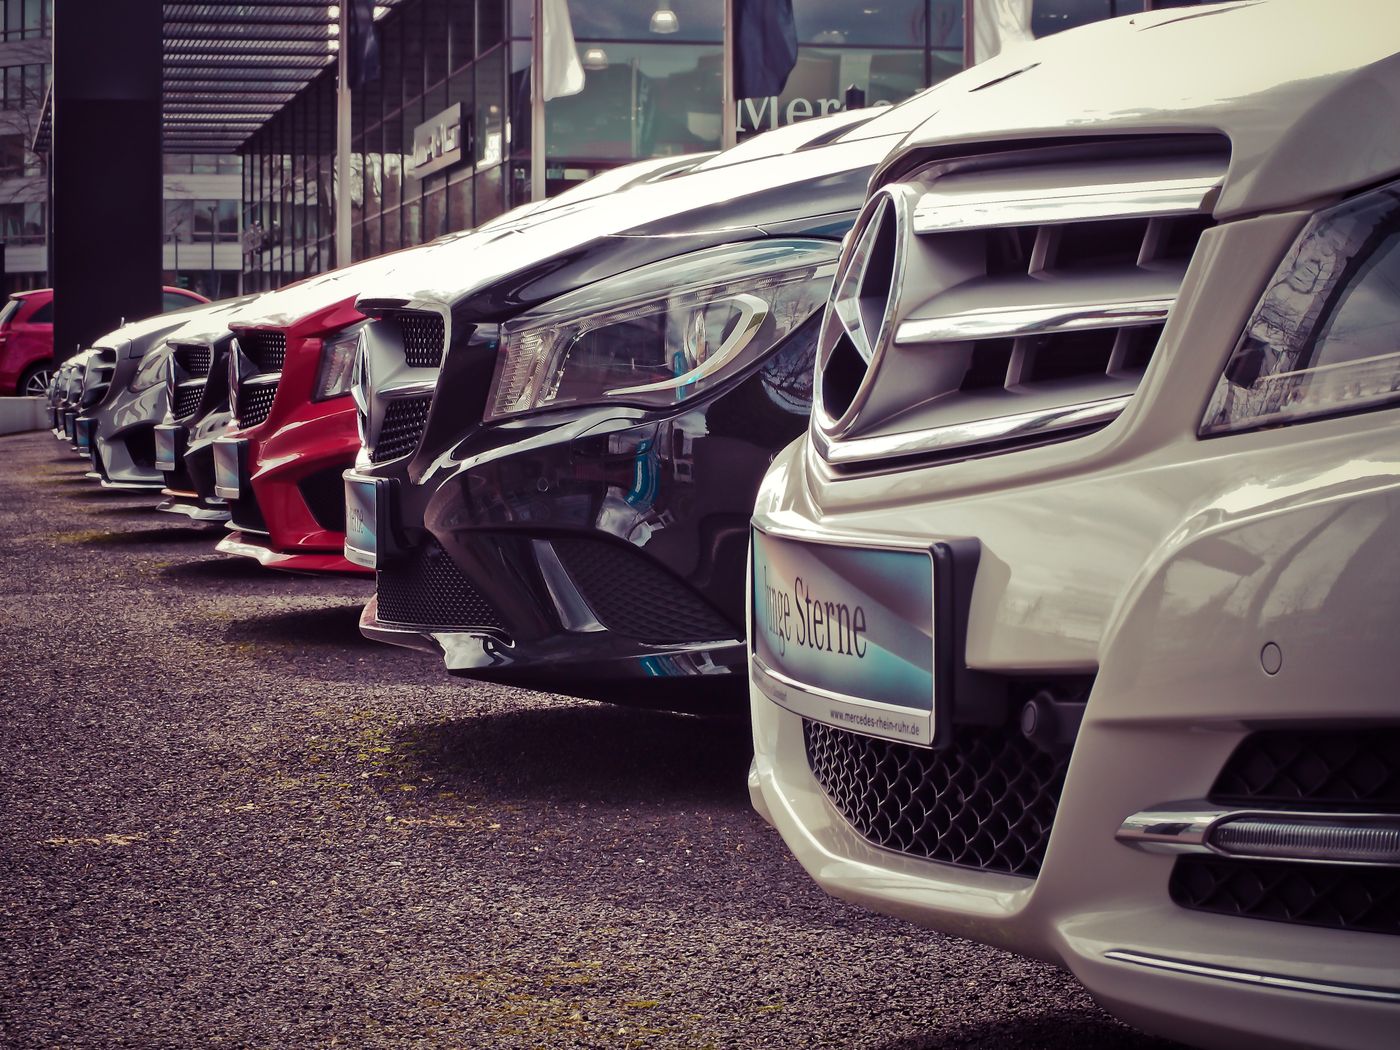
Believable backdrop swaps. Because the windows no longer carry the old scene, you can drop the cutout onto a showroom backdrop, a brand-colored background, or plain white — and it actually looks like the car was photographed there. This is where window cleanup stops being cosmetic and becomes the difference between a composite that sells and one that screams "edited."
Work you weren't going to do by hand. For most dealers the gain isn't time clawed back from masking they were already doing — it's window cleanup that was never realistically going to happen at all.
What car listing platforms expect
A cutout still has to clear the platform's picture rules. Across eBay, added borders, text and marketing material — a "Free Shipping" flash, a seller logo — are not allowed on listing photos, so the branded frame some dealers paste on is riskier than any background swap. (eBay's general 500-pixel minimum on the longest side is worth knowing, though vehicle listings are an exception and run on their own picture allowances.) eBay Motors' own guide asks for a minimum of 12 photos — all four sides, interior, engine, odometer and close-ups of every ding, dent or stain — shot against a neutral background with the car filling the frame, and never stock photos.
The neutral background is the half a background remover delivers; the framing is still yours at the camera. And neither one may hide condition: replace the parking lot, never the dent. Our marketplace cheat sheet covers other venues.
How to shoot for clean car background removal
The AI does the heavy lifting, but a few habits at shoot time still pay off:
- Shoot at a slight angle (front three-quarter view) so body lines and glass read clearly.
- Keep the whole car in frame with a little breathing room; cropped bumpers can't be recovered.
- Shoot early or late, or in open shade. Low, soft light flatters paint, keeps your own shadow off the doors, and calms the reflections harsh midday sun throws across glass — eBay Motors' own guidance is that early morning or late afternoon light is generally best.
- Mind the reflections. Dark bodywork mirrors sky, trees and photographer, and a blown-out hotspot on the windshield survives the cutout — it is part of the photo, not the scene behind it. Move the car or change your angle — the same fix that rescues glass and reflective products.
- Get the full set before the car moves. eBay Motors wants all four sides plus interior, engine, odometer and every damage close-up, and a car already back in the row is a car you have to fetch again.
- Go deeper on technique. Our 5 car photography tips the pros never skip covers detailing, location and harsh midday sun.
Then the workflow is the usual one: upload, let the background disappear (windows included), and add the background your listing needs — white for marketplaces, branded for your own site.
Bulk car image background removal for a whole lot
Consistency at scale is a shooting discipline first. Mark one spot on the lot, fix the camera at one height — roughly mirror level — and shoot the same angle set in the same order every time: front and rear three-quarter, both profiles, interior, dash.
There is no bulk upload screen, so batch work runs through the HTTP API — one request per image, and our bulk guide shows the pattern. WebP goes in and comes back out, and the mobile app does the same job from a phone.
Try it on your worst photo
The best way to evaluate this is not with a perfect studio shot — it's with the photo you'd normally be embarrassed to list. A car on a busy street, buildings visible through both side windows. Upload it to remover.bg and check the glass in the result: no street, no buildings, just clean smoked glass ready for any background.
That's the difference between cutting out a car and actually preparing it for sale.