English
 Español
 Português (BR)
 Deutsch
 Français
 Italiano
 Türkçe
 Bahasa Indonesia
 Русский
 日本語
日本語 한국어
한국어 Українська
 Tiếng Việt
 Polski
 Nederlands
 ไทย
ไทย Română
 简体中文
简体中文 繁體中文
繁體中文 العربية
 Български
 Filipino
 हिन्दी
 اردو
اردو বাংলা
বাংলা5 Car Photography Tips the Pros Never Skip
Five practical car photography tips — detailing, an extra helper, location, harsh light, framing — for sharper, more sellable automotive photos.
- car-photography
- photography
- tips
- automotive
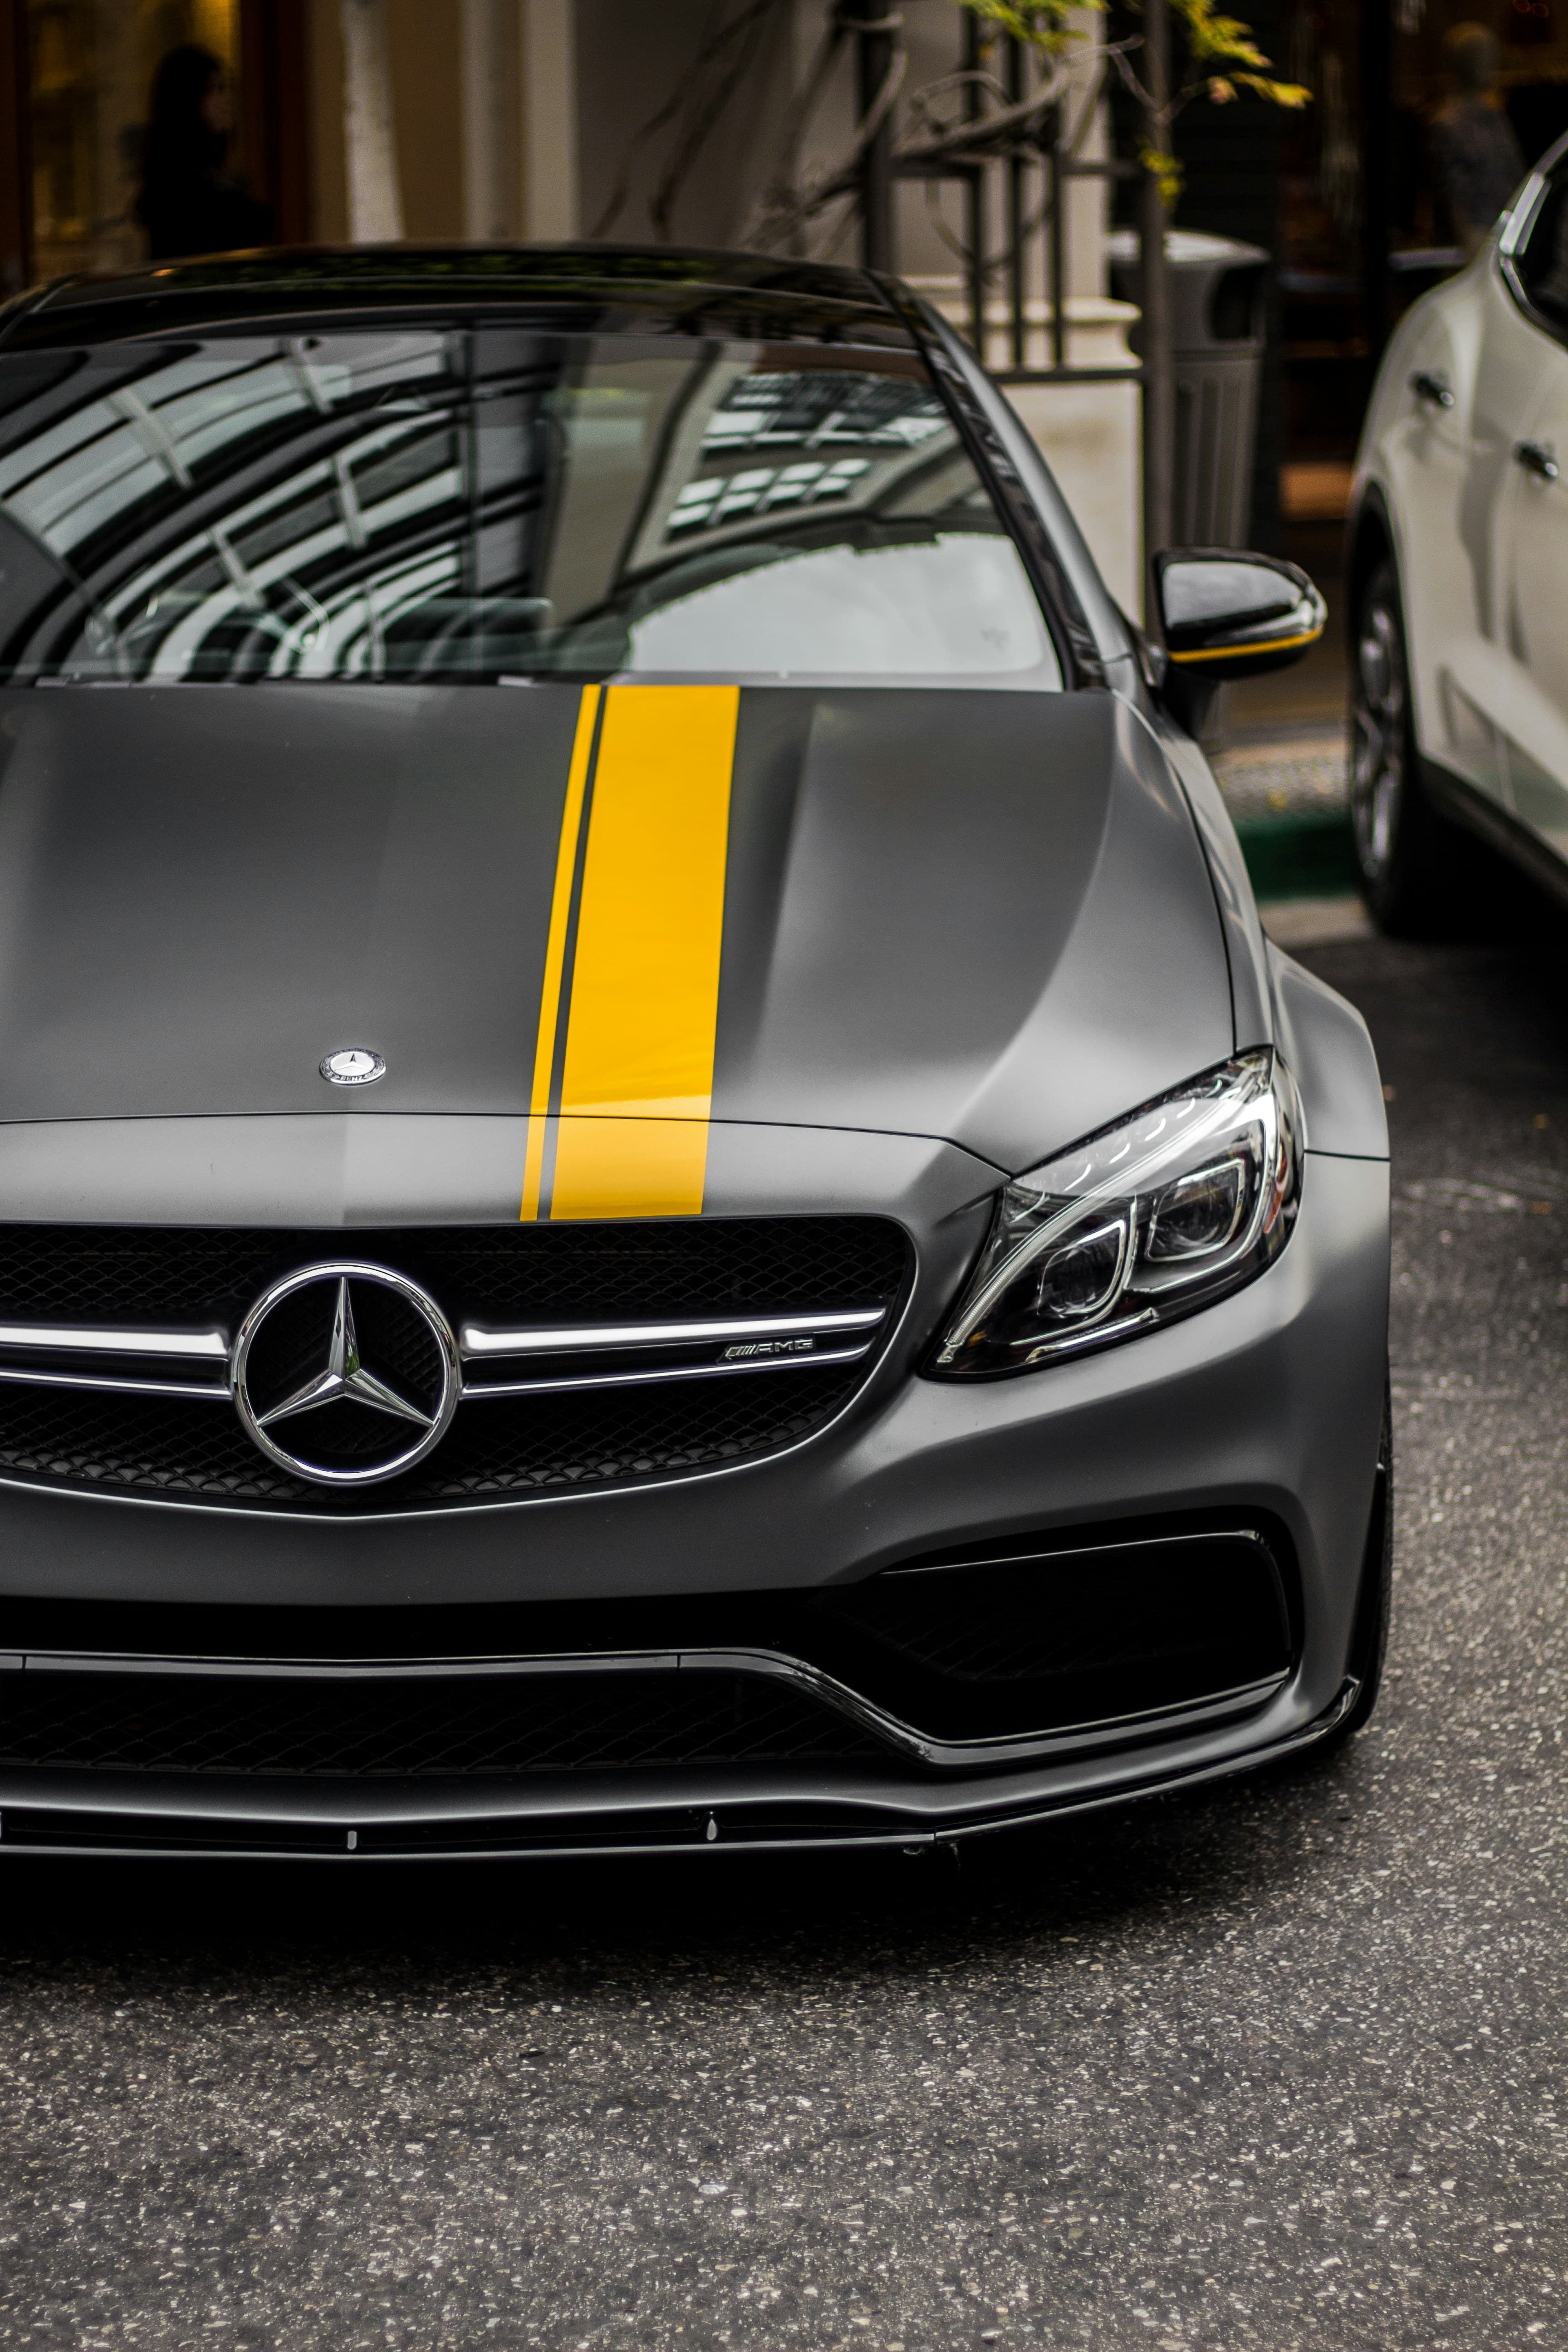
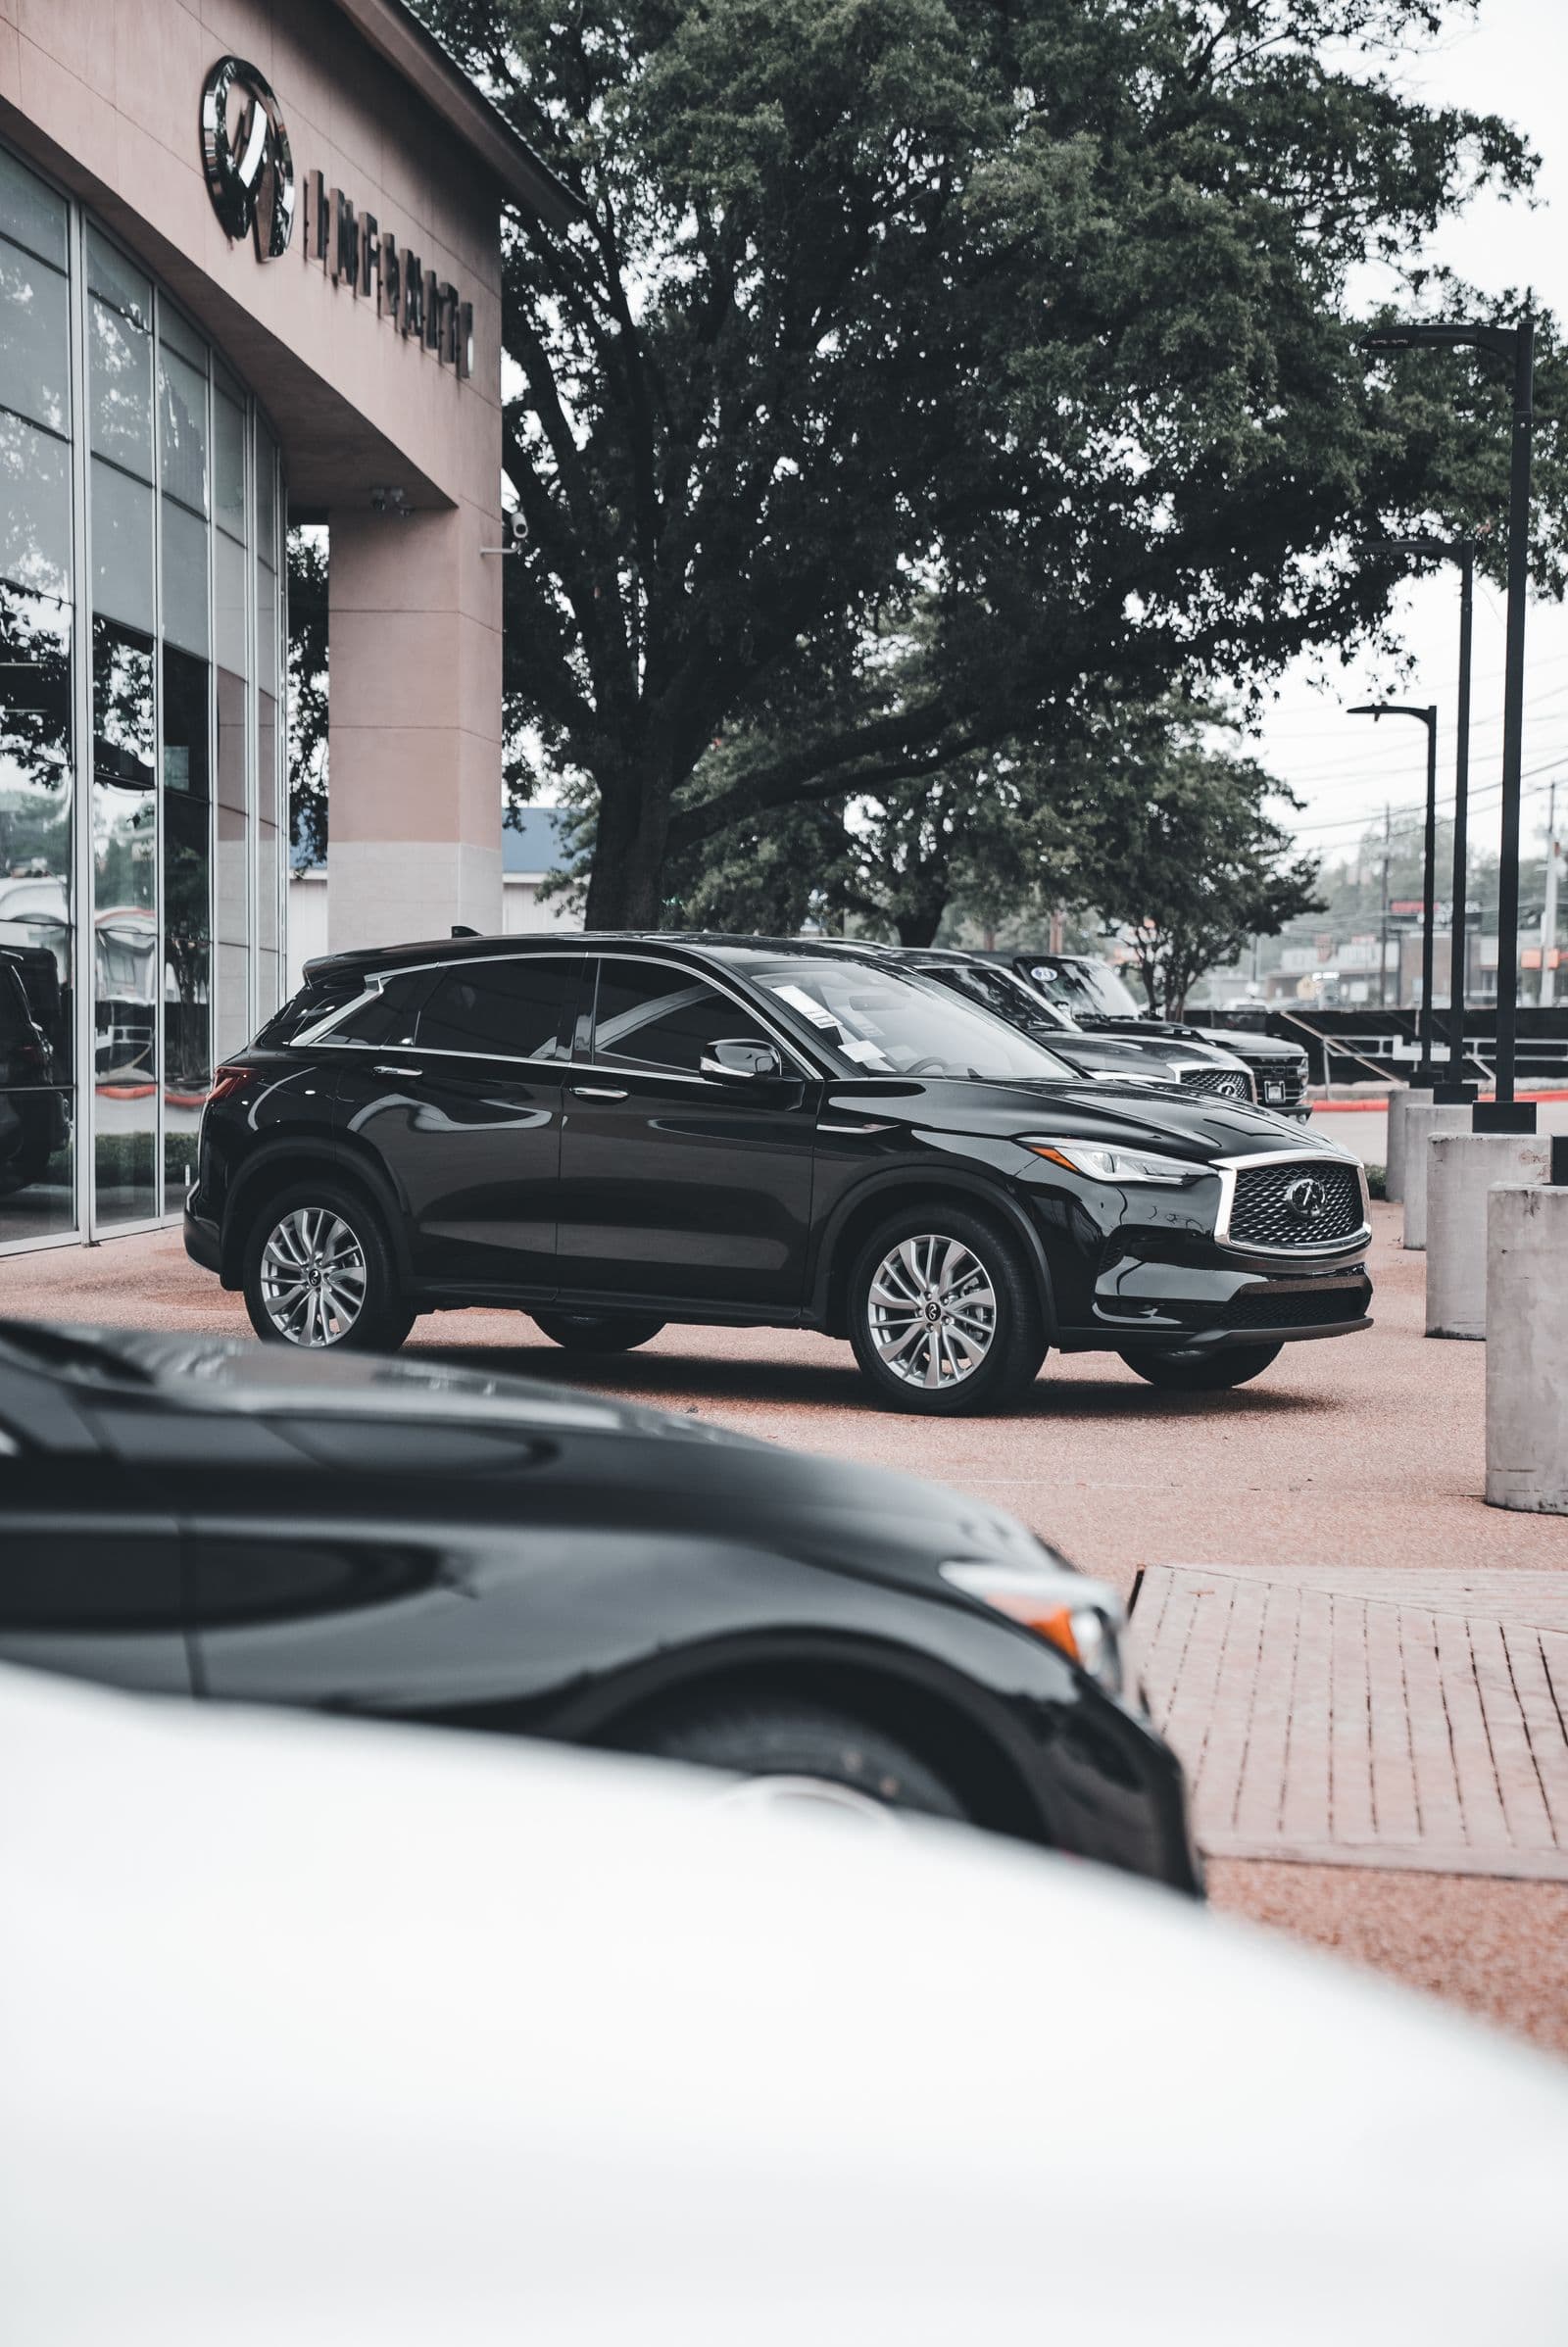
So you know the basics of automotive photography and you've taken your first few frames — what now? These five car photography tips are the details that quietly separate a snapshot from a shot that sells. Some are for hobbyists chasing a better portfolio, others are aimed squarely at anyone trying to move a vehicle off a listing page faster. Either way, there's something here for you. If you sell parts as well as whole cars, the same lighting and background rules apply at part scale — see our guide to photographing used auto parts.
We'll go a little deeper on the things that actually move the needle: prepping the car, shooting on location, and wrestling difficult light into submission. Pop the handbrake off — let's get going.
Contents
- 1. Get the car properly detailed first
- 2. Don't shoot alone
- 3. Let the location carry the story
- 4. Handle harsh midday sun
- 5. Quick wins for on-location shooting
1. Get the car properly detailed first
Think about this in terms of time and money. How many serious buyers click away the second they spot a grubby car? And how many hours will you burn afterward cloning out water spots, swirl marks, and smudges in post? Now multiply those hours by whatever your time is actually worth. If you're building a portfolio, ask the flip side: would a spotless subject win you more bookings?
Here's the trade-off. A professional detailer makes a car look as close to showroom-new as it'll ever get — wash, wax, interior vacuum and polish, glass cleaned inside and out, trim dressed, tires shined. Depending on the size of the vehicle, expect to pay somewhere in the region of $55 to $170. Against the editing time it saves you, that's often the cheaper option. And if detailing is your business rather than your prep step, that transformation is worth photographing: see how to shoot before-and-after photos that sell service work.
2. Don't shoot alone
If you can talk someone into helping, you'll save time and come away with better frames. Need the wheels turned so the tread shows? The car nudged forward a foot to line up the background? A second pair of hands makes all of that painless.
Cars also tend to look more alive when there's a person in the scene — sitting in the driver's seat, loading something into the trunk, leaning on a door. One note on wardrobe: if your friend is going to model, dress them for the part. Land a Porsche for the day and you don't want the "driver" in a hoodie and worn-out sliders.
Want to push it further? Bring a second car and a second helper. With one person driving your subject and another piloting the chase car, you can grab clean rolling shots through an open window. Try this on an empty back road, not downtown. One trick for keeping motion shots crisp: match your shutter speed to the car's speed — roughly 1/40s at 40 mph — so the body stays sharp while the wheels and road blur.
3. Let the location carry the story
Good car photography — portfolio work especially — tells a story. The same way you'd dress a model right (rugged denim and a flannel for an SUV), the backdrop has to match the narrative. That might mean driving out to a national park, or it might mean a downtown parking structure or a stretch of industrial wall. It all depends on the tale you're telling.
Worth remembering: many of the best spots — dramatic landscapes, striking architecture — sit on land owned by people who'd rather you weren't there. You've got two ways around it. Ask permission, ideally through a mutual contact who can open the door. Or shoot fast, the moment you step out of the car, and be ready with a polite apology when security wanders over. (To be clear, we're not encouraging you to trespass.)
4. Handle harsh midday sun
In our intro guide we flagged the trouble with a high, cloudless sun: blown-out highlights and crushed shadows that are a nightmare to fix later. But the reality is most of us are short on time — maybe your lunch break is the only window you've got to photograph a car you're selling. So what then?
A couple of options. The simplest is to put something between the sun and the car — a tree works, or park along a street lit by bounced light from a glass tower or pale-painted houses. The second option is a polarizer, the same material in your sunglasses. This treated glass or film can dial down certain kinds of light, deepening a blue sky or killing reflections and glare.
On a phone, grab a sheet of polarizing film from any online marketplace; on a DSLR, use a screw-on polarizing filter. Either runs around $5, though serious shooters spend more for cleaner color (Hoya gets recommended a lot). Hold or mount it in front of the lens and rotate slowly — you'll watch window glare fade until the glass reads almost black and the paint deepens. Don't overdo it.
Two caveats. Polarizers do little against light bouncing off metal — that reflection isn't actually polarized. And if you're trying to darken the sky, it only works when you're shooting at roughly 90 degrees to the sun.
5. Quick wins for on-location shooting
Zooming is fun, but lean on it sparingly — crop in too far later and you'll throw away sharpness and detail. The best zoom is your own two feet. That said, experienced shooters use zoom deliberately, compressing the scene and resizing background elements, so go ahead and experiment.
For something more artistic, frame with a foreground element. A fence or a branch adds depth, and a low f-stop like f/2.0 throws it into soft blur. Tuck part of a tree in front of the car and you create a sense of intimacy — as if the viewer just stumbled onto it. Shoot through a doorway or window and you get a natural frame around the car. You can even play with lights for a bit of flare.
Headlamps on is another classic move — it makes the car look awake and ready to roll, and your polarizer earns its keep here too. Even on a straightforward sales shoot, it's worth getting a little creative with your angles, especially the interior. Use a shallow depth of field and selective focus (bokeh) to sharpen the details a buyer cares about while letting the rest fall away.
Finish the job with a clean background
One last thing once the shoot's done: even the best frame can be let down by a messy backdrop — a stray cone, a cluttered lot, an overcast sky. For sales listings especially, a clean, consistent background keeps the eye on the car. Drop your shots into remover.bg to lift the vehicle off its background in seconds, then place it on a crisp white or branded backdrop so every photo in your listing looks like part of one polished set.
These are our five car photography tips — we hope they got the creative fuel flowing. Ready for the editing side? See how to remove the background from car photos — windows included — for listing-ready results.