 English
 Español
 Português (BR)
 Deutsch
 Français
 Italiano
 Türkçe
 Bahasa Indonesia
 Русский
 日本語
 한국어
 Українська
 Tiếng Việt
 Polski
 Nederlands
 ไทย
 Română
 简体中文
 繁體中文
 العربية
 Български
 Filipino
 हिन्दी
 اردو
 বাংলা
Why Your Cutout Has Holes in the Middle of the Product
Cutout has see-through patches inside a bottle, jar or kettle? Why bright and mirror-like areas get treated as backdrop, and how to fix them in the photo.
- background-removal
- product-photography
- cutout-problems
- highlights
- reflections
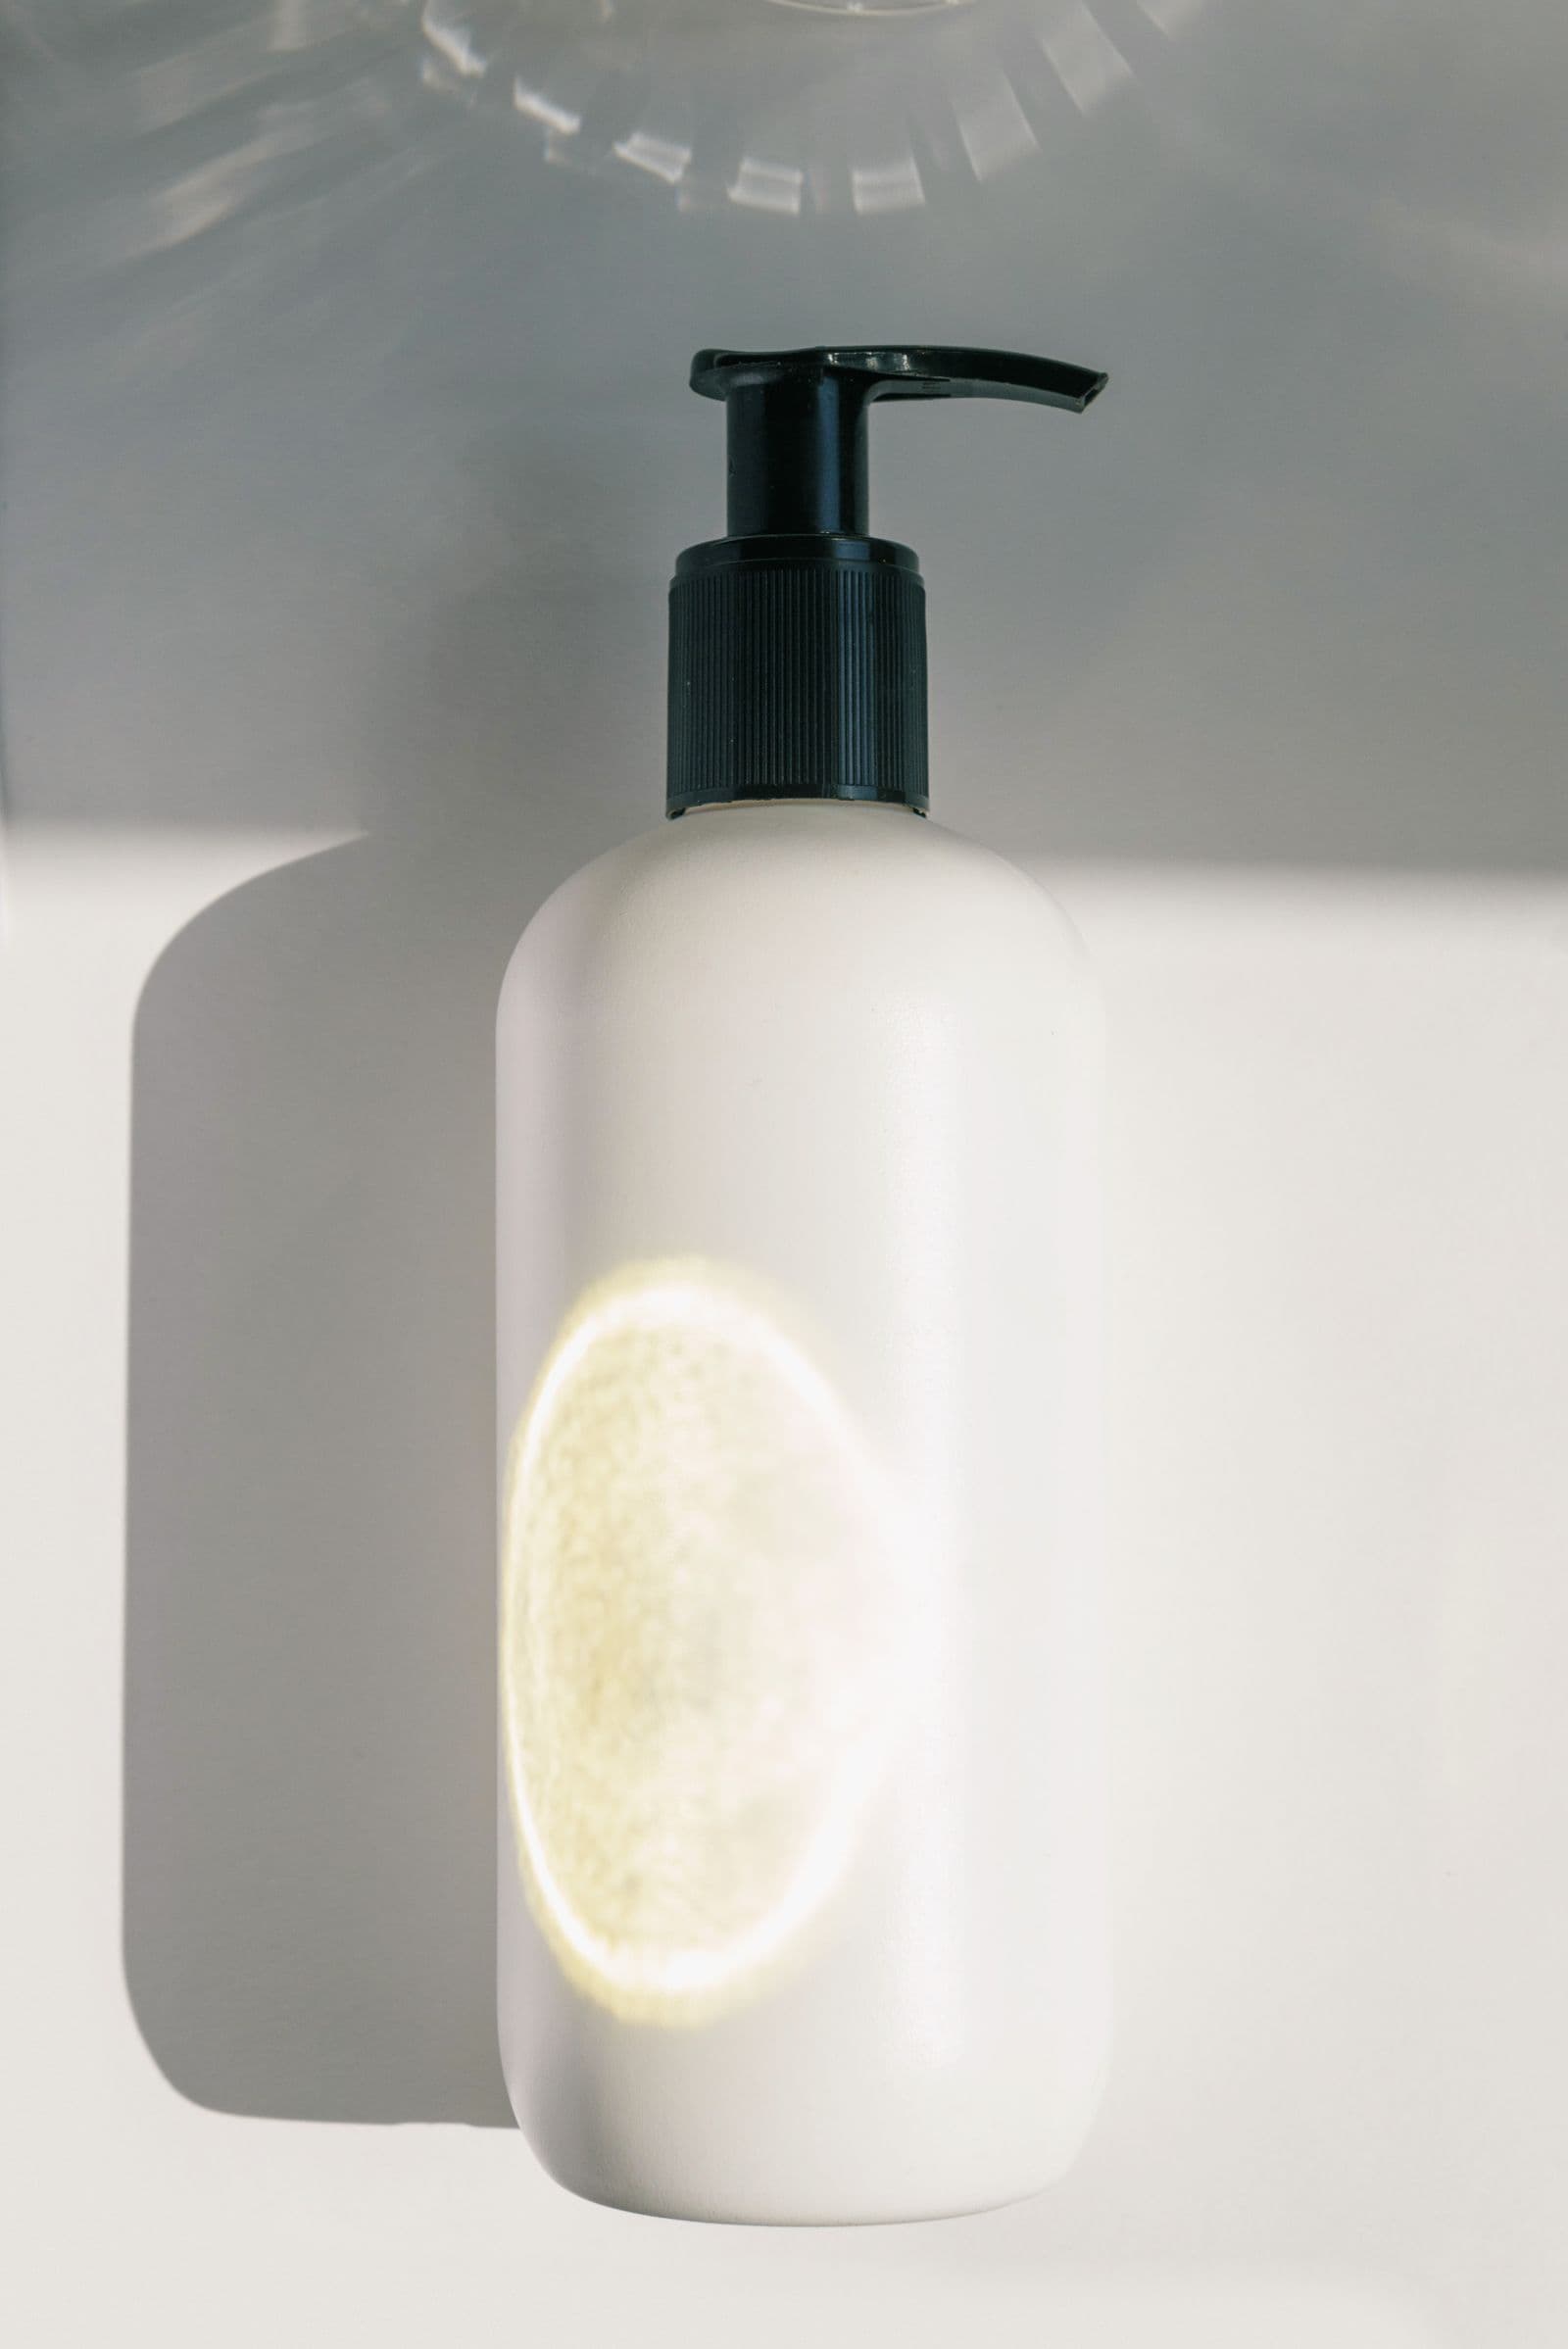
You upload a bottle, a jar or a kettle, and the cutout comes back with a see-through patch in the middle of the product. The outline looks right. The problem is inside: a bright stripe, a shiny panel, a white label that has disappeared.
This is not an edge problem. The patch sits where the product should be solid, and it appears because that area looks like the backdrop in your photo. The reliable repair happens in the photo, before you upload.
What a hole inside a solid product looks like
Upload the photo to remover.bg, open the Color tab in the editor and pick a dark color. On white, a missing patch is easy to overlook because the gap shows the same white as its surroundings; on a dark color it shows at once.
Two cases look similar but are not this problem. A handle or a ring is meant to be see-through, and so is sheer material, covered in how to photograph lace, mesh and sheer fabric. If the spot is solid material in real life, the cutout should be solid there too.
Why an interior patch can be treated as background
An automatic cutout decides, region by region, whether each part of the photo belongs to the product or the backdrop. It uses shape, context, color and brightness together, and the decision is least reliable where a region inside the product has the same color and brightness as the backdrop.
Three situations create such a region: a highlight so bright that it is pure white, a polished surface that mirrors the backdrop, and a label colored like the backdrop. Whether a patch is removed depends on its size and how closely it matches the backdrop. Treat a large matching patch as a risk, and check the result before you export.
Blown highlights on bottles and packaging
On a glossy bottle or pouch, a highlight is a mirror image of your light source. When it is bright enough, the camera records the maximum value in every color channel (red, green and blue), and the area becomes uniform white with no detail. This is called a blown or clipped highlight. By its pixel values alone it cannot be told apart from a near-white backdrop.

- Find the clipping while you shoot. The Canon EOS R5 manual describes a highlight alert that makes overexposed highlights blink on the playback screen, and advises a negative exposure compensation before shooting again.
- Lower the exposure in small steps. A third of an exposure stop at a time is a reasonable start. On an iPhone, Apple's iPhone User Guide currently says to tap where you want the focus area, then drag the Adjust Exposure button next to it up or down. Stop when the highlight shows gradation again. A darker backdrop does not matter, because it is removed; for a dark product, read photographing black products.
- Move the reflection. The highlight moves with the light source. Shift the light until the reflection is a narrow strip with product color on both sides, not one that extends to the outline. A larger, diffused source spreads the same light over a bigger area, so its reflection is bigger and less intense; hard vs soft light explains how to make a source larger.
Shiny surfaces that mirror the backdrop
Chrome, polished steel and glossy plastic behave like mirrors. OpenStax physics states the law of reflection: the angle of reflection equals the angle of incidence. So a flat polished surface shows whatever sits at the matching angle on the other side. If that is your white backdrop, the surface turns white.

- Change the angle. Turn the product a few degrees, or move the camera, until the surface reflects something else.
- Give the surface something dark to reflect. Place a black card or black foam board just outside the frame, on the side the reflection comes from.
- Clear materials need more. Photographing glass products covers what appears inside a reflection.
Choose a backdrop that contrasts with the inside
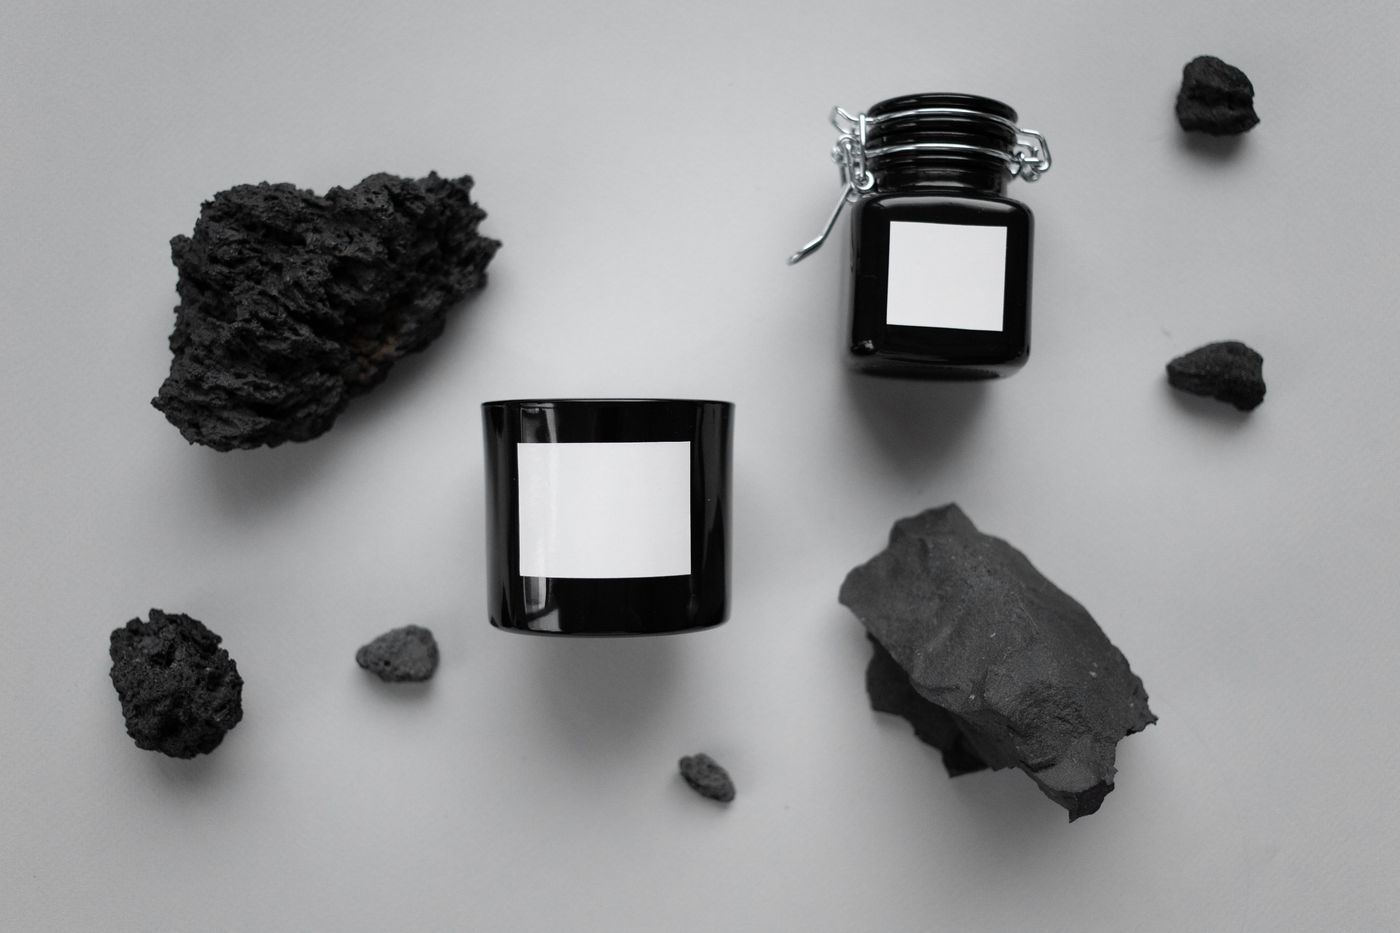
A white label on a white backdrop gives the cutout little to separate by color, so a label that reaches the product's outline can be removed along with the backdrop, like a blown highlight. Pick a backdrop that differs from the brightest and darkest parts of the product. For products that mix white and dark areas, mid-gray is a safe start because it matches neither. The Color tab sets the final white afterwards, so the gray never reaches your listing.
Confirm before you export
Run this check on every product with bright, shiny or white areas:
- Remove the background and open the Color tab with a dark color.
- Look at the body, the label and every shiny surface for patches inside the product, not only at its edge.
- If you find one, name the cause: highlight, mirrored backdrop or matching label.
- Reshoot with one change at a time, then check again.
The fix belongs in the source photo, not in the cutout. If a reshoot is impossible, repair the original photo in a separate image editor before you upload.