English
 Español
 Português (BR)
 Deutsch
 Français
 Italiano
 Türkçe
 Bahasa Indonesia
 Русский
 日本語
日本語 한국어
한국어 Українська
 Tiếng Việt
 Polski
 Nederlands
 ไทย
ไทย Română
 简体中文
简体中文 繁體中文
繁體中文 العربية
 Български
 Filipino
 हिन्दी
 اردو
اردو বাংলা
বাংলাDIY Lightbox Product Photography: Do You Even Need One?
A lightbox fixes your lighting, not your background, and rarely gives pure white. Light tent vs DIY window setup vs digital swap, compared on cost and effort.
- product photography
- lightbox
- white background
- diy photography
- ecommerce photos
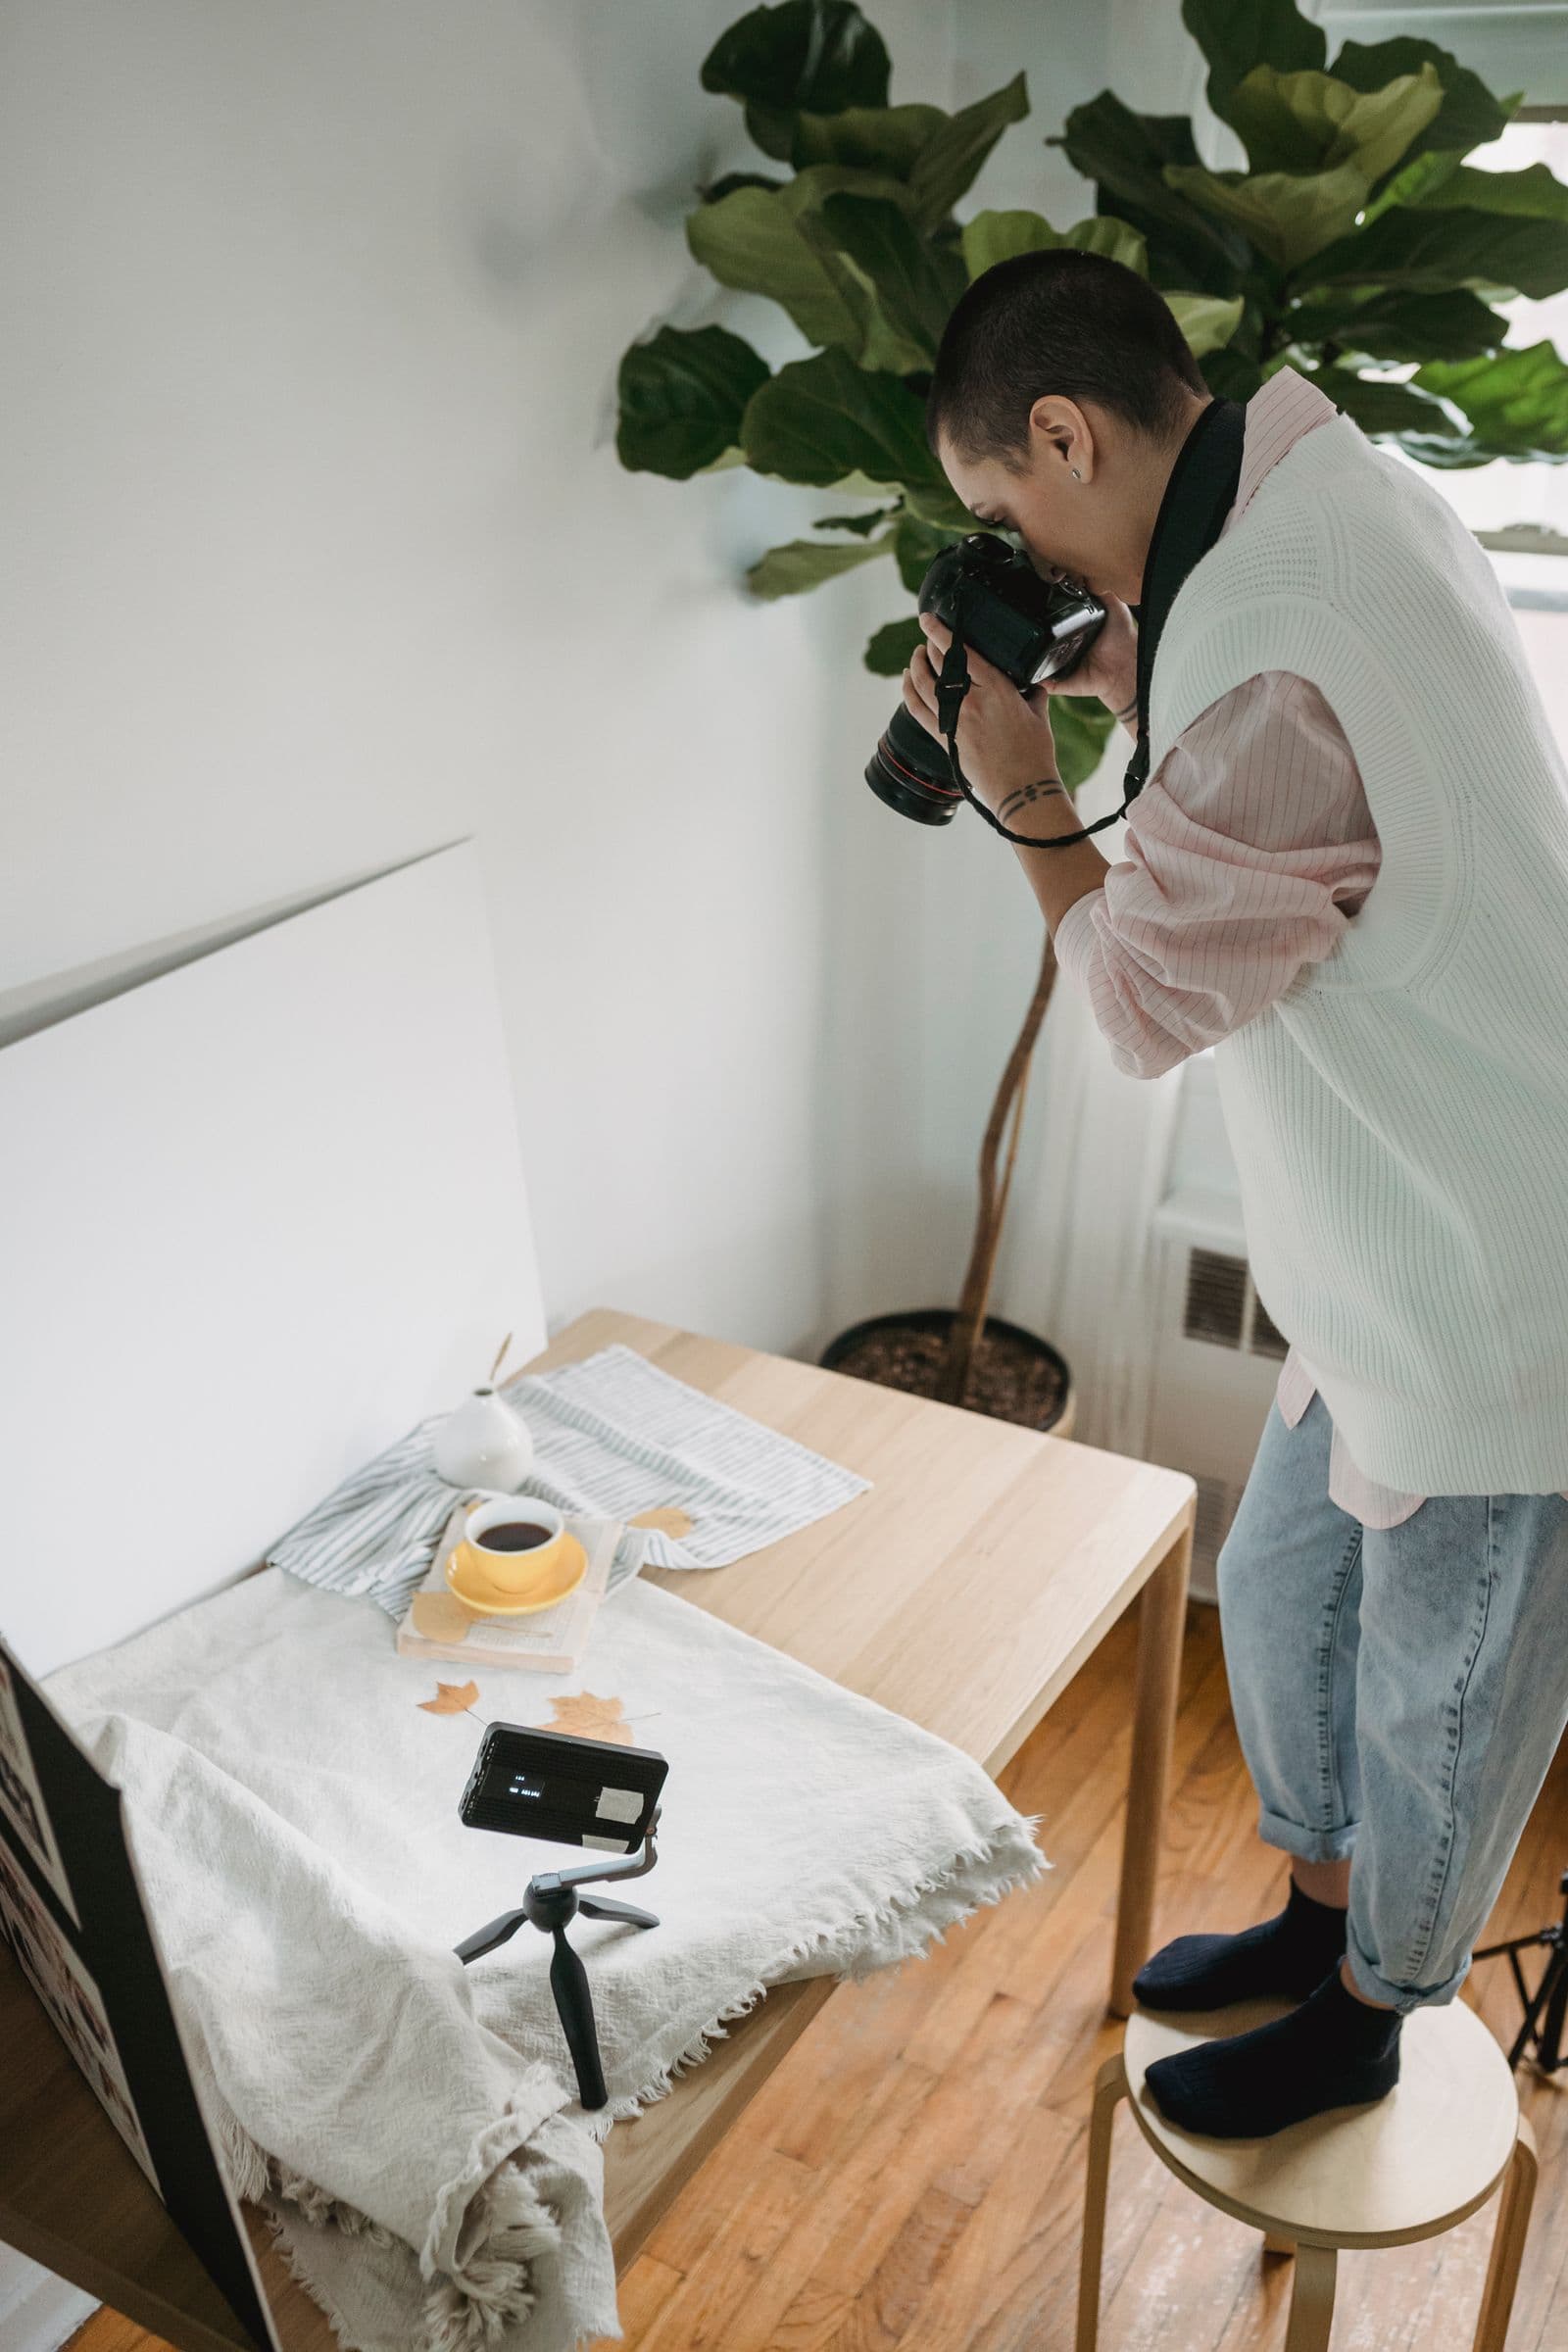
Search "DIY lightbox product photography" and you'll find a hundred tutorials for building a foam-board cube with tissue-paper walls. They mostly work. But before you spend a Saturday with a box cutter, it's worth asking a more basic question: do you need a lightbox at all?
Here's what most tutorials skip: a lightbox solves a lighting problem, not a background problem. It diffuses light beautifully, which is why photos shot inside one look soft and even. But the pure white background marketplaces demand? A lightbox almost never delivers that straight out of camera — you're still editing afterward.
So let's give all three routes a fair hearing: the light tent, the DIY window setup, and the modern shortcut of shooting for clean edges and fixing the background digitally.
What a Lightbox Genuinely Does Well
Credit where it's due. A light tent wraps your product in diffused light from several sides, and that solves real problems:
- Harsh shadows disappear. Fabric or paper walls turn hard light sources into soft, even illumination.
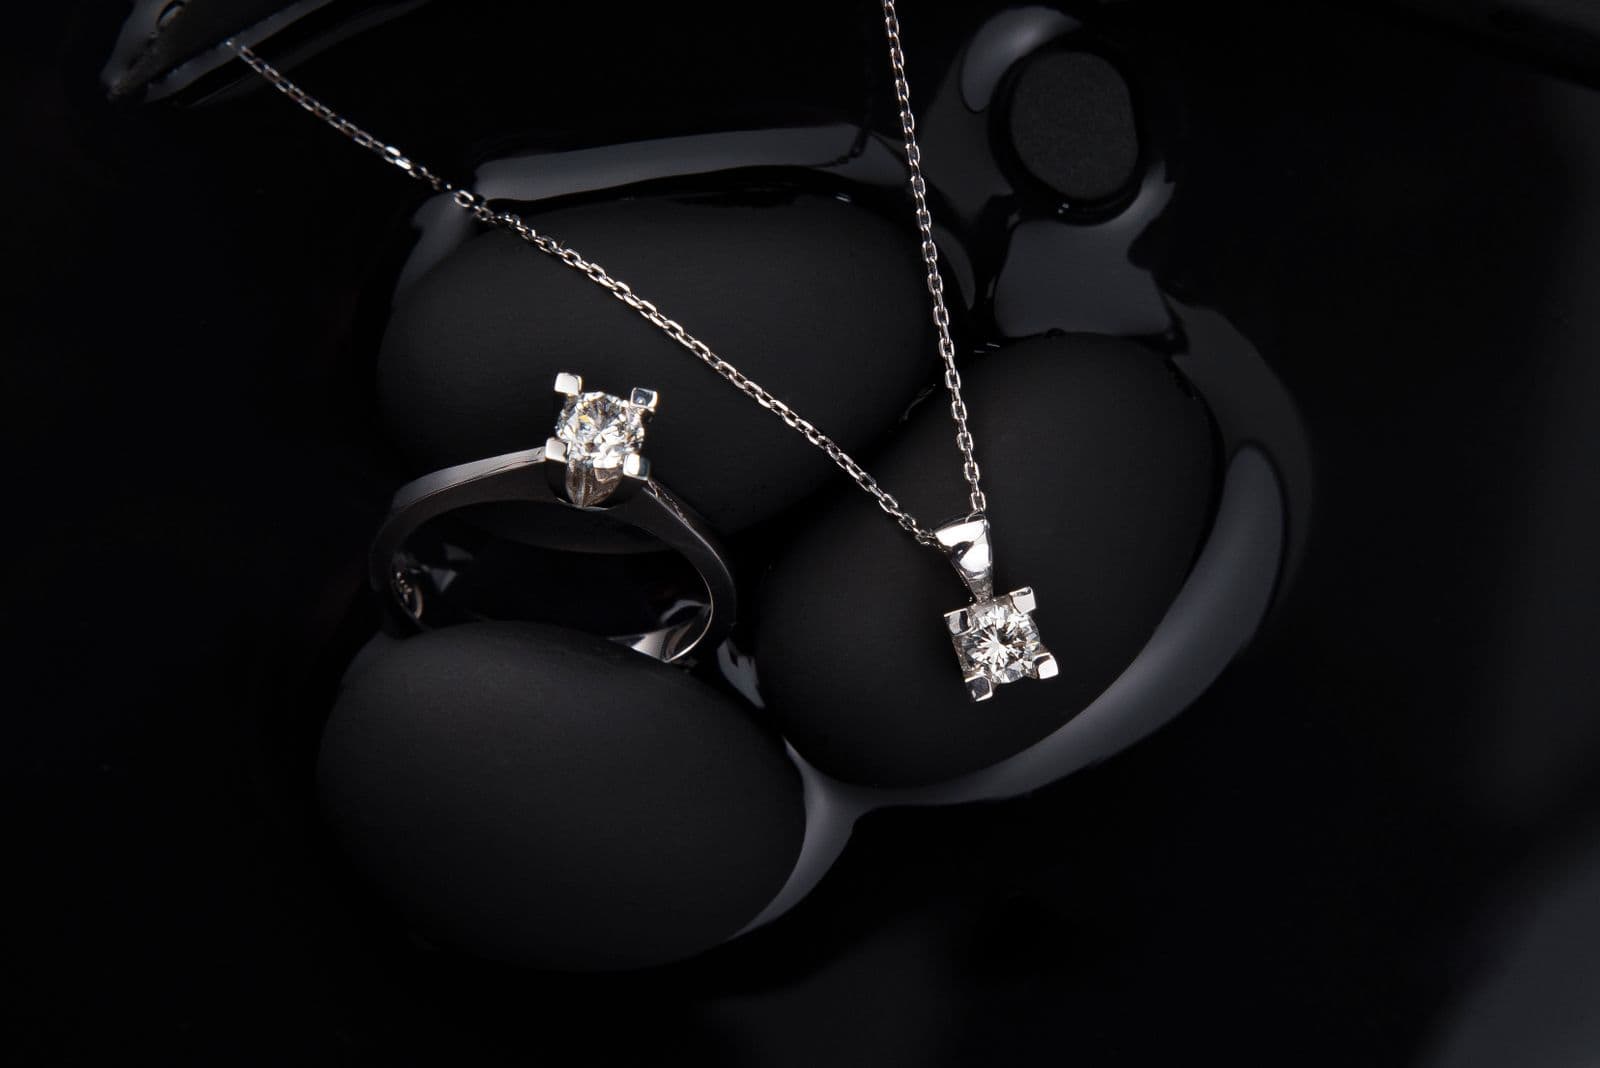
- Reflective items behave. Jewelry, watches, and glossy packaging pick up big white reflections instead of a mirror image of your messy desk. Our jewelry photography guide leans on diffusion for exactly this reason — shiny metal is brutal without it.
- Repeatability. Once assembled, every shot gets the same light. For a catalog of thirty small items, that matters.
If you shoot small, shiny things in volume, a lightbox earns its shelf space, and diffusion is where beating reflections on glass starts too.
Where Lightboxes Quietly Fall Short
Now the fine print that never makes the product listing:
- The size ceiling. The typical hobby lightbox is a cube somewhere between a shoebox and a microwave. A mug fits. A handbag is tight. A floor lamp or a guitar? Forget it.
- Setup friction. Pop-up tents never quite pop back down. Assembling, lighting, and storing the thing adds friction to every shoot — which is exactly how gear ends up living in a closet.
- The white isn't white. The big one. Even well lit, a lightbox background photographs as pale gray — not the pure RGB 255,255,255 white Amazon requires for main images (our Amazon product image requirements guide covers why that spec is non-negotiable). Forcing true white in-camera means overexposing until your product's own edges start to glow. In practice, lightbox shooters fix the background in post anyway.
The box gets you most of the way — then hands you an editing job regardless.
DIY Lightbox Alternative: A Window and a Poster Board
You can replicate most of a lightbox's benefits for pocket change:
- Find indirect window light. A north-facing window — or any window when the sun isn't blasting straight through — is a giant natural softbox.
- Build a sweep. Tape white poster board to the wall and let it curve down onto your table. The curve kills the crease, so there's no horizon line behind the product.
- Bounce light back. A second white board opposite the window fills in the shadow side.
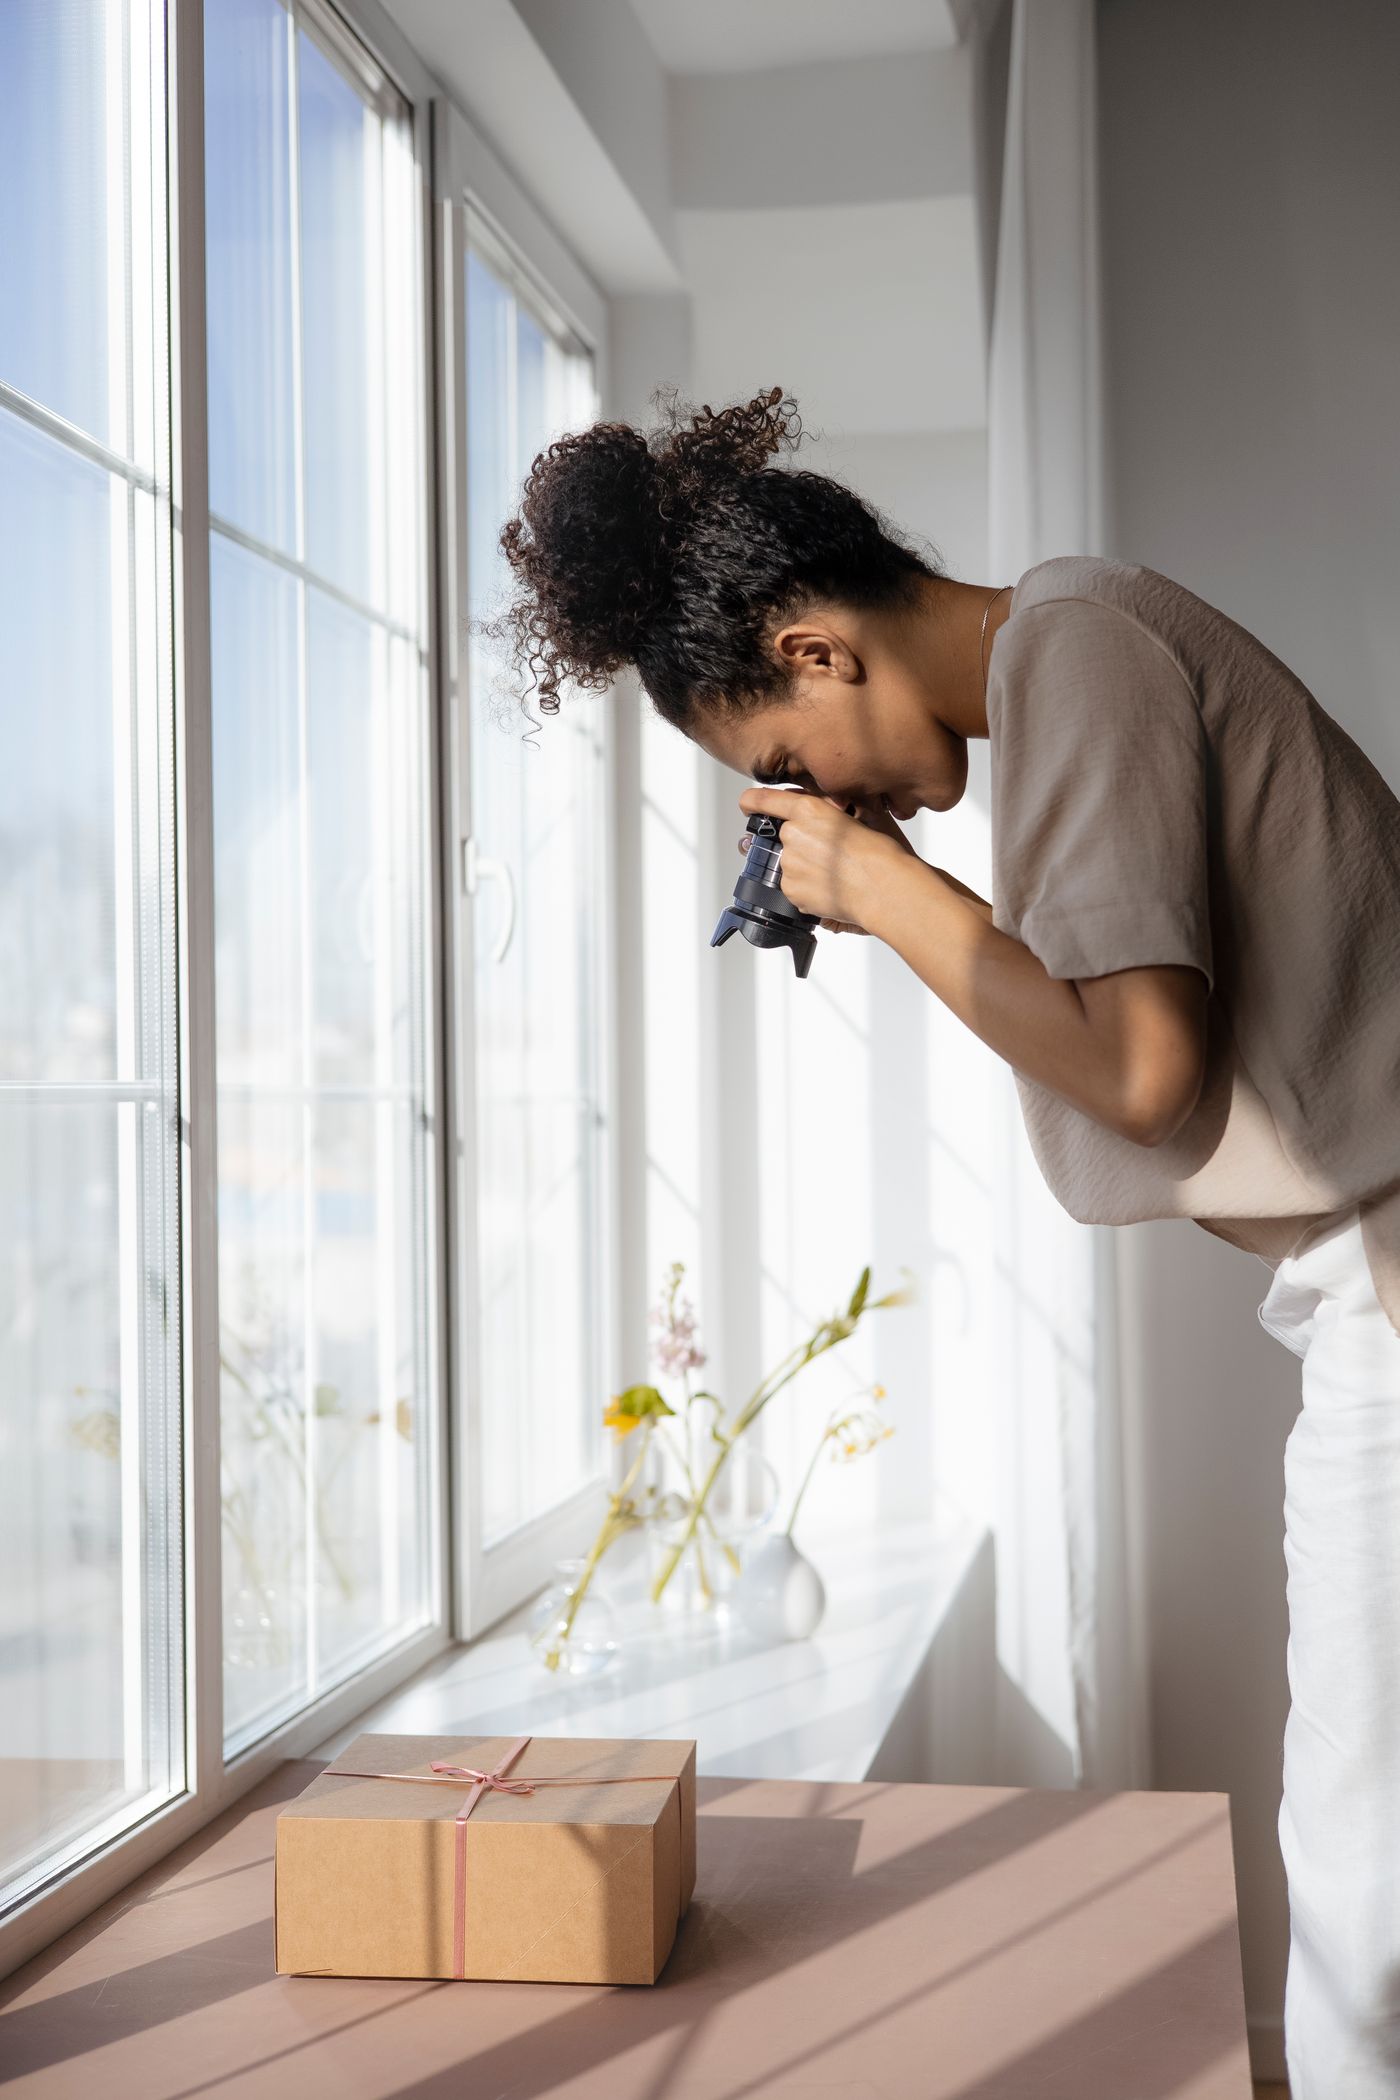
This costs a few dollars, handles far bigger items than any hobby lightbox, and produces genuinely lovely light. The catch: you're on the weather's schedule, the color of daylight shifts through the day, and that poster board still photographs gray, not white.
The Modern Answer: Shoot for Edges, Not for White
Notice the pattern? Every route ends in editing. So the pragmatic workflow flips the priority: stop chasing a white background in-camera and shoot for clean, well-lit edges instead.
Any decent light qualifies — window light, a lamp bounced off a wall, overcast daylight on the balcony. You need contrast between product and backdrop, sharp focus, and no blown highlights on the product itself. Then upload to remover.bg, let the AI cut the subject out (it's built for fine edges — chain links, frayed fabric, fur), and drop in a true 255,255,255 white background in the editor. Finish with a soft, realistic drop shadow so the product sits on the white instead of floating.
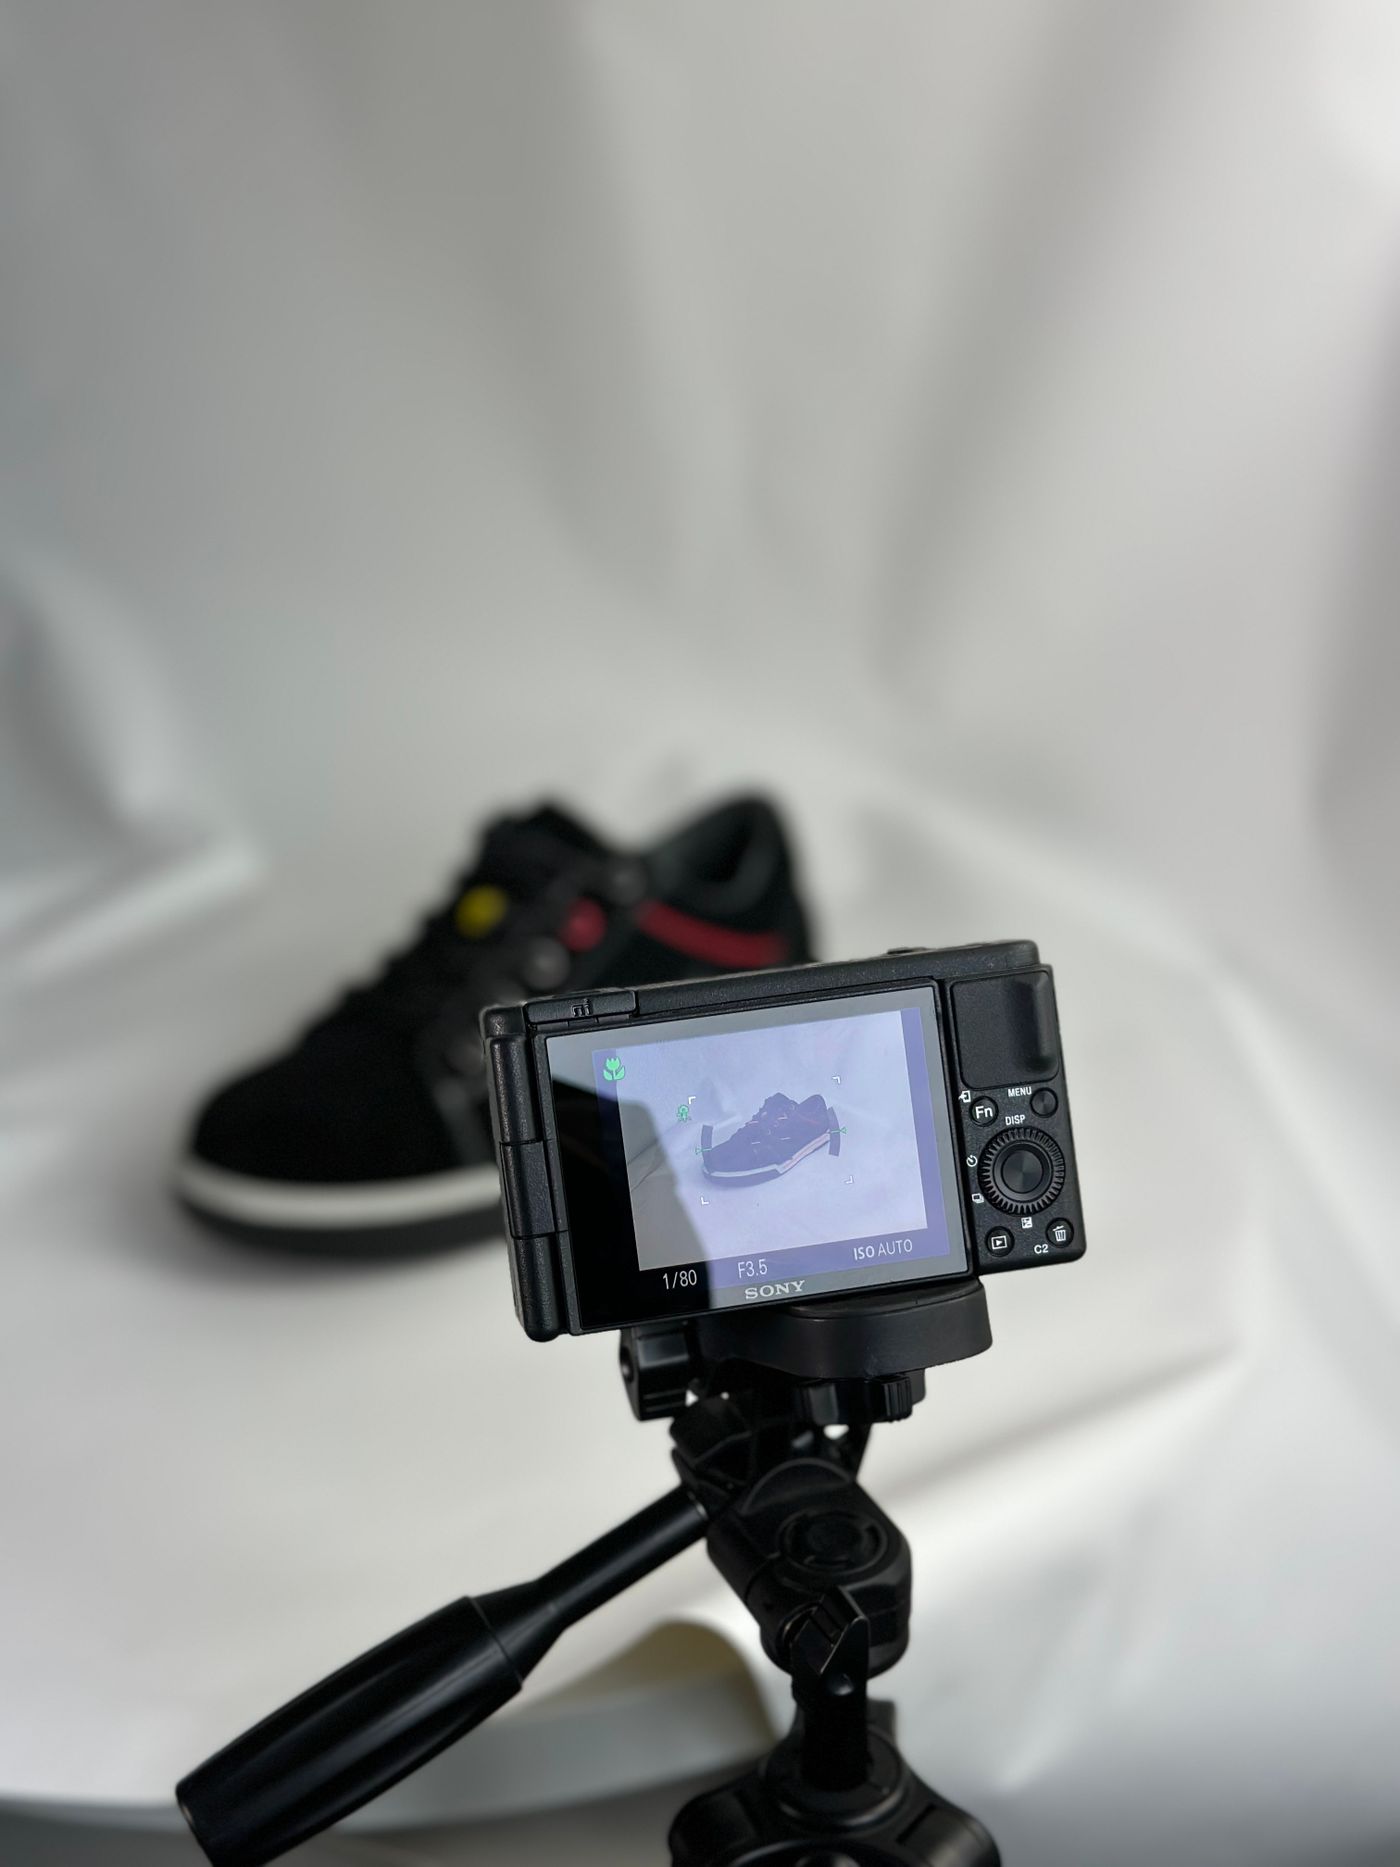
Consistency — the lightbox's strongest argument — actually improves here, because every image gets an identical digital background no matter what the light was doing that day.
Lightbox vs. DIY vs. Digital: The Honest Scorecard
- Store-bought lightbox — Moderate cost, low per-shot effort once assembled, superb for small reflective items. Capped by box size, and the background still needs editing.
- DIY window + sweep — Nearly free, works at almost any product size, beautiful natural light. Weather-dependent, and the white still isn't white.
- Any light + digital replacement — Cheapest to shoot, lowest skill floor, perfectly consistent white every time. Only requirement: sharp, well-separated edges in the original photo. Blur is the one thing software can't rescue.
The Takeaway
Buy a lightbox if you photograph lots of small, shiny products and want set-and-forget lighting. Build the window sweep if you want gorgeous light for the price of poster board. But if the actual goal is a pure white background — the thing marketplaces measure — get it digitally. Shoot for edges, replace the background, add the shadow back. Done.