English
 Español
 Português (BR)
 Deutsch
 Français
 Italiano
 Türkçe
 Bahasa Indonesia
 Русский
 日本語
日本語 한국어
한국어 Українська
 Tiếng Việt
 Polski
 Nederlands
 ไทย
ไทย Română
 简体中文
简体中文 繁體中文
繁體中文 العربية
 Български
 Filipino
 हिन्दी
 اردو
اردو বাংলা
বাংলাHome Depot and Lowe's Image Specs for Vendors
Home Depot and Lowe's keep vendor image specs behind a login. How to read the spec as a checklist, hit pure white, kill contact shadows, and shoot fine edges.
- home depot
- lowes
- vendor images
- product photography
- white background
- retail listings
- background removal
- ecommerce
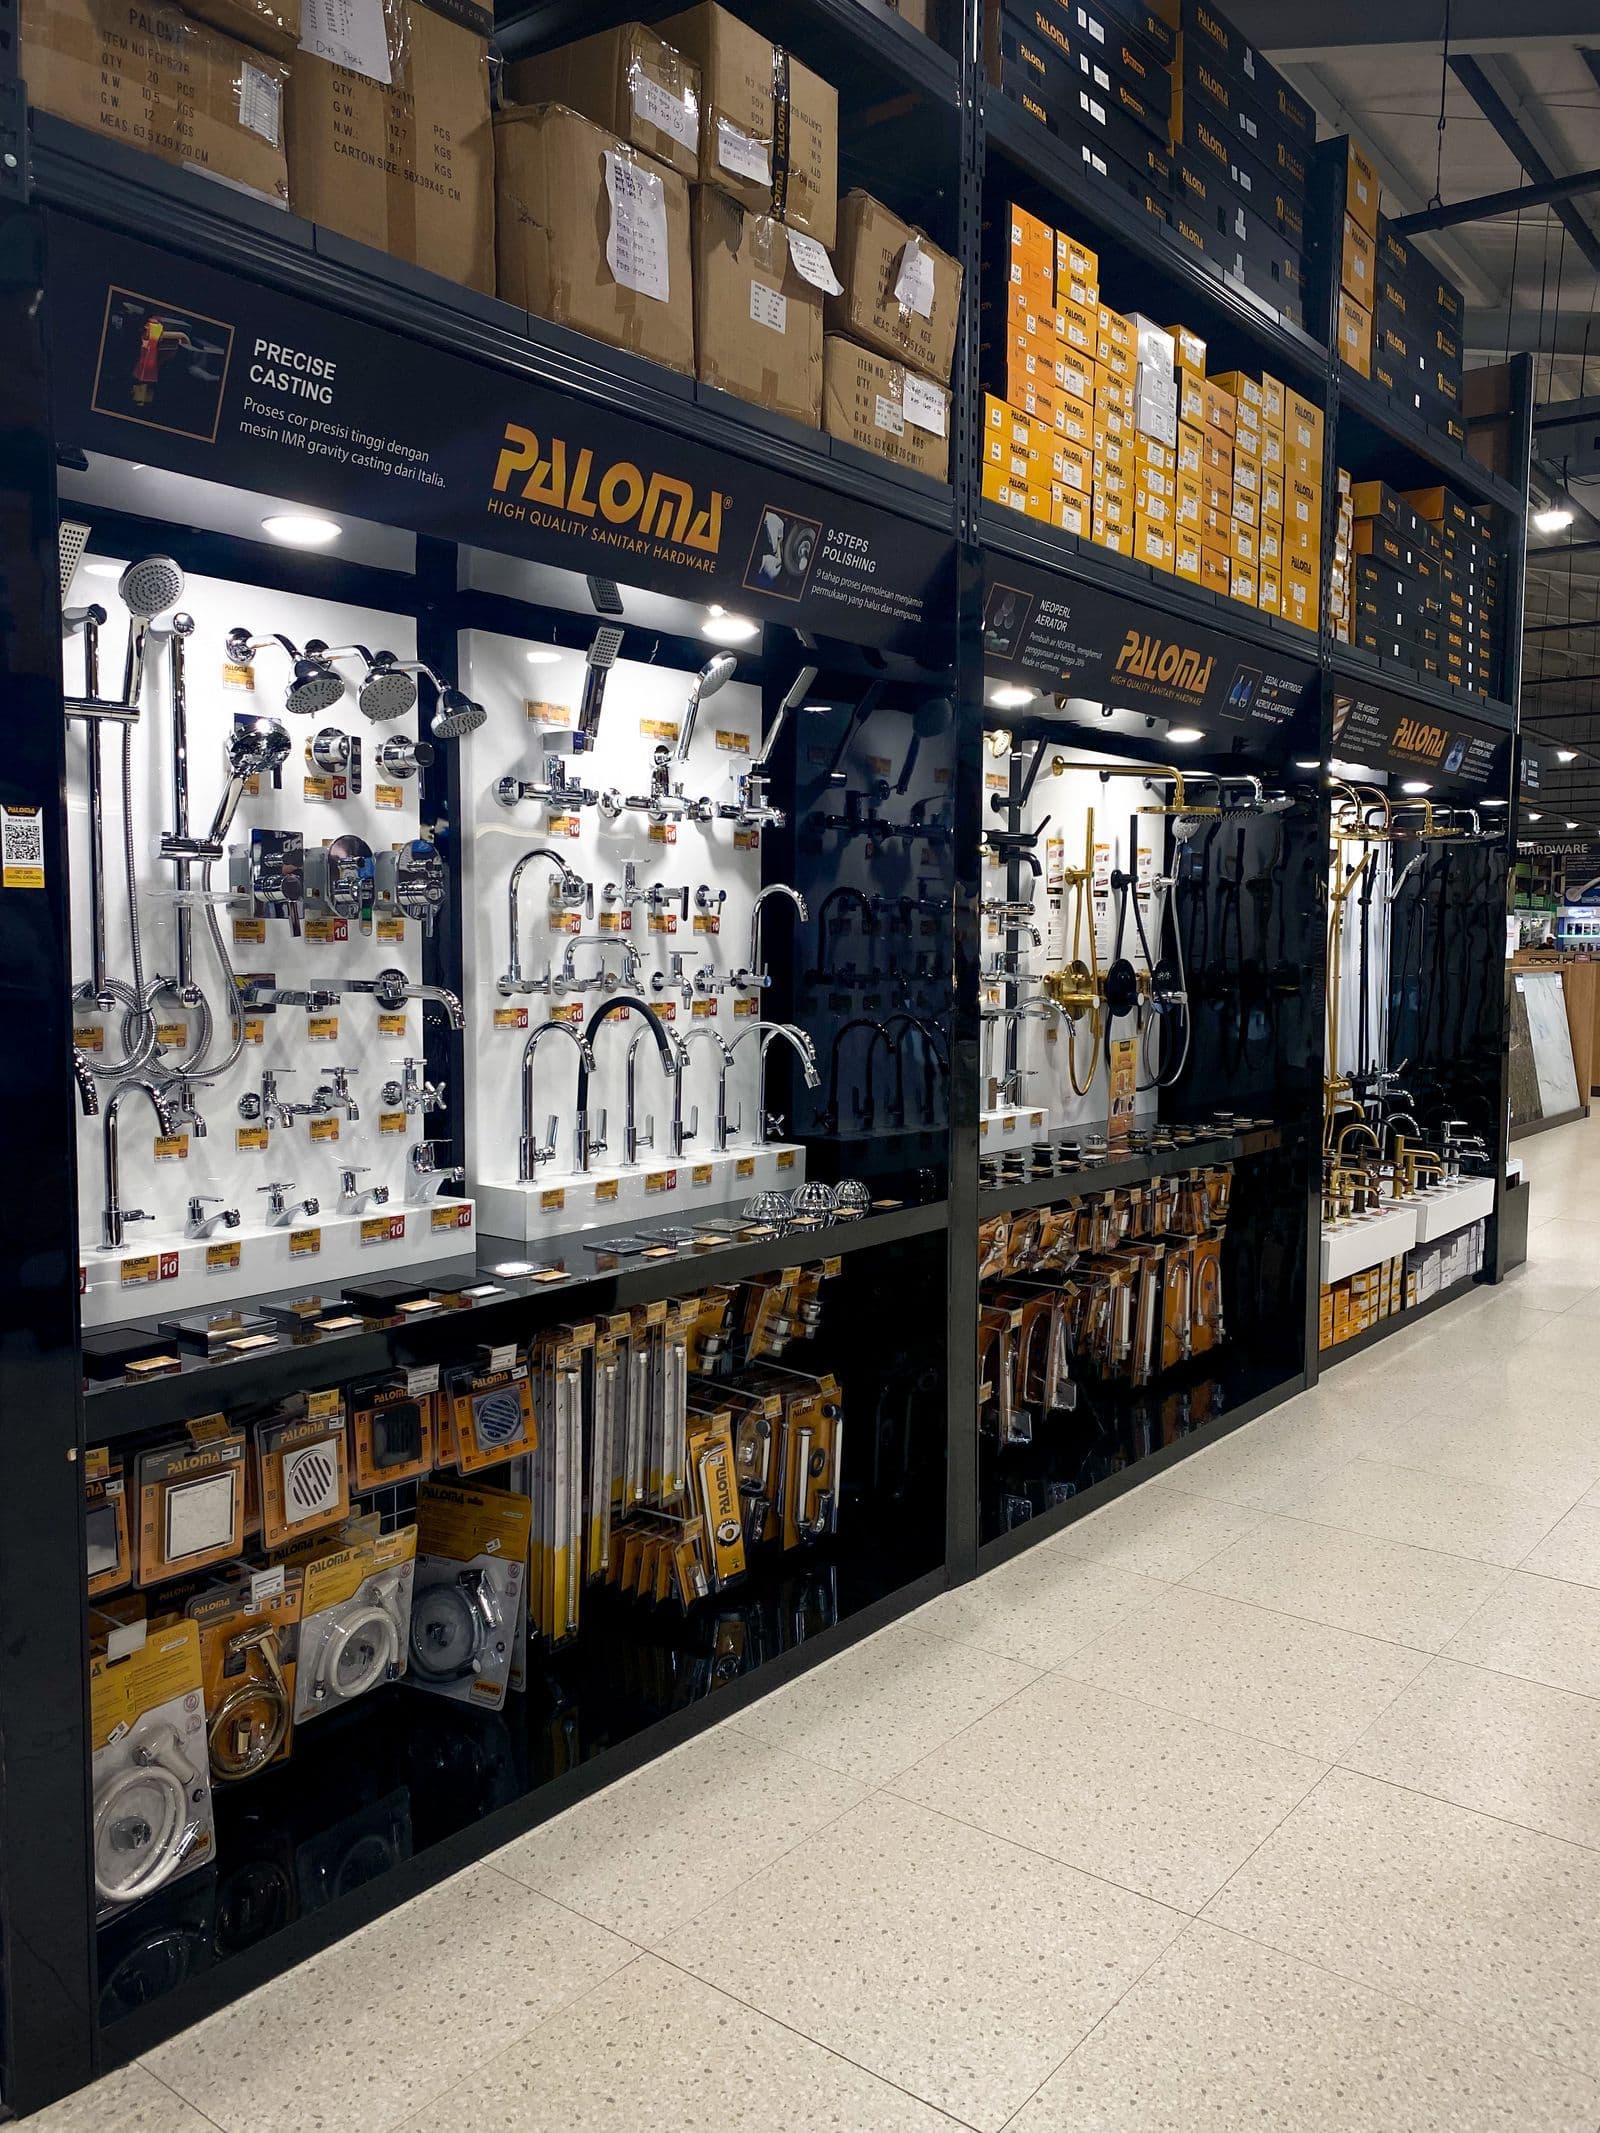
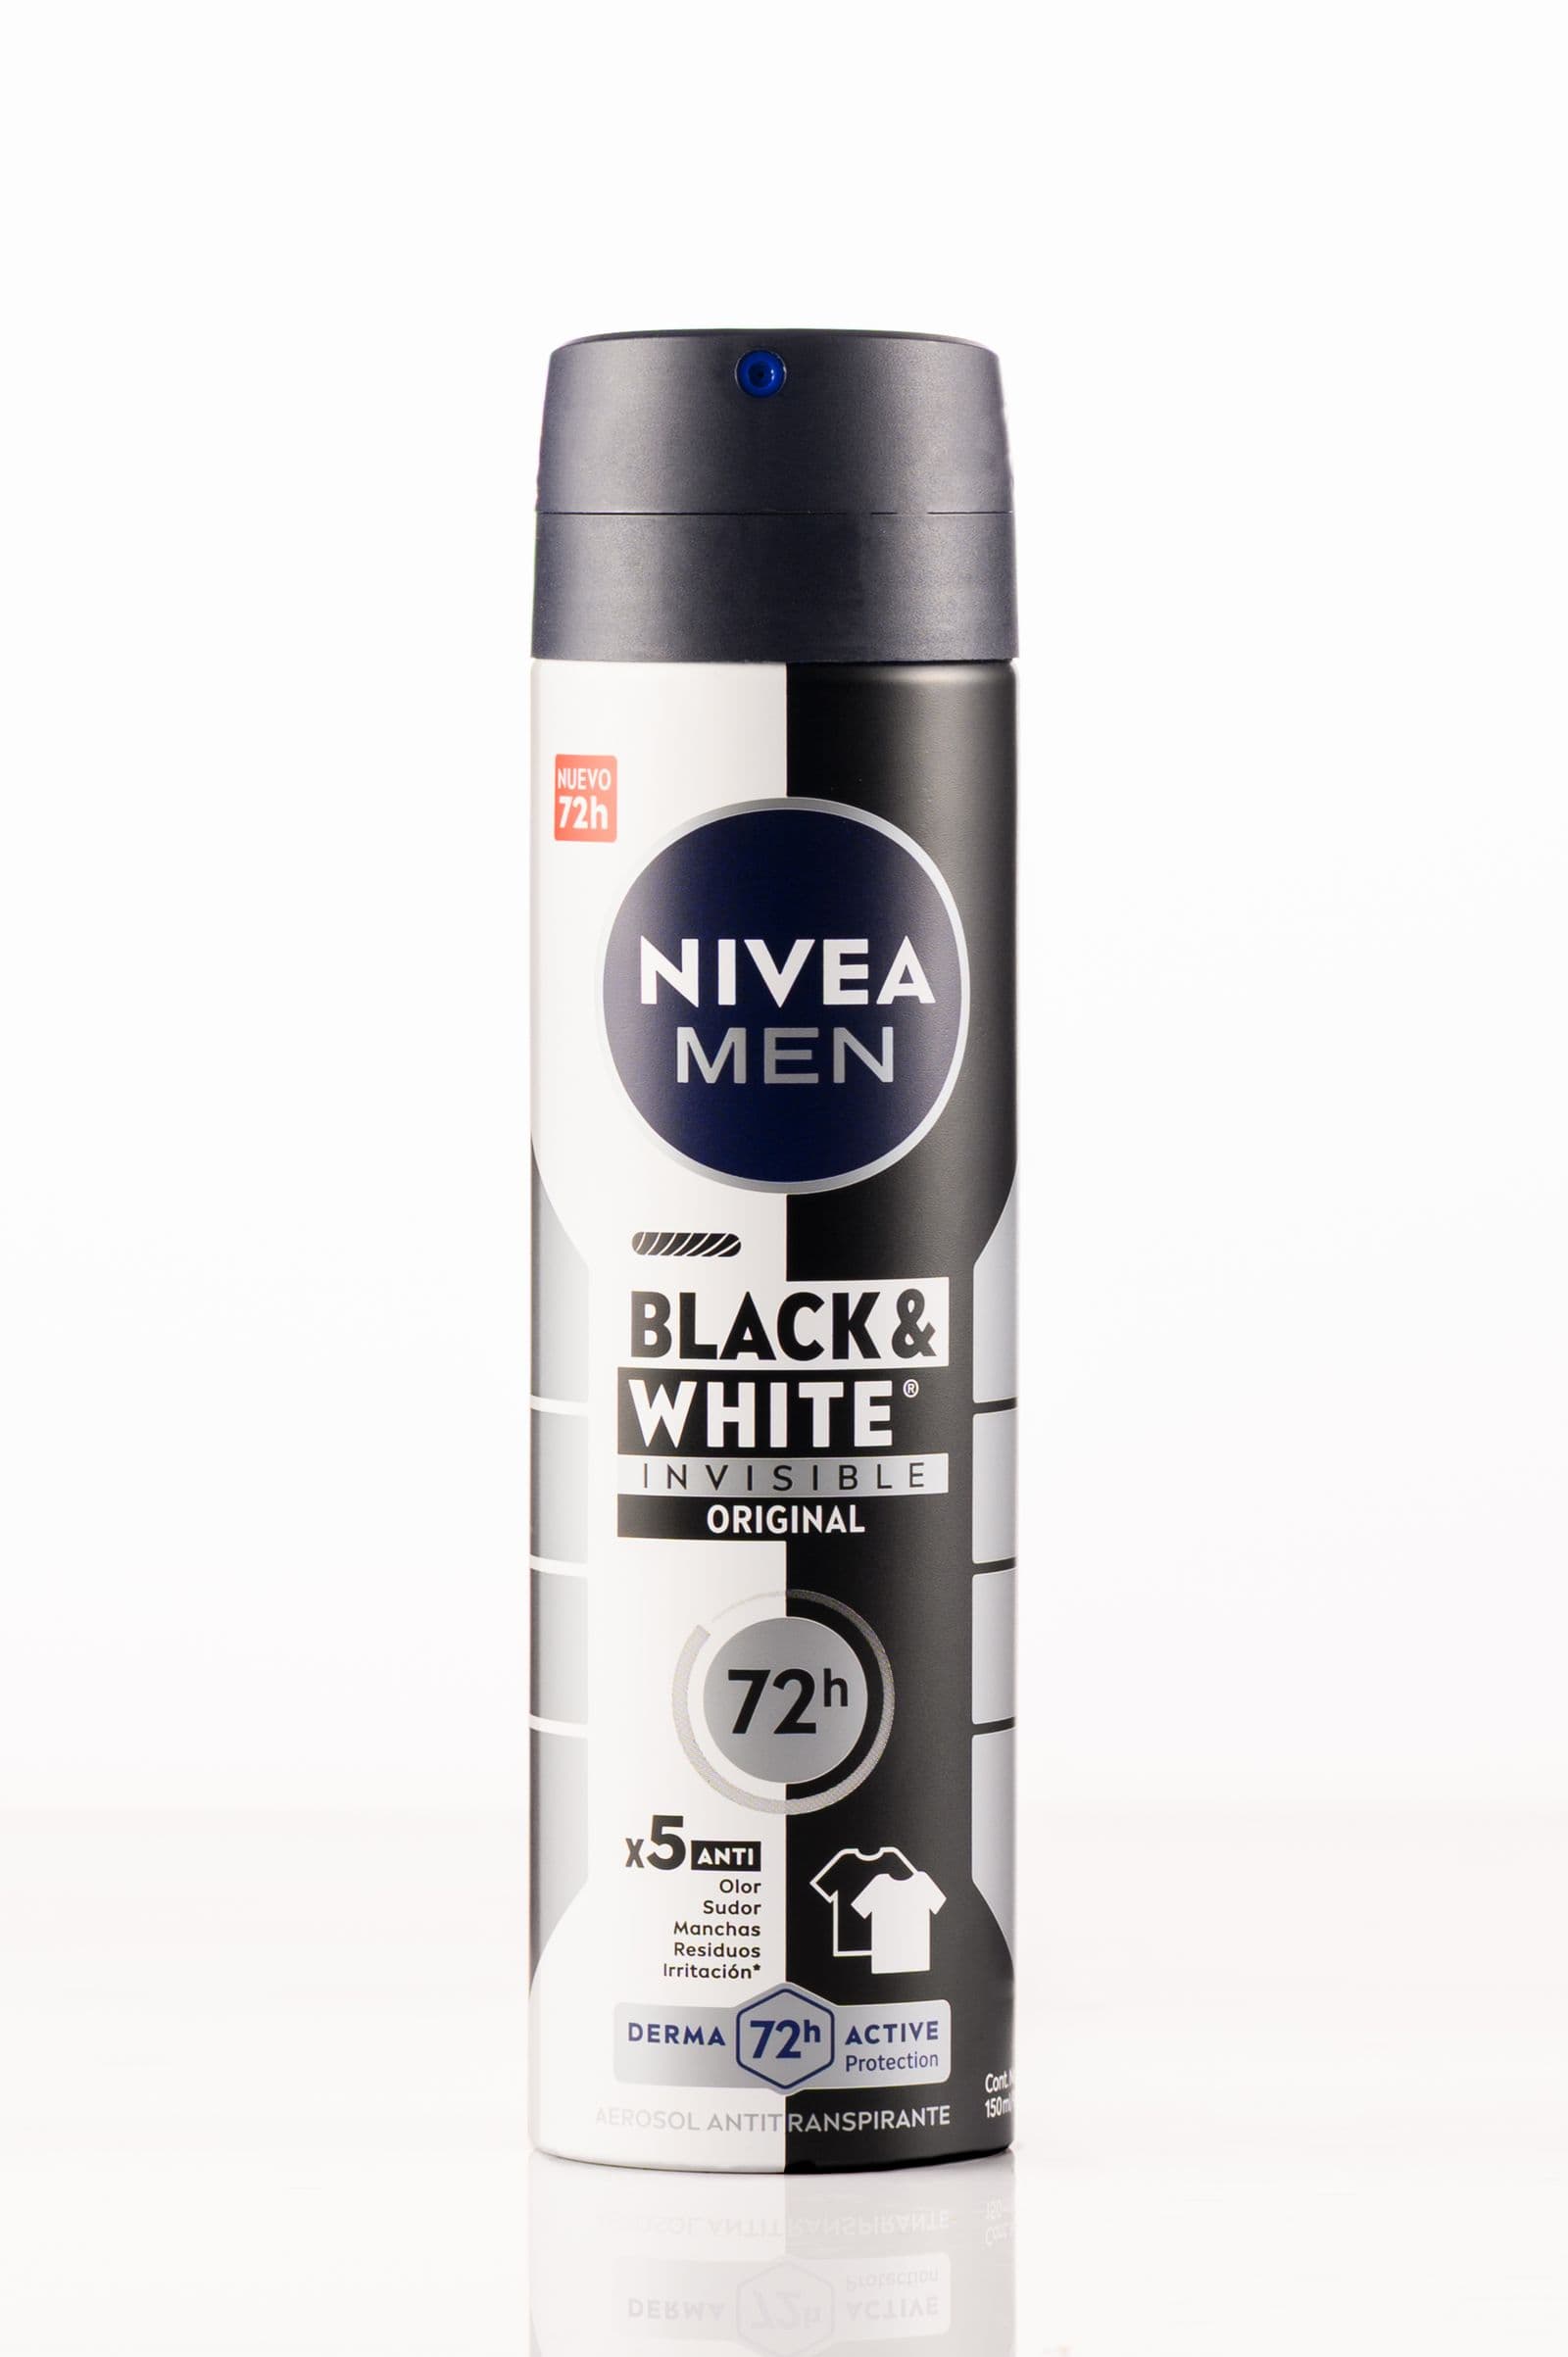
Getting a new SKU live on homedepot.com or lowes.com is mostly a data exercise until you reach the images. That is where a first submission stalls, and the rejection notice rarely explains much beyond "does not meet image standards."
Neither retailer publishes its image standards openly. Home Depot suppliers are pointed to the Supplier Hub, Lowe's vendors to the portal their merchant enrols them in, and both sit behind a login. If you are not sure which document is current, ask your onboarding contact and note the revision date on what they send. Specs differ by department too: the rules for a bagged fastener are not the rules for a wall oven.
Read the spec sheet like a checklist
Write the values that gate acceptance on one card: minimum pixel dimensions, accepted formats, colour space, the required background for the primary image, whether a shadow is permitted, and the file naming pattern. Filenames usually carry an identifier — item number, model number or UPC — so ingest matches the file to the right SKU. The pattern differs by retailer and by submission route, so copy it verbatim.

Several of those belong to your own software: pixel dimensions, any square-framing rule, colour-space conversion and renaming all happen in your design tool or your file manager. What is left — the background required on the primary image, and whether a shadow is permitted — is a shooting decision, and that is where submissions fail.
"White" means every channel at 255
Pure white is RGB 255, 255, 255 — every channel at maximum, no tint in any direction. A background at 248, or a hair of warmth in it, still looks white on your monitor, but against the near-white page it lands on it reads as a faint grey rectangle. That is the easiest thing to get wrong, because it passes your eye and fails an automated check.
You cannot reliably photograph that value. White paper under a warm bulb records as cream; white foamboard in window light records as pale blue. So stop capturing white and generate it: cut the product out and place it on solid white, so the value is a number you chose rather than one the room gave you. That is what remover.bg does — upload the photo, the product comes away from whatever it was shot on, and you set the replacement background to solid white. Amazon asks for a pure-white main image too, so one generated background often travels between channels — though the requirements for Amazon listings stay a separate job, since dimension and framing rules differ.
Then verify instead of trusting your eyes: in your own image editor, eyedropper all four corners and the midpoint of each edge. If any sample is not 255 across the board, it is not white.
The second rejection: shadow that survived the cutout
The other frequent failure is a grey smear hugging the base of the product, left when a hard contact shadow pools tight against the item and shares its tone, blurring the boundary between the two.
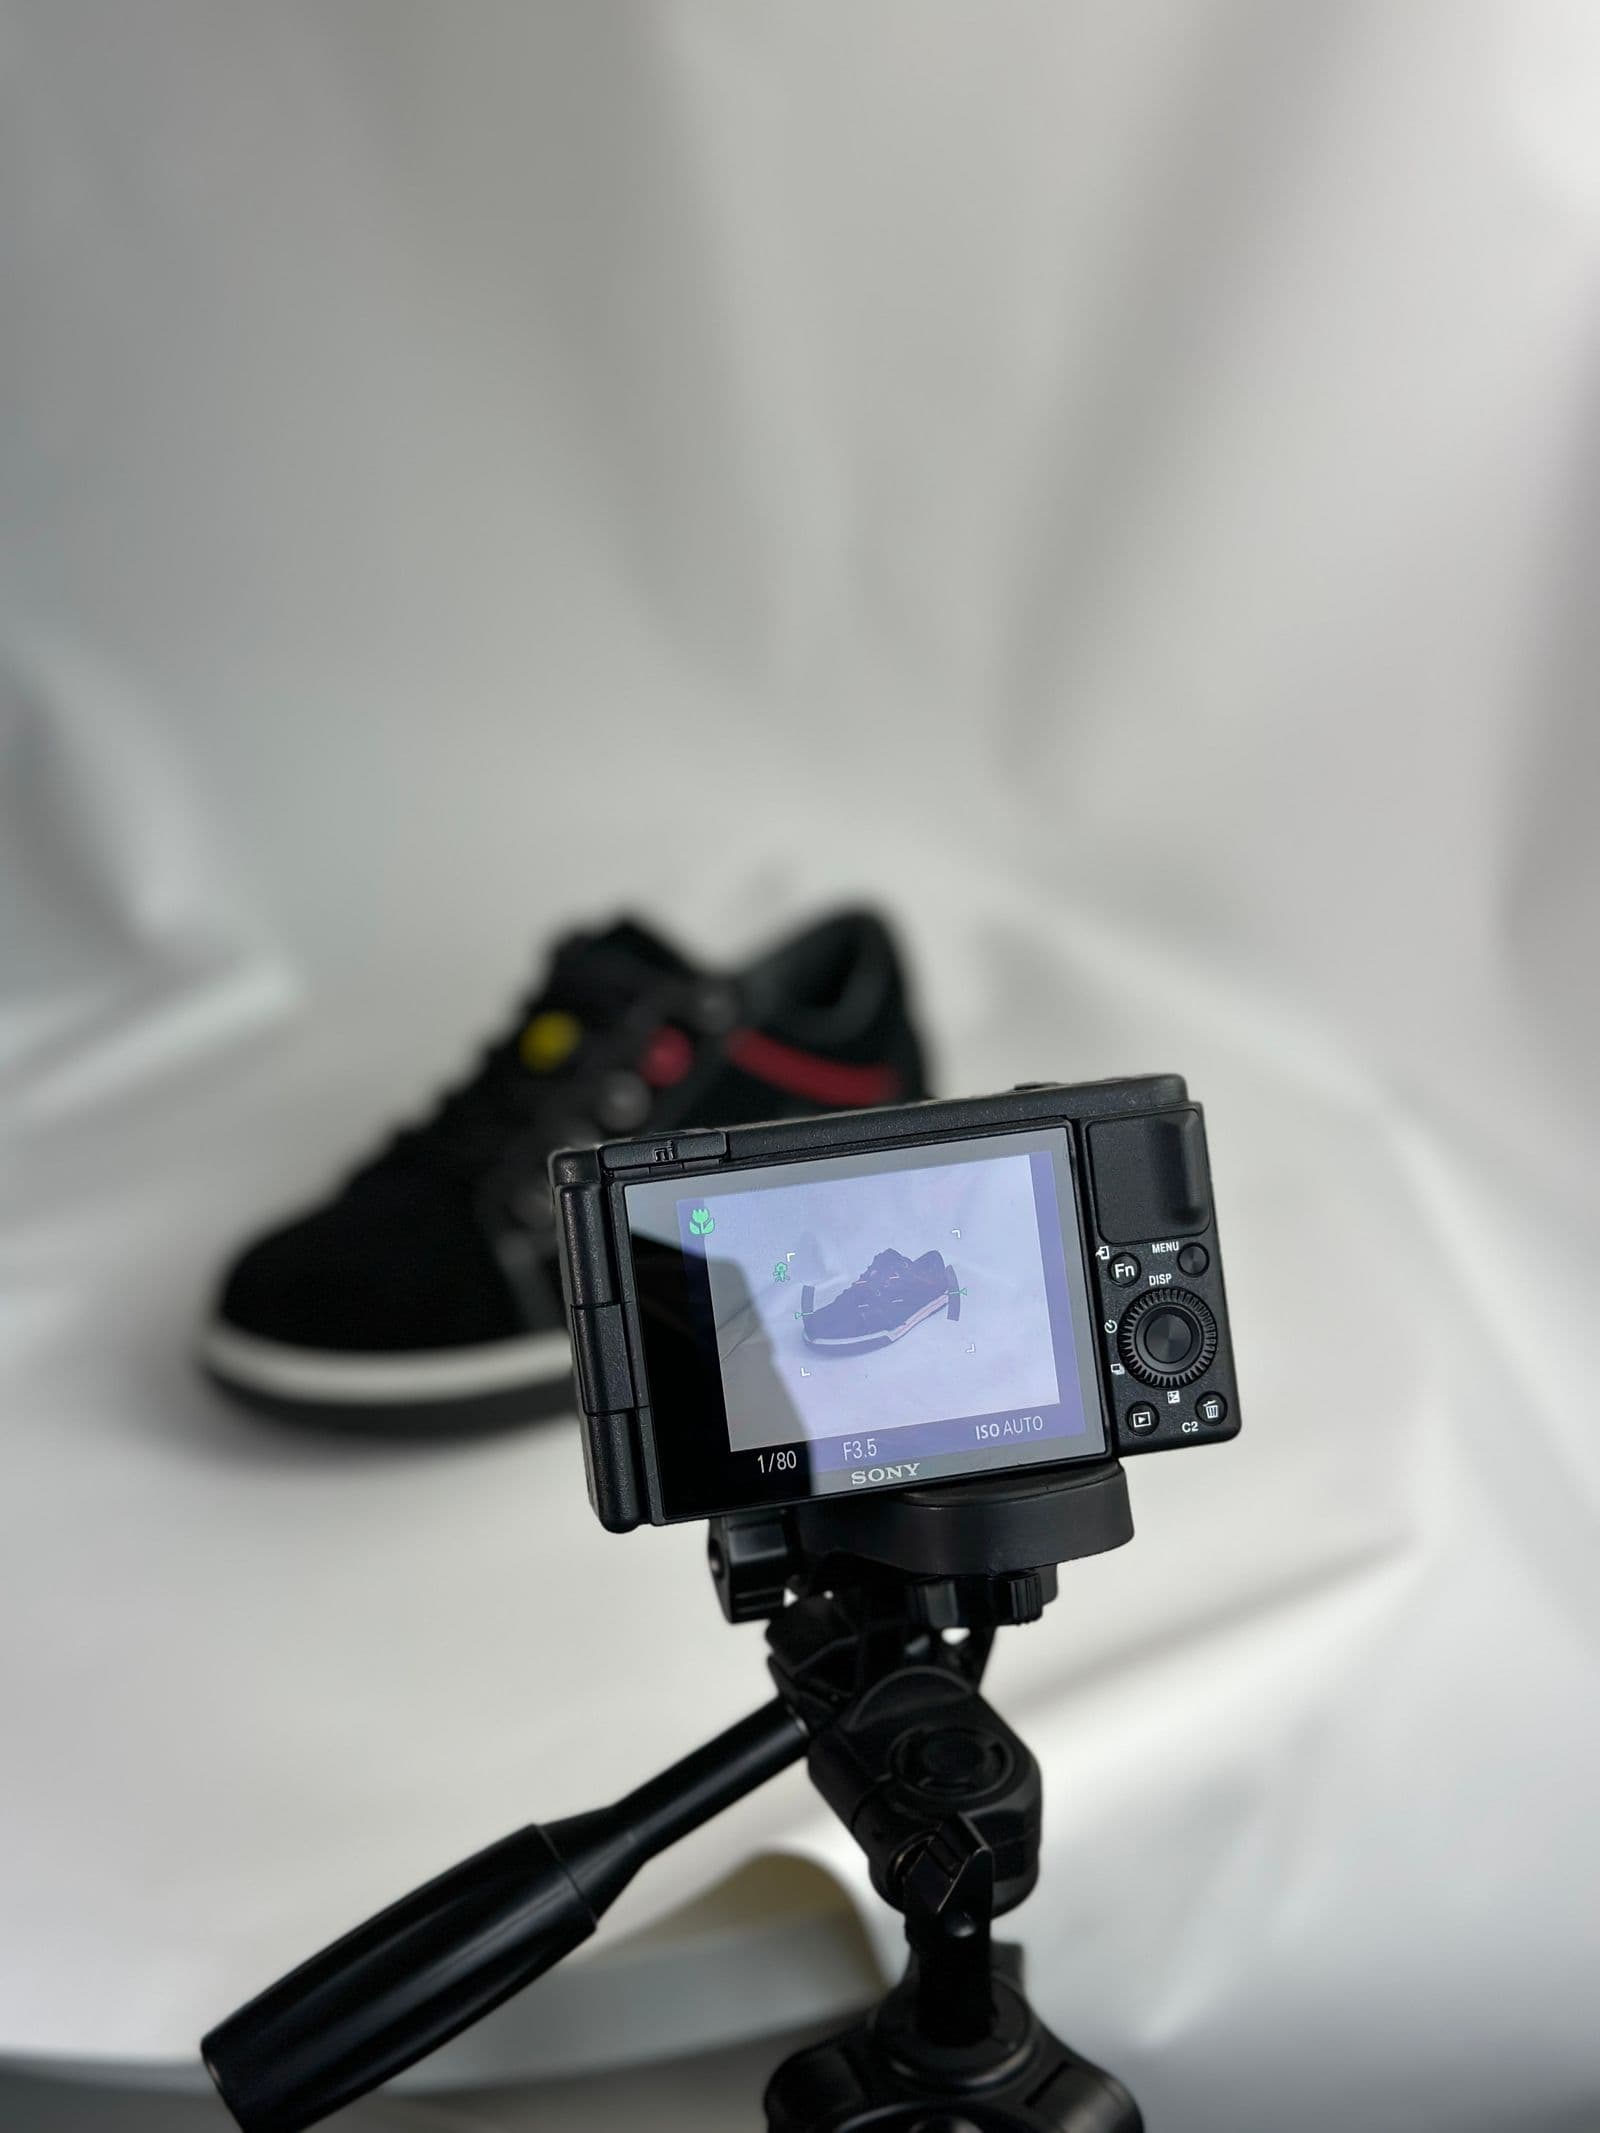
Fix it in the shot: light the item so the shadow falls away from the camera, or use soft, even light that keeps the contact shadow pale enough to separate. Then zoom the export to 100% in your own viewer and check the bottom contour. If the standards permit a shadow on secondary images, add a deliberate drop shadow instead of keeping an accidental one.
Shoot so the mask has something to grab
Home improvement catalogues are full of the hardest subjects: broom bristles, wire shelving, chain, mesh screen, insulation batts.
- Pull the product forward, away from the backdrop, so it does not merge with it.
- Shoot fine-edged goods against a contrasting tone — a dark backdrop for pale bristles, a light one for black chain.
- Give white and chrome products a tonal edge: a slightly grey sweep, or a side light putting a soft gradient down the flank.
- Keep props out of frame for slot one; a bracket holding a shovel upright will fight the cutout.
- Through remover.bg, keep uploads under 25 MB; PNG, JPEG and WebP work in both directions. The retailer's own cap and format list is separate — take it from the standards file.
Slot one versus everything after it
Primary-image rules are usually the strictest part of the spec, and in most retail image standards that means the product alone: no lifestyle scenes, text overlays, promotional badges or added logos. Because these documents get revised, confirm the exact wording and any department-specific exceptions before you shoot. Secondary slots hold the rest — in-use and installed shots, dimension callouts drawn in your design tool, finish close-ups, and the packaging as it arrives.
Keep a transparent PNG master of each cutout, so one product can go onto white for the retailer, a brand colour for your own site and a room scene for a secondary slot without a second cut. The transparent PNG guide covers confirming a file really carries alpha; the background removal API handles a whole range at once.
Before you send the batch
Sample the corners. Zoom the base for shadow remnants. Confirm each filename matches the spec pattern.

Then view the whole set together: a range shot over three days should look like one afternoon's work, and that consistency is what a category manager notices long before anyone reads your copy.