 English
 Español
 Português (BR)
 Deutsch
 Français
 Italiano
 Türkçe
 Bahasa Indonesia
 Русский
 日本語
 한국어
 Українська
 Tiếng Việt
 Polski
 Nederlands
 ไทย
 Română
 简体中文
 繁體中文
 العربية
 Български
 Filipino
 हिन्दी
 اردو
 বাংলা
The Photo Brief Clauses That Make Cutouts Actually Work
The clauses to add to a product photography brief so the shots cut out cleanly: capture, props and file delivery, plus a three-frame test to run on day one.
- product photography
- photography brief
- background removal
- cutouts
- ecommerce
- studio lighting
- shot list
- image delivery
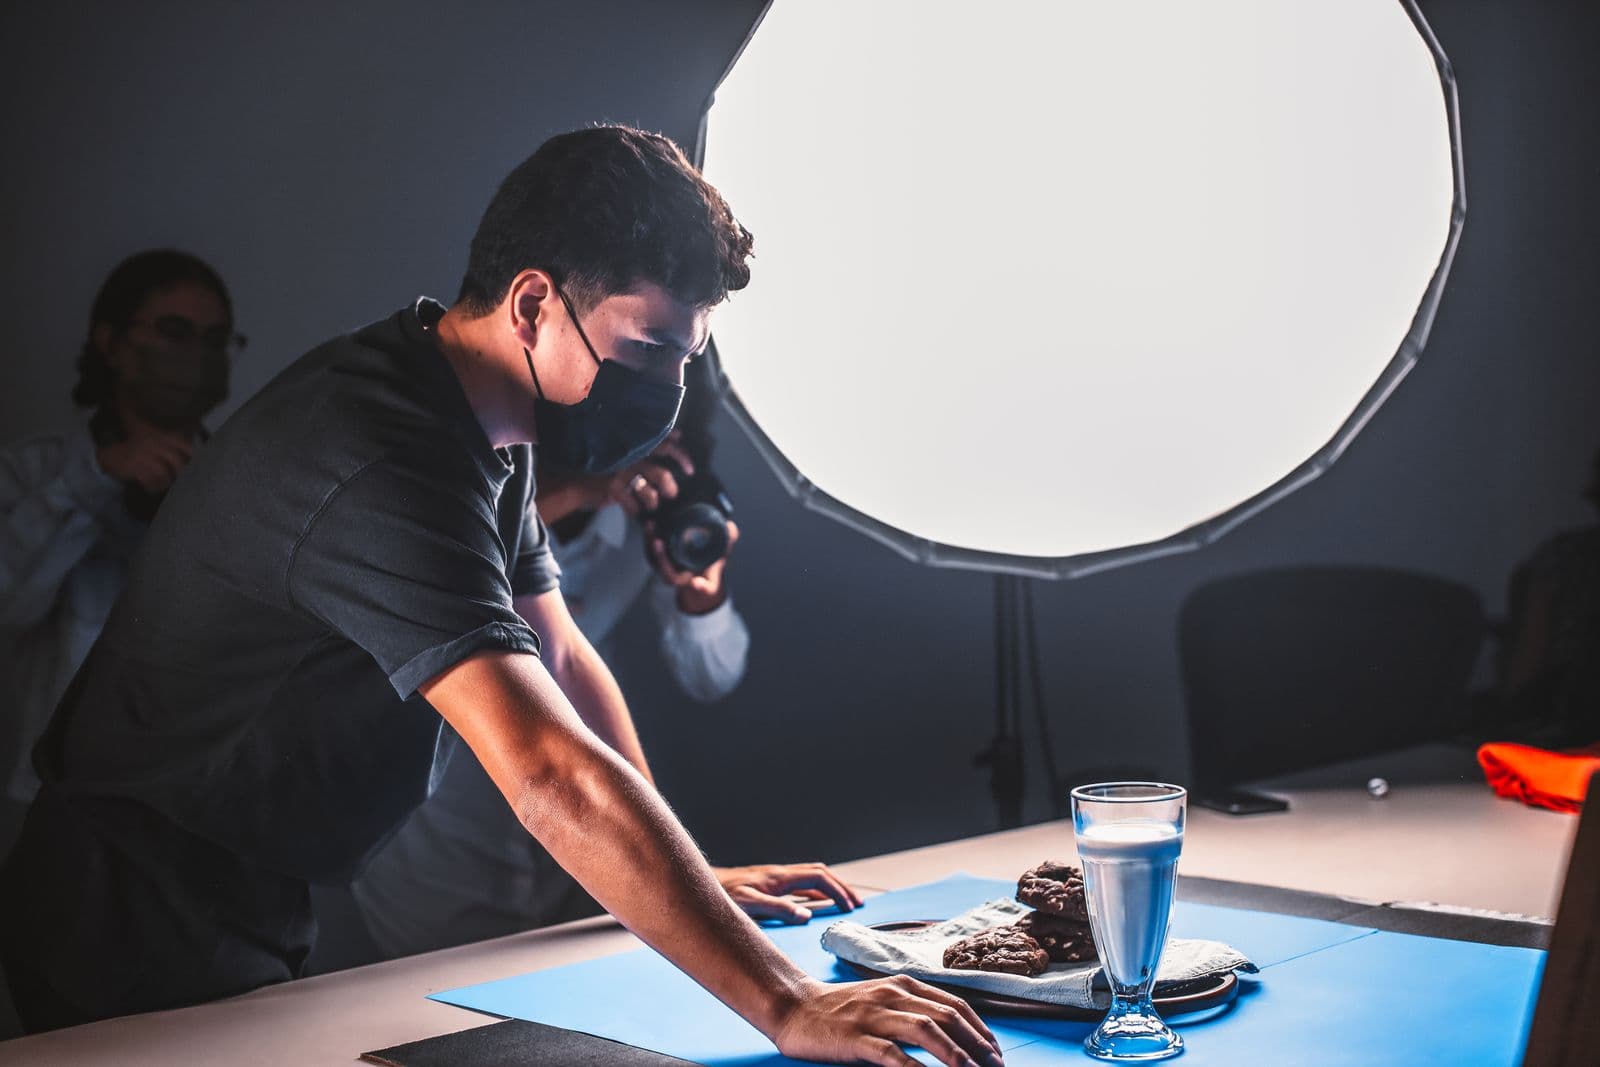
Most photography briefs describe a mood: warm, premium, natural light, some texture in the surface. Then the images arrive, and the first thing anyone does is lift the product off that surface so it can sit on a white marketplace grid, a brand-coloured banner and a printed sheet — destinations the brief never mentioned.
A photographer optimising for one beautiful frame decides differently from one shooting a frame that will be cut out later. Shallow depth of field, the product resting on the sweep, a shadow pooling under the base: all of it looks good in isolation, and all of it makes the outline harder to isolate.
The fix is half a page added to the brief before the shoot, not a conversation after it.
Put the end use in the brief, not just the mood
Write one sentence near the top: these images will be cut out and placed on white, on brand colours and on lifestyle backgrounds. A good commercial photographer will usually adjust the setup as soon as they read it, moving the subject off the backdrop and flattening the styling. Write it down rather than assuming.
Then list the destinations, because they set the constraints: a listing demanding a plain white main image is a different job from a hero banner. If Amazon is one of them, attach the white background rules rather than paraphrasing from memory.
Capture clauses that decide whether a mask works
Four lines carry most of the weight, all about geometry and tone at the moment of capture.
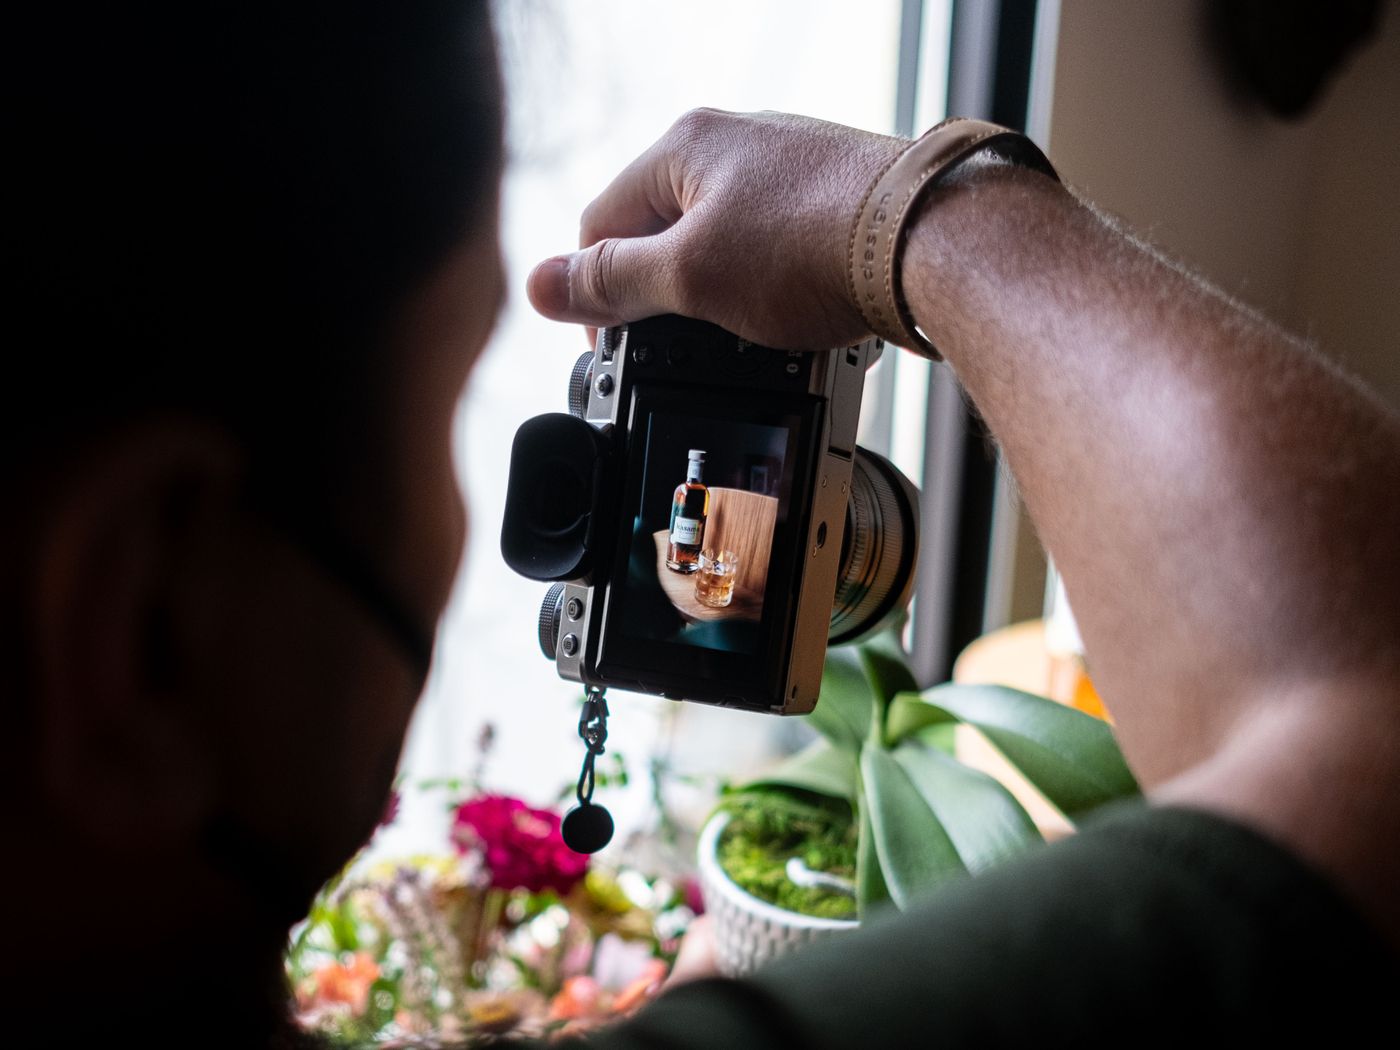
- Physical separation. The product stands clear of the backdrop rather than leaning on it. Contact points drag shadow up against the outline, where it reads as part of the subject.
- Tone contrast. The backdrop is clearly lighter or darker than the product's outer edge. A grey camera bag on a grey sweep has no edge to find.
- Rear edge in focus. A sharp front face with a soft back edge leaves the outline without a boundary. Ask for enough depth of field to hold the whole silhouette.
- Even light, margin on four sides. A backdrop drifting from bright to dim gives an edge that changes brightness along its length; a cropped-in frame leaves half a silhouette in the file.
Say what happens to the props
The support holding a bottle upright or angling a shoe is easy to forget in a brief and expensive to discover afterwards. There is no object-removal step later: if a stand is in the shot, it is in the cutout. Supports that must vanish go directly behind the subject on the camera axis, or under the shooting surface, physically out of frame; toning them to the backdrop helps but guarantees nothing. Styling props meant to stay — a lid, a spoon, a folded card — need the same contrast against the backdrop as the product, or they end up half-eaten by the mask.
Add one more line: no baked-in contact shadows. A soft shadow goes under the finished cutout afterwards, so you decide how heavy it is on each image instead of inheriting whatever was on the floor that day. Our guide to realistic drop shadows shows what a believable one looks like.
Fine edges need a stated backdrop
Hair, fur and other fine edges — wire, mesh, feathers, fringing — are exactly where AI background removal performs best, but they still need something behind them to contrast against. Blonde hair on a cream sweep, a black cable on charcoal: those are the briefs that come back chewed.

Name the shot-list items with fine edges and give each a backdrop tone — clearly darker behind pale hair, clearly lighter behind dark fur. One extra roll of paper, ten minutes on the day.
The delivery clause that prevents arguments
This is the part that stops a re-shoot two years later.
- Originals plus one flat export per frame. Whether originals are handed over at all, and under what licence, varies by contract and by country — agree it in writing before the shoot and take your own legal advice. What you are avoiding is a pre-composited hero with the gradient already behind the product: it cannot be re-cut for a channel that did not exist when you shot it.
- No pre-cut files unless you asked for them. A hand-cut PNG with a pale fringe is worse than the original. If you do want cutouts, read the transparent PNG guide and specify what clean means.
- Formats and file size. PNG, JPEG or WebP, in sRGB. Background removal in remover.bg takes uploads up to 25 MB, so an export preset landing under that saves someone wrestling with enormous TIFFs on launch week.
- Naming and folders. SKU first, a fixed view code, no spaces, one folder per SKU. Agree the scheme upfront.
For a range of hundreds of SKUs, plan the processing route too: bulk work goes through the HTTP API, and consistent naming keeps the outputs traceable.
Test three frames on day one
When the first delivery lands, pull three files — the hardest item, the fringed one, the darkest one — and take each all the way to a finished image on white and on a brand colour. Check the thin edges at full zoom.
Fail that test and you are asking for three reshoots while the set is still standing, not the week the catalogue is due.