English
 Español
 Português (BR)
 Deutsch
 Français
 Italiano
 Türkçe
 Bahasa Indonesia
 Русский
 日本語
日本語 한국어
한국어 Українська
 Tiếng Việt
 Polski
 Nederlands
 ไทย
ไทย Română
 简体中文
简体中文 繁體中文
繁體中文 العربية
 Български
 Filipino
 हिन्दी
 اردو
اردو বাংলা
বাংলাSneaker Photography for Resale: The Shot List That Sells
The sneaker resale shot list buyers expect, how to light white midsoles without blowing them out, and why honest flaw close-ups protect you from disputes.
- sneaker photography
- resale
- ebay selling
- product photography
- background replacement
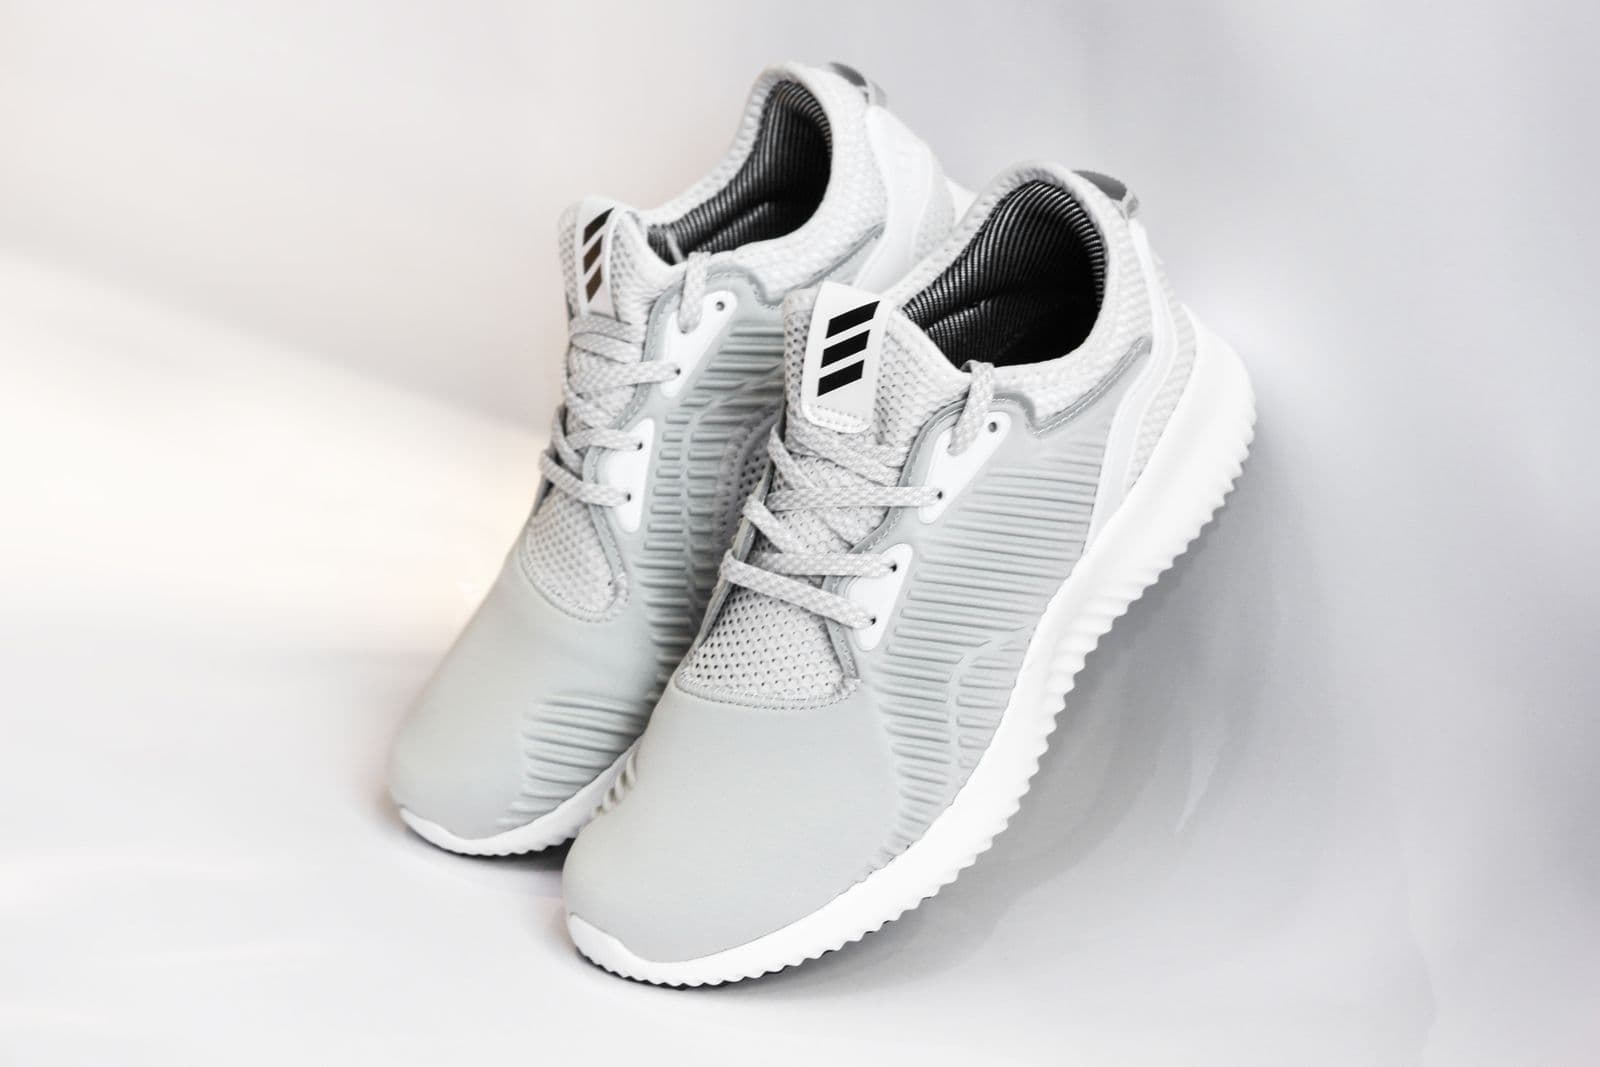
On a resale platform, your photos do the work of a store clerk, a display shelf, and a condition report all at once. Buyers can't pick the shoe up, so they zoom. Hard. Into the toe box, the stitching, the tiny date code on the size tag.
The good news: the sellers who move sneakers fastest aren't running studio setups. They follow a repeatable shot list, get the light right on the midsole, and keep every listing looking like it came from the same shop.
Here's the whole system — what to shoot, how to light it, and how sneaker photography for resale gets that catalog-clean look without a backdrop kit.
The Sneaker Shot List Resale Buyers Expect
Serious buyers have a mental checklist, and they will message you about anything you skip. Cover these angles and the questions answer themselves:
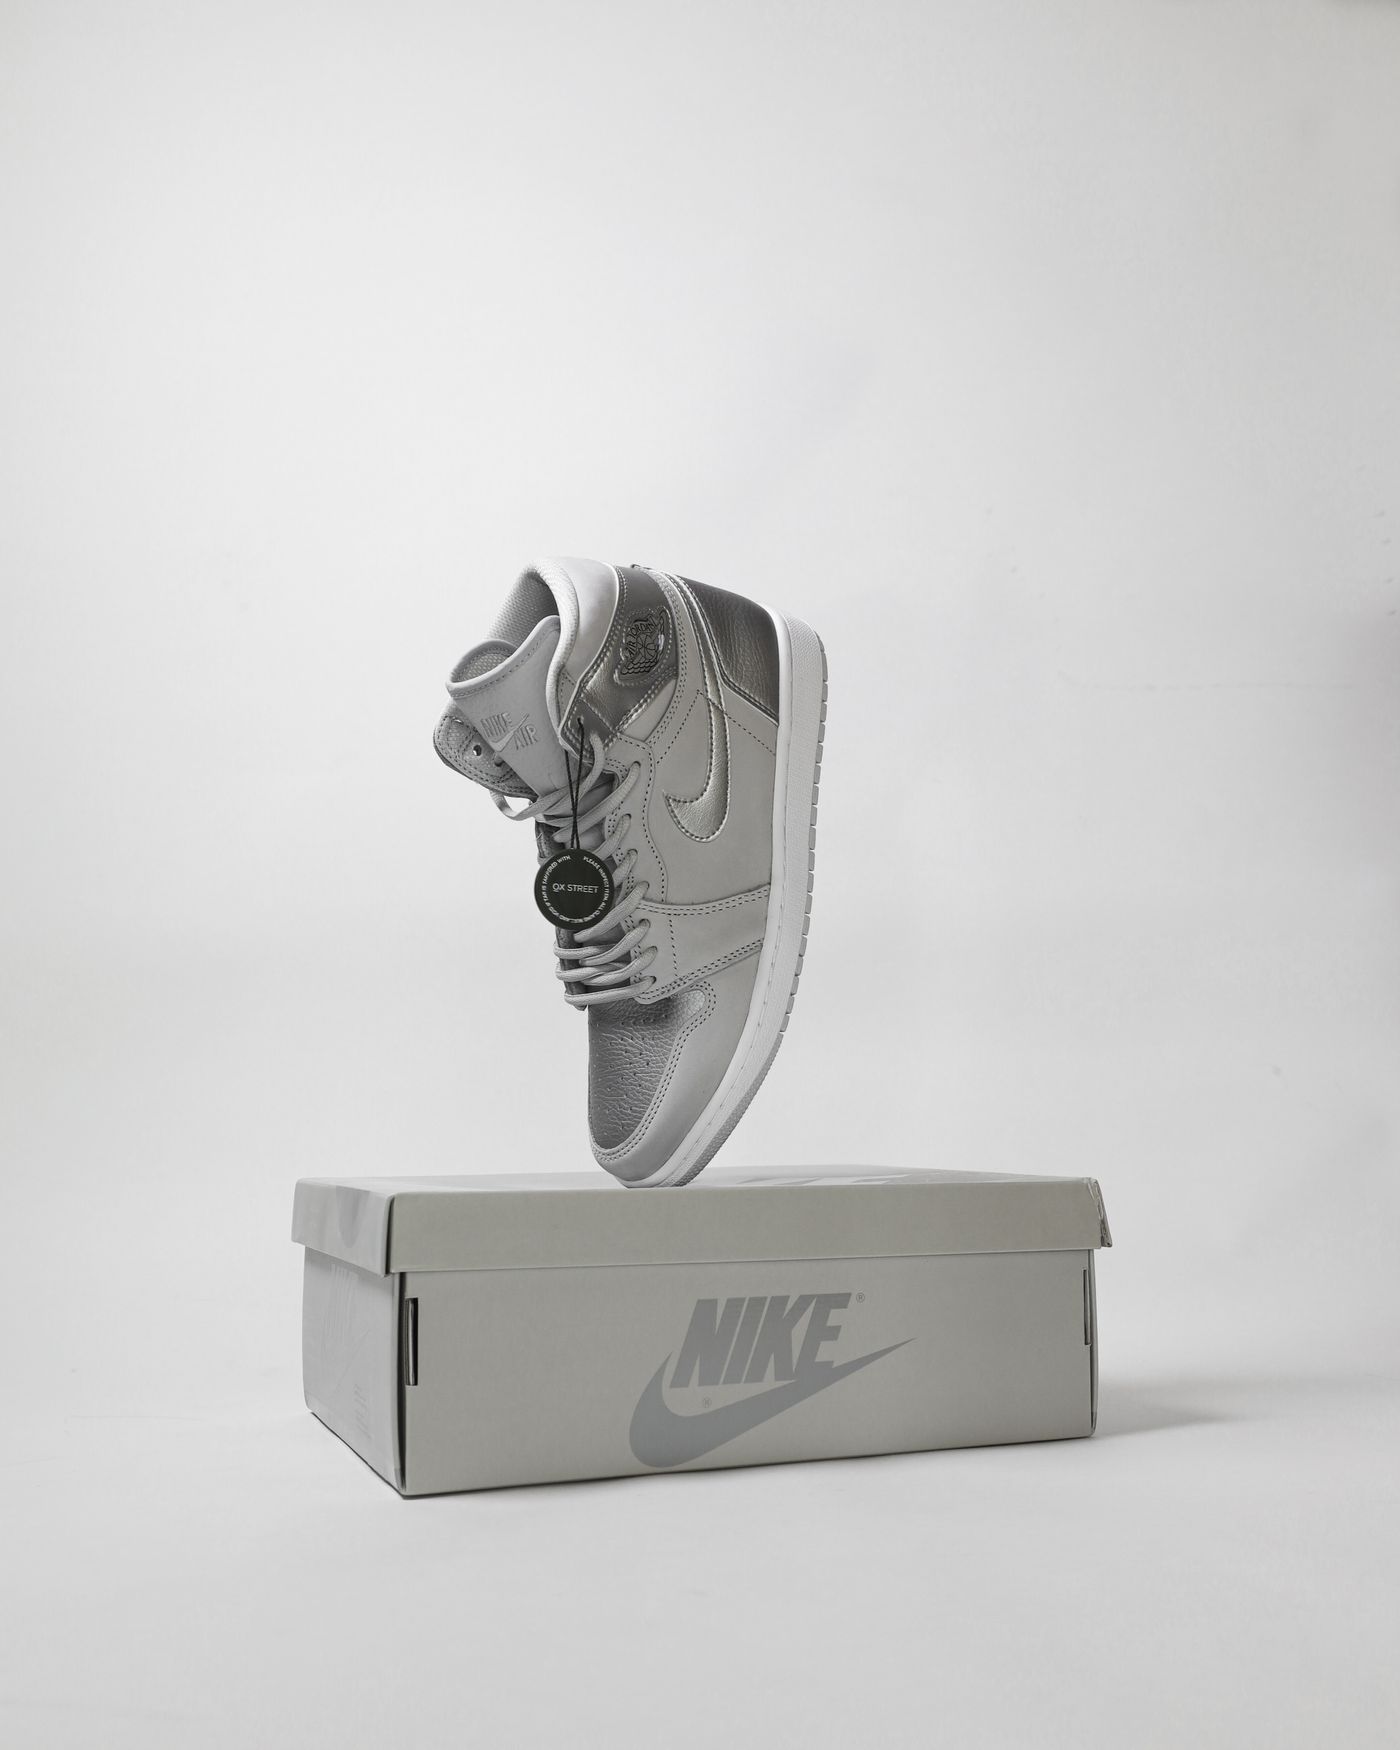
- Side profile (lateral) — your hero shot. Shoe on a level surface, camera at midsole height. This is the thumbnail that earns the click.
- Medial (inner) side — where toe drag, glue marks, and paint rub like to hide. Skipping it looks like hiding it.
- Outsole — sole wear is the fastest condition read there is. Shoot both soles flat to the camera, evenly lit.
- Heel and toe box — creasing and heel drag live here. Get close enough that texture is visible.
- Insole and size tag — buyers use these for sizing and legitimacy checks. Shoot the tag straight on and in focus.
- Box, tags, and extras — the label end of the box, spare laces, hang tags. An "OG all" claim needs photographic backup.
- Every flaw, up close — scuffs, yellowing, thread pulls, stains. Photographed up front, a flaw is a detail. Discovered after delivery, it's a return and a bad review.
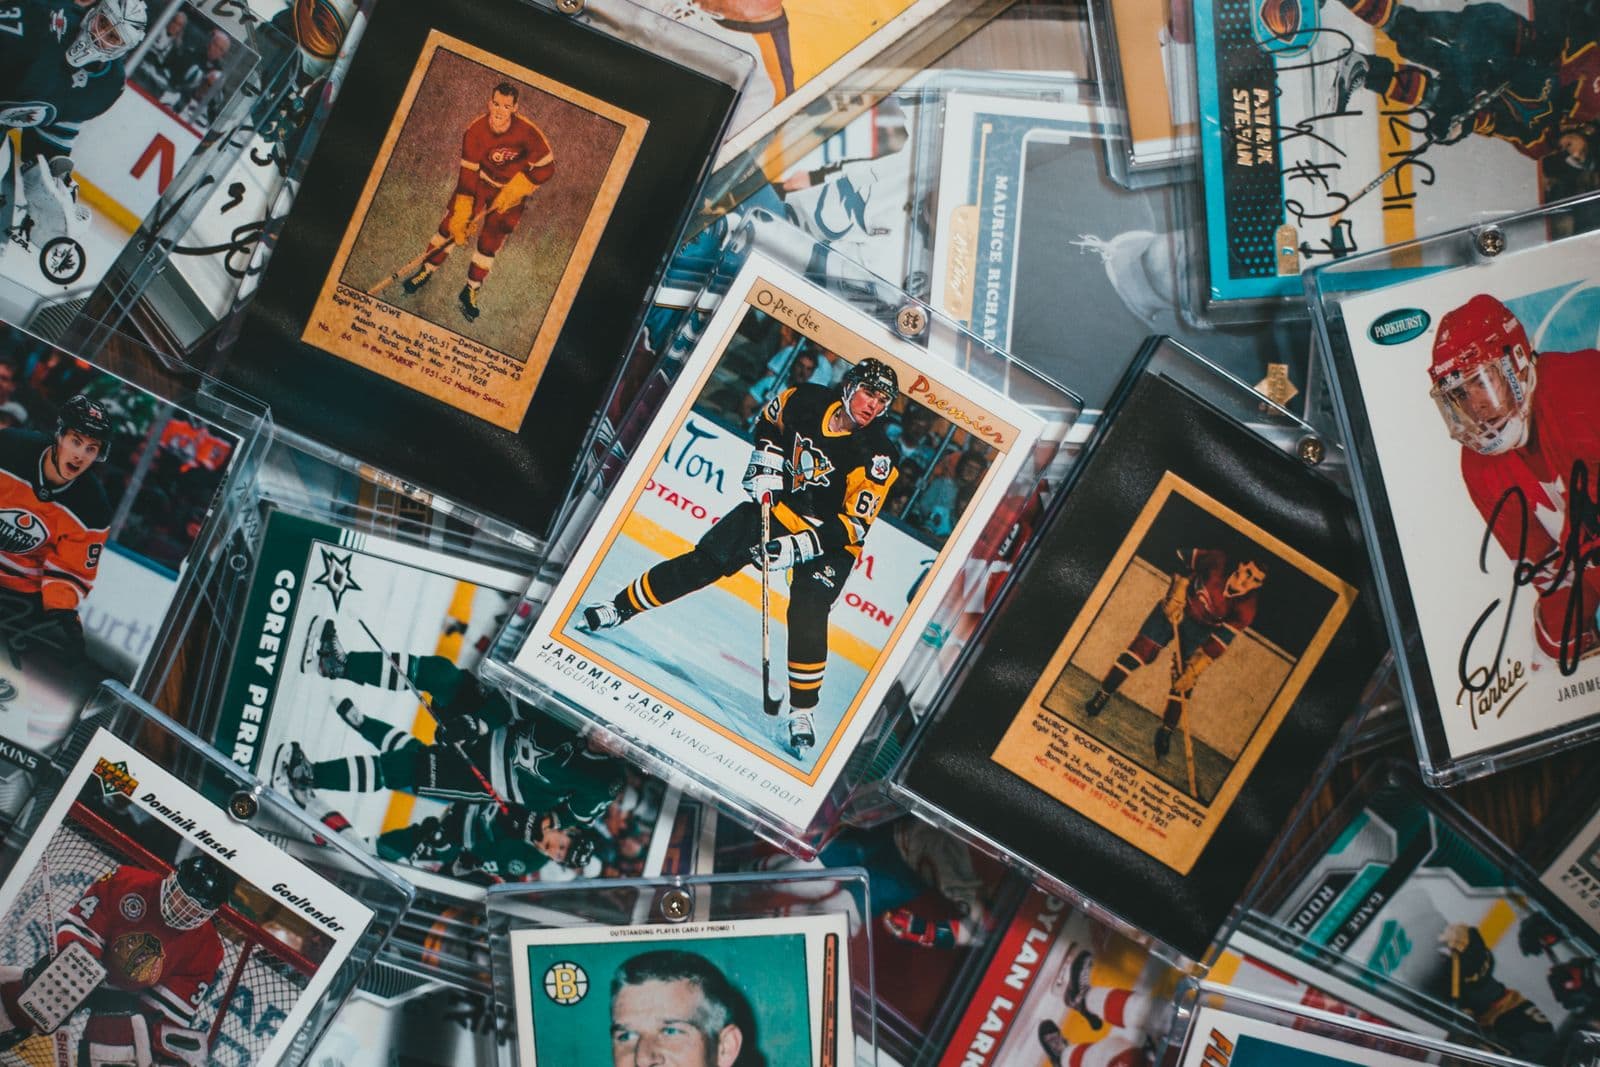
That last one is the most profitable shot on the list. Honest flaw photos filter out mismatched buyers before they pay, which is exactly what you want — the same reason trading card photos for resale put every dinged corner and worn edge on show.
Lighting White Midsoles Without Blowing Them Out
White midsoles are the classic resale lighting trap: aim a bright lamp or on-camera flash at them and they turn into detail-free white blobs. That kills texture — and conveniently erases yellowing, which the buyer will absolutely notice in person. Blown-out midsoles read as "seller is hiding something," even when you aren't.
Three fixes:
- Use big, soft light — a window with sheer curtains beats any direct lamp. Soft light wraps around the midsole and keeps the texture readable.
- Expose for the midsole, not the room — tap your phone's focus point on the midsole and drag the exposure down slightly. You want white with visible grain, not pure white.
- Angle, don't aim — light arriving from roughly 45 degrees to the side reveals sculpting and stitching; light from straight on flattens everything.
If the whole frame looks a touch dim, good. You can lift shadows later; you can't recover a blown highlight.
One Background Across Every Listing
Scroll any top seller's closet and you'll notice the same thing: every shoe sits on the same clean background. It reads as a storefront, not a garage sale, and it makes condition comparisons honest — same light, same backdrop, no tricks.
You don't need a sweep kit to get there. Shoot wherever your light is good, then replace the background: remover.bg cuts the sneaker out automatically — laces, mesh, and frayed suede edges included — and the editor drops in a solid color or custom backdrop of your choice. The full walkthrough is in our guide to changing a photo background.
One warning: a cut-out sneaker floating on a clean background looks fake, because your brain expects contact with the ground. Adding a realistic shadow under the sole fixes that in seconds — it's the difference between "edited" and "professional."
Pick one background color and stick with it. Light gray flatters both white and black shoes; pure white can fight with white midsoles.
Check Each Platform's Photo Rules First
Marketplaces are not interchangeable. Some specify minimum photo counts, some restrict watermarks or borrowed stock images, and consignment-style platforms often publish their own submission standards for angles and framing. These rules change, so check each platform's current official guidelines before you batch-edit fifty listings — Amazon's famously detailed image rules show just how specific marketplace requirements can get.
The shot list above is deliberately a superset: shoot it once and you'll have the angles almost any platform asks for, plus the honest close-ups that protect you everywhere.
The Takeaway
Sneaker photography for resale is a checklist, not an art form. Shoot the full angle set, show flaws before buyers find them, keep white midsoles soft-lit and slightly underexposed, and give every listing the same clean background with a grounded shadow. Do that consistently and your closet starts looking like a store — and stores get to charge store prices.