English
 Español
 Português (BR)
 Deutsch
 Français
 Italiano
 Türkçe
 Bahasa Indonesia
 Русский
 日本語
日本語 한국어
한국어 Українська
 Tiếng Việt
 Polski
 Nederlands
 ไทย
ไทย Română
 简体中文
简体中文 繁體中文
繁體中文 العربية
 Български
 Filipino
 हिन्दी
 اردو
اردو বাংলা
বাংলাFurniture Product Photography Without a Warehouse Studio
Furniture product photography in a garage or living room: window light as a giant softbox, the lens distortion trap, and one shoot turned into room scenes.
- furniture photography
- product photography
- ecommerce
- background removal
- home decor
- marketplace selling
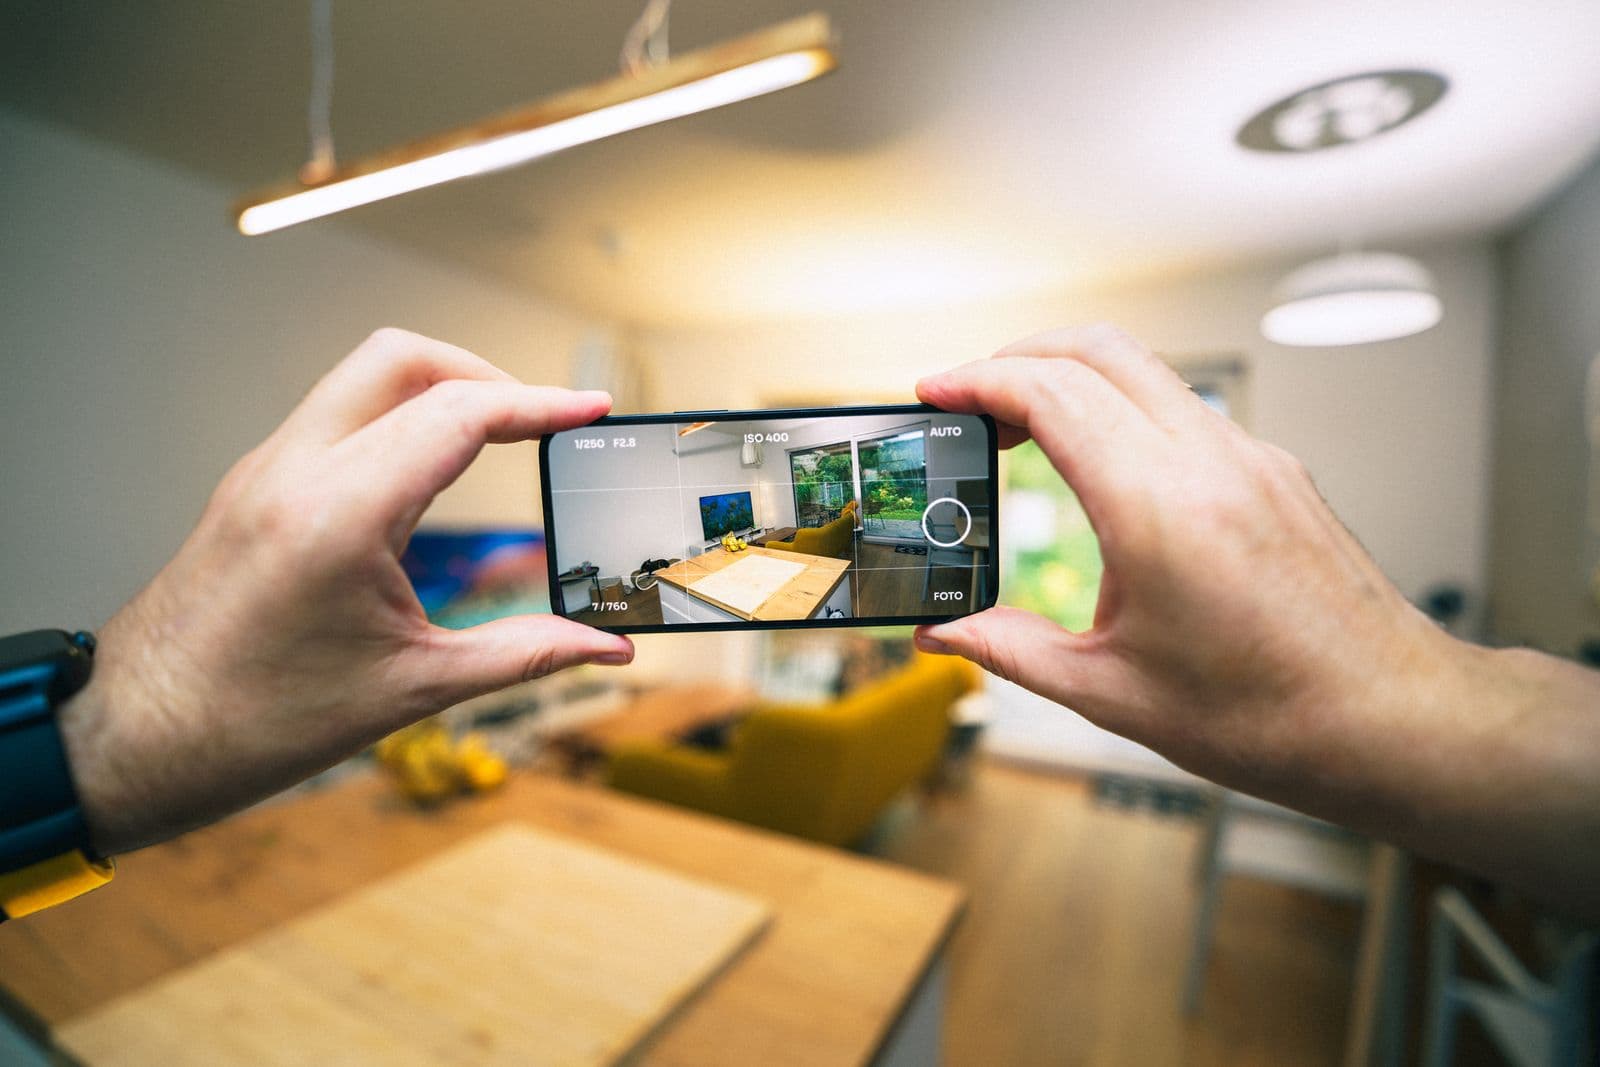
A coffee mug fits inside a tabletop lightbox. A three-seat sofa does not. That single fact convinces a lot of furniture sellers they need a rented studio, a cyclorama wall, and a lighting rig the size of a small car before they can shoot a single listing photo.
They don't. Plenty of professional-looking furniture product photography is shot in living rooms and garages with one big window and a camera phone. What separates a catalog-grade furniture shot from an awkward one isn't square footage — it's light, geometry, and what you do with the background afterward.
Here's how to photograph big pieces in small spaces and still end up with images that sell.
Use Window Light as a Giant Softbox
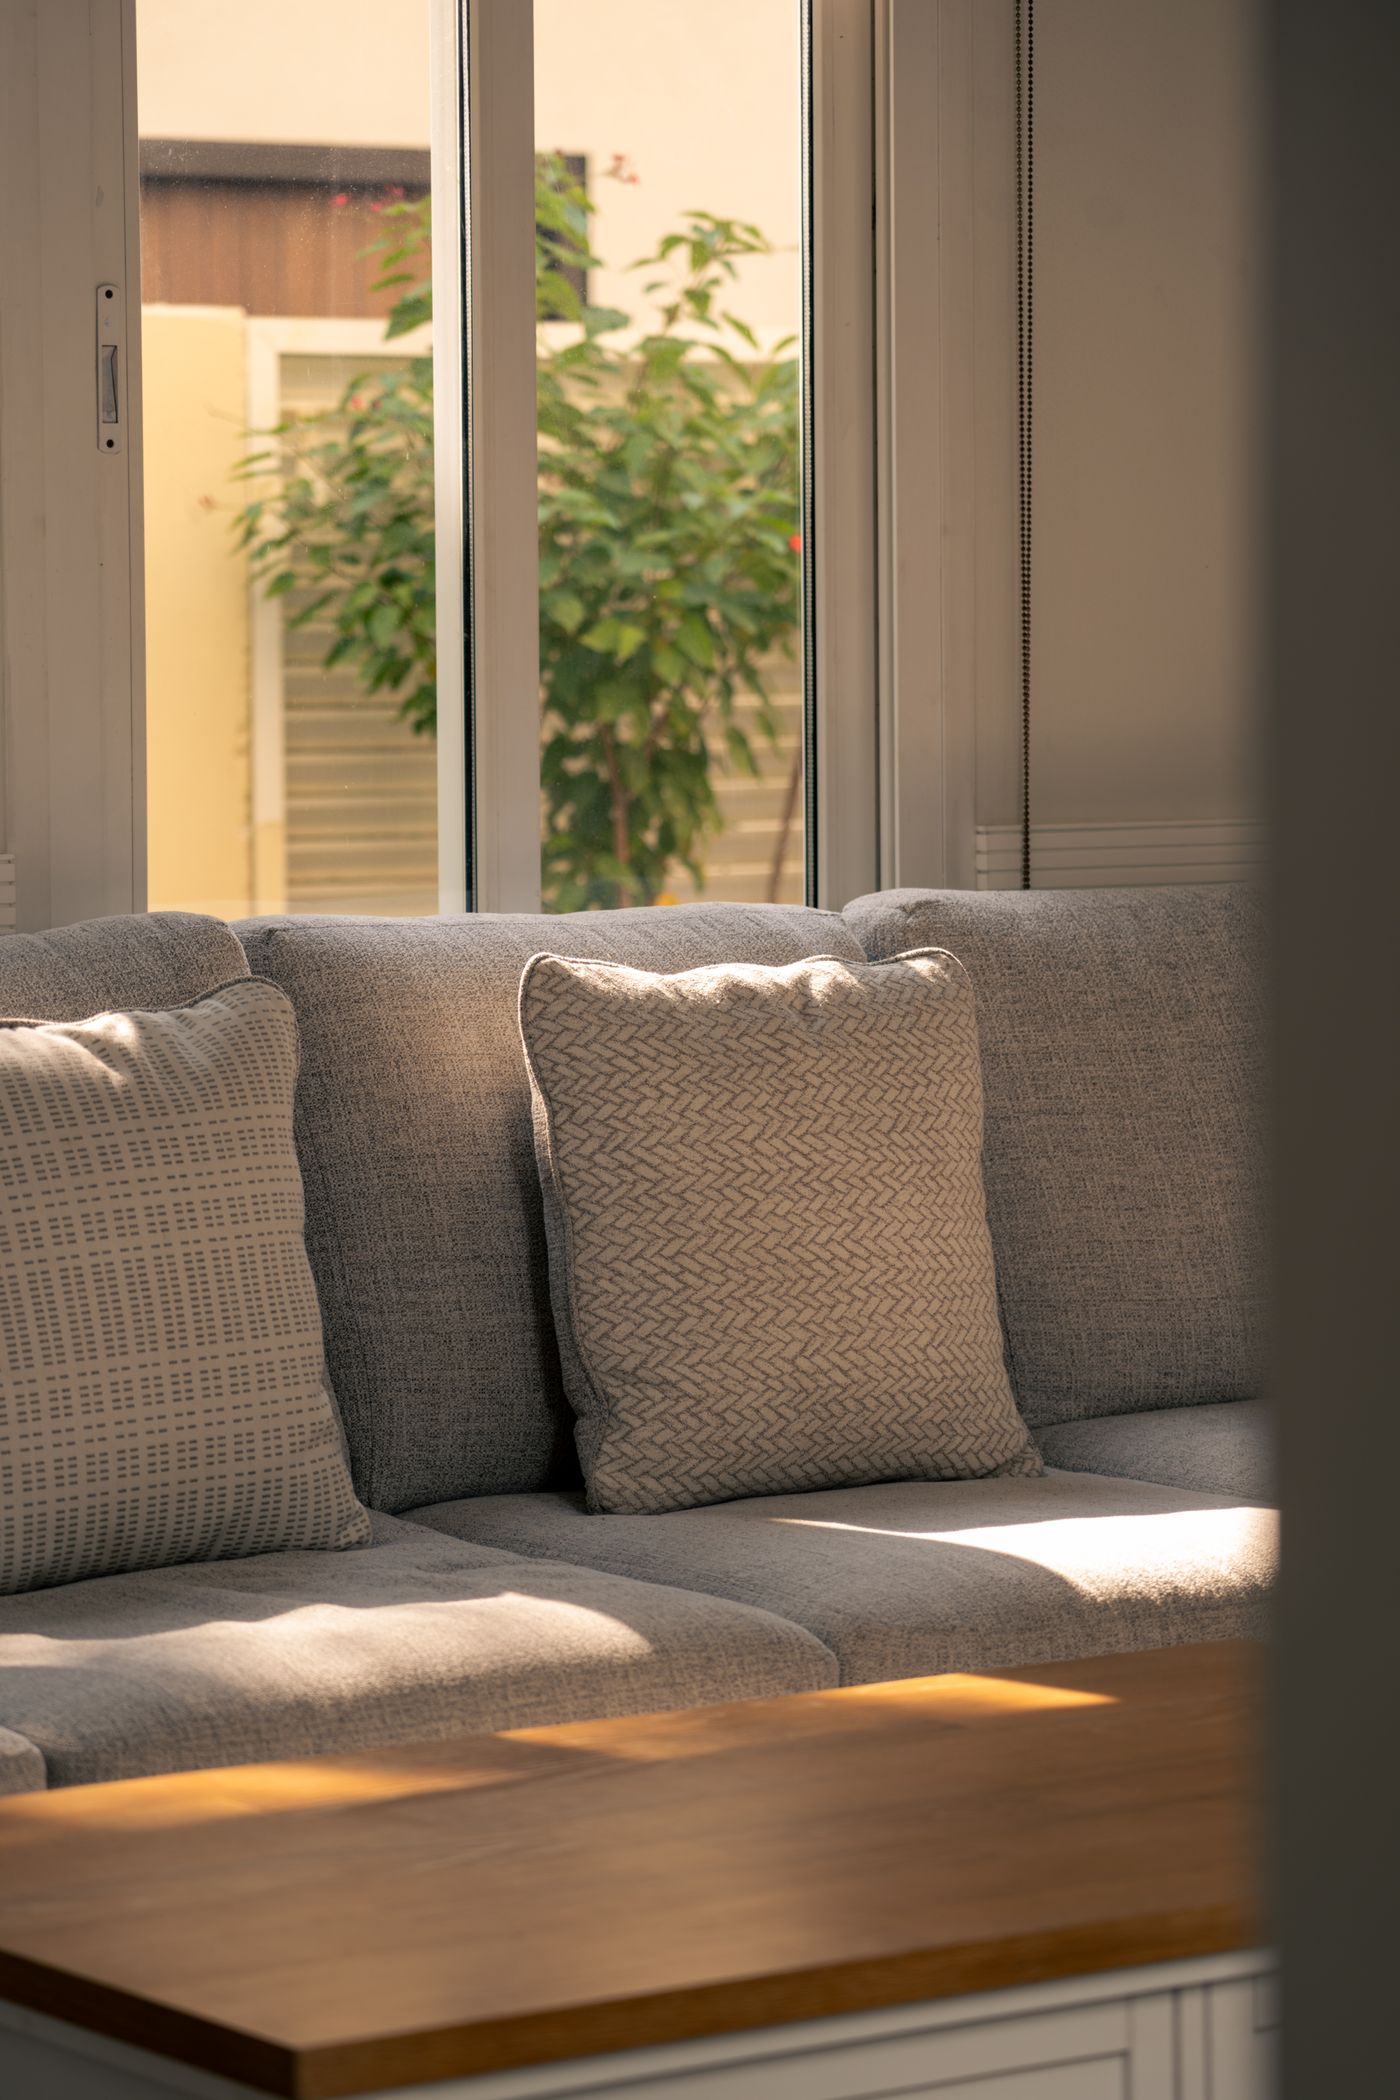
Furniture has large, continuous surfaces — fabric panels, wood grain, upholstery seams — and nothing flatters those surfaces like soft, directional daylight. A big window is essentially a free softbox that happens to be the right size for a sofa.
- Angle the piece, not the window — set the furniture so the window hits it at roughly 45 degrees. Straight-on light flattens texture; side light reveals it.
- Diffuse hard sun — a sheer white curtain turns harsh midday light into a soft wash. Overcast days work beautifully too.
- Kill the overhead lights — mixing warm ceiling bulbs with cool daylight gives you color casts that make beige look sickly. One light source, one color temperature.
- Bounce the shadow side — a white foam board or even a bedsheet opposite the window lifts the dark side just enough to show detail without flattening the shot.
Stop Lens Distortion From Warping Your Furniture
Small rooms tempt you to stand close and shoot wide. That's exactly how you get sofas with bulging arms, cabinets that appear to lean backward, and table legs that splay like a startled giraffe. Wide-angle lenses exaggerate whatever is closest to them — and with furniture, buyers notice, because they're trying to judge real proportions.
Three habits fix most of it:
- Back up and zoom — shoot from as far away as the room allows, at a normal focal length (around 35–50mm equivalent) instead of your phone's ultra-wide.
- Keep the camera level — tilting up or down makes vertical lines converge. Shoot from roughly seat height for sofas and chairs, and keep the sensor parallel to the piece.
- Check the legs — distortion shows up first in legs and edges. If they look like they're melting outward, step back.
If the room truly won't let you back up far enough, shoot through a doorway. It's a classic small-space trick for a reason.
Why Furniture Marketplaces Want Clean Backgrounds
Marketplaces are grids. A furniture listing sits in a wall of thumbnails, and cluttered backgrounds make thumbnails unreadable at small sizes. Clean, uniform backgrounds let buyers compare shape, color, and proportions instantly — which is why Amazon requires a pure white background on main images, a rule worth reading in full in our guide to Amazon's product image requirements.
There's a trust angle too. A dresser photographed against someone's laundry pile reads as a used-goods flip. The same dresser on a clean background reads as a business. Same product, different perceived value.
Staged Shots vs. Isolated Shots: You Need Both
This isn't an either/or decision. The strongest furniture listings run both image types in one gallery, doing different jobs:
- Isolated shots carry the facts — true color, silhouette, joinery, hardware. They're your main image and your dimension-checking images.
- Staged shots carry the feeling — scale next to real objects, how the piece anchors a room, what life looks like around it.
The efficient move: shoot everything once, in good window light, and derive both types afterward. Which brings us to the fun part.
Build Room Scenes With Background Replacement
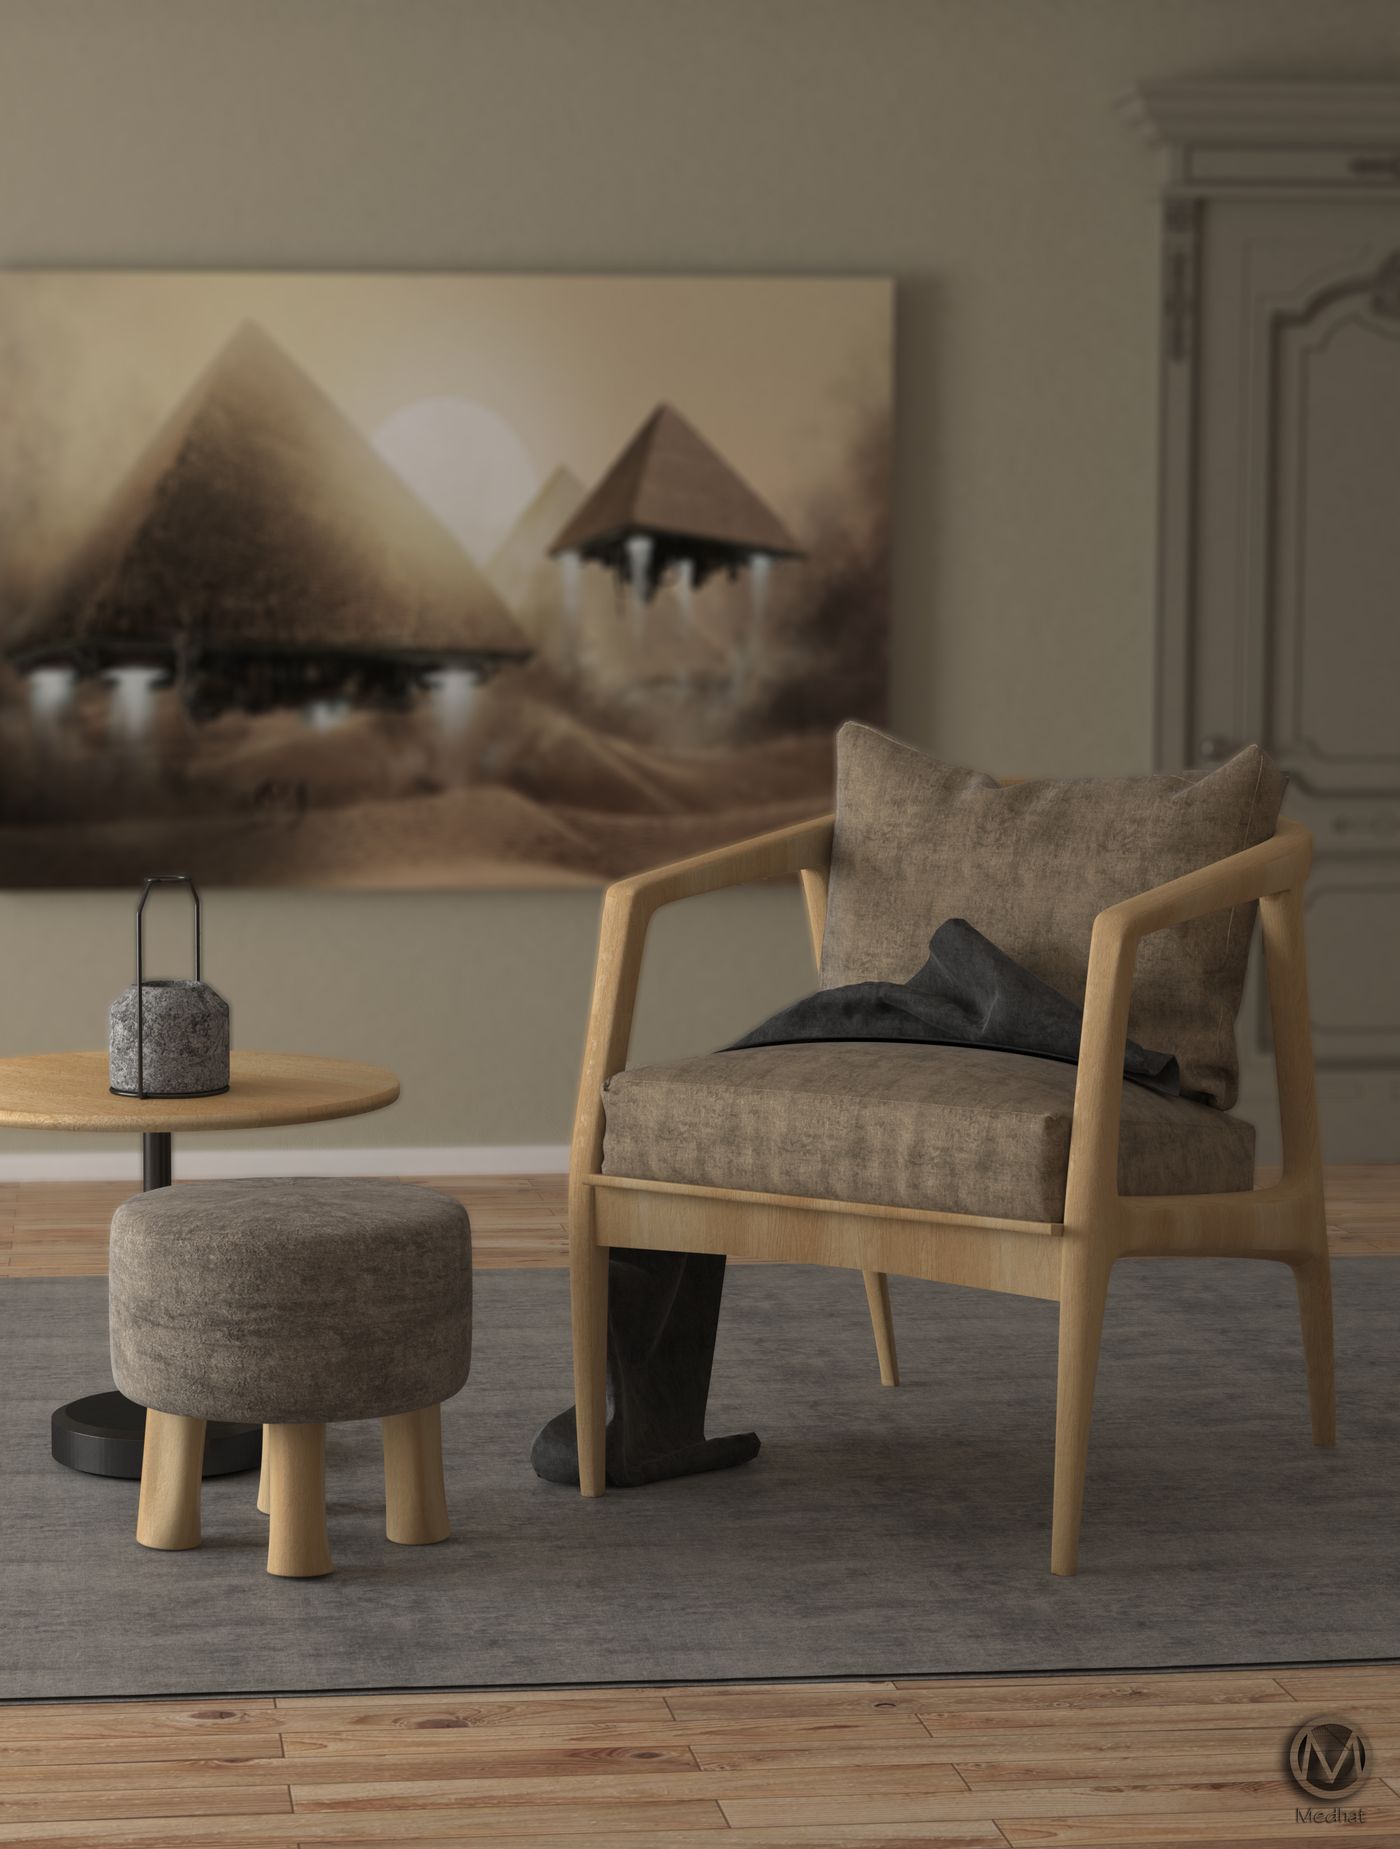
You don't need a styled showroom to get staged shots. Shoot your armchair in the garage, remove the background with remover.bg, and place the cutout onto a styled interior — a bright Scandinavian living room, a moody reading nook, whatever fits your brand. This is exactly why custom backgrounds are becoming standard practice in product photography: one clean shoot becomes an entire lookbook.
One thing makes or breaks the illusion: shadows. Furniture is heavy, and a cutout floating on a room scene with no ground contact instantly reads as fake. Adding a soft, directionally consistent shadow anchors the piece to the floor — here's how to add realistic shadows to your photos so the composite holds up.
The Takeaway
Big furniture doesn't demand a big studio. Park the piece at 45 degrees to your largest window, back up and zoom instead of going wide, and keep the camera level. Shoot once against whatever background you have, then let background removal do the heavy lifting: clean white cutouts for marketplace main images, styled room composites and interior design mood boards — with proper shadows — for everything else. Your garage will never look better in a thumbnail.