English
 Español
 Português (BR)
 Deutsch
 Français
 Italiano
 Türkçe
 Bahasa Indonesia
 Русский
 日本語
日本語 한국어
한국어 Українська
 Tiếng Việt
 Polski
 Nederlands
 ไทย
ไทย Română
 简体中文
简体中文 繁體中文
繁體中文 العربية
 Български
 Filipino
 हिन्दी
 اردو
اردو বাংলা
বাংলাFuneral Home Product Photos: Caskets, Urns, Keepsakes
Photograph caskets, urns and keepsakes without a studio: one window away from the selection room, one angle per product type, one quiet background throughout.
- funeral home
- product photography
- urns
- caskets
- background removal
- window light
- jewelry photography
- website images
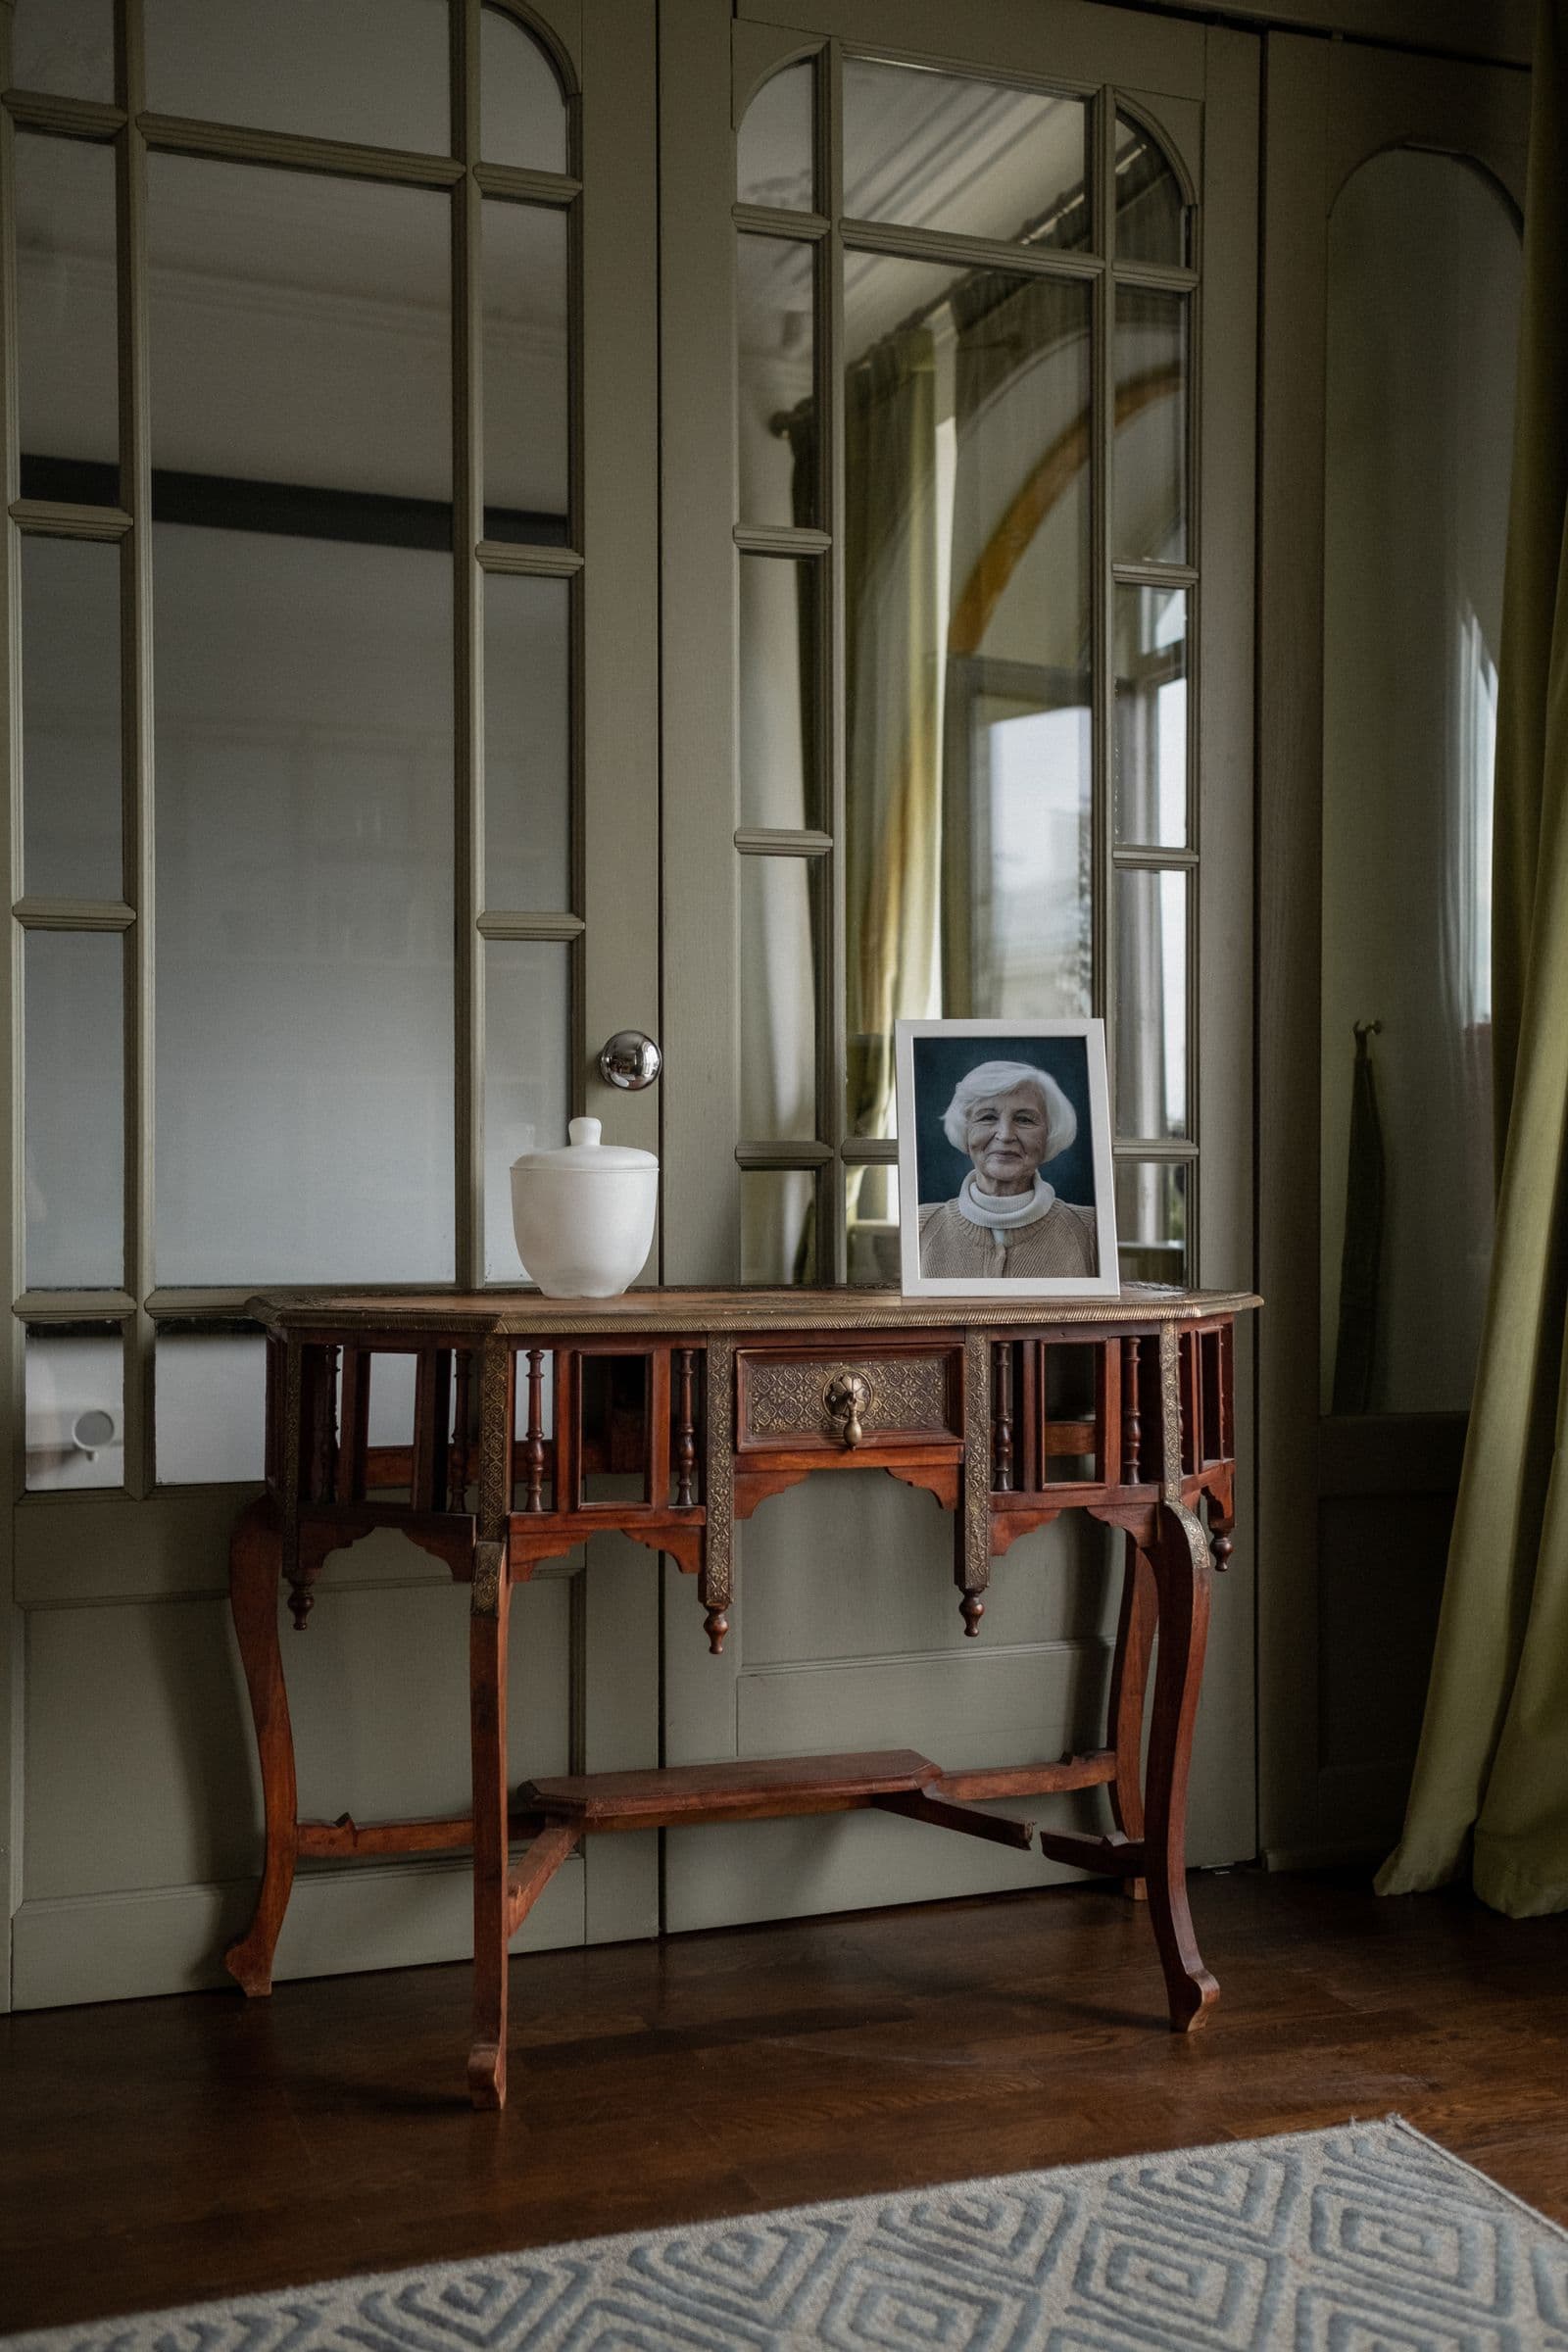
By the time a family sits down with you, there is a fair chance they have already looked through your website on a phone, alone and at an odd hour. The selection range is doing work that used to happen with a director standing at their shoulder, and it does it through photographs alone. Publishing a range online can also touch price-disclosure rules, so check what yours require first.
That puts weight on images that are usually one of two things: supplier catalogue pictures, identical on every competitor's site, or phone snaps taken where the item happens to stand, carpet and ceiling grid included. One reads as a scrape, the other as an afterthought.
The fix is not a studio. It is a repeatable routine — one surface, one light, one angle per product type — and one quiet background under everything.
Move the item out of the selection room
The selection room is built for people, not cameras. Overhead lighting throws hard reflections across lacquered wood and brushed metal, carpet tints whatever rests on it, and there is usually a second casket or a price card behind the one you want.
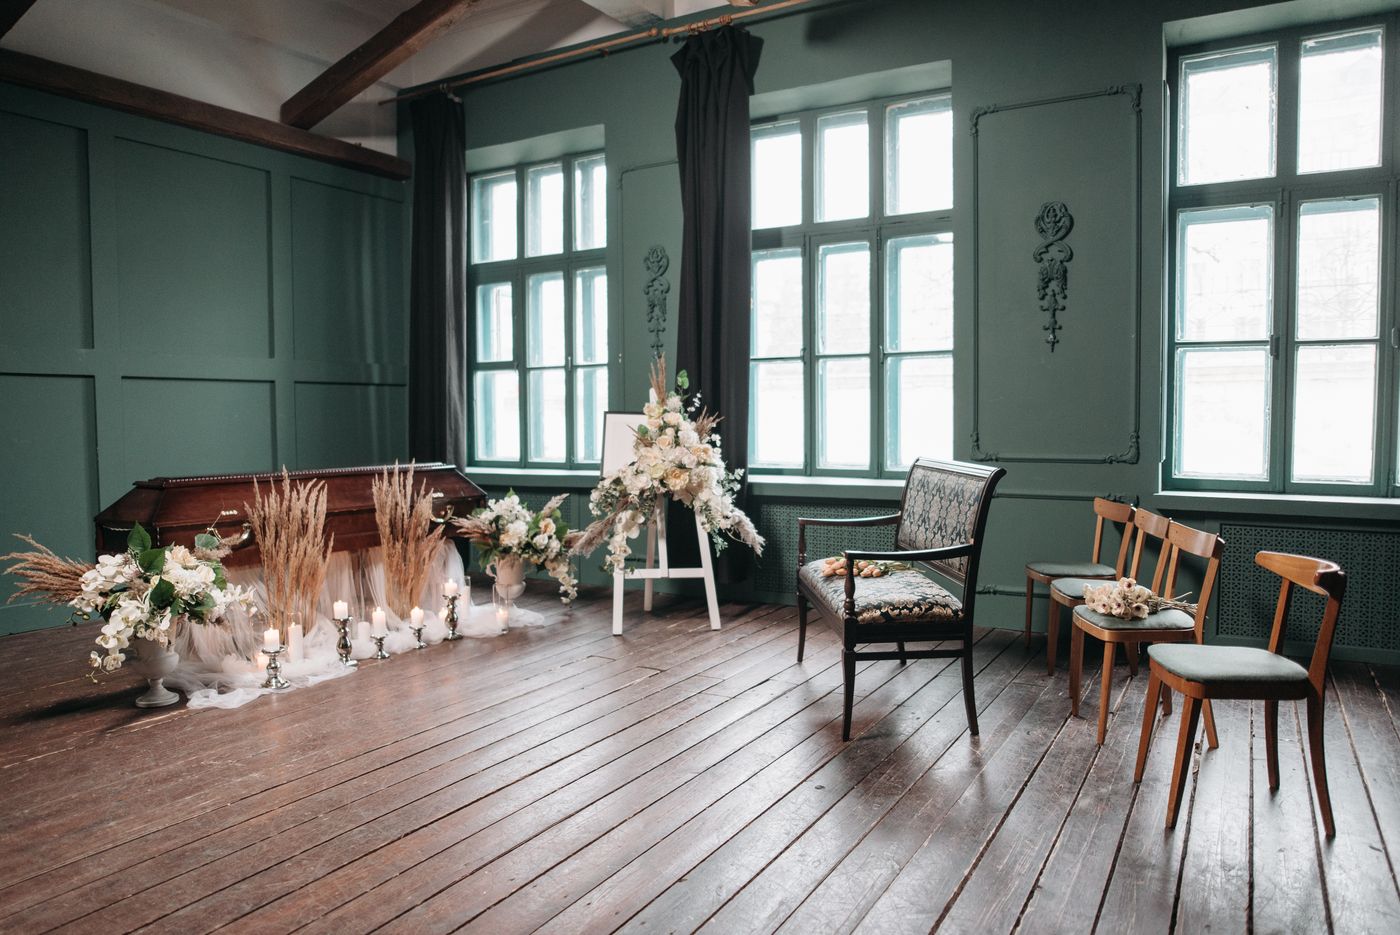
Find one large window that never takes direct sun — usually north-facing in the northern hemisphere, south-facing in the southern. Window light on one side and warm ceiling light on the other will make two urns of the same finish look like different products. Shoot the whole range in one sitting, under one light.
Light urns so the engraving still reads
Engraving is what families are actually choosing — a name, two dates, sometimes a line of verse — and flat lighting erases it first. Laser-etched and hand-cut letters are shallow. Light them straight on and the grooves fill with light and disappear, leaving a blank plate.
Put the source off to one side and slightly above, so the wall of each letter casts its own small shadow, then bounce a white card in from the opposite side so the shadows do not go black. Rotate the urn a few degrees at a time until the lettering snaps into legibility.
Polished metals hold one more trap: whatever stands in front of the urn is in the picture. Wear something dark, keep the tripod out of the reflection, and diffuse the source so the highlight is a soft band, not a hot dot. Genuinely matte finishes — biodegradable composites, unglazed ceramic, raw or oiled wood — need the light closer to hold any texture; cloisonné enamel and polished cultured stone behave like the metals. Shoot each urn closed, then once with the lid visible.
Caskets: pick one angle and never change it
A casket shot from a slightly different corner each time makes a range impossible to compare. Choose one three-quarter view — camera at chest height, foot end nearer the lens, the open half of the lid angled away so the interior shows without dominating — and repeat it exactly, with tape on the floor for stand and tripod. The eye should be comparing timber, hardware and fabric, not reorienting itself.
Expose for the interior fabric. Ivory and champagne crepe clips to white long before the timber looks right, and a blown interior takes the quilting with it.
An automatic cutout may keep the trestle with the casket or take it away with the background, so use the same covered trestle and cloth every time; the range holds either way.
Keepsake jewellery and small memorials
Thumbprint pendants, cylinder keepsakes and engraved lockets are the urn problem at a smaller scale. Lay each piece on a matte card rather than glass or an acrylic riser, which puts a second upside-down memorial in the frame.
Give a fine chain a surface it contrasts with; against a card of nearly its own tone it is hard for anything, camera or software, to separate cleanly. Our jewellery photography guide goes deeper on small reflective subjects.
One background for the whole range
The last step is making forty photographs from one morning read as a single selection. Open each image in remover.bg, lift the item off its shooting surface, and place it on one background colour used across the range.
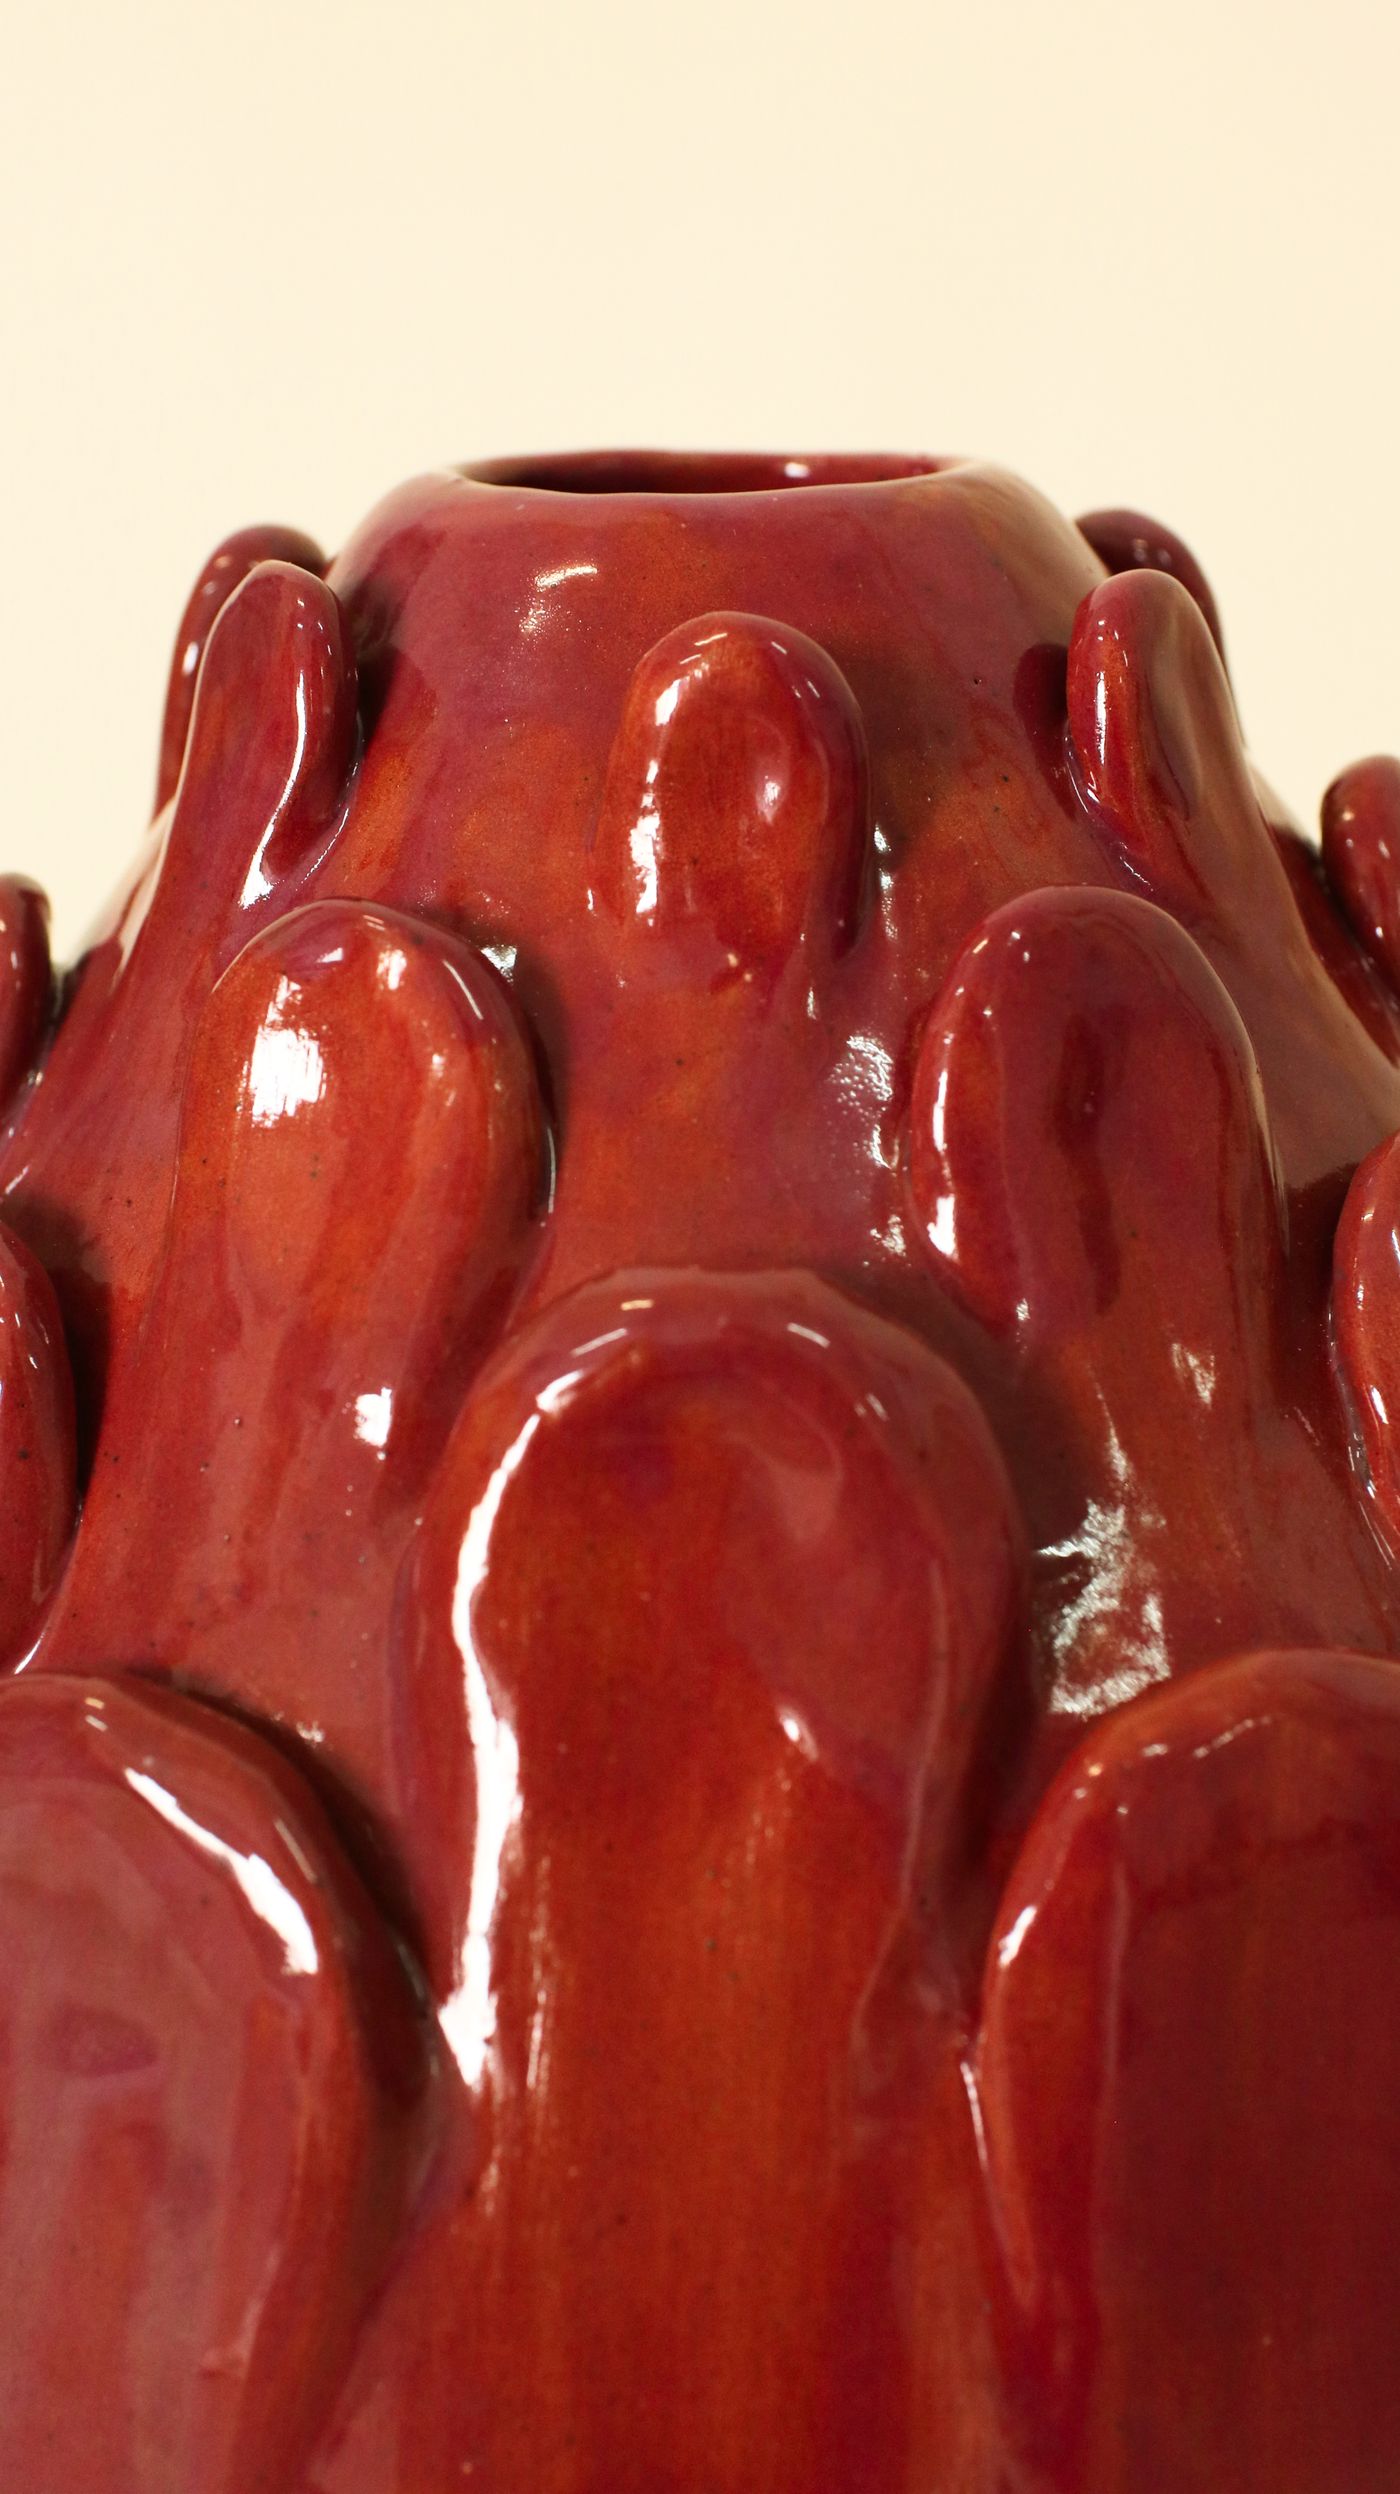
Warm grey is usually the right call: pure white is clinical, and it leaves dark timber and pewter finishes floating with nothing to sit on. Add a drop shadow so each item rests on something, and apply it the same way on every image; the guide to realistic shadows covers when a shadow helps and when it does not. Your own photograph of a plain wall works too, if flat colour feels stark.
PNG, JPEG and WebP work in both directions, with uploads up to 10 MB each, on the web or in the phone app. A developer pushing a whole supplier range through at once would use the background removal API instead of the editor.
Before the page goes live
Open the finished page on a phone, at the tile size a family sees. Check that the background tone is identical on every thumbnail, not nearly identical, that shadows fall the same way, and that no item sits brighter than its neighbours.

Then write the routine down — window, time of day, tripod height, tape marks, background colour, shadow setting. A note in the selection room cupboard keeps next spring's four new photographs from looking like a different company took them.