English
 Español
 Português (BR)
 Deutsch
 Français
 Italiano
 Türkçe
 Bahasa Indonesia
 Русский
 日本語
日本語 한국어
한국어 Українська
 Tiếng Việt
 Polski
 Nederlands
 ไทย
ไทย Română
 简体中文
简体中文 繁體中文
繁體中文 العربية
 Български
 Filipino
 हिन्दी
 اردو
اردو বাংলা
বাংলাHow to Photograph Items for an Insurance Claim
Insurance claim photos an adjuster can't argue with: the five frames to shoot per item, how to expose soot and water damage, and where a plain background helps.
- insurance claim
- documentation
- phone photography
- home inventory
- background removal
- damage photos
- proof of loss
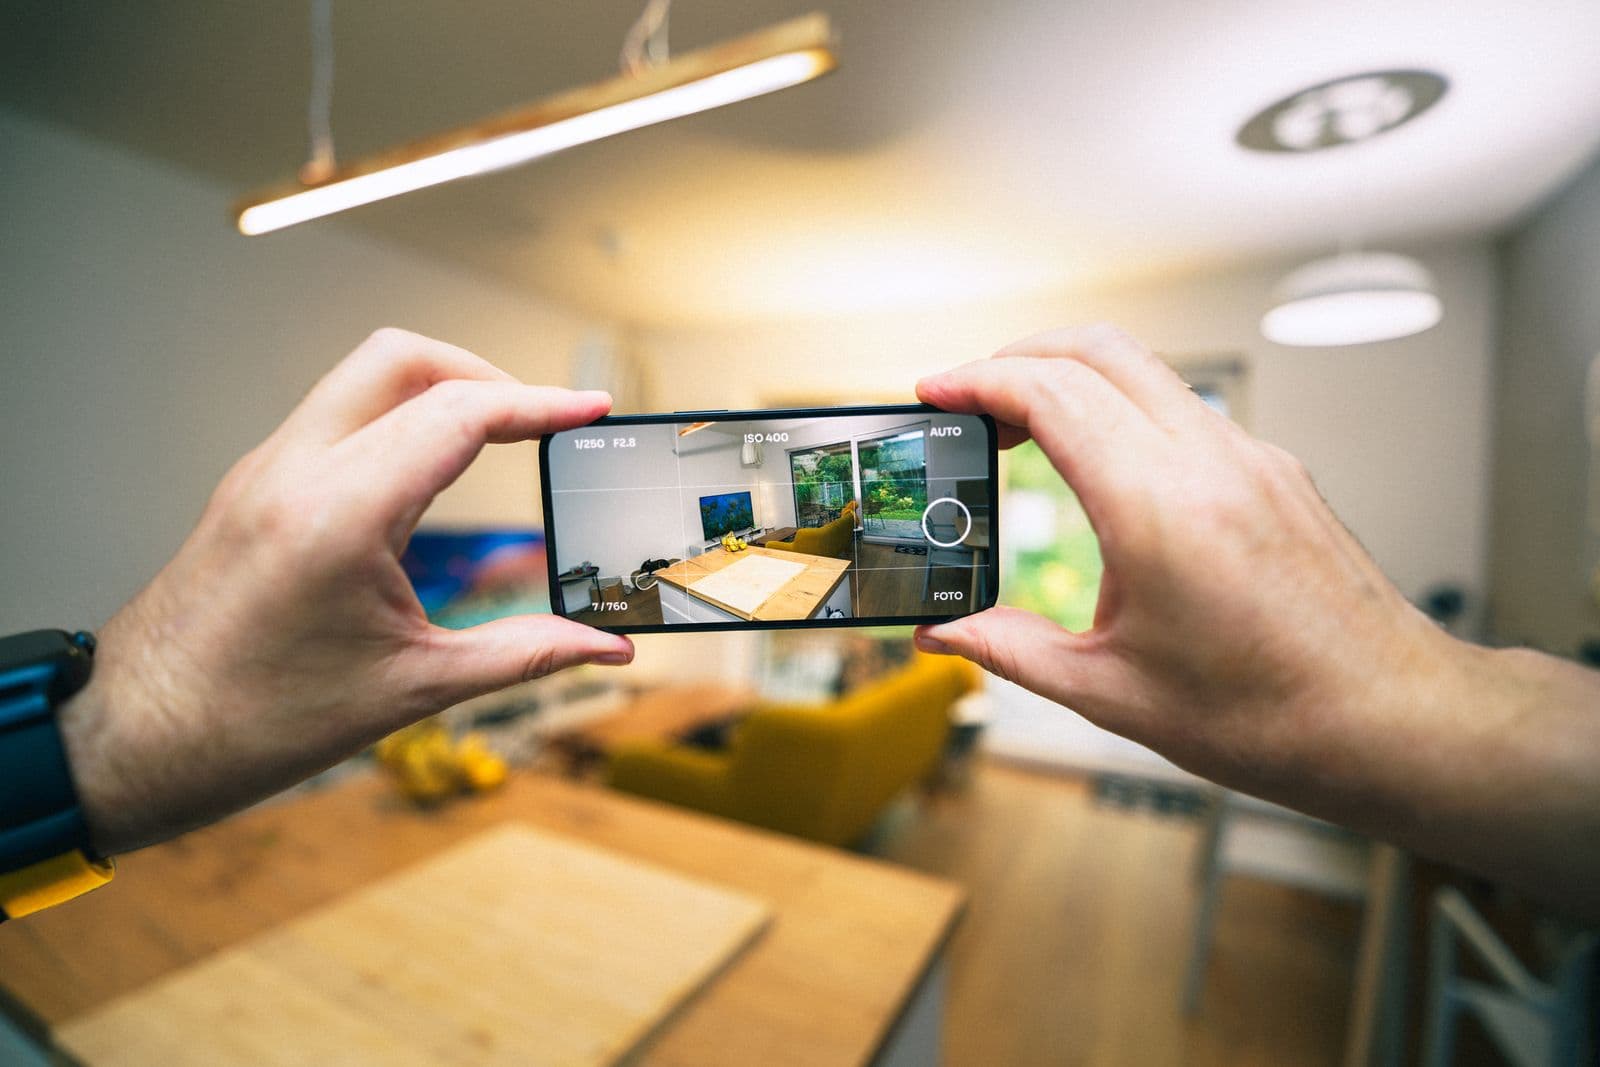
A claim is settled by someone who was never in your house. An adjuster opens a folder of phone photos months after the water dried and decides from them what you owned and what happened to it. Every ambiguity becomes a question you answer in writing later.
The Insurance Information Institute's guidance on settling claims after a disaster covers the basics: photograph the damage, keep damaged items until the adjuster visits, hand over an inventory with receipts. It doesn't cover how to shoot each item so it reads on a stranger's screen.
Most claim photos fail the same way: a soaked armchair in a dark room, a laptop on a counter next to yesterday's post. The damage is real, but the picture is arguable. Here is a shot list that isn't.
What has to be visible for each item
Five frames per object:
- The whole item, nothing cropped off.
- The damage in context. Close enough to see the split seam or the corrosion, wide enough that part of the item stays in frame.
- The identifying plate. Serial and model numbers sit on the back or bottom of most appliances. One sharp frame, straight on, every character legible.
- A scale reference. A tape measure, a coin, your hand. Size is hard to judge from an object with nothing familiar beside it.
- Proof of value. The receipt, box, appraisal or manual, next to the item and again flat on its own.
Shoot the room wide before you touch anything, then the item where it sits, then the item alone — move a damaged chair into better light first and that context is gone for good.
Dark, wet and burnt damage without blowing it out
Turn the flash off. It flattens a dent into nothing, mirrors off wet surfaces as a white blob, and turns soot into grey haze. Set a lamp to one side of the item, not behind you, so raking light picks up the texture of a dent or a warped panel.
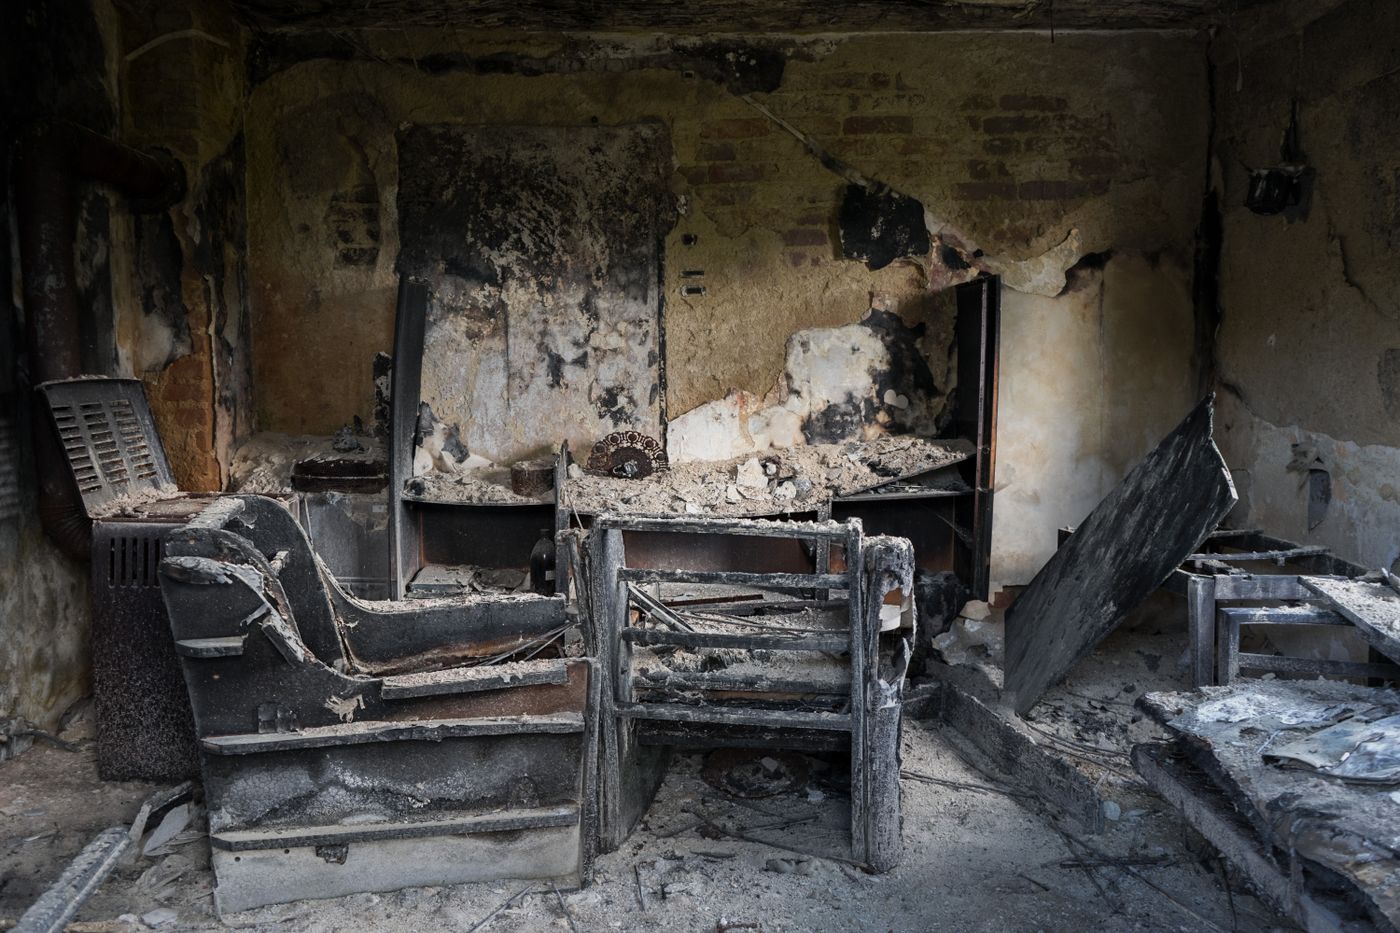
Then set exposure by hand. Tap the damage on screen so the camera meters for that spot, then drag the exposure slider down for soot or charred material — phones push very dark subjects towards mid-grey and wash out the detail you need. On wet surfaces, step sideways until the reflection slides off. Brace the phone on something solid; a blurred serial number is a phone call you'll have to take.
Where a clean background belongs, and where it doesn't
Most policies require an itemised inventory of what was lost, often as part of a sworn proof of loss — check your policy or ask your adjuster what form and deadline apply. Each line reads better with a small image beside it, and that is where a background change earns its keep: a camera on a cluttered worktop turns to mush once your spreadsheet scales it to a thumbnail, while the same one on plain white reads at a glance. Upload the shot to remover.bg, set a white or light grey background, and add a soft drop shadow so the item sits on the surface instead of hovering like clip art — shadows matter more than people expect. PNG, JPEG and WebP go in, up to 10 MB; if your phone saves HEIC, export as JPEG first.
Your evidence photos stay exactly as the camera made them, and say so when you send the tidy set: inventory images have had the background replaced for legibility, unedited originals are in the second folder. That line removes the only reason an adjuster would wonder what else was changed. If your insurer wants unedited files only, send the originals and skip the presentation set.
When the item only exists in a family snapshot
Jewellery, watches and heirlooms are usually lost without ever having been photographed properly. What you have is a birthday photo where the ring happens to be on someone's hand.
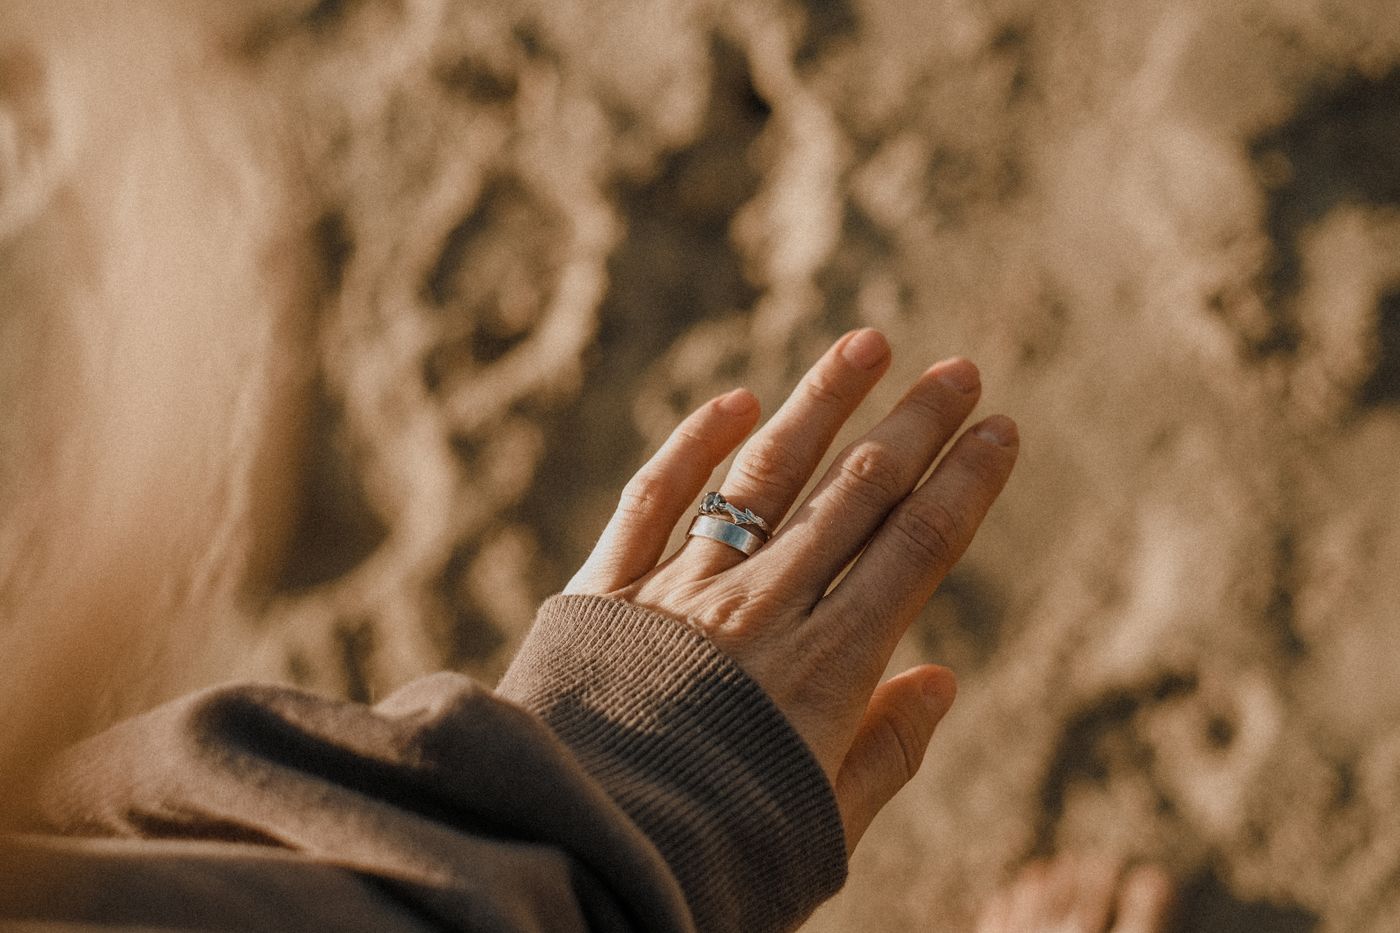
Crop in tight in your phone's photo editor so the piece fills the frame, then remove the background so the hand and the ring stand clear of the party clutter, and submit that alongside the uncropped original. Never send the cutout alone — the full frame shows the item was in your possession and roughly when. If you still own comparable pieces, photograph those now; the approach to shooting small, shiny items works for documentation as well as sales.
The line you don't cross
Replace the background. Never touch the item. Removing a pre-existing scratch, brightening a burn, straightening a bent frame — each alters the item, and that can be treated as misrepresenting your loss. Most policies contain a concealment-or-fraud condition; what an insurer does about it depends on that wording and on your state's law, so read your policy's conditions section.
Keep two folders: untouched originals with their file dates intact, and a presentation set for the inventory. These files show the inside of your home, so it's worth knowing how uploaded images are handled.
Before you send the folder
Name every file in the presentation set to match a line on your inventory — kitchen-fridge-serial.jpg beats IMG_4471.jpg. Leave the originals folder alone, names and all.
Back the set up to a drive and keep a copy somewhere other than the house you are claiming on. This folder is the only version of those rooms that still exists.