English
 Español
 Português (BR)
 Deutsch
 Français
 Italiano
 Türkçe
 Bahasa Indonesia
 Русский
 日本語
日本語 한국어
한국어 Українська
 Tiếng Việt
 Polski
 Nederlands
 ไทย
ไทย Română
 简体中文
简体中文 繁體中文
繁體中文 العربية
 Български
 Filipino
 हिन्दी
 اردو
اردو বাংলা
বাংলাIndustrial Parts Photos That Stay Consistent at Scale
Shoot thousands of MRO and industrial parts so they match: one locked-down rig, lighting for chrome and zinc, four frames per SKU, filenames your ERP can join.
- product photography
- industrial
- ecommerce
- catalog
- background removal
- api
- workflow
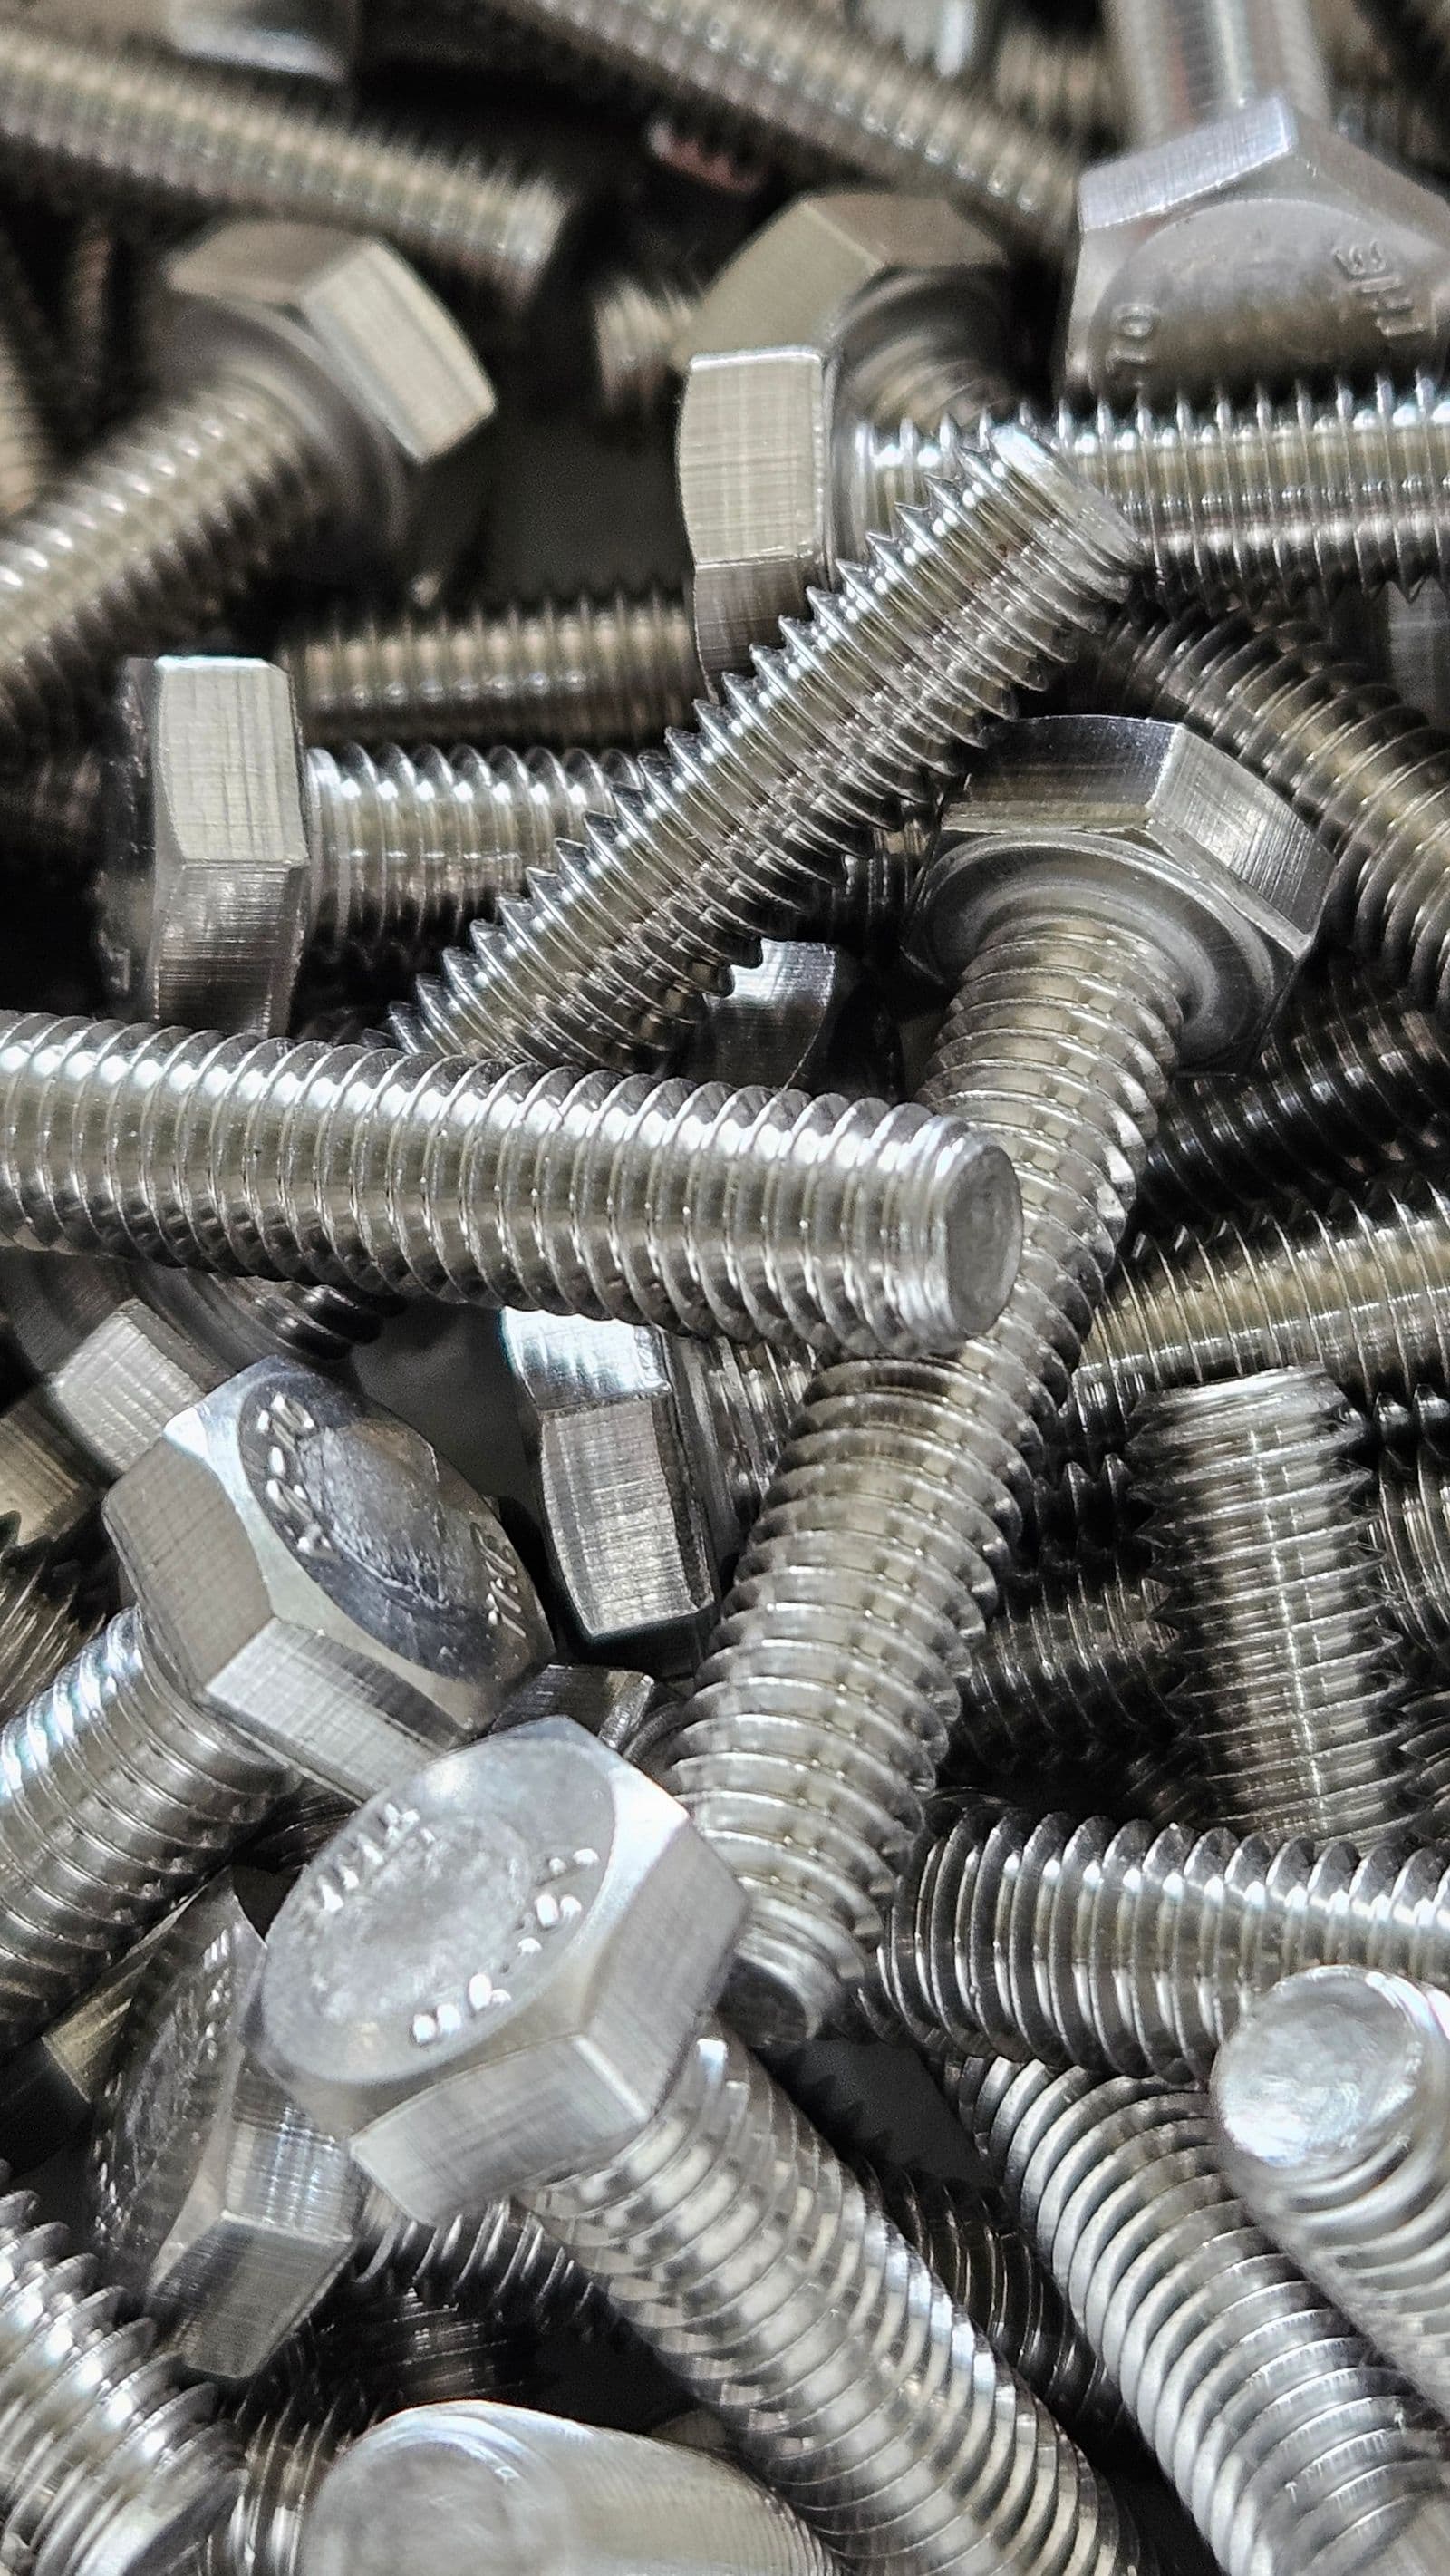
A buyer searching your site for a hex bolt sees twelve grey objects that look identical at thumbnail size. The description carries the real difference — M8x40 zinc-plated versus M8x40 A2 stainless — but the photo tells them whether your catalogue is maintained by people who know the product. If half the images are workbench phone shots and half are supplier JPEGs with a beige gradient behind them, the answer they read is no.
The hard part of an MRO catalogue is not photographing one ball valve well. It is photographing several thousand line items so they look like they came from the same place, over years, as staff change and new ranges land. Every inconsistency you allow at capture — a different height, a different white, a different distance — multiplies by the number of SKUs and lives in your PIM forever.
Treat it as a production line, not a photo shoot: one rig, settings written down, boring enough that an apprentice gets frames indistinguishable from yours.
Lock the camera down and leave it there
Put the camera on a copy stand or clamped tripod head and tape the table: one mark for the part, one per tripod foot. Switch everything to manual — exposure, white balance off a grey card, focus. Autofocus hunts on a shiny thread; auto white balance drifts the moment a zinc part reflects something warm.
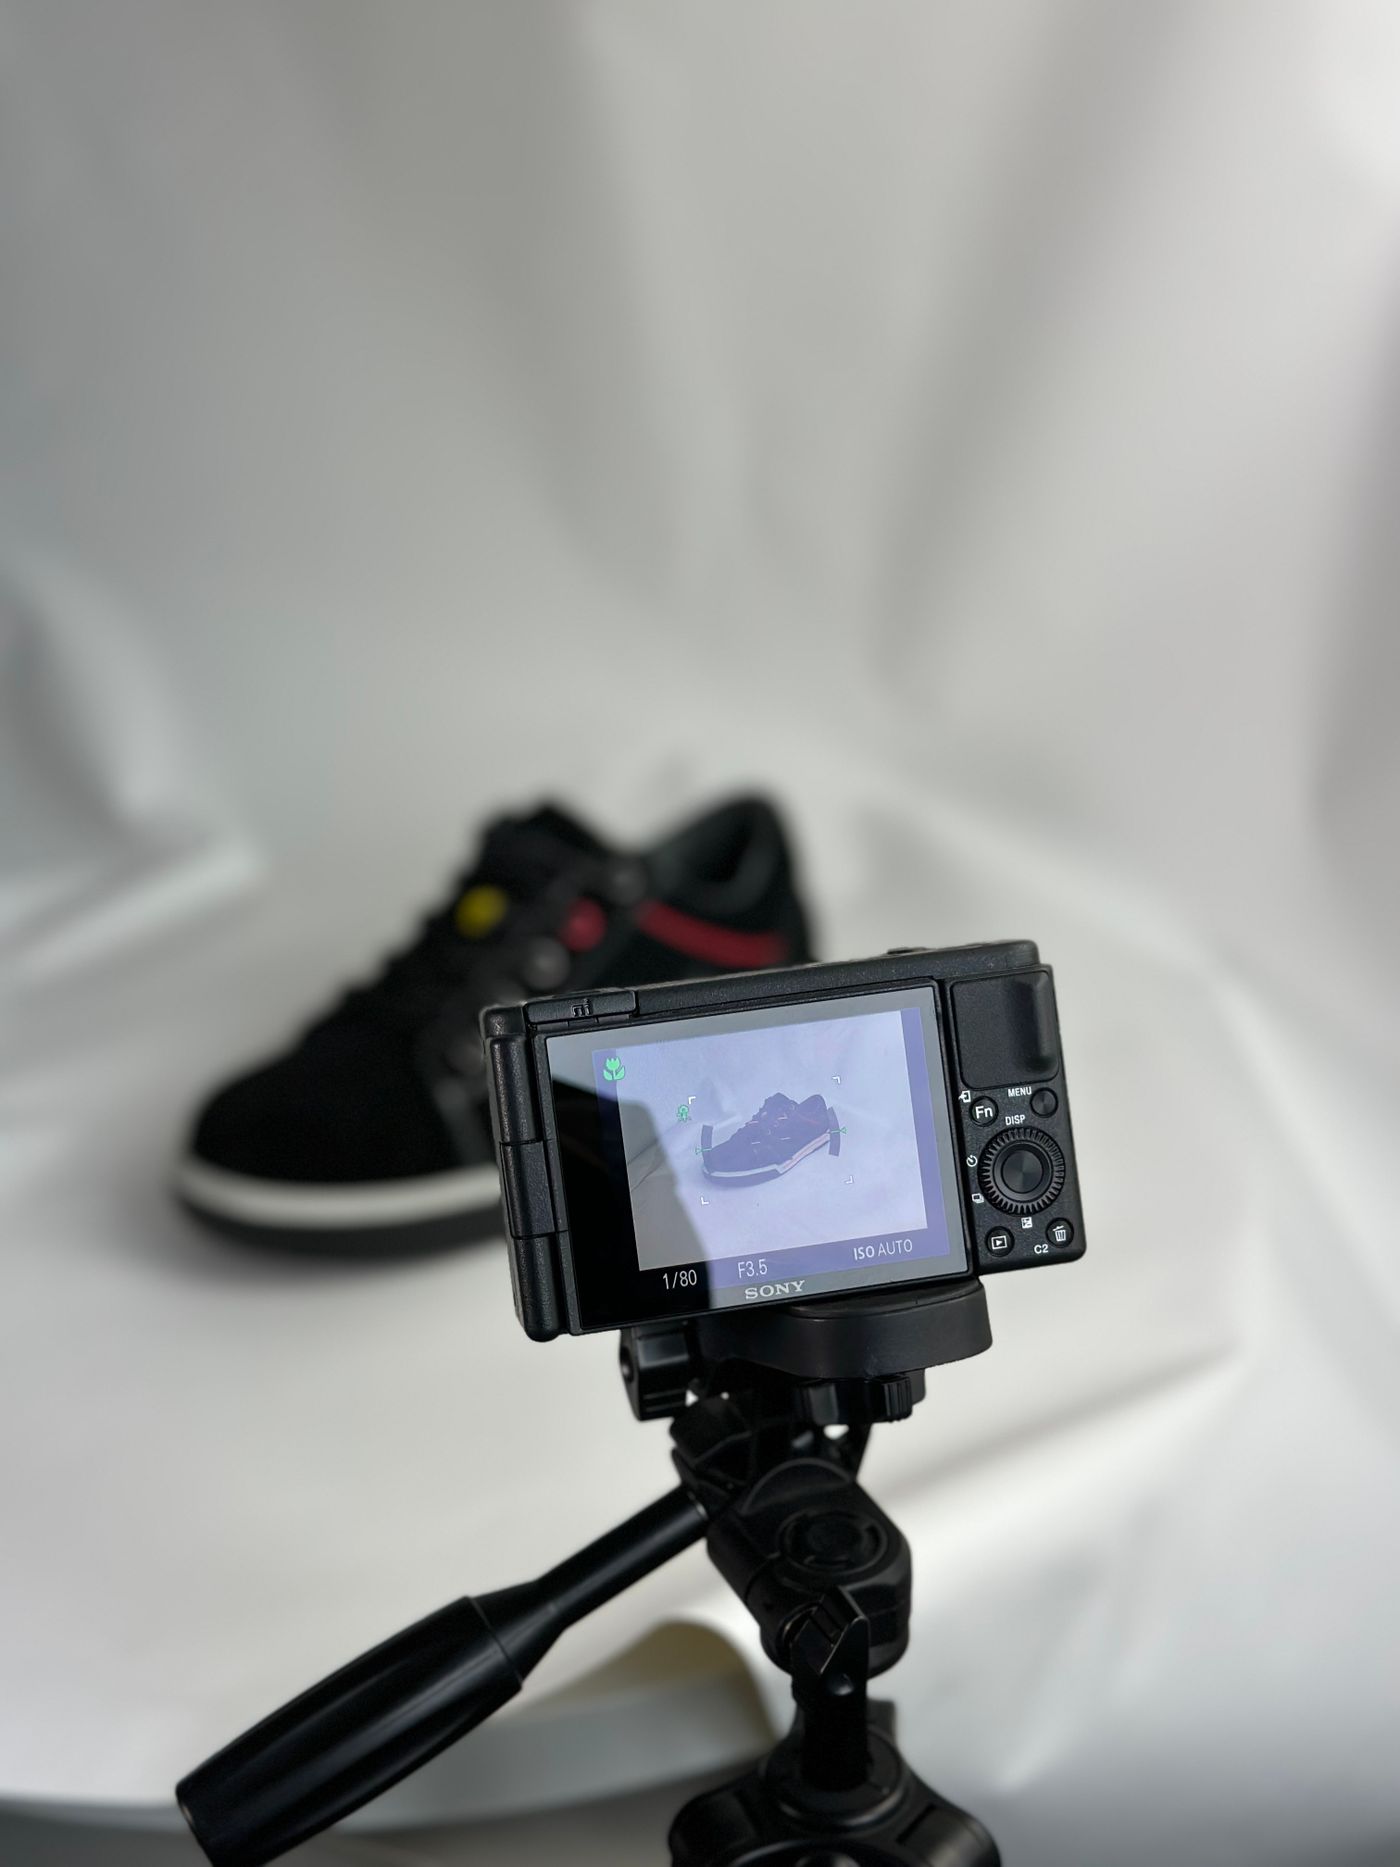
Fixed distance gives you comparable scale, which distributor images routinely get wrong. If an M6 grub screw and an M20 stud both fill the frame, you have destroyed the buyer's one scale cue. Set up three stations — small, medium, large — each with its own locked distance, and record which station a SKU was shot at.
Light chrome, zinc and black oxide differently
Chrome and polished stainless mirror the room, including you. Surround the part with white card or a light tent and shoot through a hole in a card, so the lens is not a black blob in the fitting. A polariser alone does little against bare metal; what works is cross-polarisation — film over the lights, rotating filter on the lens, turned until the hotspots die.
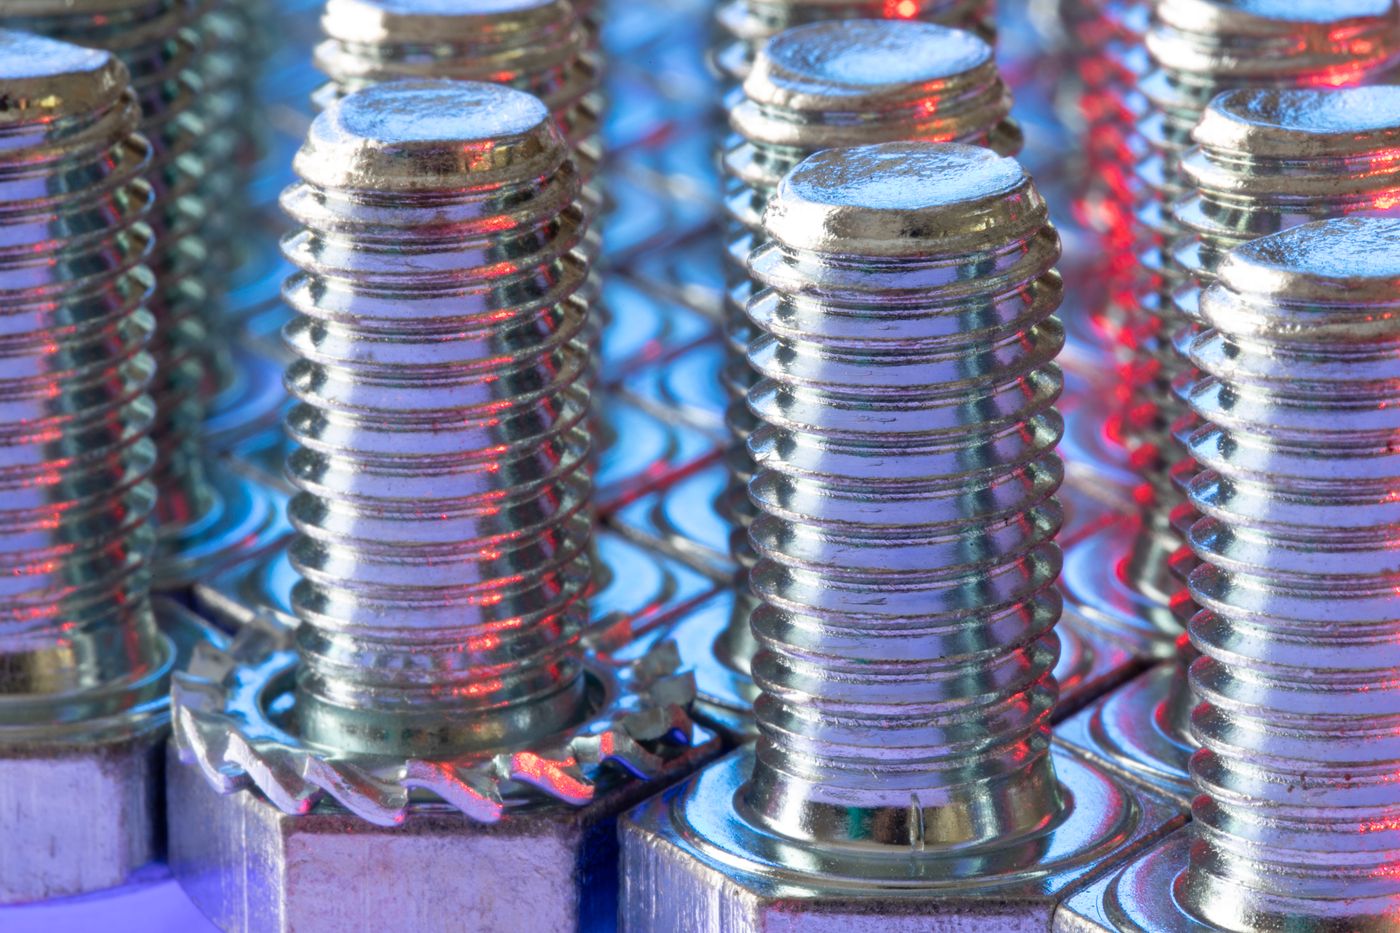
Zinc and passivated finishes have a mottled iridescence that flat frontal light erases into grey plastic. Give them one light raking across the surface. Threads need the same: light across the thread axis so crests catch and roots go dark, never straight down the barrel. Black oxide is the opposite — dark and low contrast, better shot against light grey than white so the edge stays findable.
The four frames every part needs
- Three-quarter hero. Angled enough to show form, square enough to read at thumbnail size.
- Straight-on profile. The comparable one, at the station's fixed distance.
- The interface face. Thread, bore, flange pattern, terminal block, hose tail — whatever the buyer has to mate to.
- The markings. Head stamp, cast number, thread callout, pressure rating, cert stamp. The shot that stops a returns claim.
Make every image sit on the same white
Even with one rig your backgrounds drift: paper yellows, someone swaps a bulb, archive shots predate the rig entirely. Standardising after capture beats chasing it with lights.
Cut each part out and drop it onto one background — pure white for the web grid, or your brand's off-white. remover.bg handles the detail industrial parts are full of: thread crests, knurling, wire brush finish, split pin holes. On a coloured datasheet page, export the cutout as a transparent PNG and let the page show through. Then add the same drop shadow to every image so parts sit on the page instead of floating; never vary it part by part.
Filenames are the join to your ERP
The filename is the only thing tying an image to a record, so give it a schema before the first shot, not after the thousandth. Part number first, then a two-digit view code, no spaces: hb-m8x40-zp_01.jpg, hb-m8x40-zp_04.jpg. GS1's product image specification works this way — the 14-digit GTIN, then codes for image type, facing, orientation and state — and it defines the core product image as the item alone in the frame, no other elements, on a background that is either transparent or white at RGB 255/255/255. Not beige, not grey: white. If you also publish through a data pool or into a customer's PIM, ask that recipient for its image guideline before you settle on an export size in your own image tool — those requirements come from the recipient, not from the exchange format.
Keep a manifest CSV mapping SKU to filenames as you shoot; ingest reads that, not a folder listing.
At catalogue scale, use the API
A few hundred images you can do by hand; four thousand you cannot, and there is no bulk-upload screen — batch processing runs through the HTTP API. The pipeline: shoot to a watch folder, name each file from a scanned barcode so the SKU is never typed, POST each image, write the result into the DAM. PNG, JPEG and WebP go in and come out; keep uploads under the 25 MB limit.

Shoot it once
The value of the rig is not this month's 200 parts. It is that in three years, a range shot by someone you have not hired yet drops into the grid and matches. Tape the settings to the wall above the stand.