English
 Español
 Português (BR)
 Deutsch
 Français
 Italiano
 Türkçe
 Bahasa Indonesia
 Русский
 日本語
日本語 한국어
한국어 Українська
 Tiếng Việt
 Polski
 Nederlands
 ไทย
ไทย Română
 简体中文
简体中文 繁體中文
繁體中文 العربية
 Български
 Filipino
 हिन्दी
 اردو
اردو বাংলা
বাংলাHow to Photograph a Small Museum or Archive Collection
A museum record shot and a website shot do opposite jobs. Get both from one sitting: scale bar, colour target, and a cut-out that never touches the master.
- museum photography
- archive documentation
- collections management
- object photography
- heritage imaging
- background removal
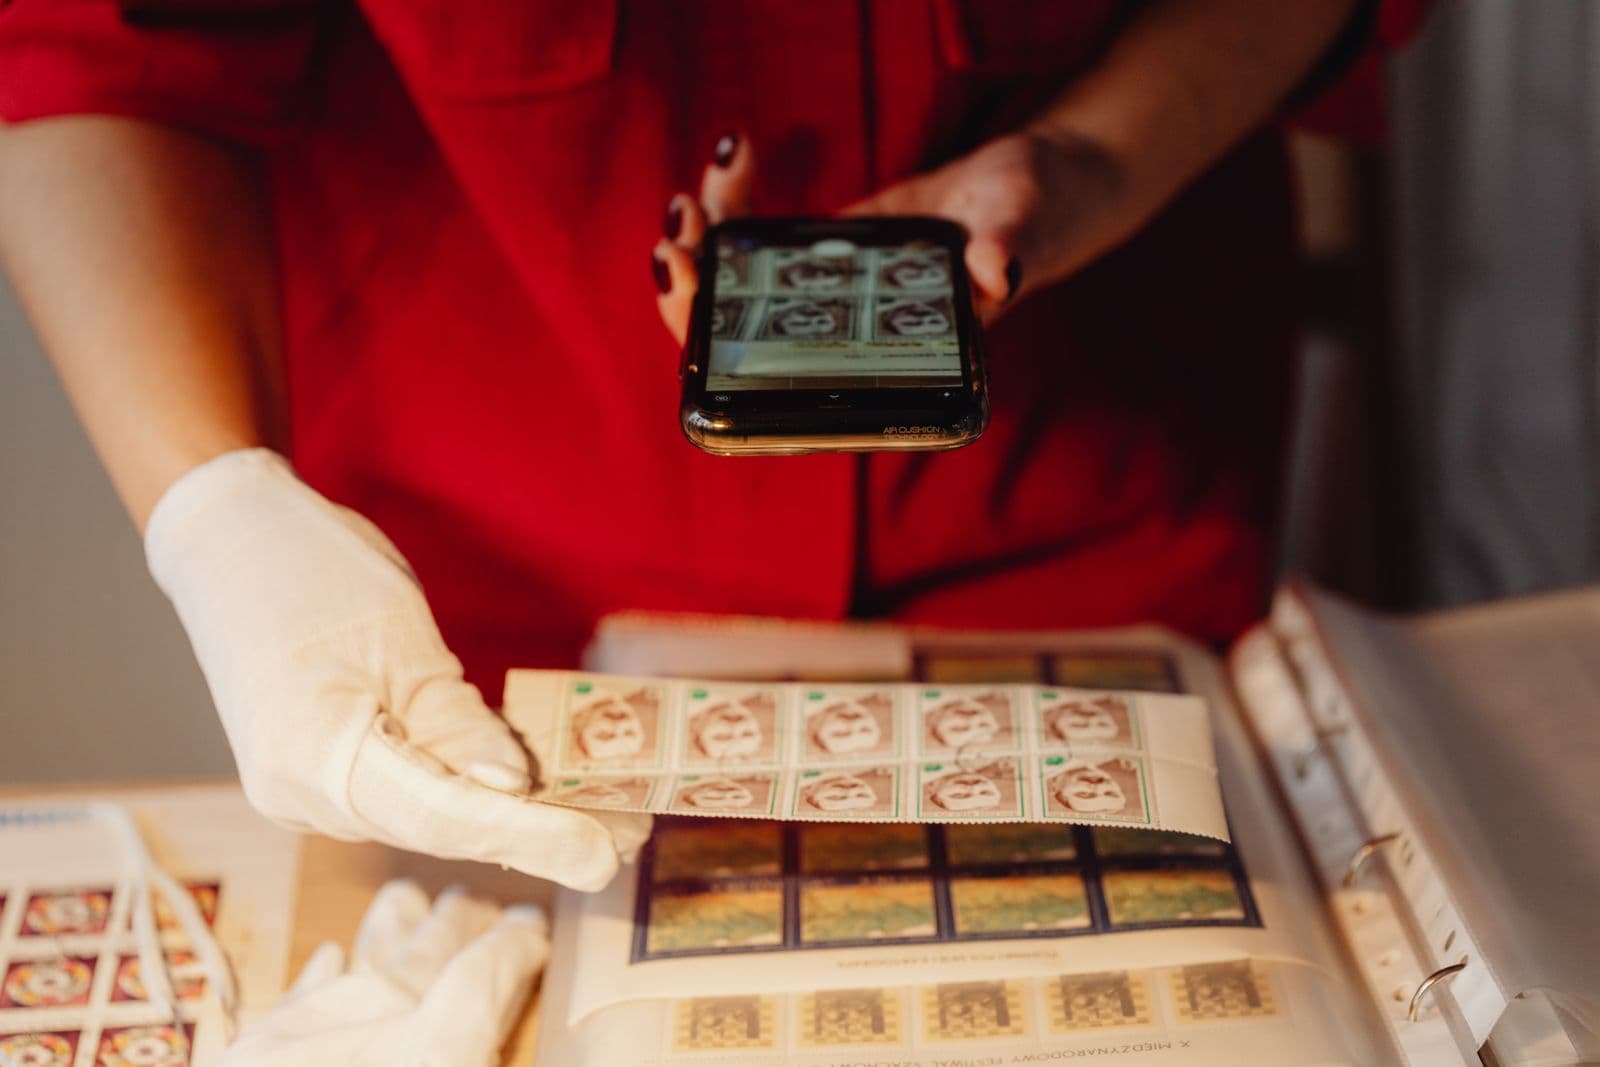
A shopkeeper photographing a christening gown and a parish archive photographing the same gown are doing opposite jobs. The shopkeeper wants it to look its best. The archive wants it to look exactly as it is, tea-coloured stain on the left cuff included, because in forty years that photograph may be the only evidence of what the object looked like before conservation, loan, damage or loss.
That inversion runs through every decision here. Flattering light is a liability: anything that makes an object look better than it is undermines the one job the image has. Yet the same object still has to appear on your website and in grant applications, where a corroded buckle on a scuffed trestle table does the collection no favours.
The answer is not a compromise image. It is two images from one sitting: the record shot, which nobody touches, and the presentation shot, which is the record shot with the room taken out of it.
Put the reference in the frame, not in the notes
A record image without a scale is a picture of an object of unknown size. Lay a ruler or photographic scale bar flat beside the object, on the same plane as its base, so it is not foreshortened. If you can afford one colour reference target, put it in every record frame: cameras, screens and printers all render colour differently, and a known patch set lets someone in 2060 judge your file's colour against fixed reference values rather than guess.
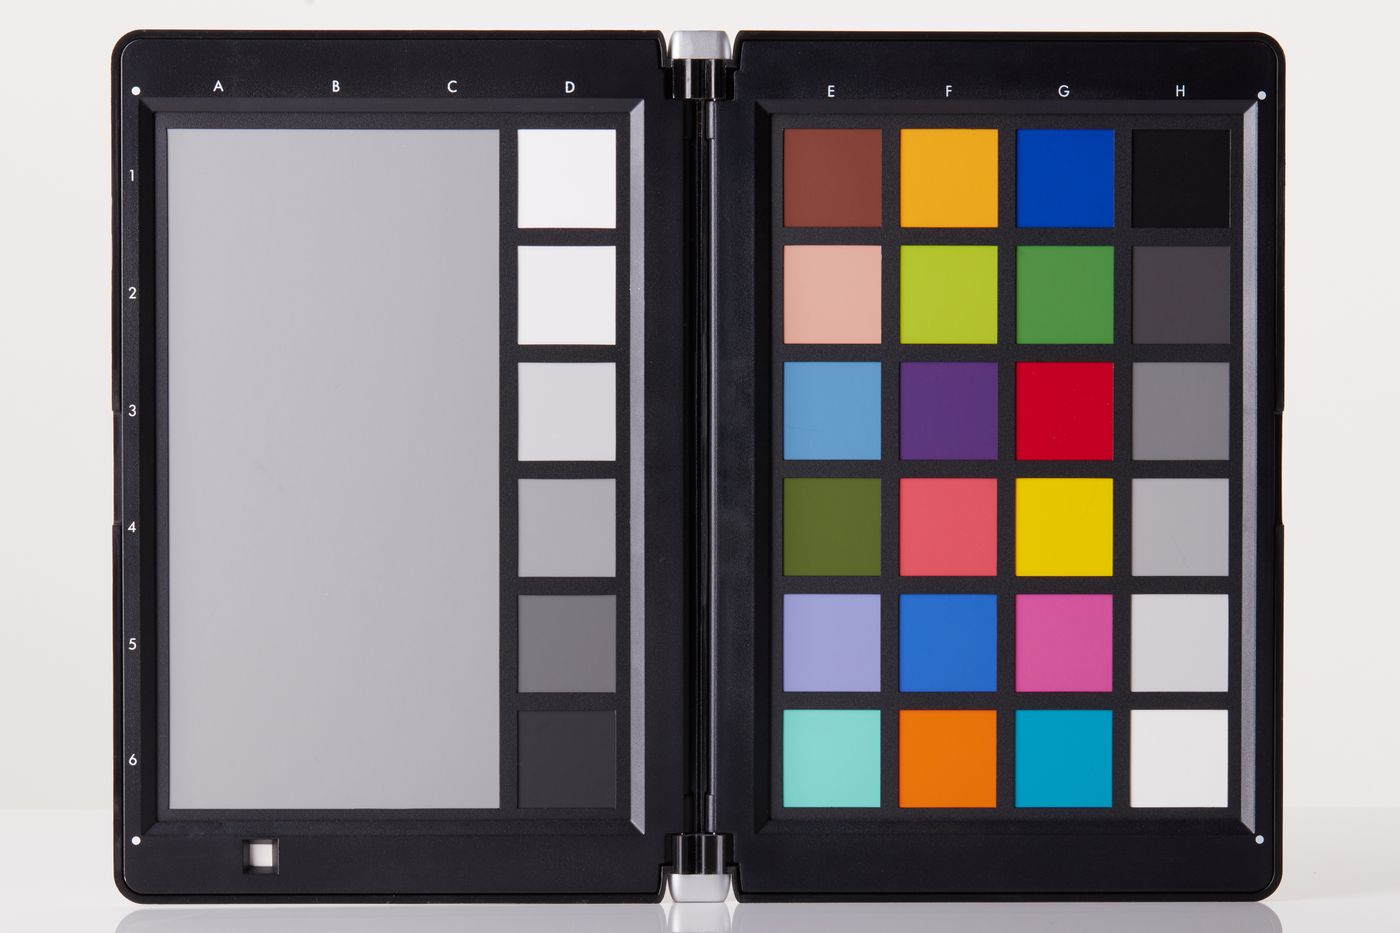
Write the accession number on a card and include that too: it survives file renames, system migrations and the volunteer who reorganised the folders. Name the file with the same number.
Choose a background that cannot be mistaken for the object
Small museums reach for whatever cloth is in the cupboard, and that is how a cream sheet ends up behind a cream linen bonnet. The background has to be plainly not-the-object. Mid-grey is the safest default: away from most historic materials in tone, and adding no colour cast. As a practical convention, many small collections put black behind pale ceramics and paper, and light grey behind dark ironwork, jet and lacquer — whichever pairing you settle on, write it down and apply it across the whole collection. Avoid patterns, velvet with a visible nap, and, if you meter automatically, pure white, which pulls the exposure down and darkens the object in front of it.
Lifting the object clear of the cloth on a small neutral support reduces colour bouncing back onto the underside of a glazed pot. Coins, medals and mourning jewellery are the hardest cases, and the tricks in our guide to shooting small shiny objects apply directly to a museum table.
Raking light shows what flat light hides
Soft frontal light is comfortable and tells you almost nothing about a surface. Where the surface is the evidence — tool marks on a chair leg, a maker's stamp on pewter, the ridges left by a potter's fingers — take a second frame with a single light almost parallel to it, low and to one side. Everything raised throws a shadow and suddenly reads.
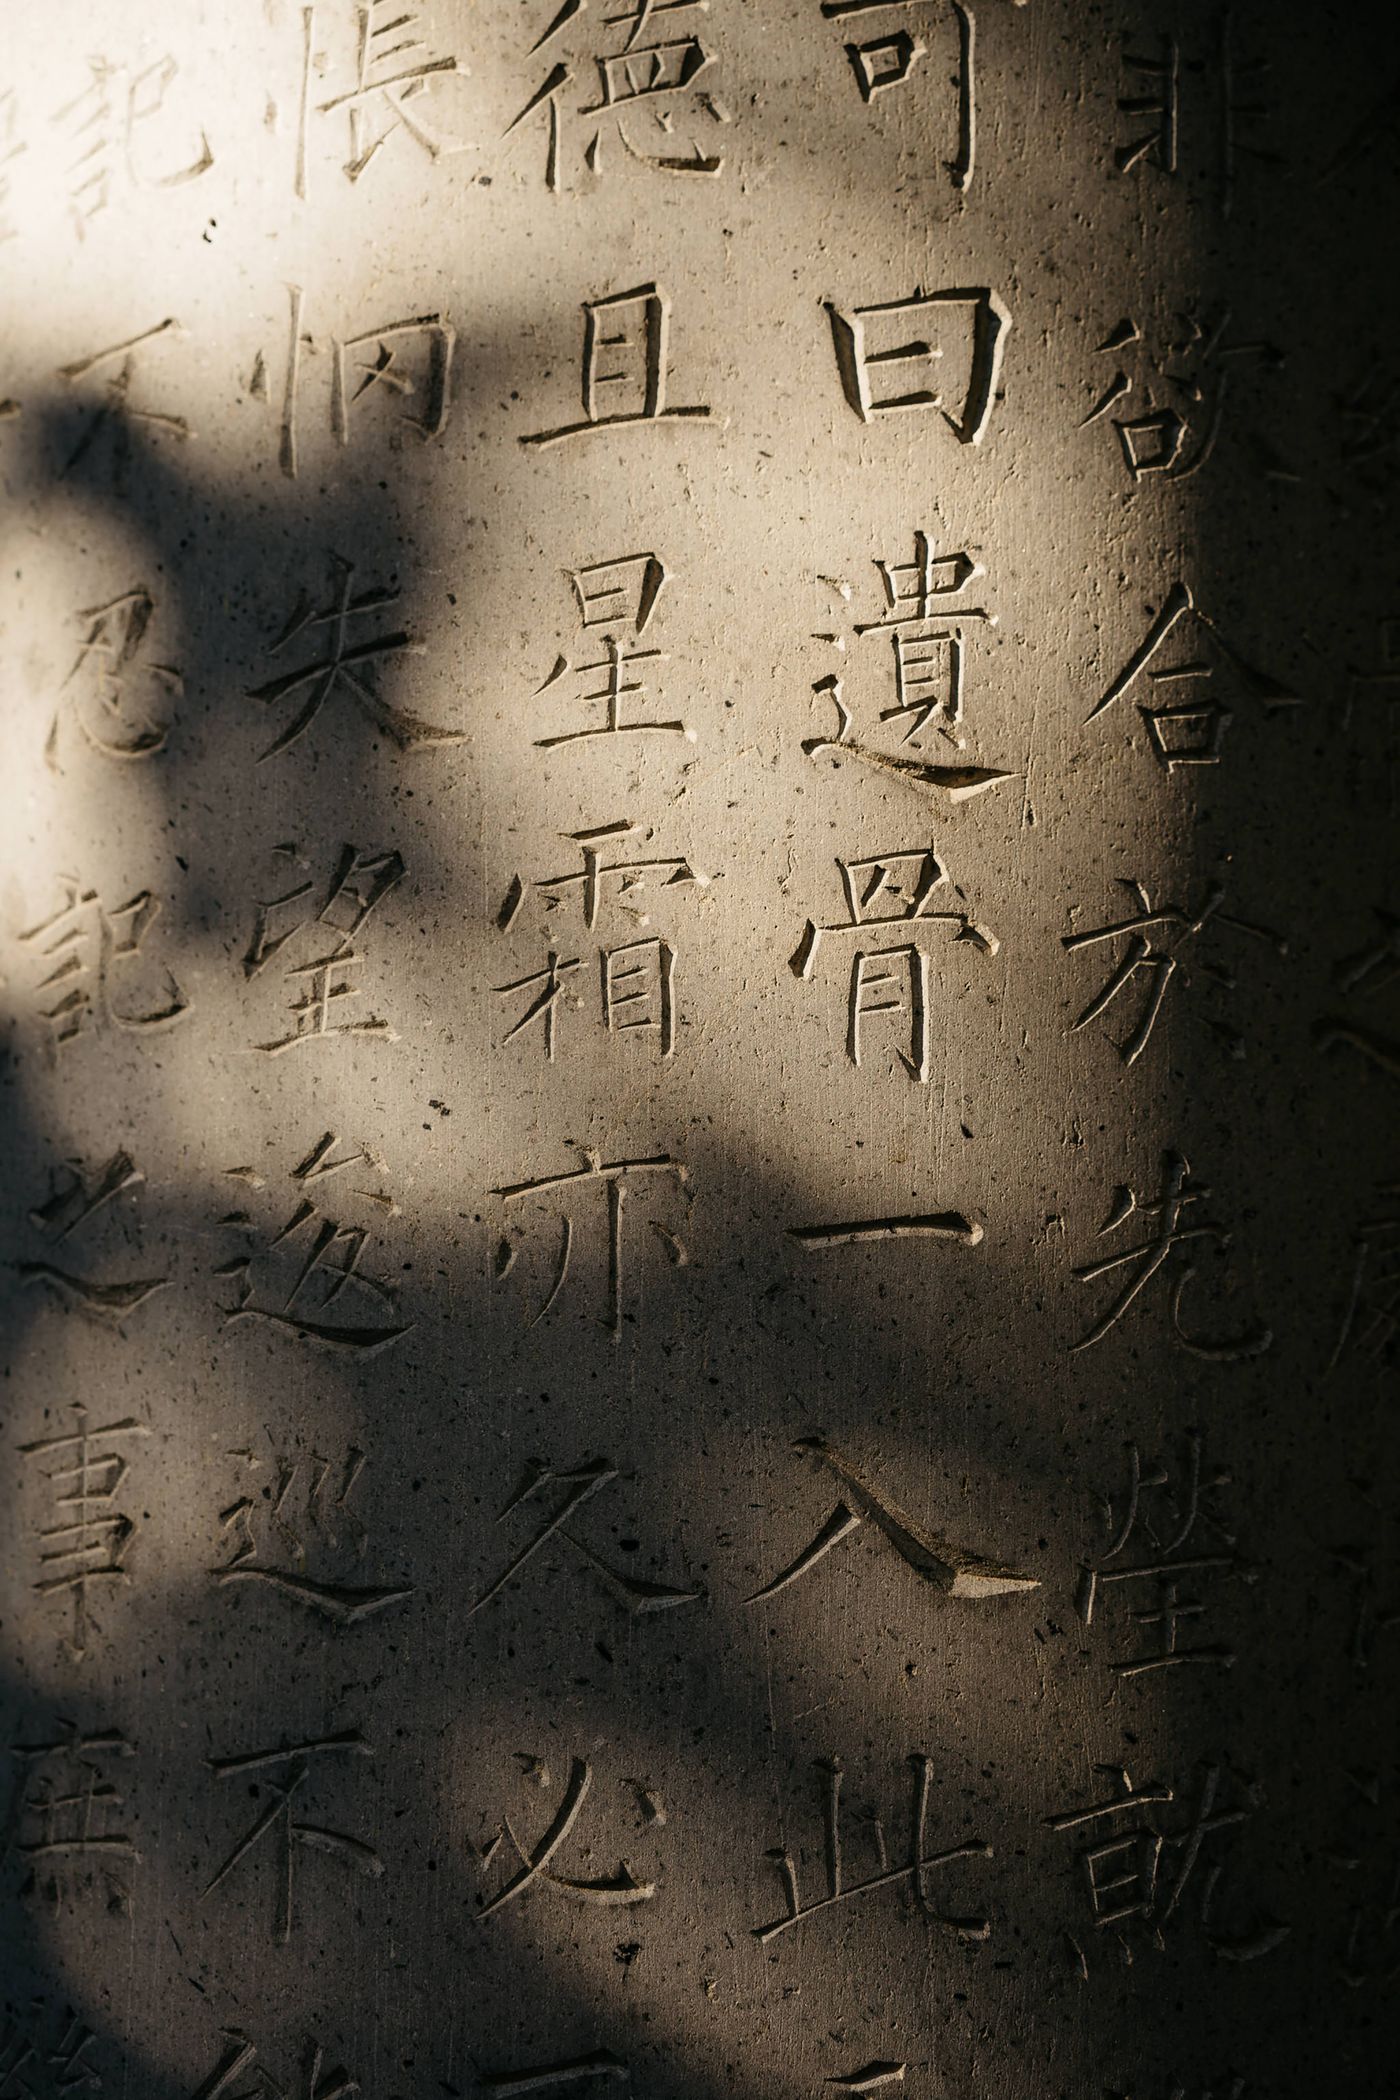
Shoot the flat, evenly lit frame first as your primary record, then the raking frame, and label it as such in the catalogue so nobody mistakes those shadows for staining or loss.
Shoot every accession the same way
Comparability turns a pile of photographs into a catalogue. Put the camera on a tripod or copy stand at a fixed height, mark the table with tape where objects sit, keep the same lights in the same positions, and lock white balance rather than leaving it on auto.
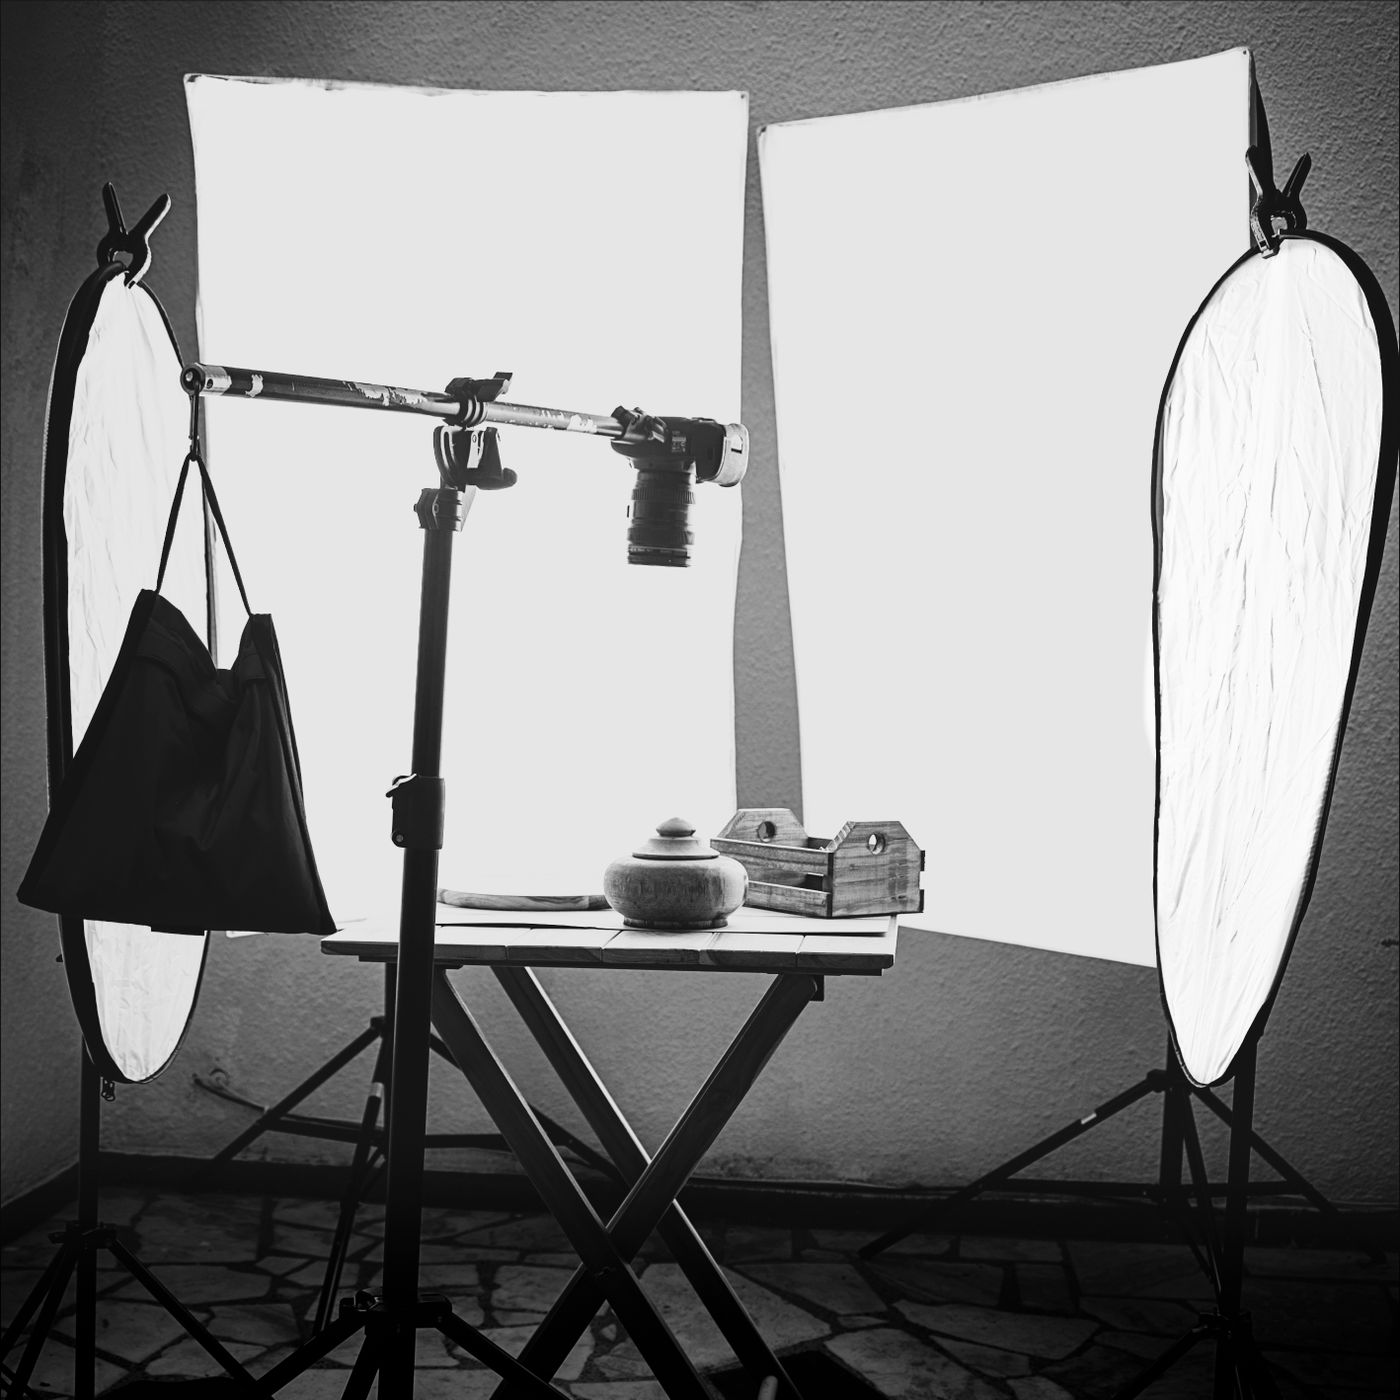
Then write the recipe down — camera height, lens, aperture, light positions, backdrop colour — and pin it above the table. A volunteer three years from now should be able to reproduce it exactly, so an object rephotographed after conservation compares honestly with its earlier record.
Clean the background for the gallery, never for the record
The presentation image is where the background comes out. Run the record shot through remover.bg: it copes with a shawl's fringe, taxidermy fur and the wires of a bonnet frame. Set the object on one flat colour and reuse that colour across the catalogue — fifty accessions on one grey read as a collection rather than fifty separate afternoons. A soft contact shadow stops a vase floating; our notes on realistic shadows explain why that small dark point is what makes an object sit on a surface. Where a leaflet needs no background at all, export a transparent PNG.
Two lines not to cross. The record image is not altered in any way that changes the evidence — not the background, not the colour balance, not a distracting cable — and your own documentation policy should state which files are the masters and what, if anything, may be done to them. Keep the untouched master, file the cut-out beside it as a labelled derivative, and put a line on your collections page saying that gallery images have had their backgrounds replaced and are not conservation records.
You upload a copy, not your archival master: export a PNG, JPEG or WebP from your own image software, under the ten-megabyte upload limit. Societies with several thousand accessions can drive the same step from the background removal API inside a cataloguing script.
The half-hour that pays for itself
Pick your backdrop colours, buy a scale bar and a colour target, fix the camera height, write the recipe on a card and tape it to the wall. The rest is repetition — the one thing a volunteer rota is genuinely good at.