English
 Español
 Português (BR)
 Deutsch
 Français
 Italiano
 Türkçe
 Bahasa Indonesia
 Русский
 日本語
日本語 한국어
한국어 Українська
 Tiếng Việt
 Polski
 Nederlands
 ไทย
ไทย Română
 简体中文
简体中文 繁體中文
繁體中文 العربية
 Български
 Filipino
 हिन्दी
 اردو
اردو বাংলা
বাংলাHow to Prepare an Obituary Photo for the Newspaper
Preparing an obituary photo on deadline: how to judge focus, crop to head and shoulders, use a plain background that survives newsprint, and which file to send.
- obituary photo
- memorial
- background removal
- portrait
- printing
- newspaper
- photo editing
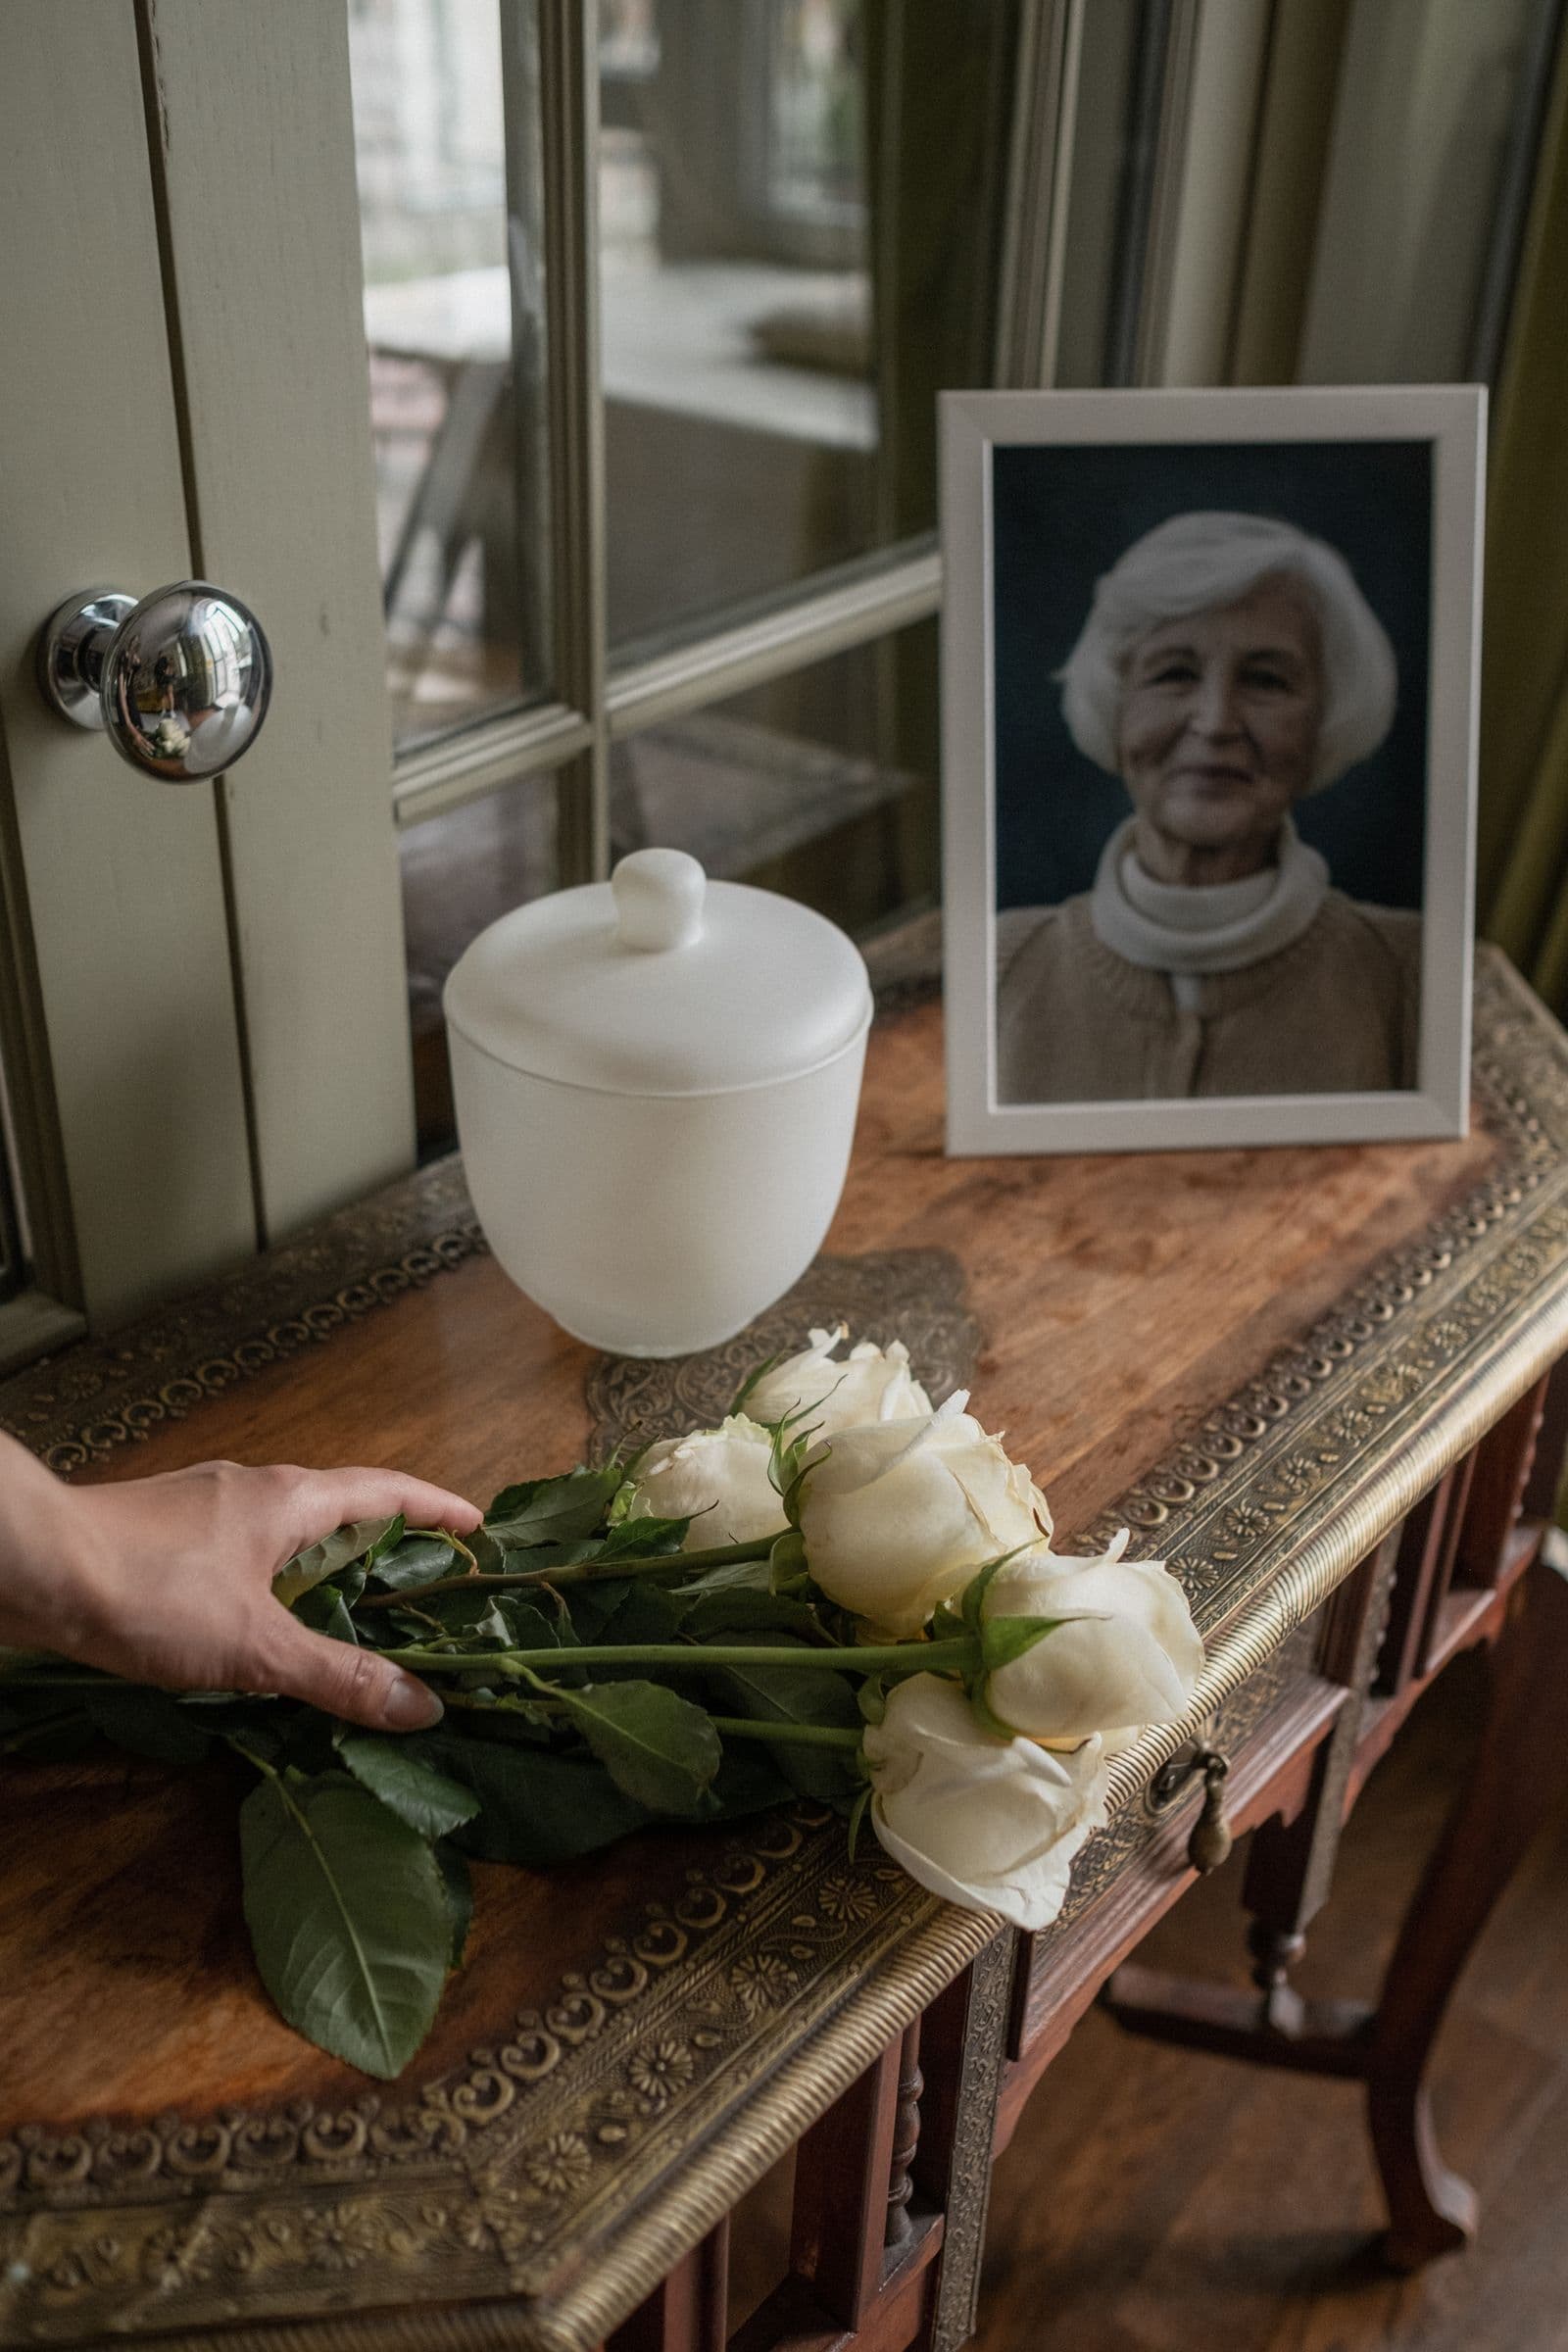
The funeral home wants the photo by tomorrow morning, the newspaper has a deadline behind that, and the family group chat has produced forty pictures and no decision.
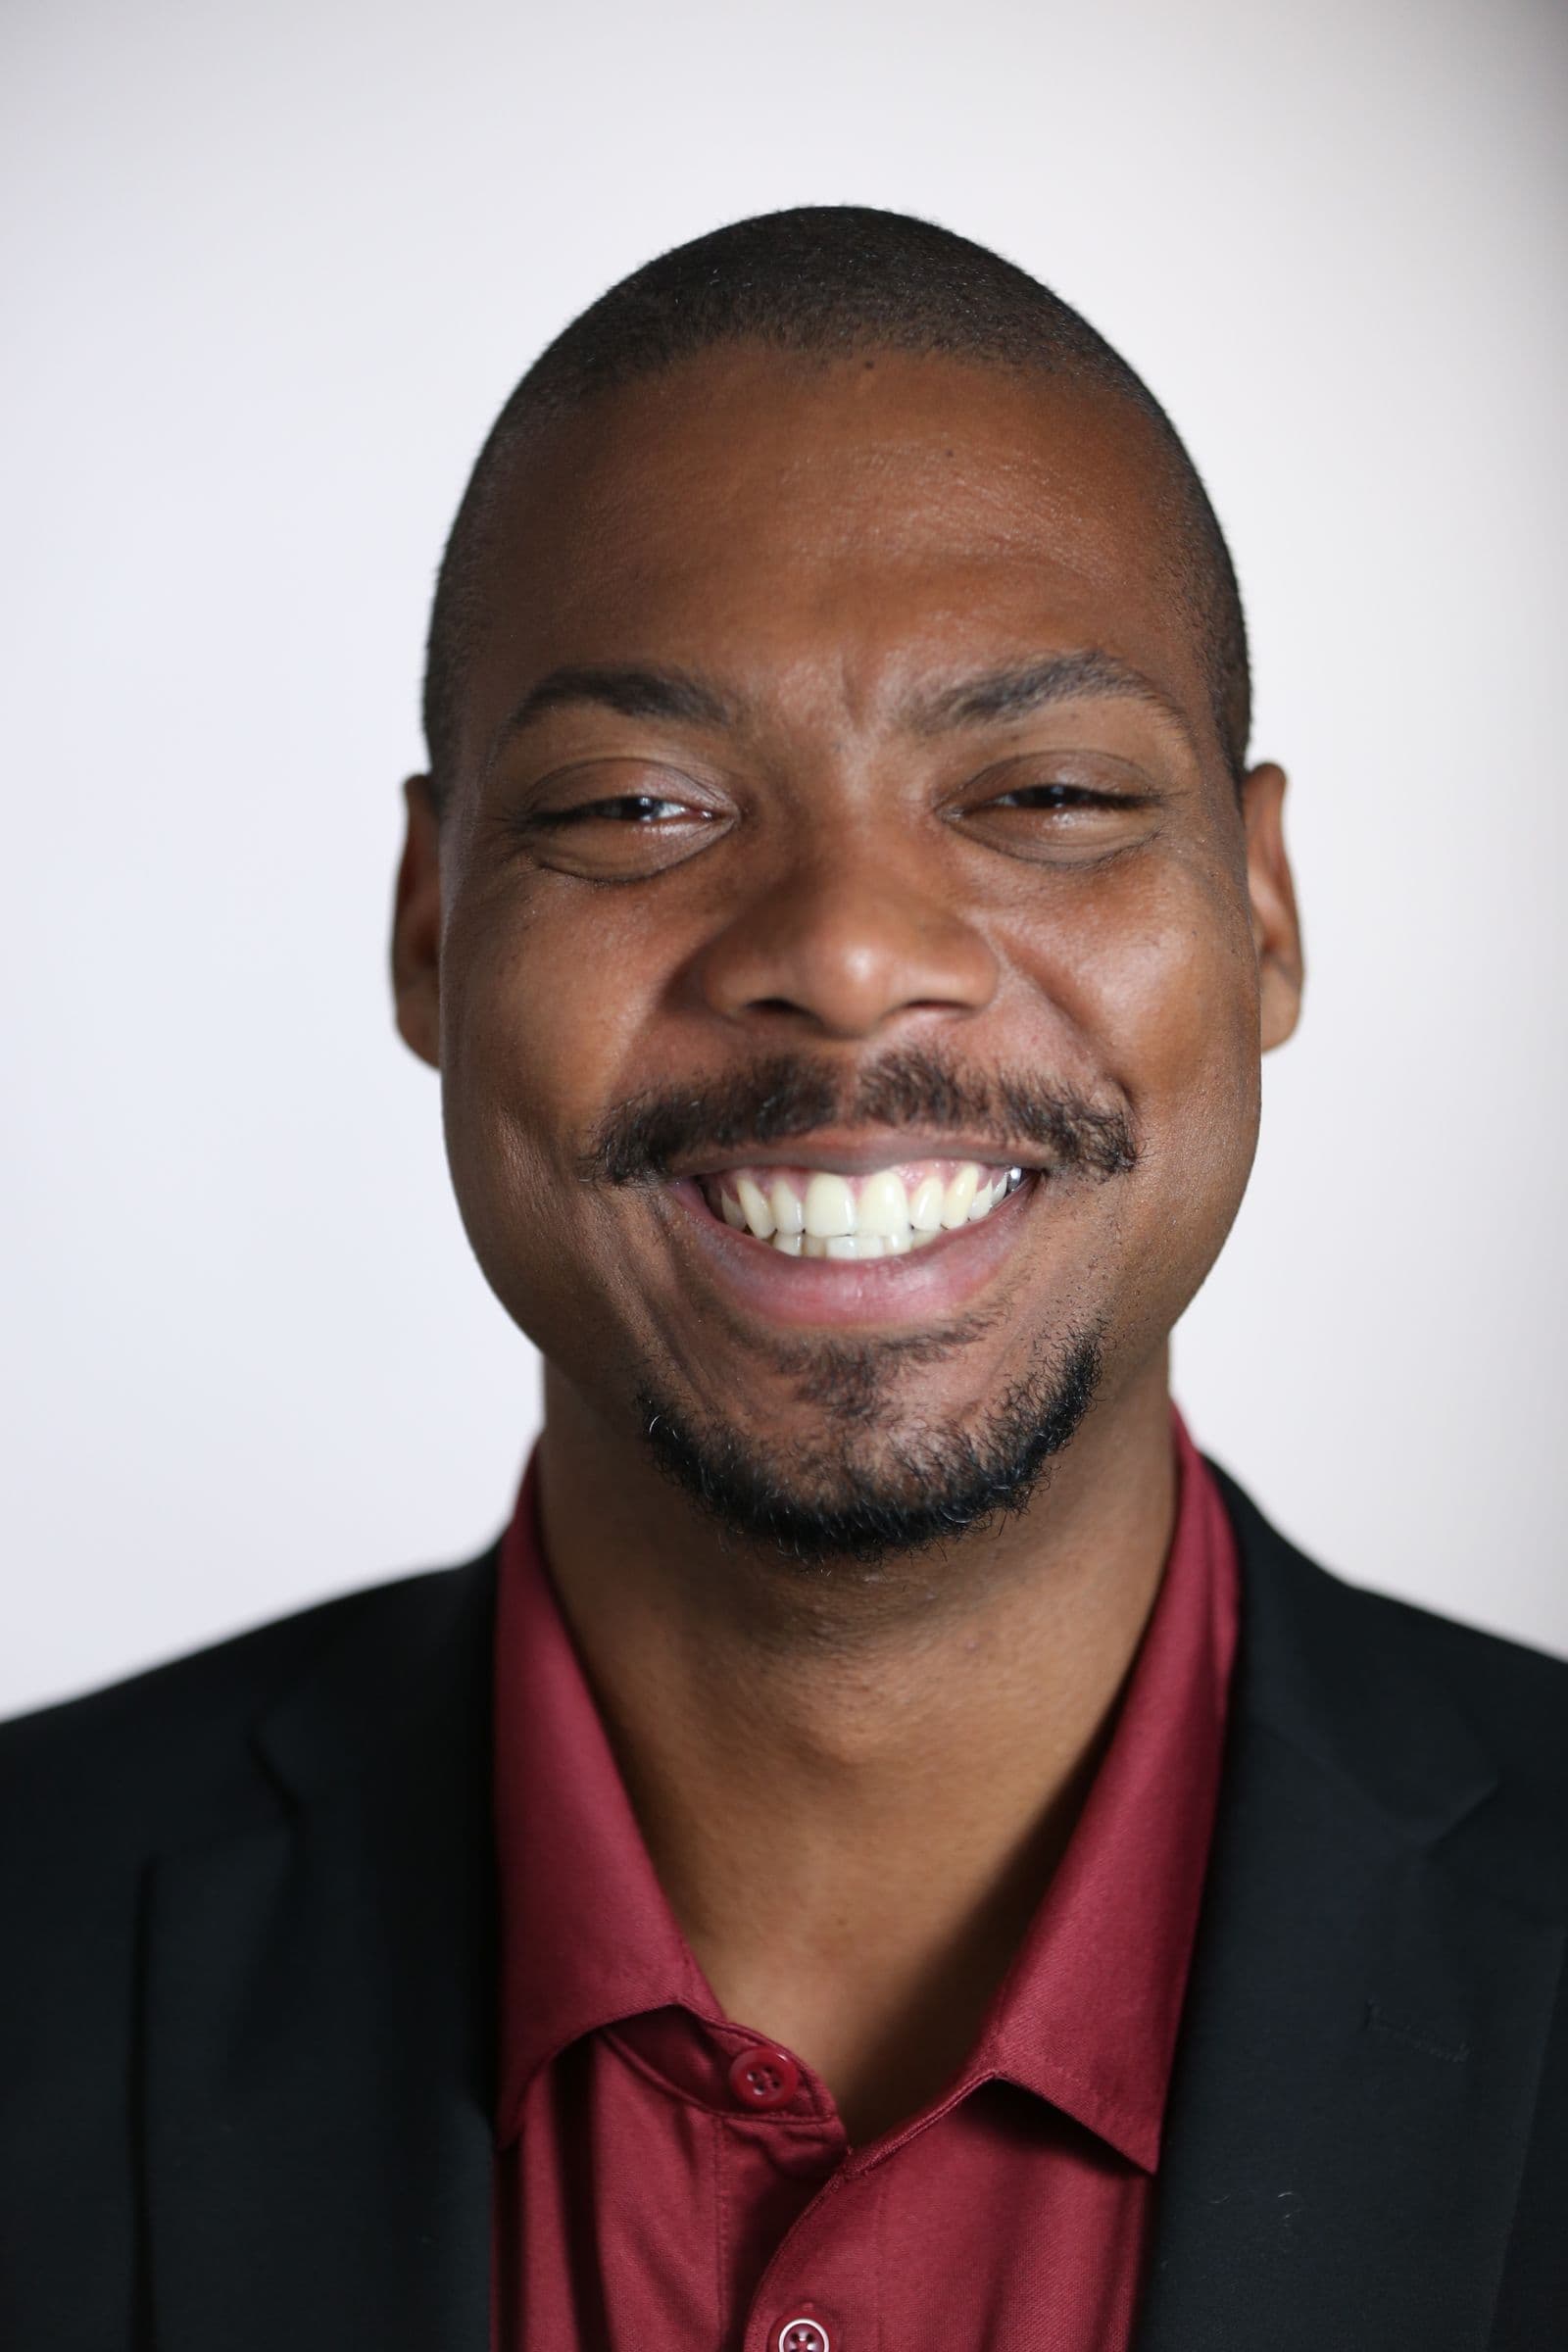
What the paper needs is narrow: a head-and-shoulders picture, sharp on the face, with as little as possible behind the head. Obituary photos run small — a column or two wide, depending on the paper and the notice you buy, so ask. They print in black halftone on uncoated stock that soaks the ink up and spreads it, so fine detail fills in and anything but the face competes with it.
Pick the sharpest face, not the best memory
Which era of someone's life to show is a family conversation. Bring one technical veto to it: the face has to be in focus.
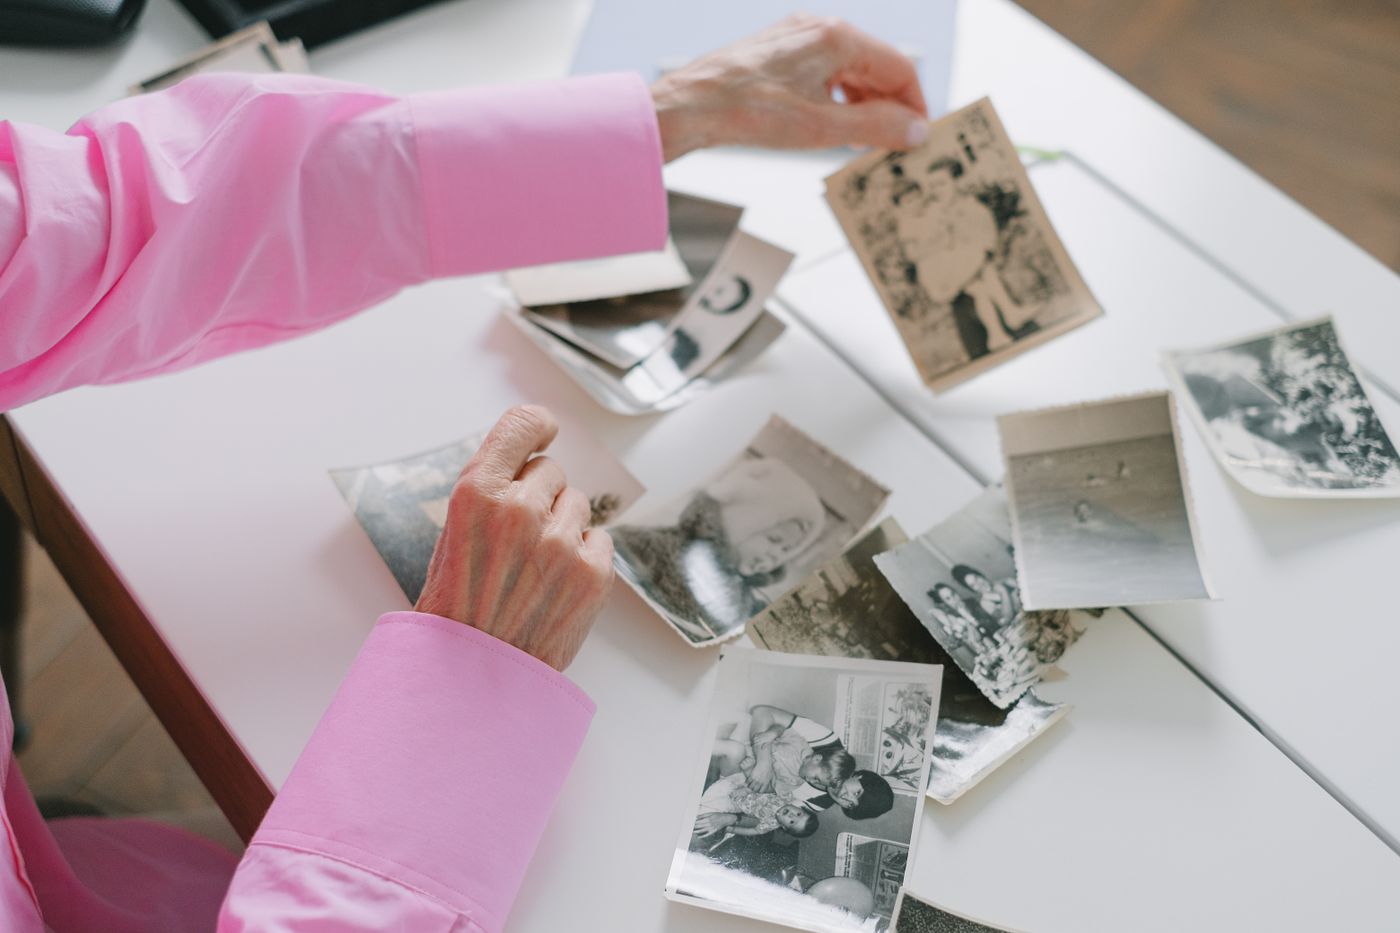
Zoom in on the eyes. If the eyelashes and the edge of the iris are mushy, the photo is soft. Printing small hides mild softness, but not an out-of-focus face — the eyes stay mushy at any size.
The other disqualifiers: sunglasses, a hat brim throwing the eyes into shadow, a hard flash shadow across half the face, a head turned so far one eye is hidden. If the only good photo is a print in an album, copy it flat under a window rather than a ceiling light, with your own shadow off the page.
One caution on studio portraits: owning the print is not the same as owning the picture. The US Copyright Office puts it plainly — copyright "is the right of the author of the work or the author's heirs or assignees, not of the one who only owns or possesses the physical work itself." Where a studio employed the photographer, it may hold the rights as a work made for hire, so call the studio first and get permission in writing.
Frame it to head and shoulders
A common mistake is sending the full-length version: the paper shrinks it to column width and the face ends up a thumbprint.
In your phone's photo editor, crop so the top of the head sits near the top edge and the frame ends around mid-chest. Hold the phone at arm's length; if you cannot immediately tell who it is, crop tighter. The framing that makes a good profile picture applies here.
The background is doing more damage than you think
Colour hides how bad a background is. In grey, the bookcase, the wallpaper and the car in the driveway collapse into mid-tones at the same brightness as hair and shoulders, and the outline of the head stops being an outline.
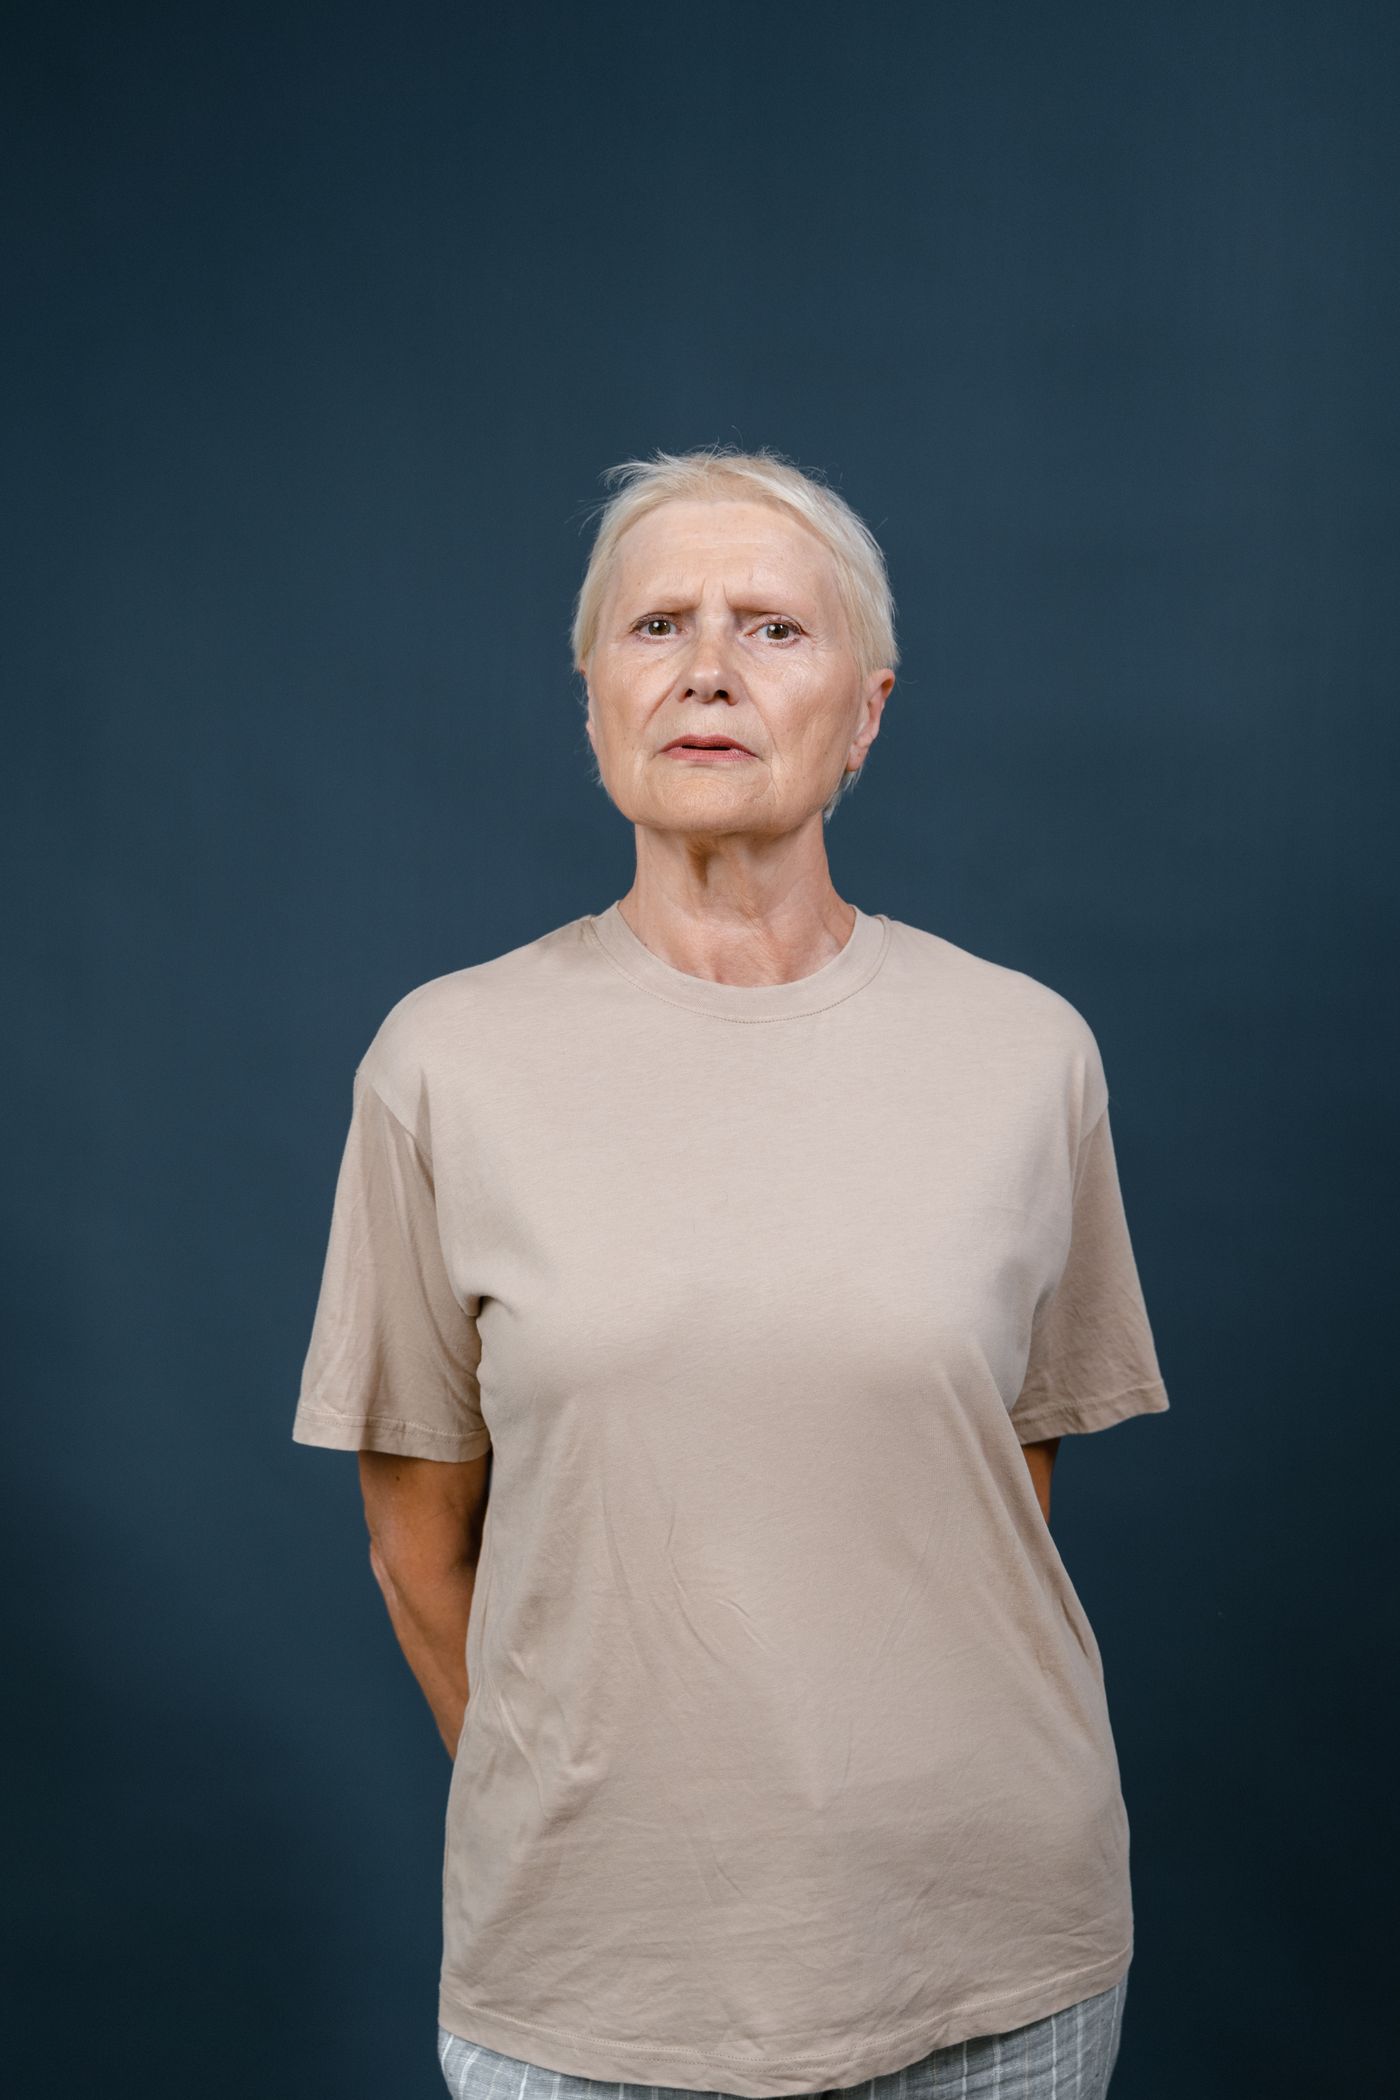
What prints cleanly is a plain background a clear step away in brightness from the hair. Dark hair wants something lighter behind it; white or silver hair wants a soft mid-grey rather than pure white, or the crown dissolves into the page. Saturated red or navy turns into heavy dark grey and swallows the shoulders.
Upload the picture to remover.bg — JPEG, PNG or WebP, up to 10 MB — and it lifts the person off the scene behind them. Set a flat neutral in the editor: pale grey, or soft warm beige if the notice prints in colour. Check the flyaways at the crown before you export. Same logic as a passport photo taken at home, minus the rulebook.
When the only good photo is a group shot
Often the only picture where they look like themselves is from a wedding, with a grandchild's shoulder in frame and a table of glasses behind.
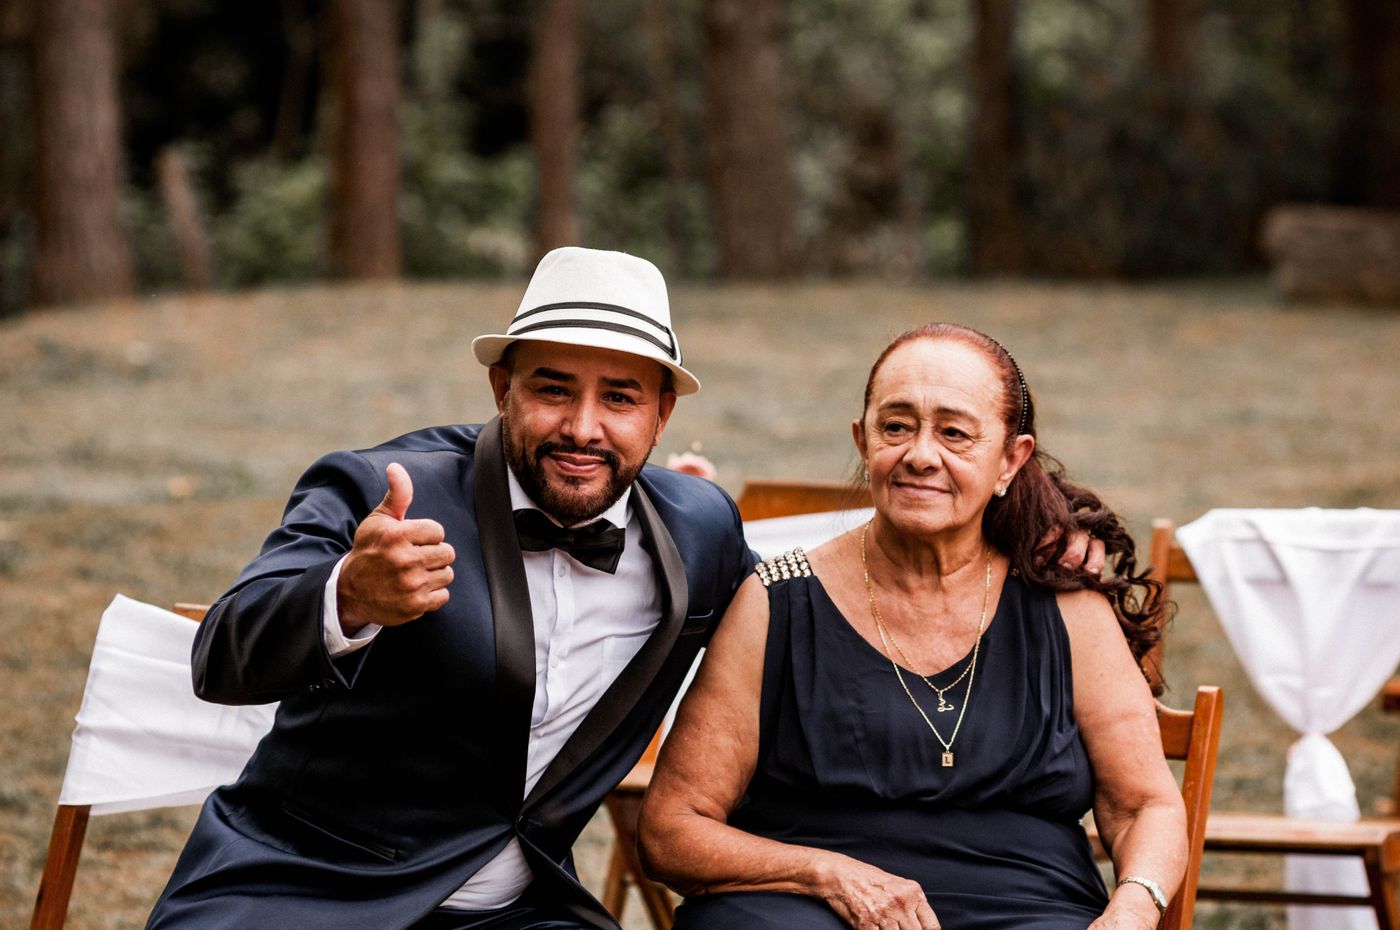
First crop the frame in your phone's photo editor so only they are in it — background removal separates the person from the scene, it does not pick one face out of a crowd. Then upload that crop, drop in a plain background, and tighten to head and shoulders.
Watch your crop line. If someone's arm was around them, a tight crop can leave a stump that reads as damage, so choose a frame where their own shoulder line is complete. Watch the glasses too: windows reflected in the lenses distract at small size, and the only fix is another photo.
Clearing the room out behind someone is housekeeping. Changing the person is not — nobody should make them look younger or healthier. The photo is a record.
Shadows, colour and the file you send
For the printed notice, keep the portrait flat with no added shadow; newsprint supplies enough murk. On an order of service or memorial card, a soft contact shadow under the shoulders stops the portrait looking pasted on, as long as it stays subtle and realistic.
Then:
- JPEG is the safe default for funeral home portals; PNG and WebP work if the portal accepts them.
- Send the largest original you have, not a copy pulled out of a group chat: a paper can reduce a photo, it cannot invent detail. Check the portal's own size limit first.
- Name the file with the person's full name; whoever receives it is handling several families this week.
- Ask whether the notice prints in colour or greyscale, and whether the same file goes online.
Before you hit send
Look at it small once more, roughly the size it will run. If the face is sharp, the head reads clearly against the background, and it looks like the person the family knows, send it and stop second-guessing.