English
 Español
 Português (BR)
 Deutsch
 Français
 Italiano
 Türkçe
 Bahasa Indonesia
 Русский
 日本語
日本語 한국어
한국어 Українська
 Tiếng Việt
 Polski
 Nederlands
 ไทย
ไทย Română
 简体中文
简体中文 繁體中文
繁體中文 العربية
 Български
 Filipino
 हिन्दी
 اردو
اردو বাংলা
বাংলাTwitch Emotes From Photos: Your Face or Pet as Stream Art
Make Twitch emotes from a photo: current emote and sub-badge upload sizes, why bold silhouettes still read at 28 pixels, and the photo-to-transparent-PNG steps.
- twitch emotes
- streaming
- stream graphics
- transparent png
- content creation
- channel branding
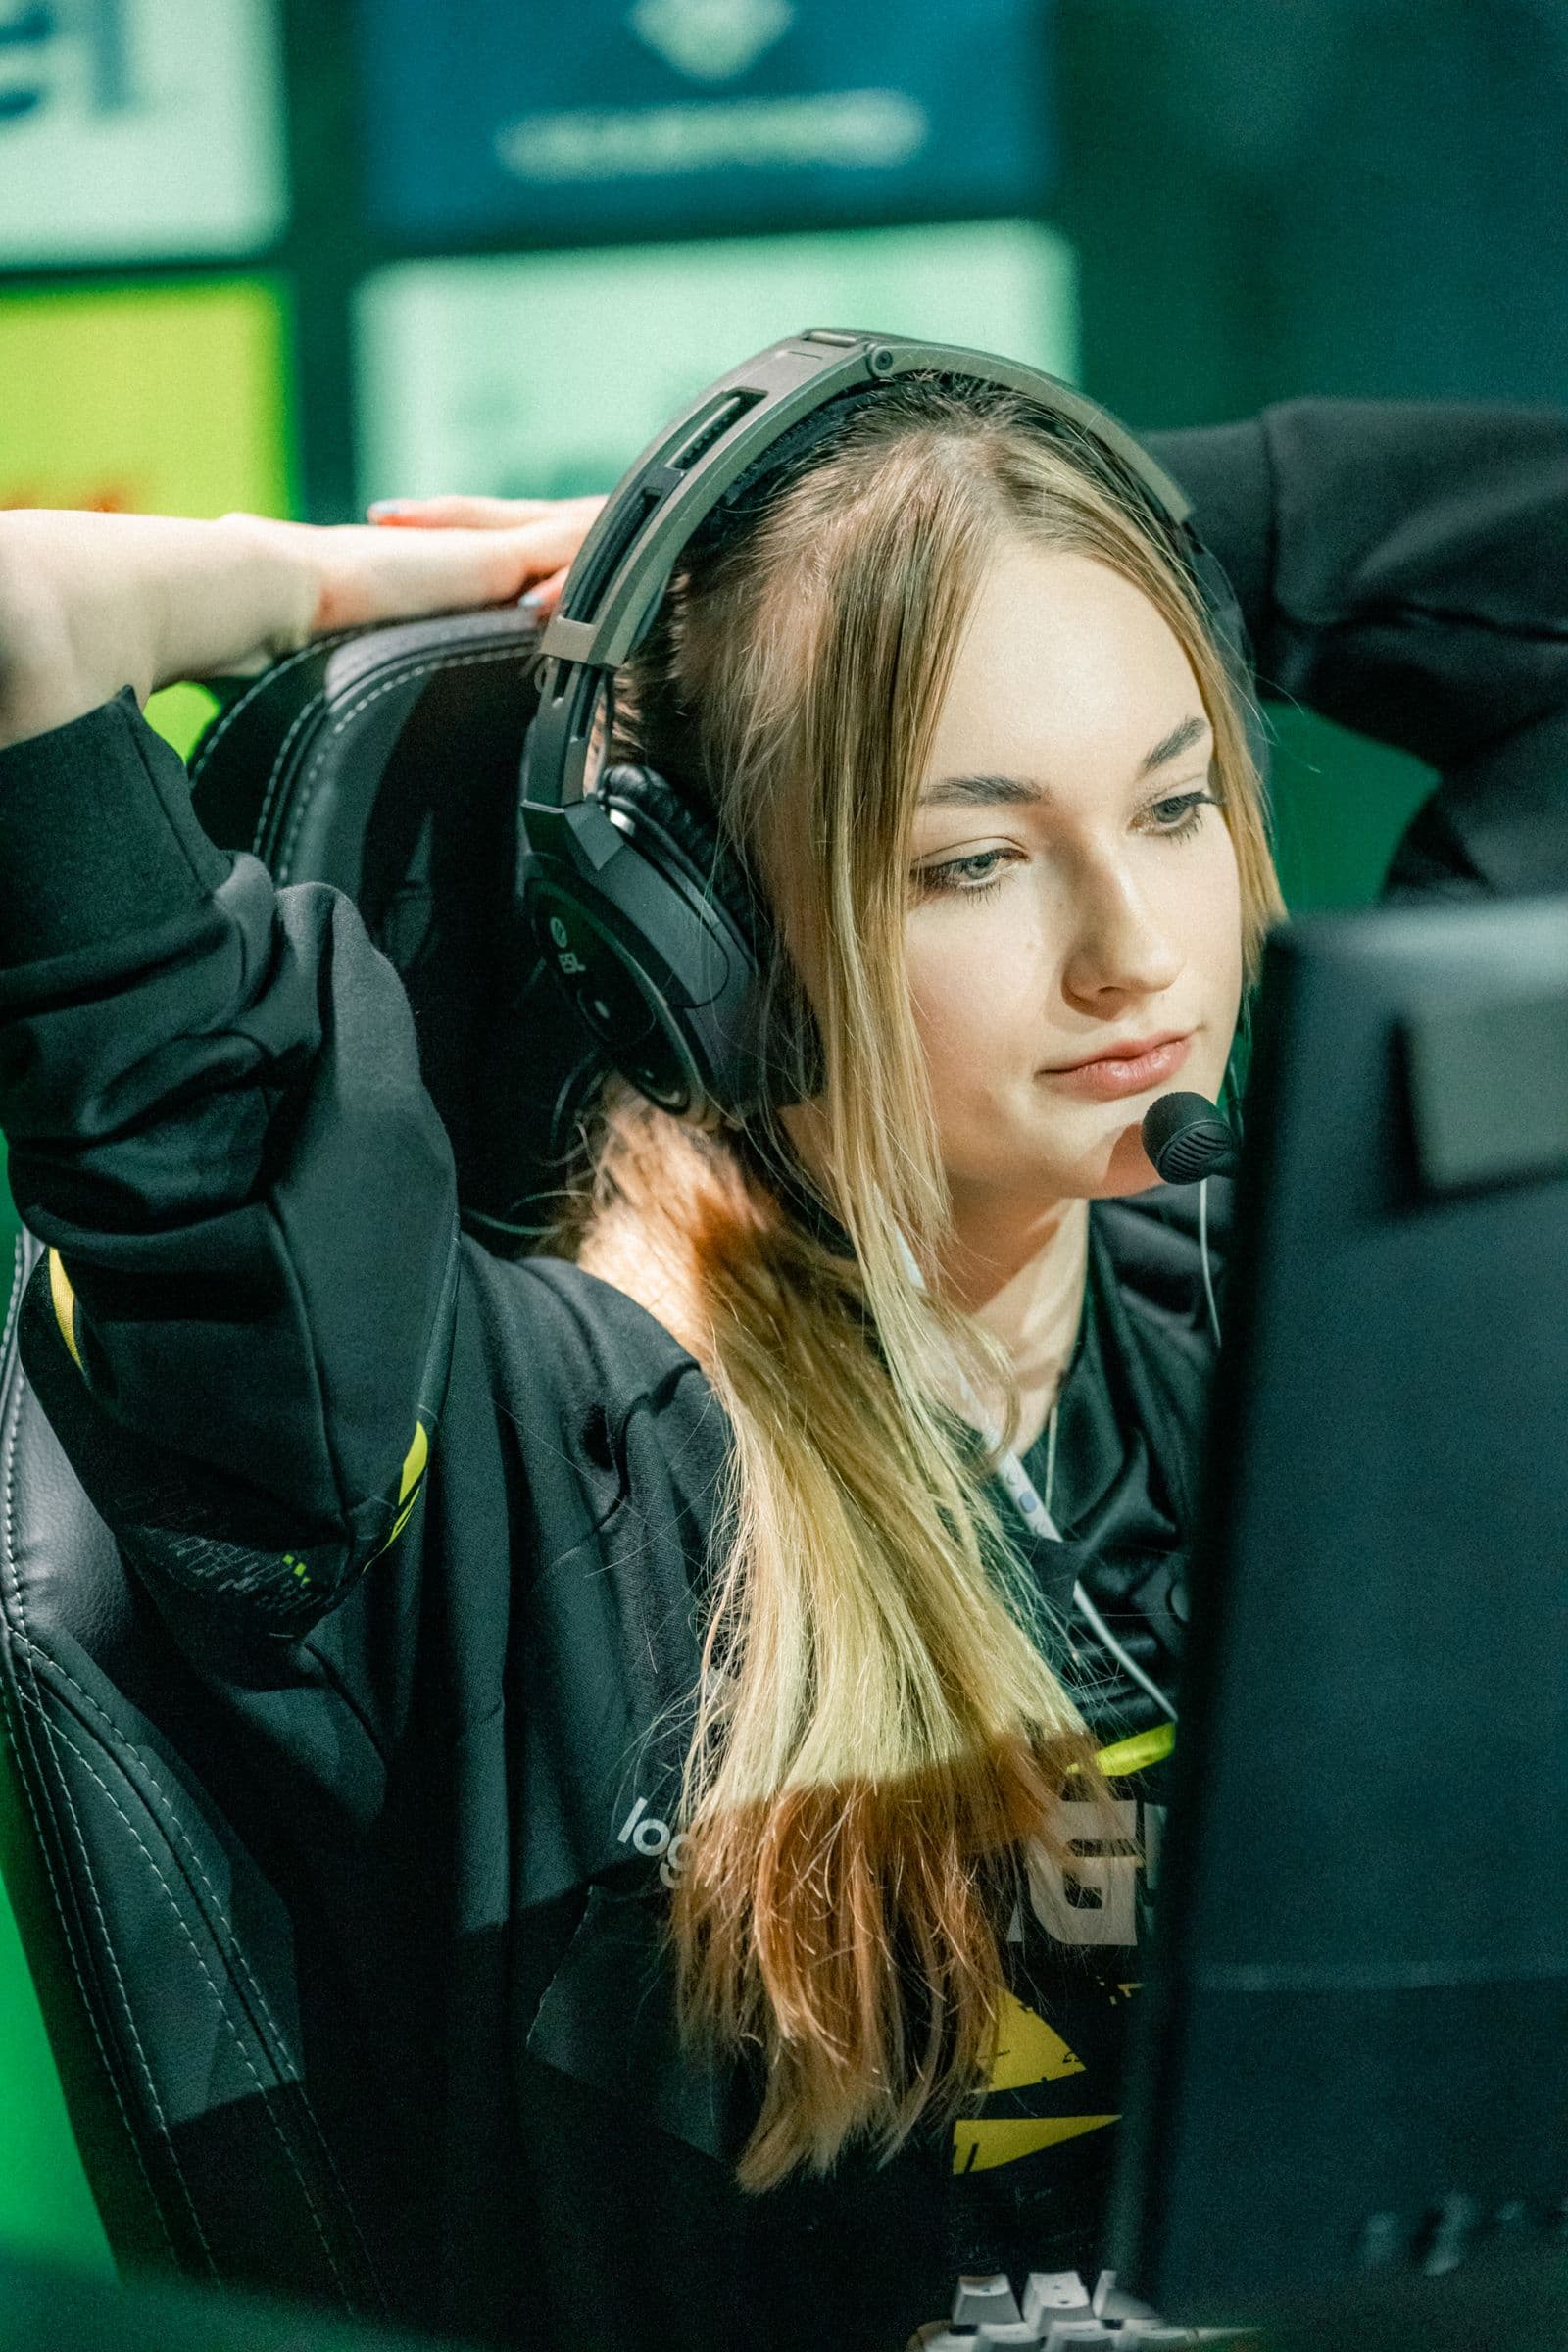
Ask any Twitch regular what makes a channel feel like home and they won't say the overlay or the intro music. They'll say the emotes. When your community spams your face — mid-laugh, mid-rage, mid-facepalm — that's branding money can't buy.
Good news: you don't need to be an illustrator. A photo of your actual face, your dog, or your channel mascot makes a stronger emote than a generic cartoon, because it's unmistakably yours. The hard part isn't drawing. It's getting a clean cutout and making it readable at the size of a pea.
Here's what Twitch currently requires, why silhouette beats detail every time, and how to turn one phone photo into a matching set of emotes, badges, panels, and overlays.
Twitch Emote Sizes and Upload Rules (2026)
As of July 2026, Twitch's subscriber emote guide gives Affiliates and Partners two upload paths:
- Auto-resize — upload one square PNG, at least 112x112 pixels, with a transparent background. Twitch generates the 56x56 and 28x28 versions for you.
- Manual mode — upload all three sizes yourself (28x28, 56x56, and 112x112) when you want pixel-level control over each one.
Auto-resize is convenient, but always preview the result at 28 pixels — automatic downscaling can turn fine detail into mush. Sub badges are a separate upload with their own trio: 18x18, 36x36, and 72x72, also transparent PNGs. File size caps are tight and have changed over the years, so trust the limit shown on your Creator Dashboard's upload screen rather than an old blog post.
Why Emotes Need Bold Silhouettes and Big Expressions
Design happens at 112 pixels, but life happens at 28. That's the size most viewers see in chat, sandwiched between messages, often on a phone — the same shrink that reduces busy podcast cover art to a gray smudge in an app grid. Detail doesn't survive the trip.
What does survive:
- A tight crop — forehead to chin, edge to edge. Shoulders and backgrounds are wasted pixels.
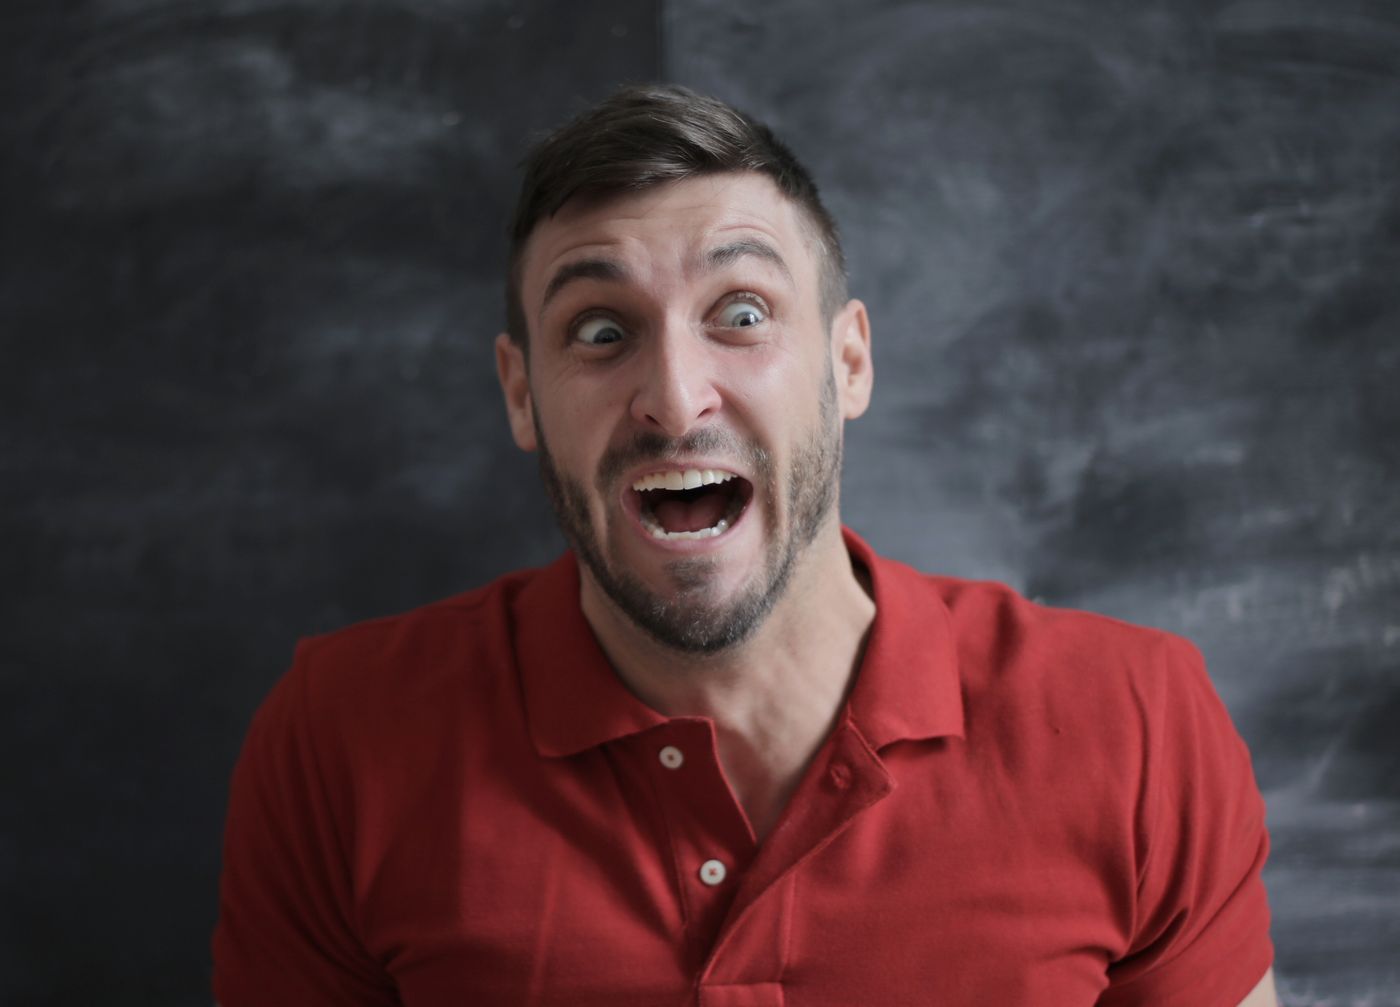
- An exaggerated expression — a subtle smirk reads as a neutral face at chat size. Open the mouth wider and raise the eyebrows higher than feels natural. Overacting is the job.
- One idea per emote — hype, rage, cry, LUL. If someone needs a second to parse it, it won't get spammed.
- Contrast and outline — a thick, consistent outline separates the face from any chat theme, dark mode included.
The test is simple: shrink the design to actual 28-pixel size and step back. If you can't name the emotion instantly, simplify and try again.
From Phone Photo to Transparent PNG: The Cutout Workflow
- Shoot a batch — face a window, stand in front of a plain wall, and capture 10 to 15 expressions in one session. Consistent lighting now means a consistent emote set later.
- Cut the background — run each frame through remover.bg. Clean edges around flyaway hair and pet fur are exactly where DIY erasing falls apart, and stray background pixels are what make an emote look amateur once it's shrunk.
- Style it — crop square in your design tool and, if you want that classic sticker energy, add a thick white outline — the same trick from our guide to making stickers from photos.
- Export a transparent PNG — Twitch requires transparency, so a JPEG with a white box is an instant rejection. If alpha channels and export settings aren't your comfort zone, our transparent PNG guide has you covered.
Pet emotes follow the exact same pipeline and often outperform human ones. Nobody scrolls past a pomeranian doing a perfect rage face.
One Cutout, Whole Channel: Badges, Panels, and Overlays
The same cutout that becomes your emote can brand everything else on the page — and that consistency is what makes a channel look professional instead of assembled from free templates.
- Sub badges — at 18x18, even a face is pushing it. Reduce your cutout to a silhouette or a single feature (the cap, the ears) and shift the color per sub tier.
- Panels — let the cutout peek over the edge of your About and Schedule panels. Instant personality, zero illustration budget.
- Overlays and alerts — reuse the same cutout, outline weight, and two-or-three-color palette. A new-follower alert should look related to the emotes being spammed below it.
- VOD thumbnails — the identical technique drives clickable YouTube thumbnails, so your highlights channel matches your live brand.
Pick your palette once, write down the hex codes, and reuse them everywhere. Viewers should recognize your channel from a single badge.
The Takeaway
Twitch hands you the specs: a square transparent PNG at 112x112 or larger, with the small sizes generated for you — or upload 28, 56, and 112 yourself for full control. Your job is everything the specs don't say: overact for the camera, crop tight, cut a clean edge, and keep one visual language across emotes, badges, panels, and alerts. One good photo session plus one clean cutout workflow, and your chat finally has your face to spam.