English
 Español
 Português (BR)
 Deutsch
 Français
 Italiano
 Türkçe
 Bahasa Indonesia
 Русский
 日本語
日本語 한국어
한국어 Українська
 Tiếng Việt
 Polski
 Nederlands
 ไทย
ไทย Română
 简体中文
简体中文 繁體中文
繁體中文 العربية
 Български
 Filipino
 हिन्दी
 اردو
اردو বাংলা
বাংলাTrade Show Banner Images That Survive Large Format Print
Trade show banner images fail in print, not on screen. Work out the pixels your subject needs at 150 DPI, and catch the grey halo before the printer does.
- trade show
- pull-up banner
- print preparation
- background removal
- product photography
- DPI
- large format
- booth graphics
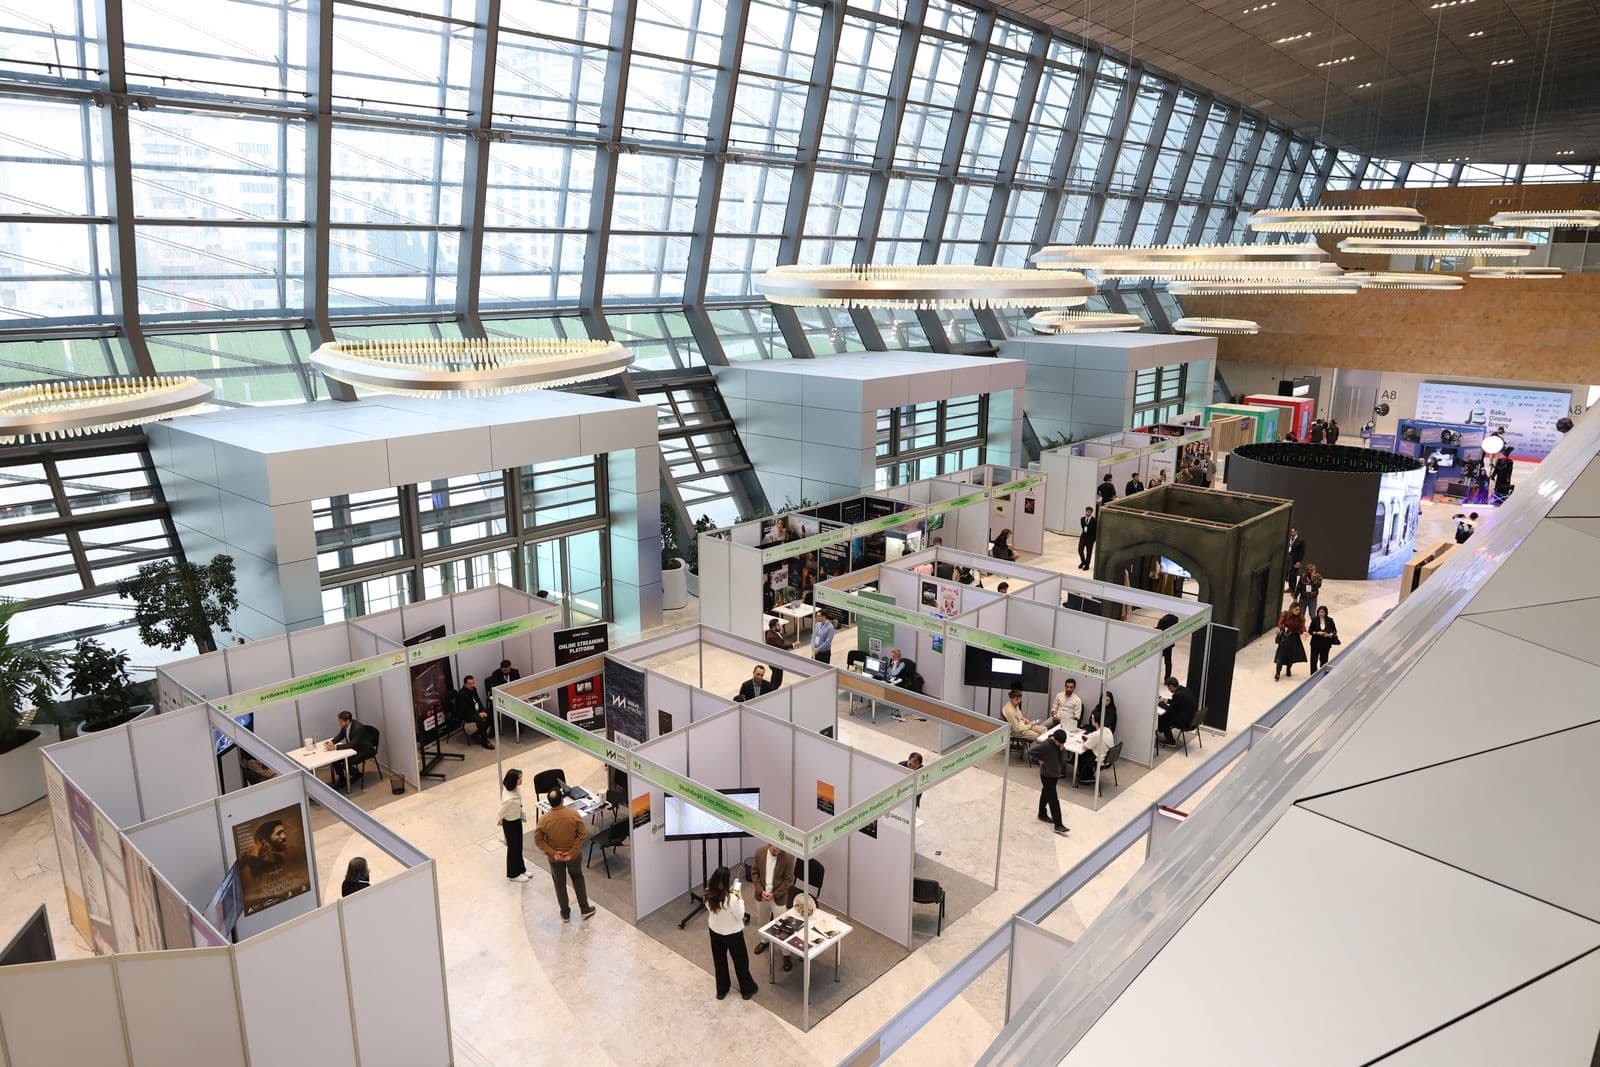
The product shot on your website looks perfect: sharp on a laptop, sharp on a phone, on the shop page for a year with nobody complaining. Then it goes into a pull-up banner layout, the printer sends a proof, and the image you have stared at for months is a soft blob with a pale grey outline, two metres tall, next to your competitor's stand.
Screen and print fail differently. On screen a slightly soft image usually gets away with it — viewing distance and the display's own smoothing hide a lot. A large-format printer stretches those pixels across vinyl taller than the person reading it, so every weakness — low resolution, a soft cutout edge, leftover background on the outline — is magnified with it.
Banner artwork punishes two things: too few pixels, and an edge never checked against the colour it prints on.
Work out the pixels you actually need
Start from the physical size. Instantprint lists the classic UK roller banner as 800mm by 2000mm, with wider frames at 1m, 1.2m and 1.5m; Vistaprint sells US retractable banners from 24" x 62" up to 47" x 81".
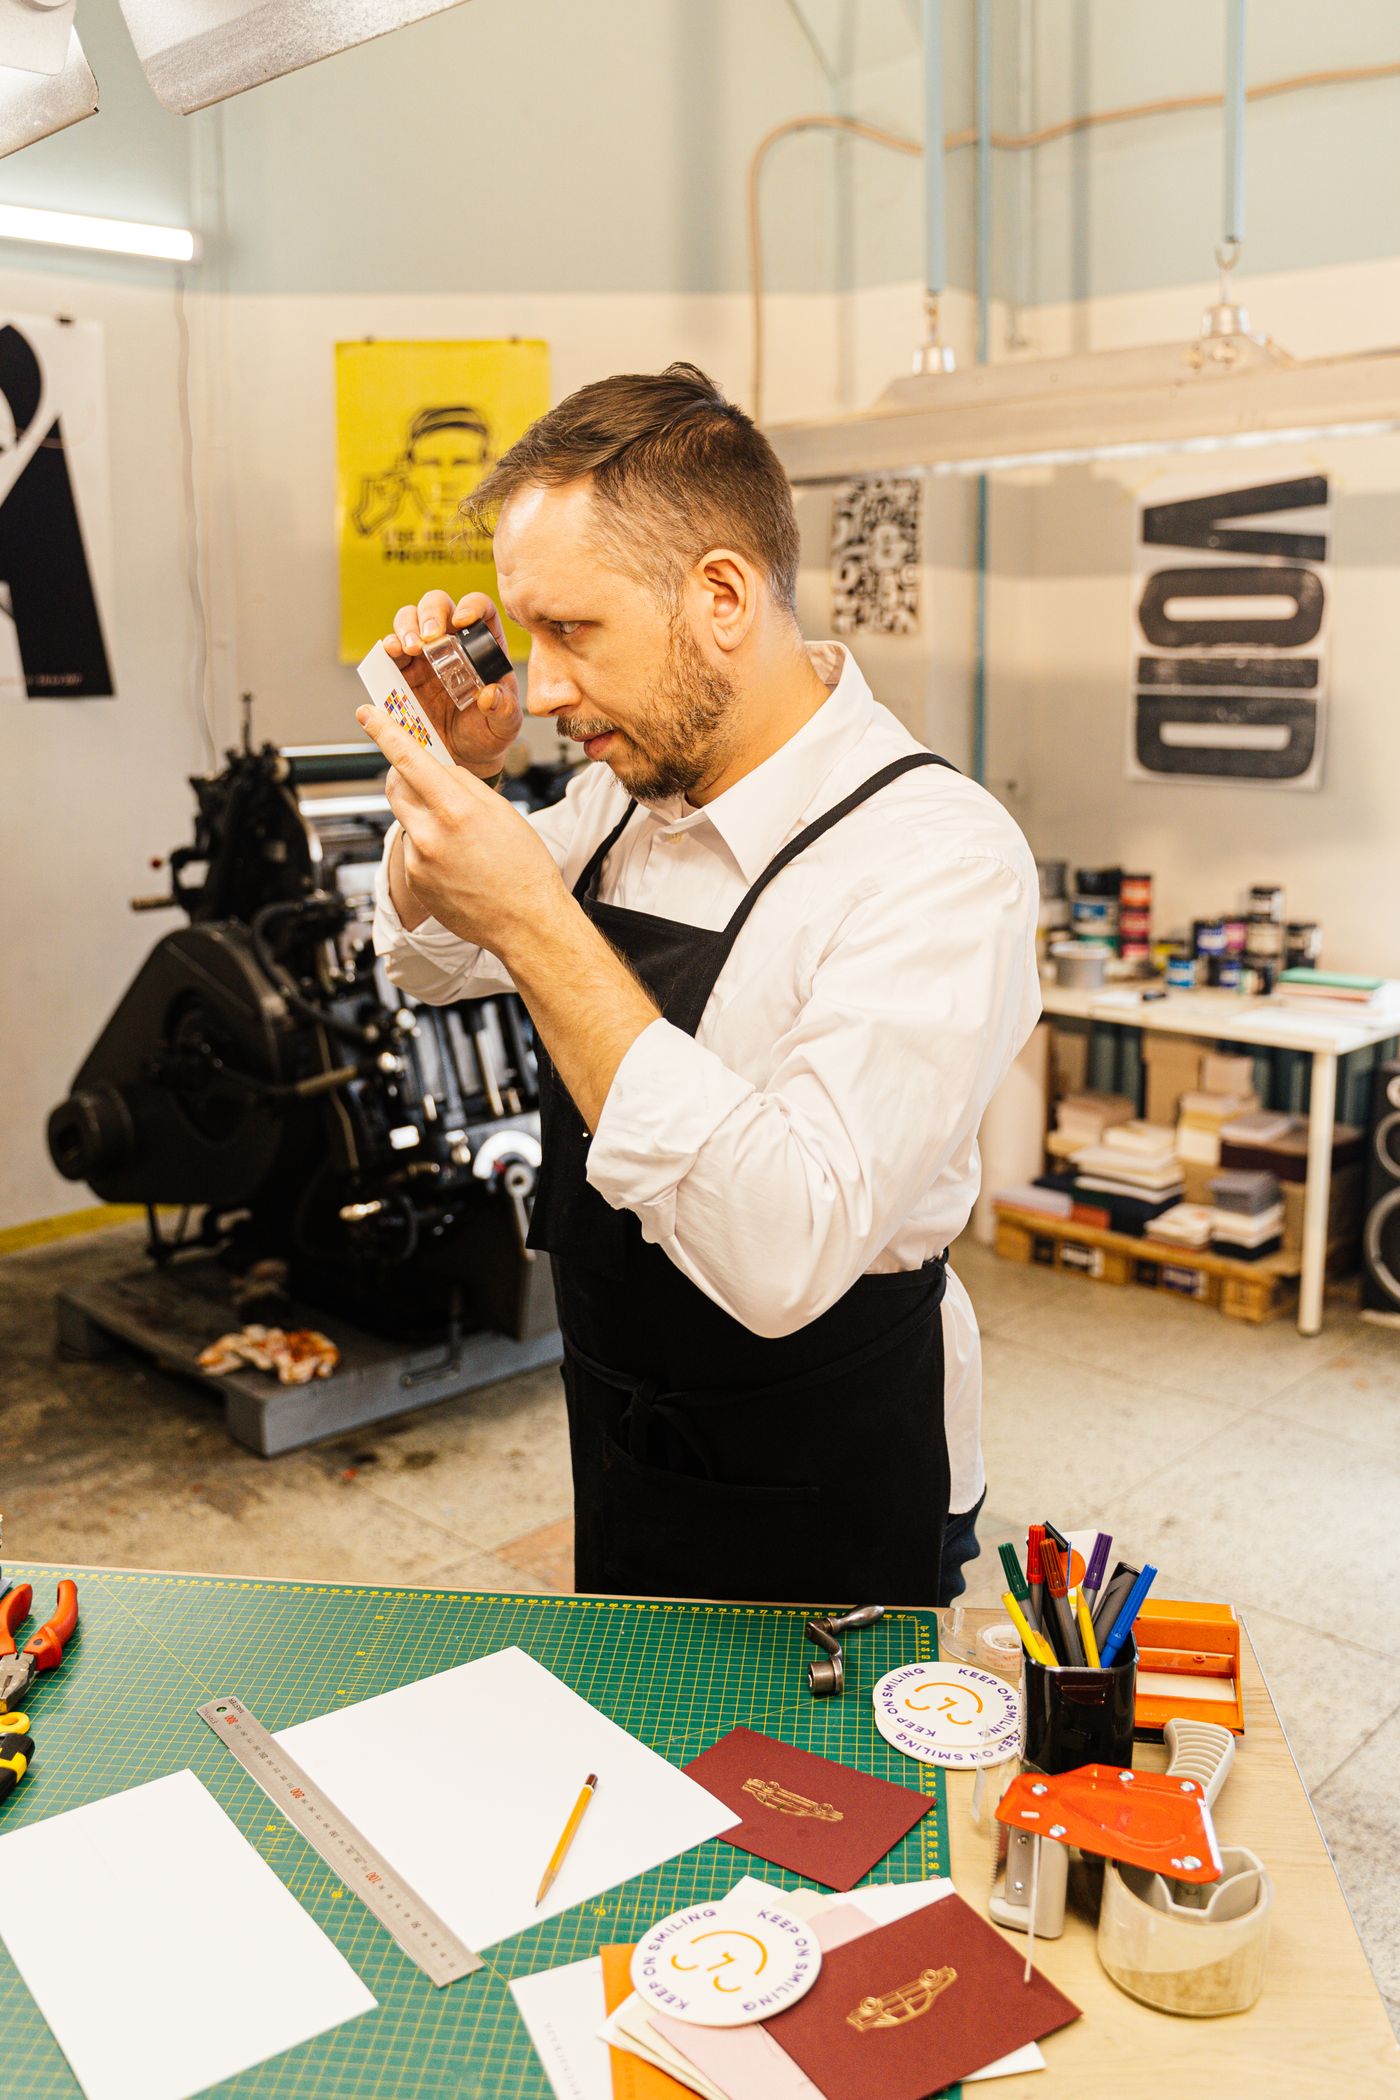
Banners are read from a few feet away, not at arm's length, so they do not need the 300 DPI of a business card. Vistaprint tells retractable-banner customers to keep artwork at 150 DPI or better — a sane floor.
Now do the arithmetic. 800mm is about 31.5 inches, so at 150 DPI the full banner runs roughly 4,700 pixels wide and 11,800 tall. That figure is for the finished layout in your design tool, not for the cutout you upload. What matters is the size the subject prints at: a jar of skincare occupying 300mm of banner width needs about 1,800 pixels across.
So measure the box your image will sit in, convert to inches, and multiply by 150. A 1,200-pixel-wide cutout printed 400mm across lands near 76 DPI and looks mushy. Reshoot, or dig out the camera original — no tool puts back detail that was never captured.
Why a soft edge becomes a grey halo
A cutout that looks flawless on your monitor can carry a one- or two-pixel rim of leftover background — pale spill from a white studio sweep, or a slightly feathered edge. At thumbnail size, invisible. Printed at two metres, it becomes a light-grey outline traced around your product, loudest where the cutout sits on a saturated brand colour.
The background you shoot on therefore matters more for print than for a listing: a mid-grey, or anything that contrasts with your subject, gives the edge something honest to sit against. Hair, fur and fabric fringe are the usual suspects — and on a banner, flyaway hair lands at head height, where everyone sees it.
Check the cutout against the real banner colour
Never judge a cutout on the default checkerboard. Take the exact hex of the banner background from your design file and set that as a custom colour behind the subject. In remover.bg you can drop a solid or custom colour in behind the cutout, which makes a fringe that was invisible on white leap out against deep navy or bright brand orange. Download that version and inspect the edge at 100% in your own photo viewer.
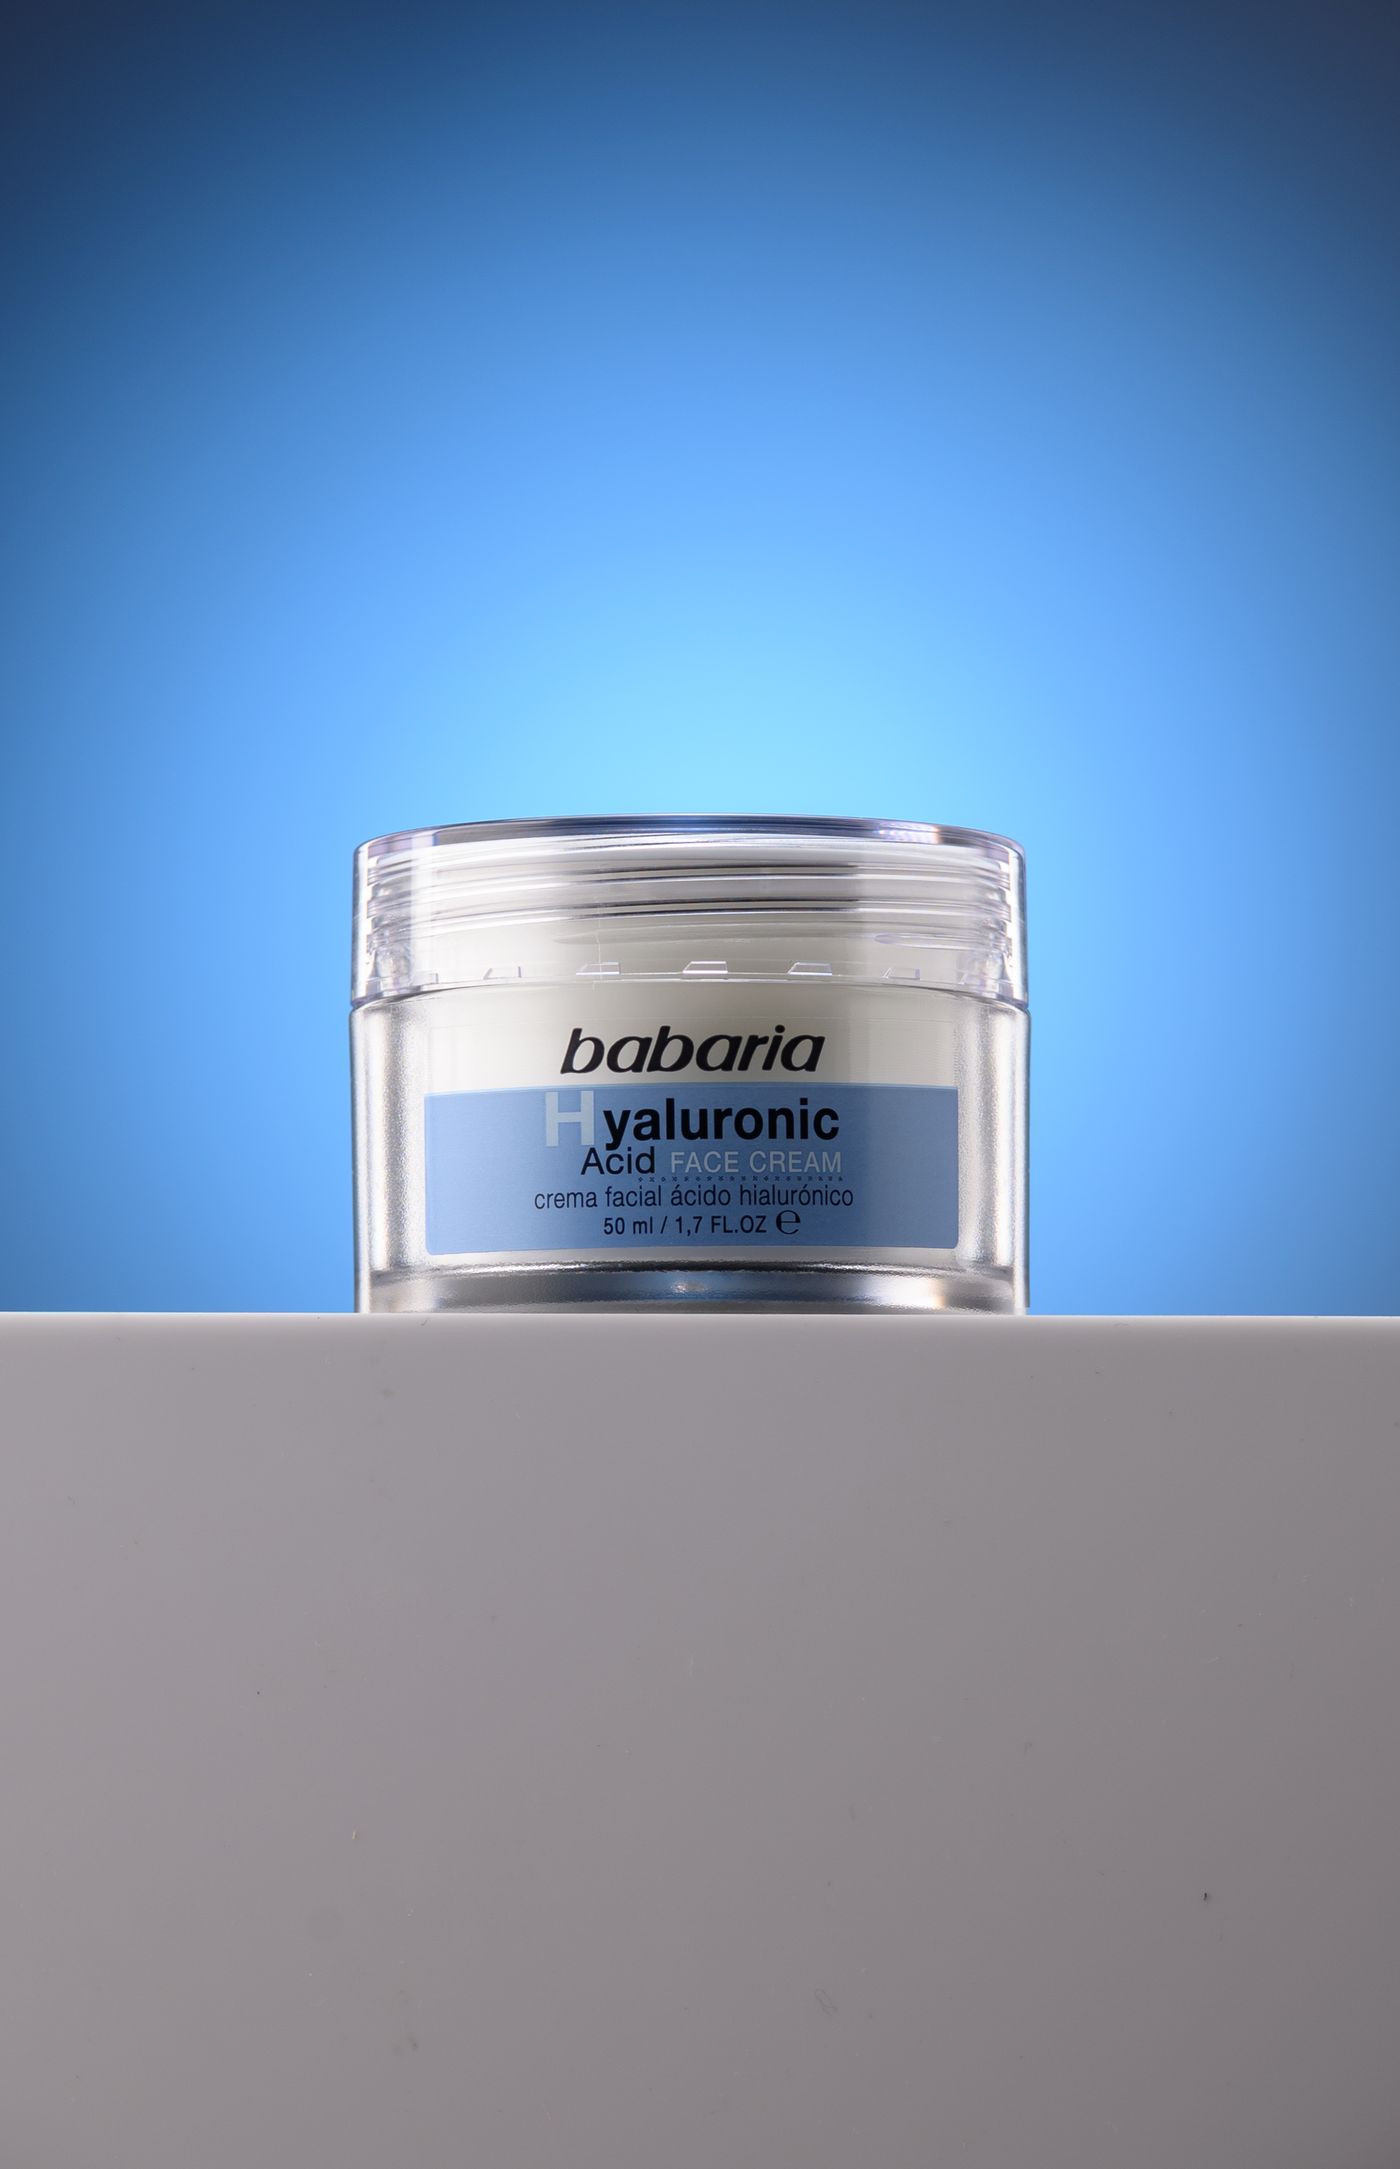
Then decide about the shadow. A product dropped onto flat colour looks like it is hovering, which at banner scale reads as amateur. A soft contact shadow anchors it; remover.bg can add a realistic drop shadow, and our guide to realistic shadows explains why a shadow that agrees with the light in the original photo sells the composite. If the cutout has to sit over a gradient or photo panel instead, keep it as a transparent PNG.
Keep the subject clear of the roller and the base
A pull-up banner is not a rectangle you get to use in full. The bottom winds into the cassette and the top wraps the rail, so anything placed there disappears. Printers publish a template with the visible area marked — use it, and keep your subject's feet or lowest edge comfortably above the cassette line. Nobody notices empty colour at the bottom; everybody notices a cropped shoe.
One file note: camera originals get large, and the upload cap is 25 MB. If yours is over, export a WebP copy from your own photo software rather than crushing JPEG quality — remover.bg takes WebP in and out (WebP works end to end).
One cutout, three surfaces
The economy of a good cutout is reuse: the same isolated product goes on the banner, the table runner, the booth back wall and the follow-up email.
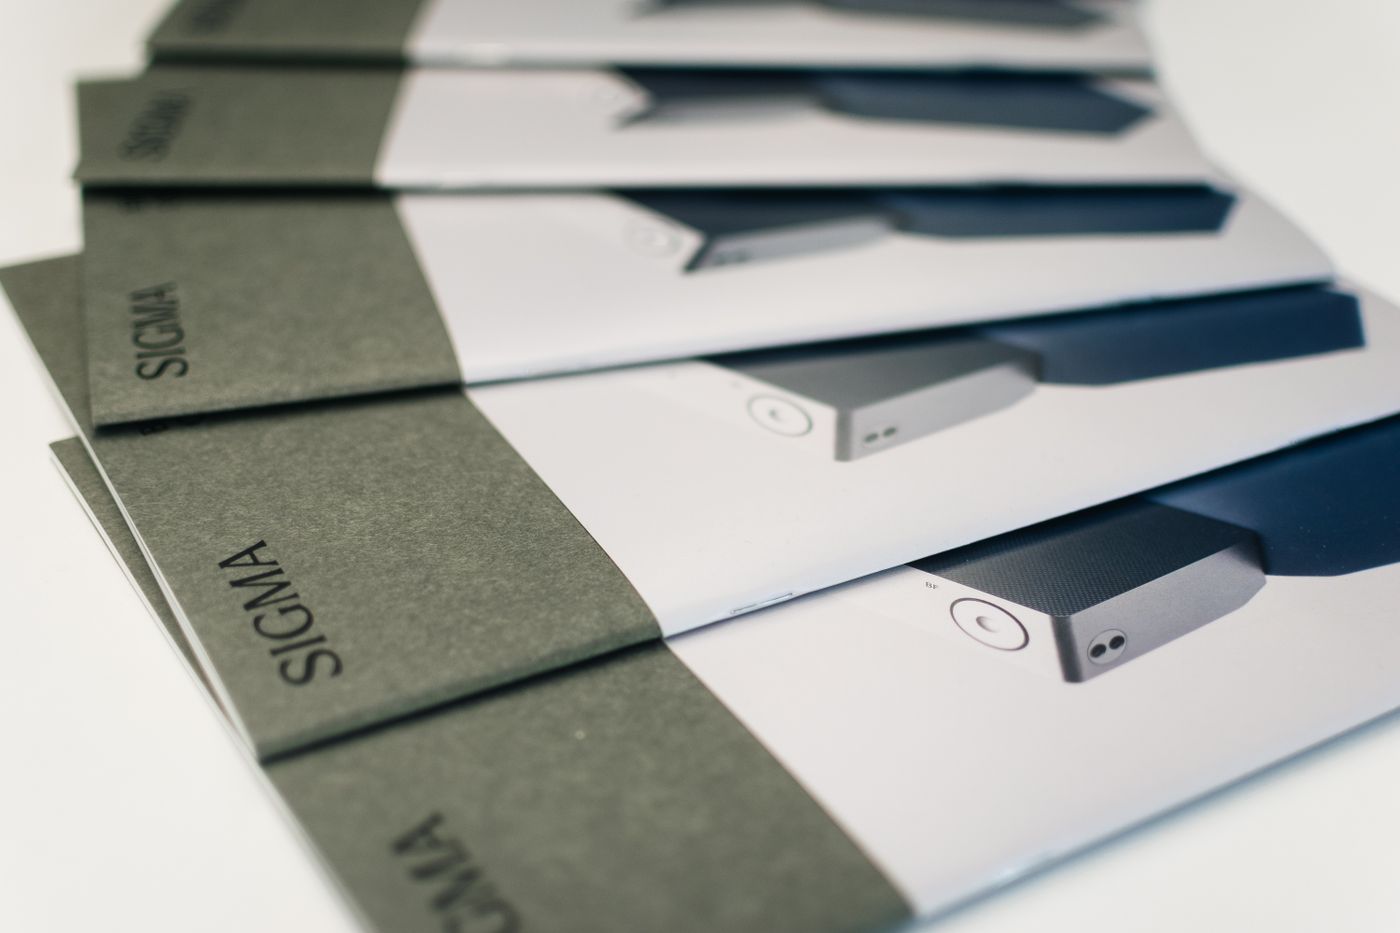
Each surface is a different shape, and you resize and reposition in your own design tool — but the cutout is made once, so every piece shares the same lighting, edge and brand colour. That is what makes a small stand look considered. The print-on-demand prep guide applies the same discipline to tote bags and mugs.
Before you send the file
Four checks: the subject prints at 150 DPI or better at final size; its edge has been inspected full size against the real background colour rather than white; it sits above the cassette safe area on the printer's template; and the file came from the original photo. A proof costs a day. A reprint costs the show.