English
 Español
 Português (BR)
 Deutsch
 Français
 Italiano
 Türkçe
 Bahasa Indonesia
 Русский
 日本語
日本語 한국어
한국어 Українська
 Tiếng Việt
 Polski
 Nederlands
 ไทย
ไทย Română
 简体中文
简体中文 繁體中文
繁體中文 العربية
 Български
 Filipino
 हिन्दी
 اردو
اردو বাংলা
বাংলাReverb Listing Photos That Sell Used Gear
Reverb listing photos for used gear: what the image rules require, the seven shots buyers scroll for, taming gloss with one window, and where honesty ends.
- reverb
- product photography
- used gear
- marketplace listings
- background removal
- music gear
- selling online
Two used Les Pauls land side by side in Reverb search results at nearly the same price. One was shot on a bed, duvet folds behind it, a ceiling light smeared across the top horn. The other sits dead centre on plain white, headstock fully in frame. Buyers open the second and message that seller. Two weeks on, the first cuts his price.
Reverb treats images as an enforcement surface: dark, blurry or low-resolution photos can get a listing suspended, and photos that are not yours get it pulled outright. The buyers are specialists. Someone shopping a fifteen-year-old Tele wants fret divots, a serial number they can date, and to know whether the output jack has been replaced.
None of this needs a studio — just a window, a shot list, and a plan for the finish that mirrors your living room back at the camera.
What Reverb's image rules actually say
From Reverb's listing standards for images:
- Your own original photography of the actual item, in its current condition. Screenshots, images from another source and manufacturer stock shots are violations; authorized dealers listing new, B-stock or mint gear are the exception.
- Unboxed photos of the real unit — gear still in its box or packaging does not count, and the unboxed shots must show its actual condition, damage included.
- All identifying features visible: the back, the headstock, serial numbers, electronics, and the label inside an acoustic body.
- All surfaces visible, especially those that may be damaged.
- No added text or graphics, no borders, no collages, no distracting alterations.
Reverb's listing guide asks for a minimum of 620 by 620 pixels and a maximum of 1600 by 1600, so resolution rarely sinks a phone photo. The square crop is. Photos get square-cropped on the web, in the app, and when they are pushed out to online search engines, and a vertical guitar shot loses its headstock or strap button. Shoot with slack on all four sides, then crop to a square in your phone's photo editor before you upload — Reverb's own advice is to keep listing photos square from the start.
Watermarks are allowed only if they are small, transparent and clear of the gear. Reverb calls distracting watermarks a standards violation and automatically rejects them from its ad cycles, so an oversized logo costs you placements.
The shot list used-gear buyers scroll for
Used-gear buyers scroll for evidence, not beauty. Every missing angle is a message you have to answer before anyone commits.
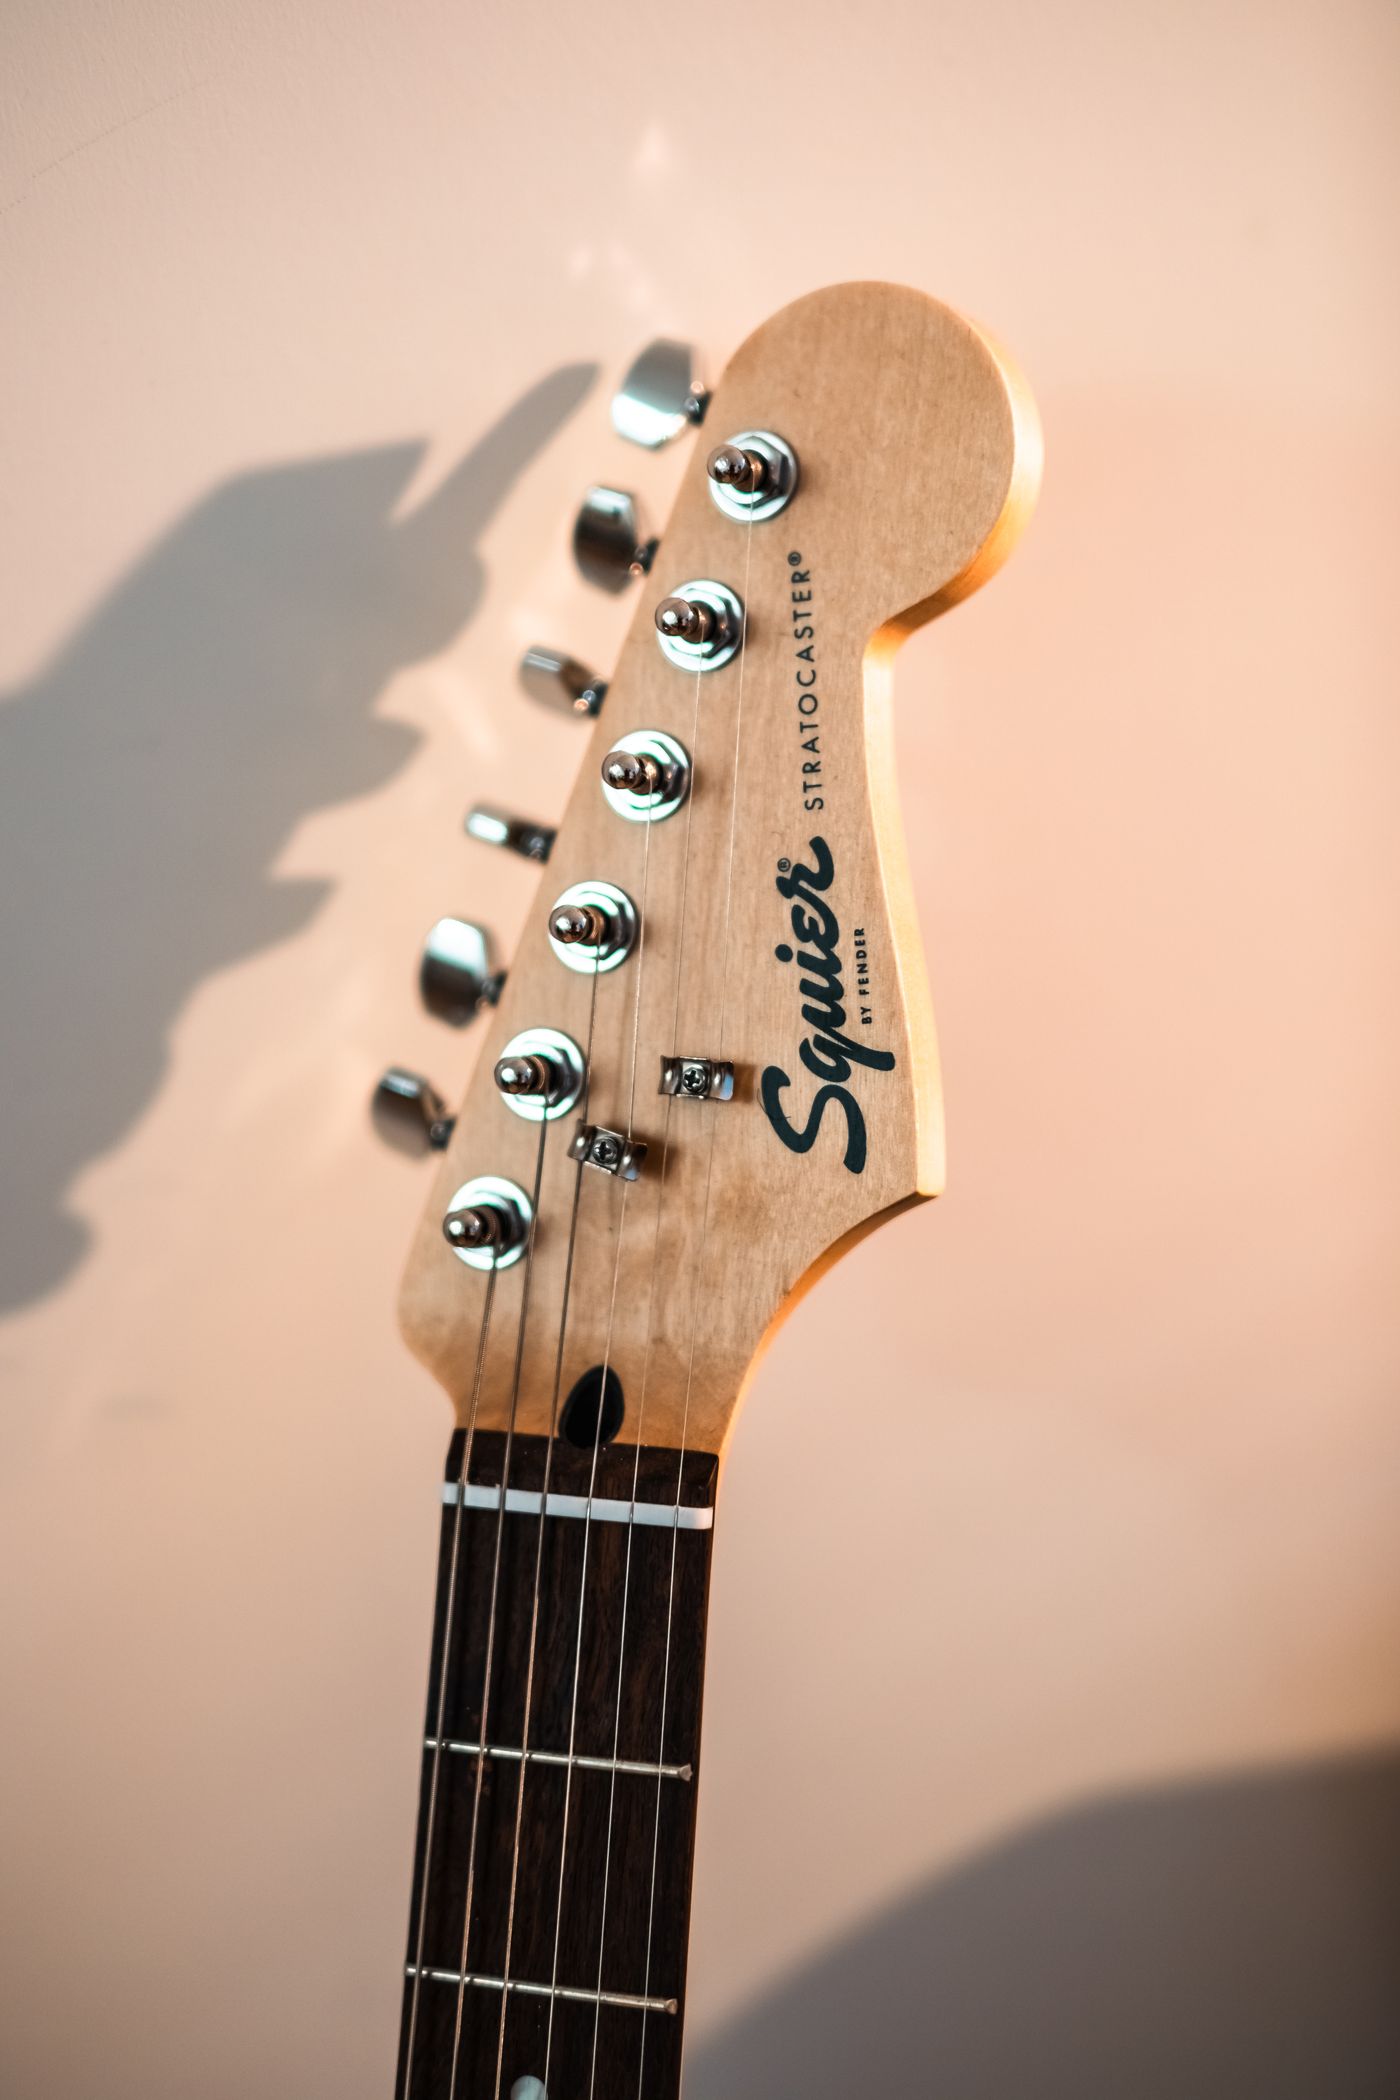
- Primary: the whole instrument, square-on, nothing cut off.
- Headstock, straight on — logo, tuners, and the serial if it lives there.
- Back of the neck and body — heel joint, buckle rash, finish checking.
- Fretboard at a raking angle, light skimming across the frets so divots and flat spots read.
- Electronics: output jack, pots, switch tip, pickup screws. On a pedal, the jacks, footswitch and battery door.
- Case and case candy: hangtags, truss rod wrench, manual, receipt.
- Every flaw, individually. A photographed ding is a negotiating position. A ding found at unboxing is a return.
The gloss poly problem
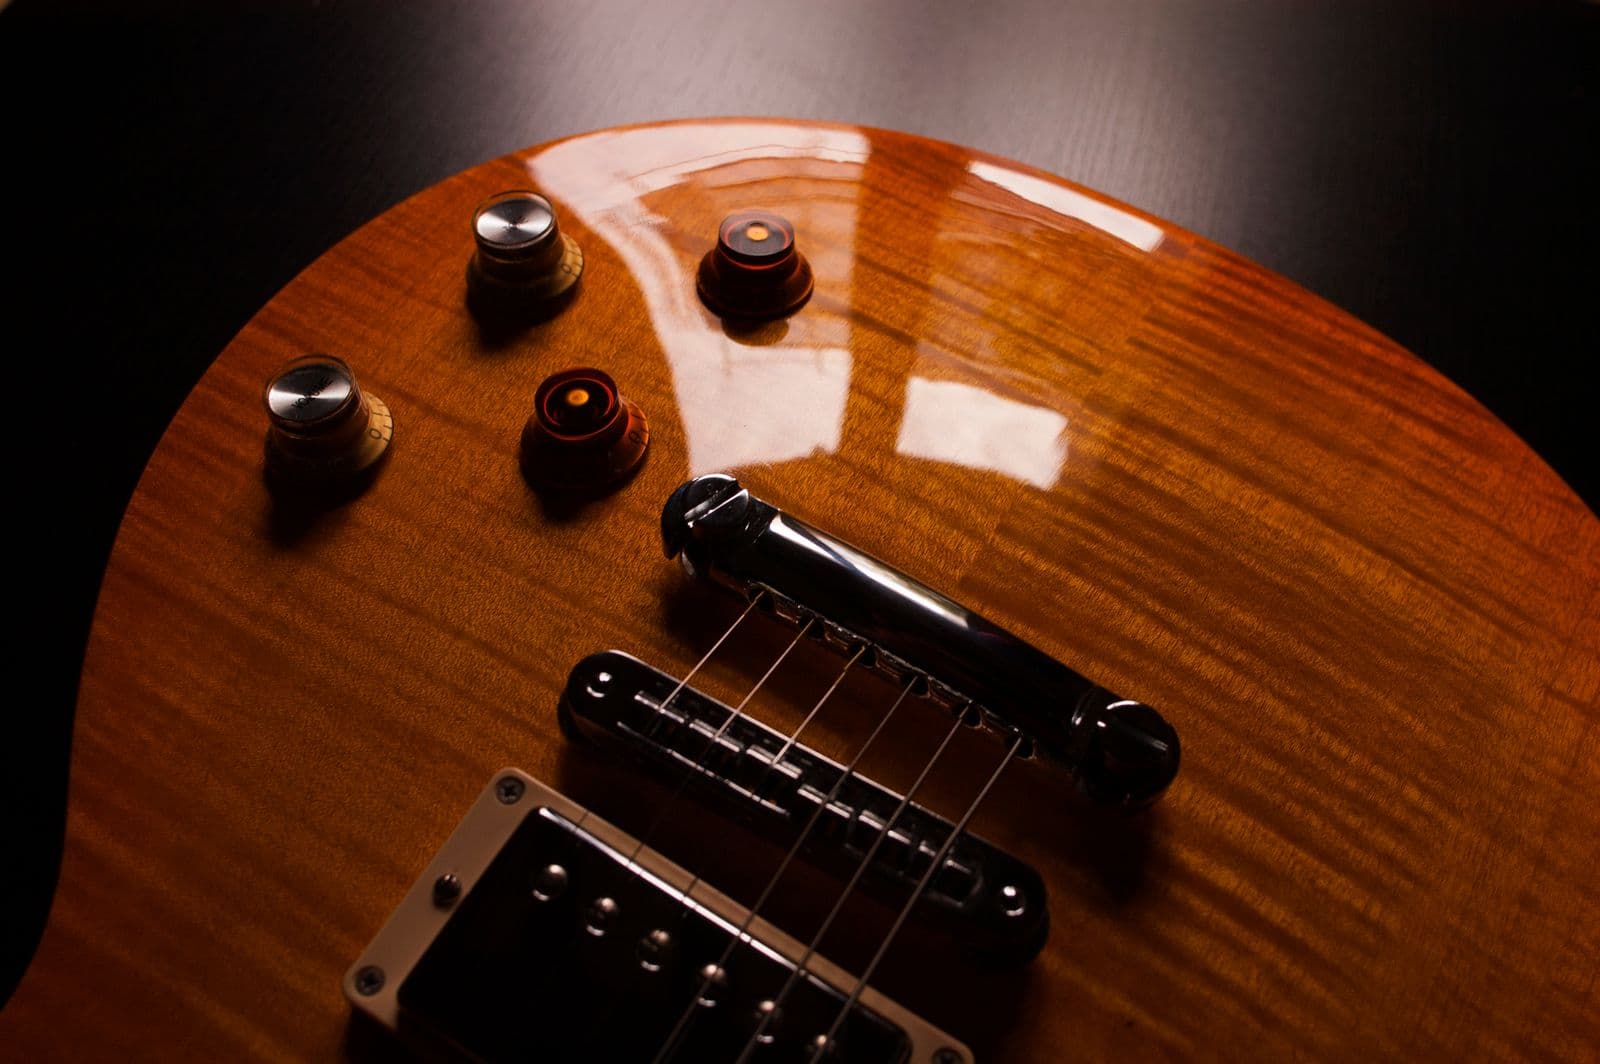
Gloss polyurethane and nitro finishes are curved mirrors. Point a phone at one under a ceiling light and you photograph the light, the ceiling, and yourself in a grey hoodie.
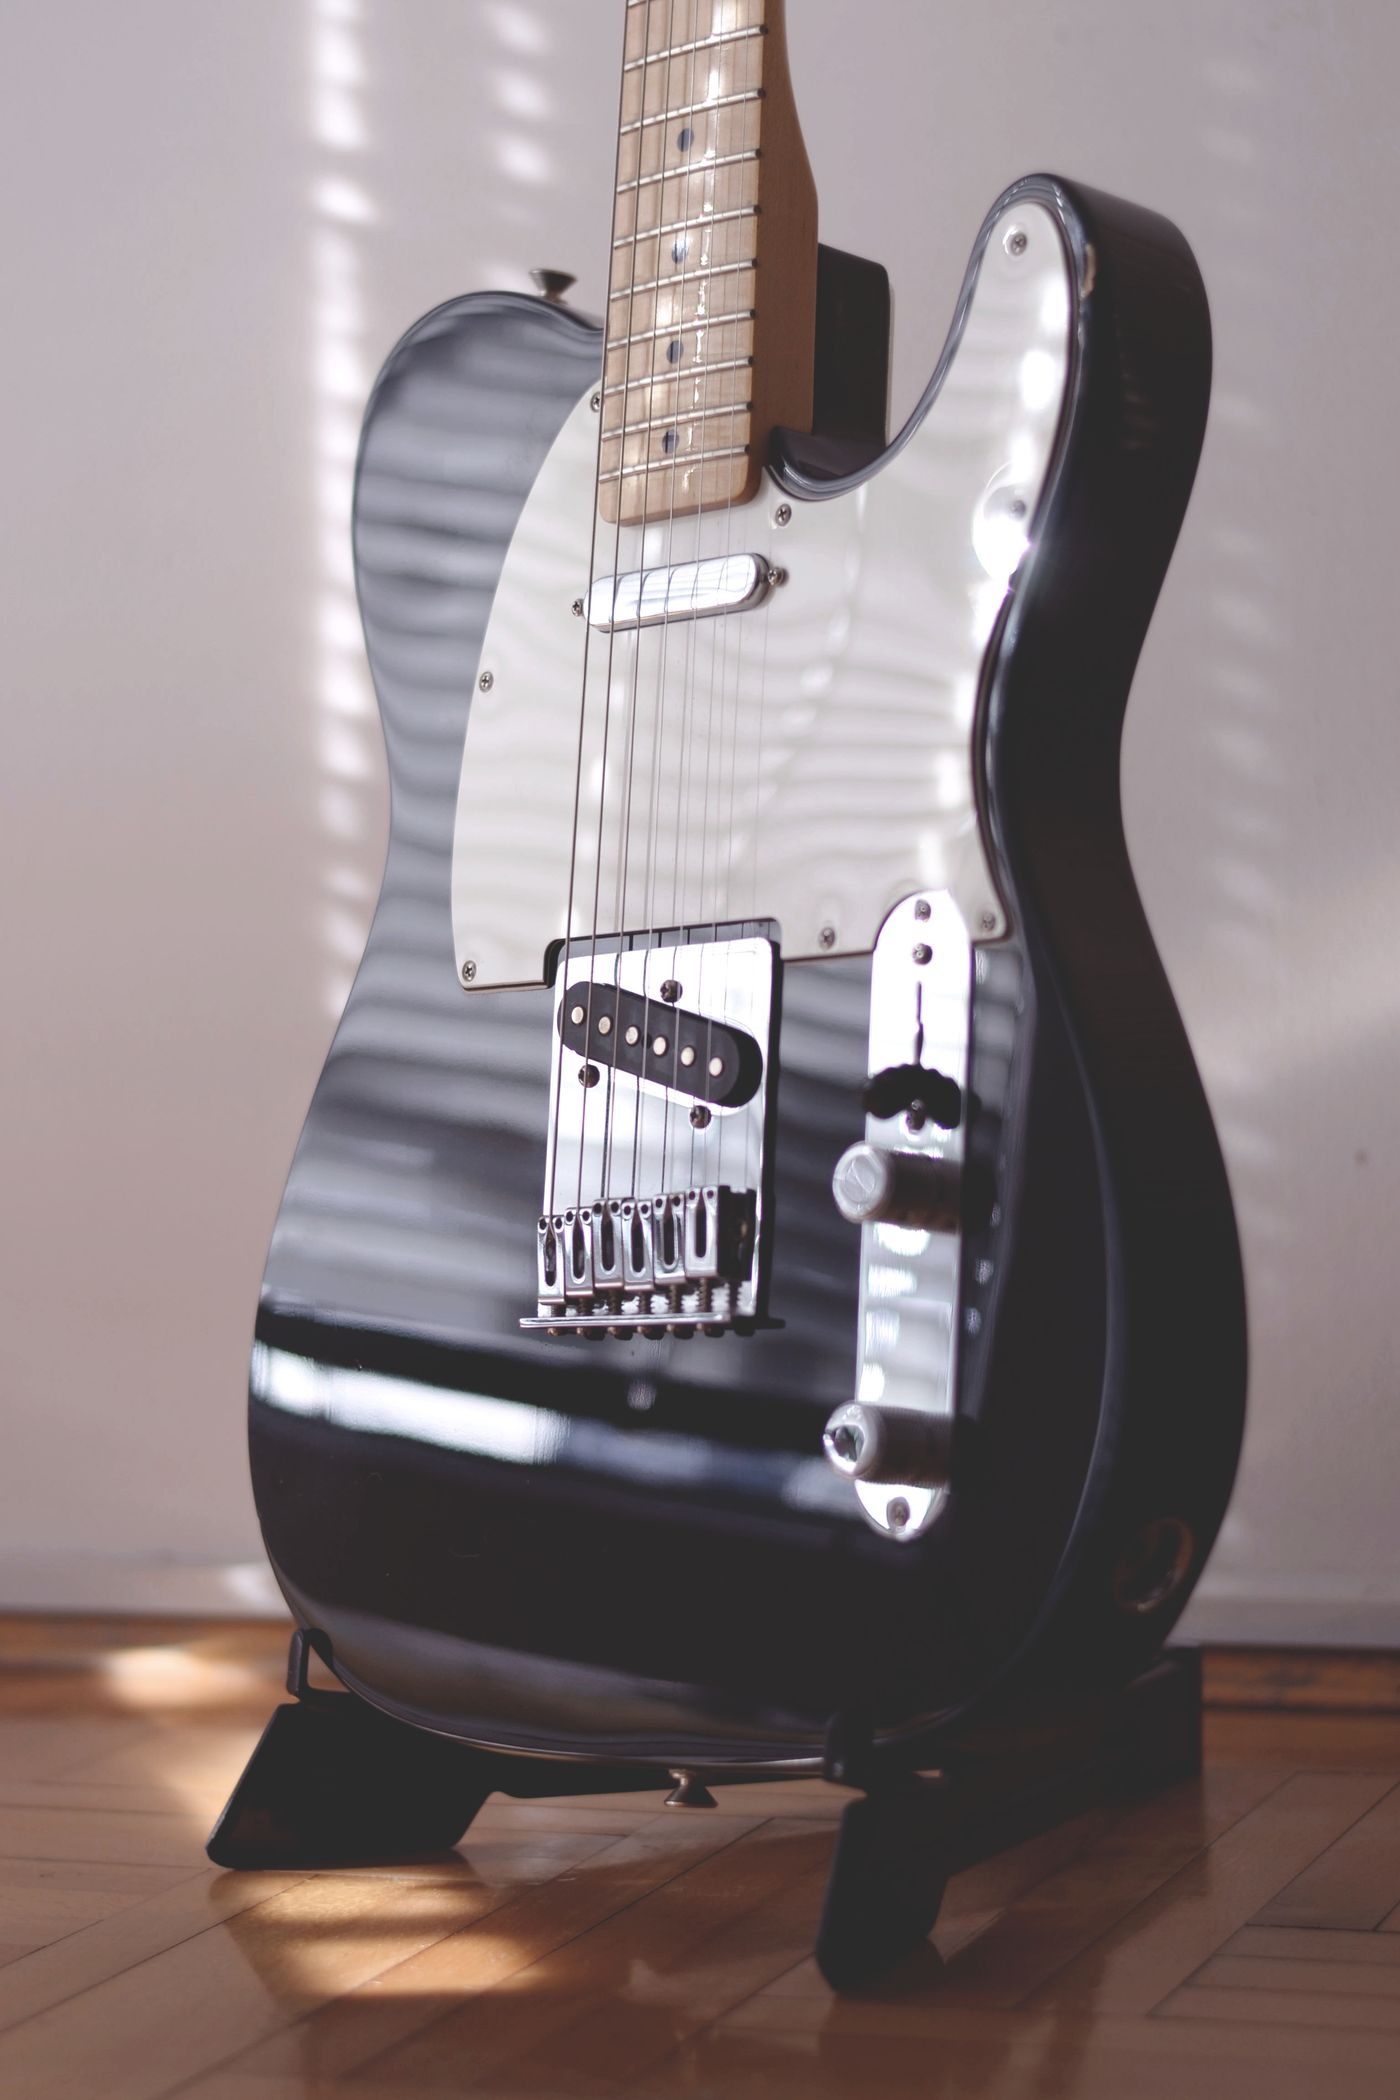
You cannot delete the reflection, so control what gets reflected. Put the instrument near a window with a sheer curtain over it: a large, soft source gives a long gentle sheen instead of a hot white blob. Kill the overhead lights, wear something dark, and tilt the body until the brightest reflection slides off the face. Same discipline as our guide to shooting small, shiny products.
Making the primary shot survive a search grid
Your primary photo competes as a small square against thousands. Whatever sits behind the gear — a sofa arm, a radiator, a rehearsal room floor — is noise at that size, and makes good gear look like a clear-out.
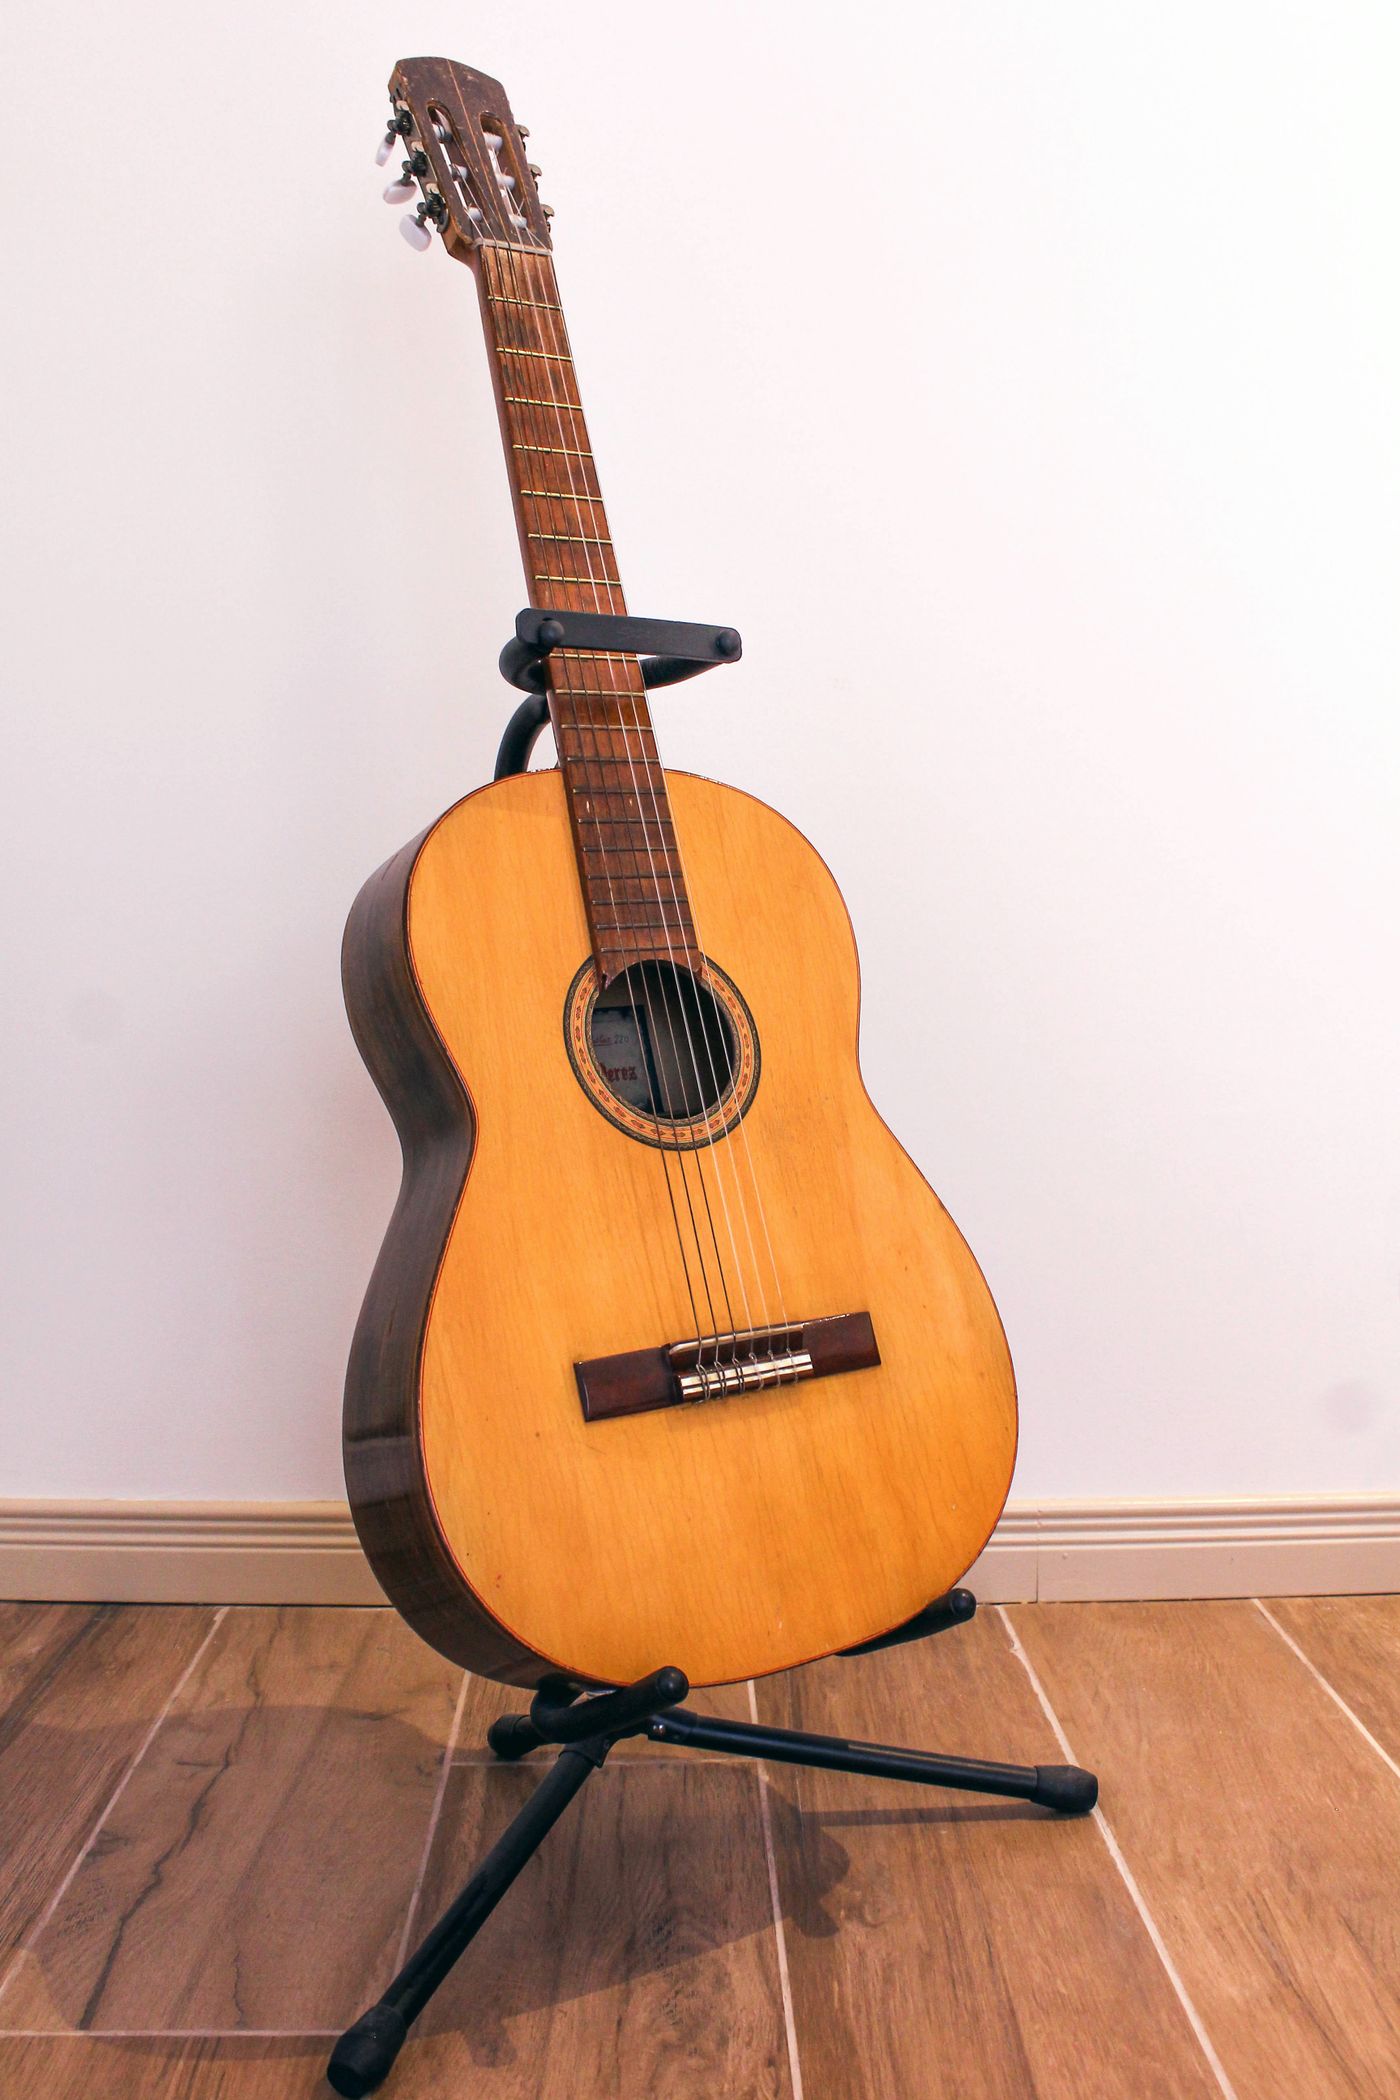
Cutting the gear out onto plain white fixes that in one step. Upload the primary shot to remover.bg, let it handle the edge, then set the background to white or a flat colour you reuse across every listing so your shop page reads as one inventory. Add a soft contact shadow so it sits on a surface — a floating cutout looks like a stock render, the wrong signal here. Our walkthrough on realistic shadows covers that, and a shop clearing dozens of listings a week can drive it through the background removal API.
Where the honesty line sits
Reverb's standards ban added text, graphics, borders and collages, and require photos showing the item in its current condition. They do not spell out where background replacement sits, so keep any edit strictly to what is behind the gear, and read Reverb's Listing Standards: Images before you rely on it. Anything that changes how the item looks is a not-as-described claim waiting to happen.
The safe rule: clean the background on the primary shot only. Leave every condition shot exactly as it came off the camera — fret wear, buckle rash, the chip on the lower bout. A buyer who can see the damage does not open a dispute.
Before you publish
Open the listing on a phone. If the primary square reads at thumbnail size, the serial is legible without pinch-zooming, and every flaw in your description has a photo, ship it.