English
 Español
 Português (BR)
 Deutsch
 Français
 Italiano
 Türkçe
 Bahasa Indonesia
 Русский
 日本語
日本語 한국어
한국어 Українська
 Tiếng Việt
 Polski
 Nederlands
 ไทย
ไทย Română
 简体中文
简体中文 繁體中文
繁體中文 العربية
 Български
 Filipino
 हिन्दी
 اردو
اردو বাংলা
বাংলাWhy Your Cutout Edges Look Jagged (And How to Fix It)
Jagged, fringed and haloed cutout edges start in the file you uploaded: recompression, too few pixels, motion blur and sharpening halos — and the fix for each.
- background removal
- image quality
- jpeg compression
- webp
- photography tips
- transparent png
- editing workflow
You upload a photo, get the cutout back, and the edge looks wrong. A staircase of little square steps around a shoulder. A grey fringe along a jawline. Hair fused into one solid clump instead of separating into strands. The natural reaction is to blame the tool and try another one, which usually hands back the same edge.
Background removal is a per-pixel decision: near the boundary, how much of each pixel is subject and how much is background. That decision can only use what is in the file you uploaded. If the boundary is smeared across four soft pixels, dissolved into compression blocks, or wrapped in a sharpening halo, there is no clean edge to find — one gets invented, and invented edges look jagged, blocky and fringed.
Four input problems are behind most disappointing cutouts, and all four are fixed before you upload, not after.
The file has been recompressed too many times
JPEG does not store your pixels. It splits the image into 8x8 blocks and discards the detail it judges least visible, which is why heavily compressed JPEGs look like a mosaic of tiles. Worse for cutouts, the most common JPEG mode stores colour at half resolution in both directions, so a red jumper against a pale wall arrives with a colour boundary already blurred and stepped.

Each re-save compounds the damage, and a photo exported, emailed, screenshotted and forwarded has been through that grinder several times. Look closely at a high-contrast edge: faint speckle or ripples in the flat area beside it will end up traced into the cutout.
Go back to the earliest copy you have — the camera roll, not the chat thread. When someone sends you a photo to process, ask for it as a file or document attachment — the photo option in chat and mail apps recompresses what you send unless the sender digs out a high-quality or original setting first. Export at quality 90 or above, not a "web" or "small" preset.
There are not enough pixels along the edge
A cutout edge can only be as smooth as the number of pixels describing it. On a 400px-wide image the entire outline of a person is drawn with very few pixels, so each curve has almost nothing to work with and the steps show the moment you look closely. Enlarging the result afterwards in your design tool magnifies the staircase rather than smoothing it.
As a working rule, keep the long edge of the original at 1500px or more for a product page or a profile, and considerably more for print.
The photo is slightly blurred and your phone screen hid it
Motion blur is the quietest cause of bad edges, because a 6-inch screen flatters everything. A blurred boundary is a gradient spread over ten or twenty pixels rather than a transition over two, so the edge lands somewhere inside that gradient and wanders, which reads as a wobbly, chewed outline.
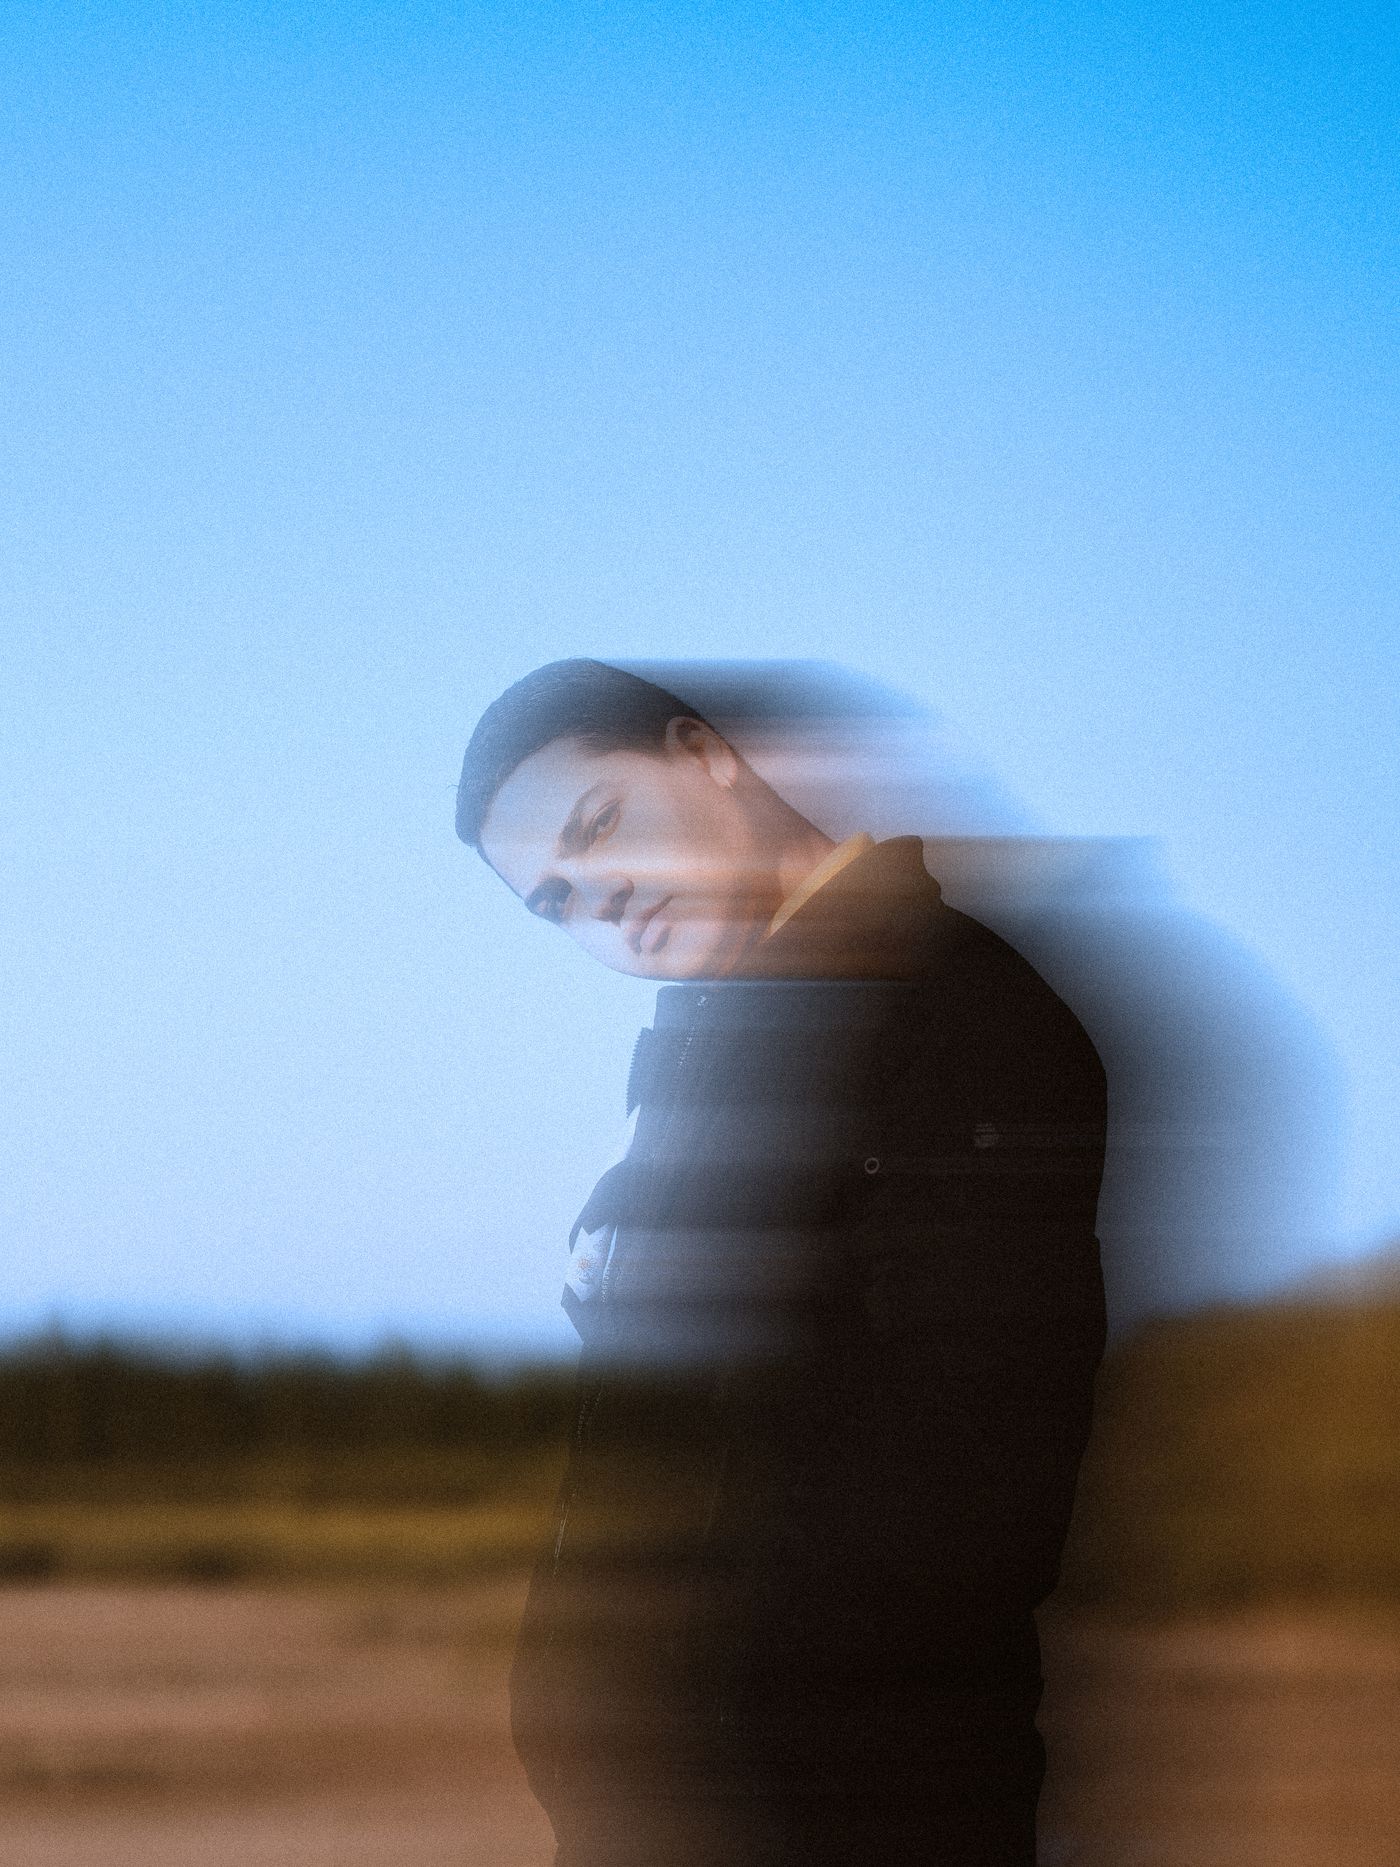
Handheld, the reciprocal rule is a usable floor: shutter speed of at least 1 over your focal length in full-frame terms. A 50mm lens wants 1/50s or faster on full frame; on a smaller sensor, multiply the focal length by that body's crop factor first, which pushes the same lens 1.5x to 2x faster depending on the format. Longer lenses want more again. Add light rather than slowing the shutter, brace your elbows, and zoom to 100% to check. The same care that produces a usable portrait without a studio produces a clean silhouette.
Sharpening has left a halo around the subject
Sharpening works by brightening one side of a contrast edge and darkening the other. Against a background you are about to delete, that leaves a pale outline glued to your subject — and the moment you drop the cutout onto a dark colour, you see a grey-white rim.
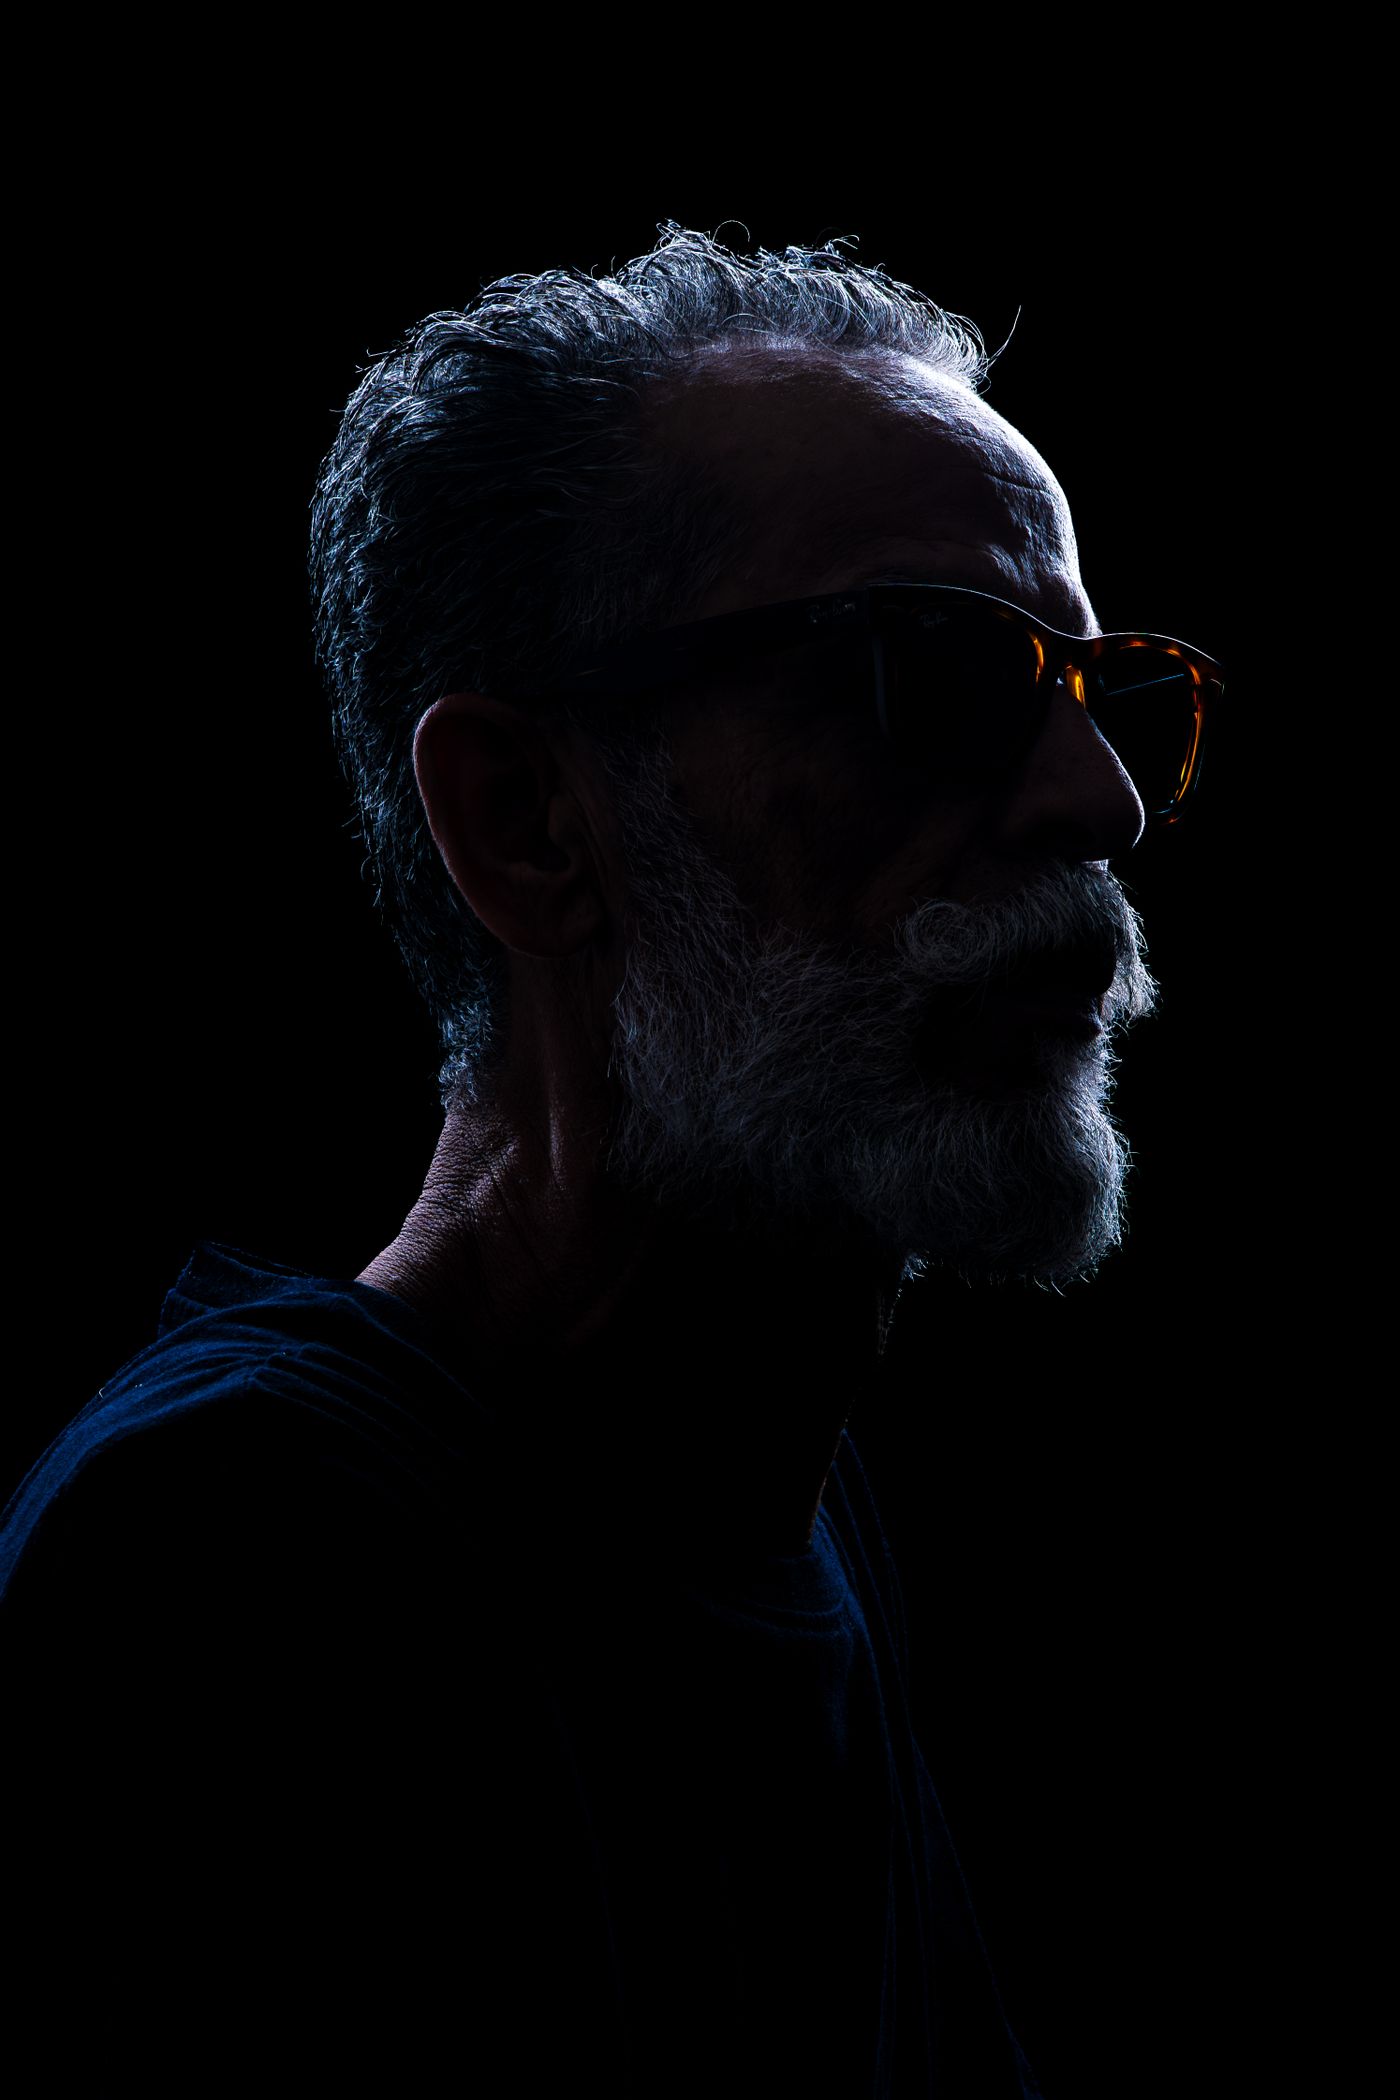
Turn sharpening off at capture where your camera app allows it, and resist running the photo through a beautify or auto-enhance filter first. If you want sharpening at all, apply it in your own photo editor after compositing, when the halo lands on the new background instead of the cutout edge.
Getting under the 25 MB cap without wrecking the edge
Uploads to remover.bg are capped at 25 MB, and the instinctive fix — dragging JPEG quality down to 40 — produces exactly the blocking and fringing described above. Export WebP from your photo editor instead: at high quality it runs around 30% smaller than JPEG at equivalent visual quality, by Google's own figures, and it goes in and comes back out without conversion, as covered in WebP support. But lossy WebP also stores colour at half resolution, so if a colour boundary is what is breaking, reach for lossless WebP or PNG rather than the quality slider.
Check the edge before you use it
Never judge a cutout on a white page. Put it on a saturated colour or near-black in the editor — fringes, haloes and swallowed corners only show against contrast. Survive that and a transparent PNG drops into any layout, ready for you to add a realistic shadow so the subject sits on its new background instead of hovering above it.
If the edge still fails that test, re-shoot rather than re-upload. The second attempt costs a few minutes; arguing with a bad source file costs an afternoon.