English
 Español
 Português (BR)
 Deutsch
 Français
 Italiano
 Türkçe
 Bahasa Indonesia
 Русский
 日本語
日本語 한국어
한국어 Українська
 Tiếng Việt
 Polski
 Nederlands
 ไทย
ไทย Română
 简体中文
简体中文 繁體中文
繁體中文 العربية
 Български
 Filipino
 हिन्दी
 اردو
اردو বাংলা
বাংলাDie-Cut Stickers: Get the Transparent PNG Right
A die-cut sticker's blade path is traced from your PNG's alpha channel. Why a white-background file cuts as a rectangle, and four checks before the proof.
- die-cut stickers
- transparent png
- alpha channel
- sticker printing
- background removal
- print prep
- png vs jpeg
- cut line
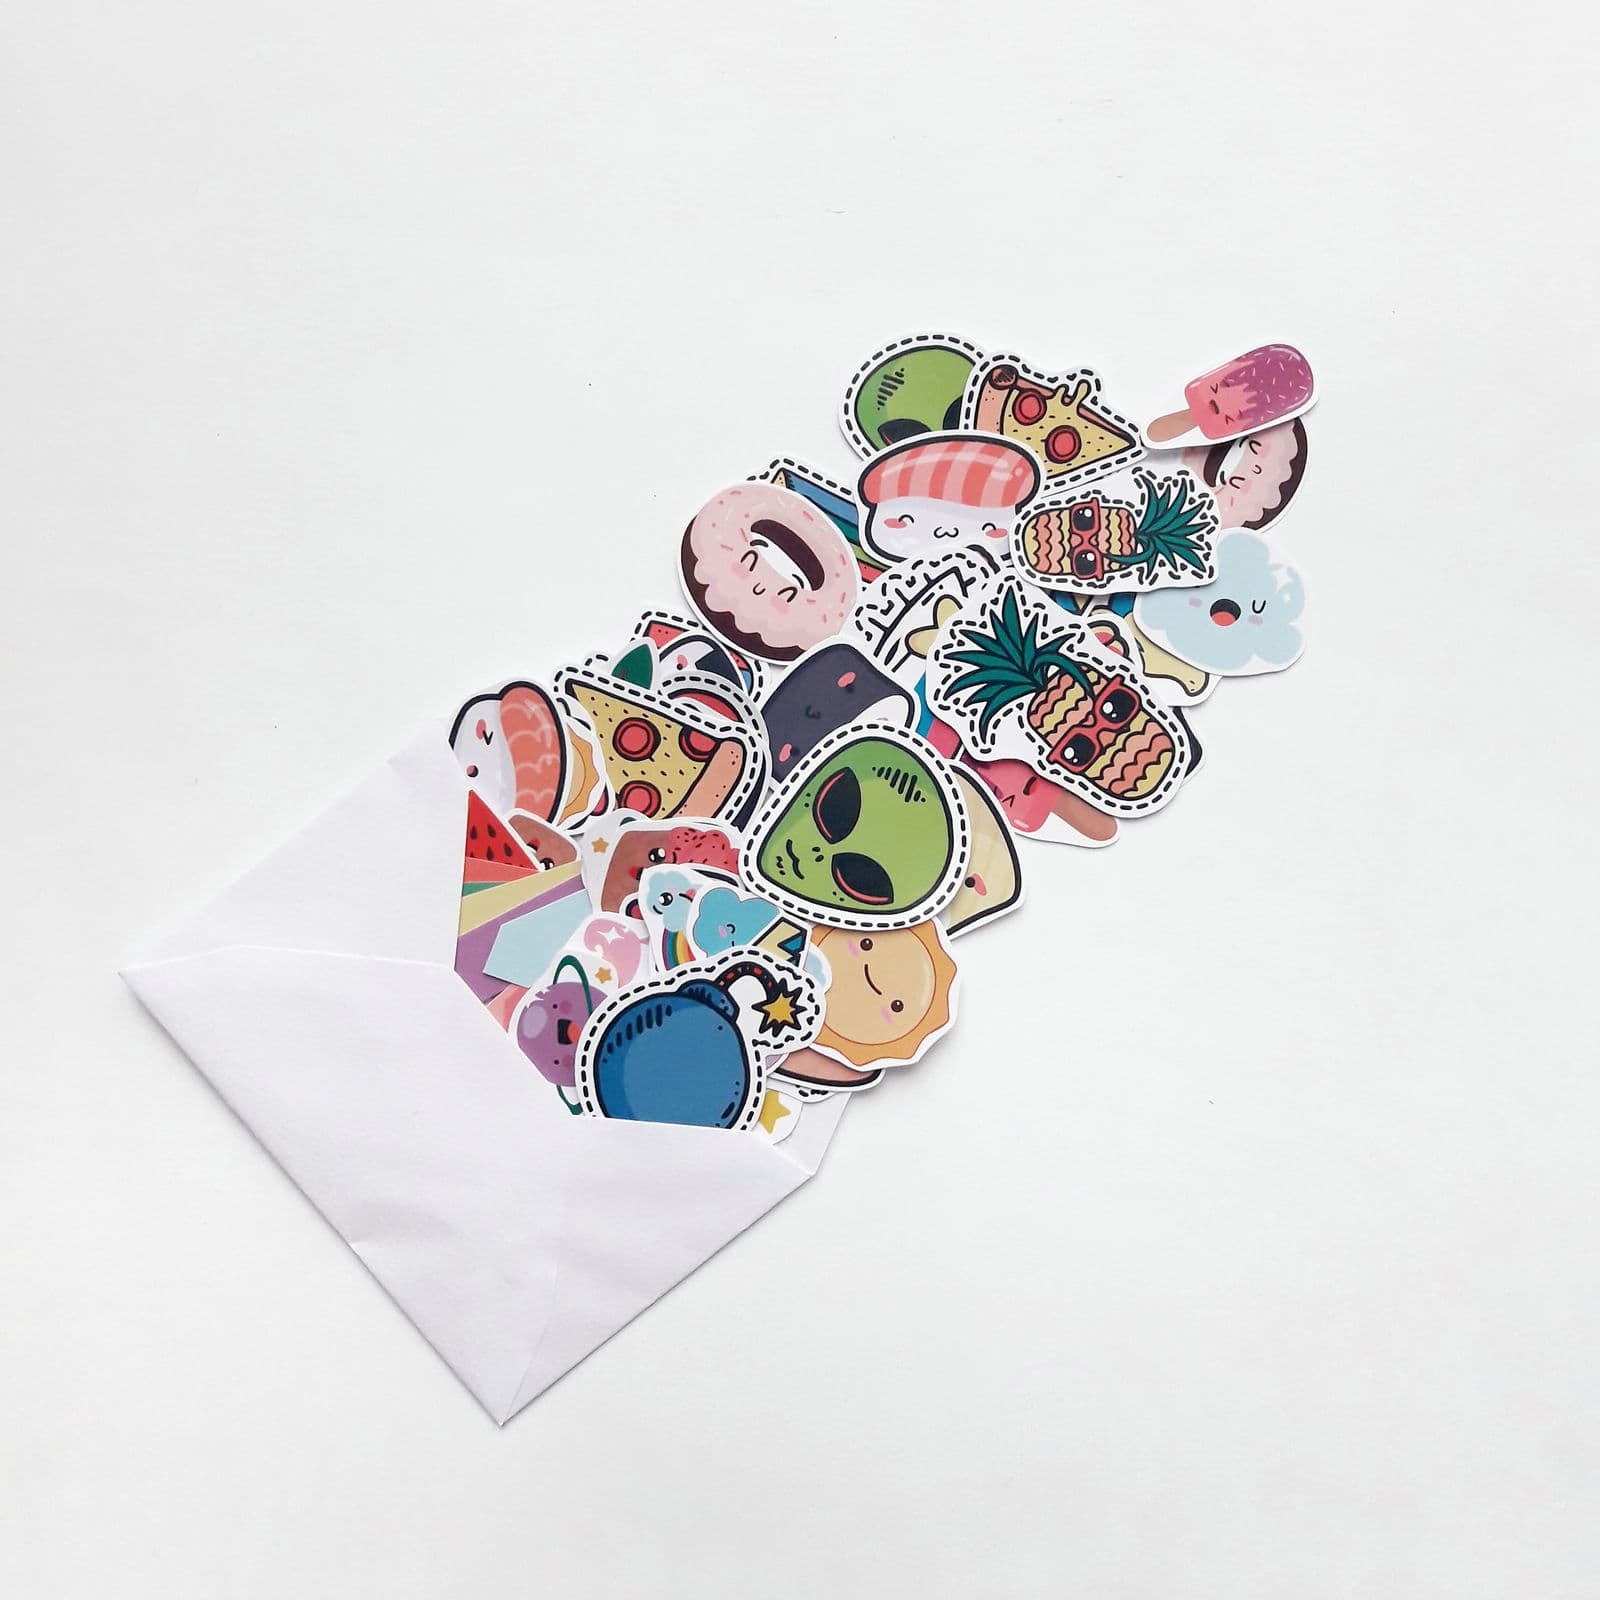
A die-cut sticker is cut to the outline of your artwork, and the machine doing the cutting has to be told where that outline is. Unless you supply a cut path yourself as a vector stroke, the printer works it out from your file: software traces the boundary between "empty" and "not empty" in your upload, and that becomes the blade path.
So the upload requirement that matters most is a real transparent background: artwork opaque, everything around it genuinely empty. Get it right and the proof comes back looking like the thing you drew. Get it wrong and you get a rectangle, or an outline with bites taken out of it.
The transparency is the cut line
A PNG stores a transparency value for every individual pixel. The PNG specification puts an alpha sample beside each pixel's colour in its with-alpha colour types: zero is fully transparent, the maximum fully opaque, everything between blended against what sits behind it. At 8-bit depth that is 256 states per pixel, not two.
An indexed PNG-8 handles it differently: the spec lets it carry an alpha table giving each palette entry its own alpha sample, so it can be soft — but plenty of export presets shrink that to a single fully transparent colour. That collapse to on-or-off is one real cause of hard, jagged sticker edges. The blade has two states regardless, and you do not control where the tracing software draws that line. Our guide to transparent PNGs covers the format side.
Why a white-background JPEG prints as a rectangle
JPEG has no alpha channel. Nothing records "this pixel is empty" — the closest it manages is white, an ordinary opaque colour. In a fully automated flow the cutter traces the outer edge of that opaque rectangle, and you get a square sticker with your logo floating in the middle. Printers that send a human-checked proof usually draw the cut line around your design instead, but then you are relying on a stranger's guess.
Worse: you removed the background and lost it on the way out. Saving to JPEG flattens transparency against a background colour, permanently — so does a screenshot, and a copy-paste through most chat apps. If the file reaching the printer ends in .jpg, the transparency is gone. Export PNG — WebP carries per-pixel alpha too, but PNG is the format no sticker shop will argue with.
Ragged cut lines come from in-between pixels
Anti-aliasing is what stops a diagonal edge looking like a staircase: boundary pixels get filled at partial opacity. Those are the pixels the cutter has to guess about — invisible on a thick outline, not on a wispy edge.
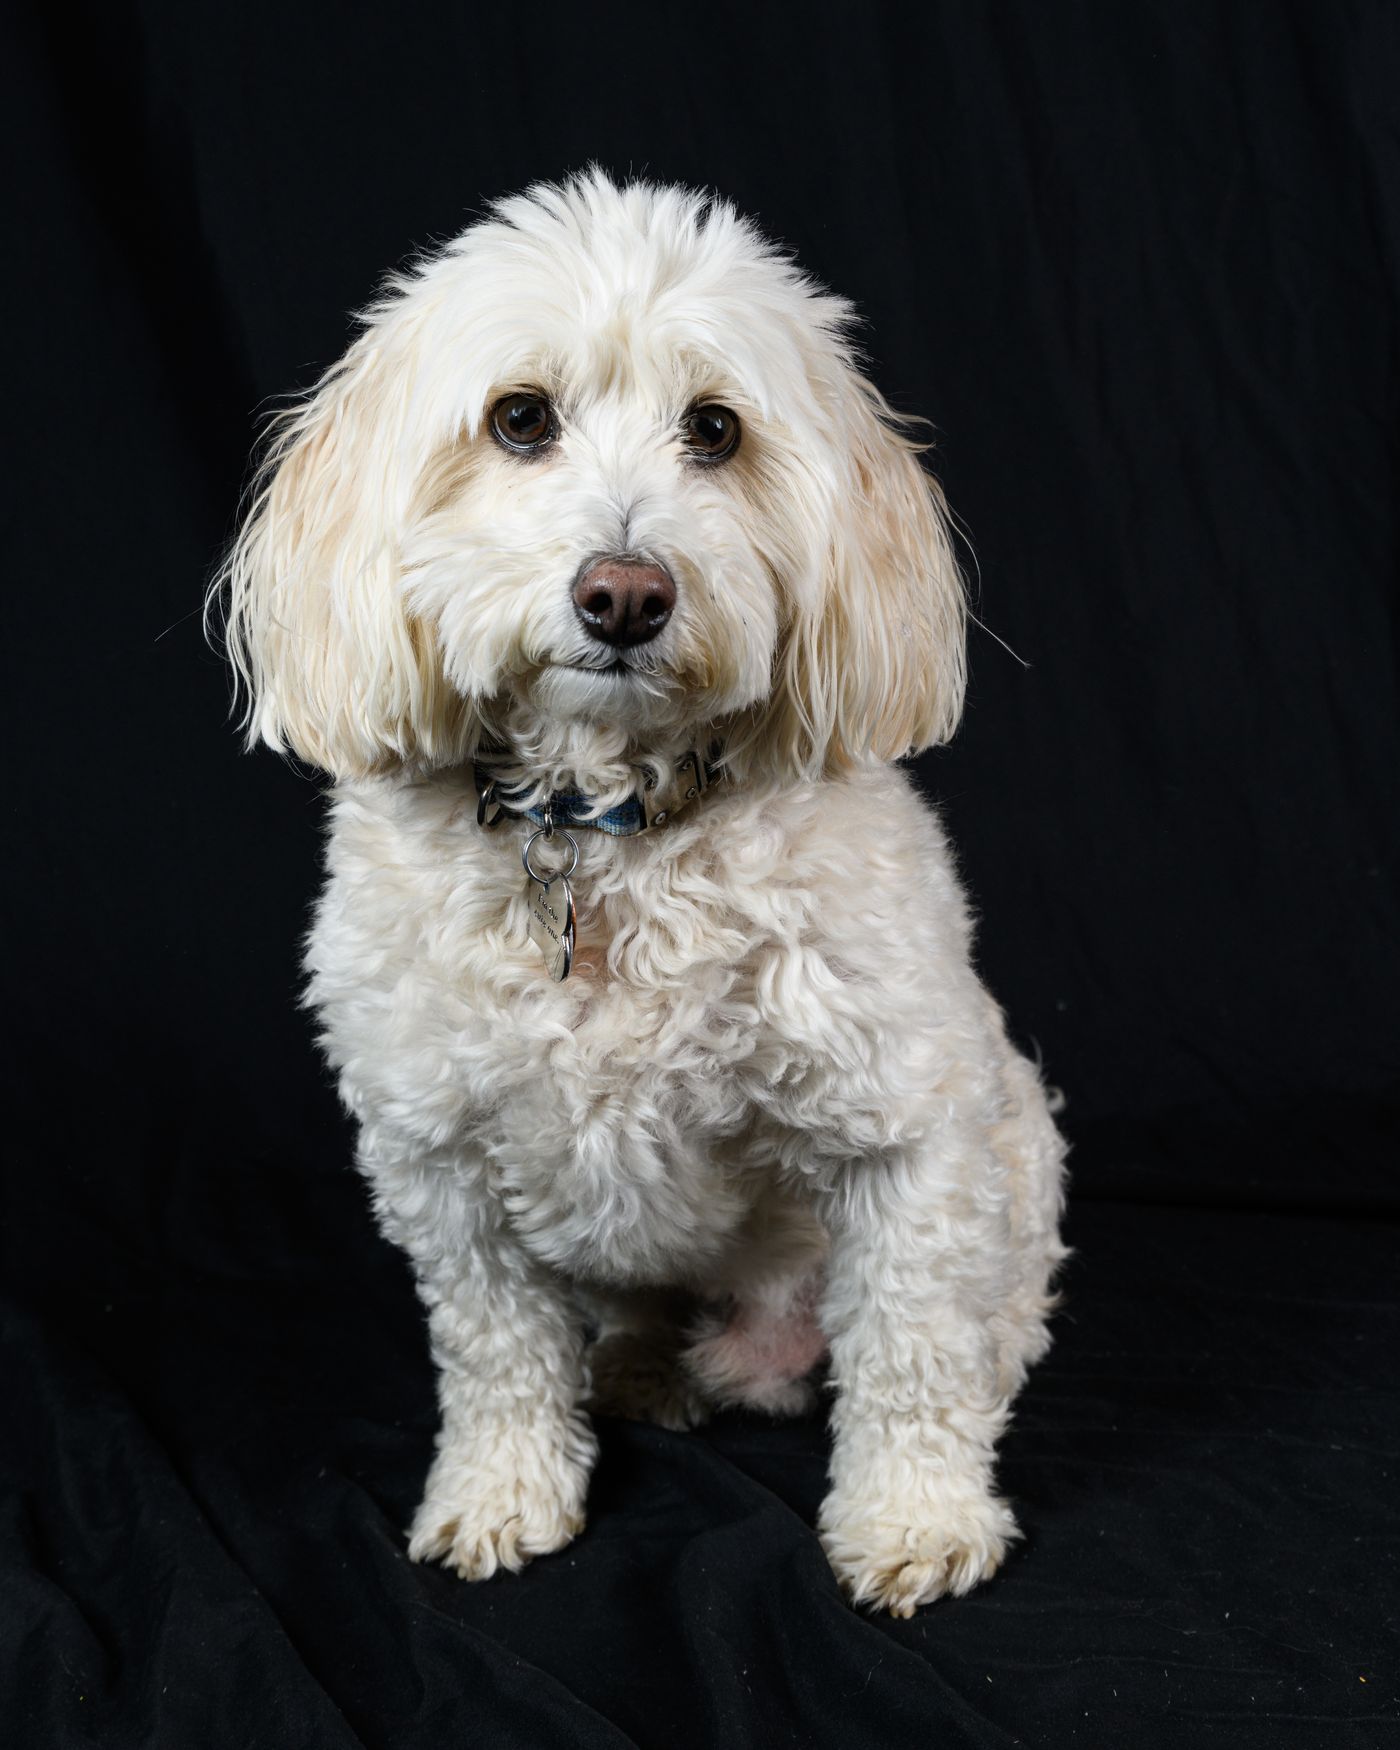
This is why a photographic dog cutout can be a beautiful transparent PNG and a terrible sticker. Fur strands sit at low opacity, so the tracer either follows them into a hairy fringe or drops them into a chewed-looking edge. Hunt for two more things: a faint halo of near-white semi-transparent pixels left from a white background, which prints as a grey ghost line, and stray opaque specks, which the tracer treats as part of the shape.
Cutting out a pet, mascot or hand-drawn logo
Decide first whether the sticker is the shape of the subject or a shape with a deliberate keyline around it. For anything furry or finely detailed, the keyline wins — printers commonly offer a border or offset option. Every cutter drifts a little, and a visible margin between your artwork and the blade absorbs that drift: the path runs outside your design instead of chasing every hair. Design to the border width your printer specifies.
For the cutout, upload the photo to remover.bg and export PNG; edge quality on fur and hair decides whether that border sits evenly or wobbles. JPEG, PNG and WebP up to 25 MB work, on the web app or the phone app.
Hand-drawn artwork needs the photograph to cooperate: lay the paper flat, light it evenly so no shadow gradient crosses the page, shoot straight down, and ink the outline rather than leaving pale pencil. Same goes for a logo scanned off letterhead, covered in removing a background from a logo.
One thing not to add: a drop shadow. Right for a product listing, wrong here — it is just more partially-opaque pixels, and the cutter will trace around it or print a grey smear.
Check the alpha before you pay
Four checks, faster than reordering a batch of stickers.
- Put the cutout on a dark or vivid background. Halos, fringe and forgotten specks are nearly invisible against white and obvious against black or magenta.
- Zoom to 100% on the thinnest part of the outline — an ear tip, a serif, a tail. That is where the trace breaks first.
- Confirm the file the printer receives is the PNG, not a JPEG your phone made while sharing it. The same discipline applies to sticker packs for messaging apps, which re-encode whatever you send.
- Read the proof properly: it shows the actual cut line, and it arrives while changing the file is still easy. Sticker Mule, for one, sends an online proof shortly after checkout and lets you request changes until you are happy with it.
If the proof still looks wrong
Assume the file, not the printer. Reopen the PNG on a black background and find the pixel that caused it: a stray speck pulling the trace wide, a fringe of half-opaque fur, a flattened white square. Erase that speck or trim that fringe in your own image editor, re-export as PNG, and ask for a new proof.